
I wanted to be able to run the Matter chip-tool on Windows. Mostly so I could learn about commissioning and binding.
As I was starting to tinker with Matter devices like Light Switches, I needed the chip-tool. This is because some devices need “binding”, which I can’t do in Home Assistant or iOS home.
Whilst I had success working the esp-matter SDK on WSL2, the chip-tool won’t work because WSL2 doesn’t include Bluetooth. Bluetooth is used when commissioning devices into the Matter network.
Thankfully, espressif provide a guide on what to do
Compiling
The problem with WSL2 is that the Ubuntu kernel provided doesn’t support Bluetooth. This is vital for Matter commissioning.
Following the steps in the guide, I got to the point where I needed to compile my own Linux kernel.

After Adding Bluetooth, I tried to run the compile step and just got a bunch of errors
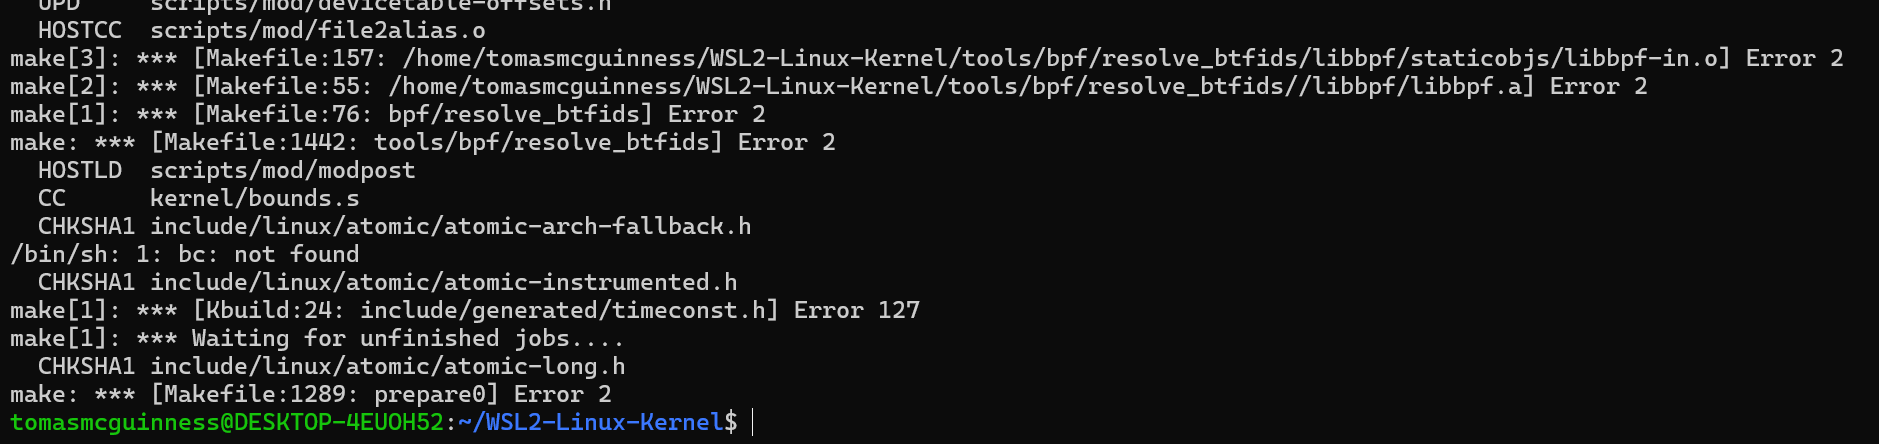
This was a Saturday morning and, whilst it would probably have been educational to figure this out, I quit.
This was getting far too deep into the weeds for me. I just wanted to run the chip-tool and for that I just needed Linux.
Using Raspian
I have a little Raspberry Pi 4 running on my desk, which runs a few things, like my Shelly Failsafe and OTBR
Maybe it would run the chip-tool?
I found this guide and started:
https://github.com/project-chip/connectedhomeip/blob/master/docs/guides/BUILDING.mdImmediately I ran into problem.
All of the Github paths to the repository where for SSH, not HTTP, so I had to tweak them!
So, the original command:
git clone --recurse-submodules git@github.com:project-chip/connectedhomeip.git
became
git clone --recurse-submodules https://github.com/project-chip/connectedhomeip.gitI ran this but unfortunately, ran out of space on my SD card!!

Thankfully, I have an external drive connected to my Raspberry Pi. I used this when I was logging the RTT output.
I kicked off the git clone operation on the external drive.
After it was all pulled down, I moved to the activate.sh step and saw this familiar screen
So far, so good!
This step completed successfully and then I moved onto the compiling the chip-tool!
./scripts/examples/gn_build_example.sh examples/chip-tool ~/matter_tools/chip-toolAfter about 45 minutes, the compilation error’d out 😦

This is the error message
fatal error: Killed signal terminated program cc1plusI googled it and all signs pointed to a lack of memory.
I was using an older Pi 4 with 4GB of RAM. This seemed insufficient for compiling the chip-tool.
I tried adding a larger swapfile, but that didn’t help.
Using Snapd
Whilst googling this problem, I came across an obvious solution; use a precompiled version!
There is something called Snapd, which is like a store for Linux applications. I never heard of it before today, but you can download the chip-tool from it.
https://snapcraft.io/chip-tool
To use it, I first installed it on my Pi
sudo apt install snapdI rebooted and then installed chip-tool
sudo snap install chip-tool
I then ran it to see if it *actually* worked….

Success!
Summary
Having to use a different “machine” for the chip-tool isn’t ideal, but it was the most practical way to set it up.
Once you find yourself deep in the bowels of Linux kernel work, it’s never going to be straight-forward! And besides, I just SSH into the Raspberry Pi anyway, so it’s basically the same as using WSL!
Did you like reading this post?
If you found this blog post useful and want to say thanks, you’re welcome to buy me a coffee. Better yet, why not subscribe to my Patreon so I can continue making tinkering and sharing.
Be sure to check out my YouTube Channel too – https://youtube.com/tomasmcguinness
Thanks, Tom!

Leave a comment