-
Investigating Cooling with an air-to-water Air Source Heat Pump
My ASHP heat pump is due to be installed in less than a month (Aug 2026)! I’m getting a Kronoterm Adapt to replace my big, stupid gas boiler. Whilst the Kronoterm Adapt provides heating, it can also provide cooling. It does this by moving heat in the opposite direction, supplying… Read ⇢
-
Building an M-Bus Adapter with onboard ESP32
This is my Kamstrup Heat Meter. It currently measures how much heat my boiler is producing. It’s been a very useful addition to my heating setup and has featured in some of my videos. Installed back in October 2023, this little device has been diligently working away. With the pending… Read ⇢

-
Matter Commissioning issues with Thread on Ethernet with ESP32-P4
I encountered a problem commissioning a Matter over Thread device using the esp-matter SDK on an ESP32-P4. Despite initial success, the P4 failed to establish a connection due to a missing route to the Thread device. After extensive debugging, they discovered the P4 wasn’t listening for Router Advertisement packets, which… Read ⇢

-
Matter Controller – Group Commands
In this post, I look at how I added group commands to my ESP32 Matter Controller. Matter Grouping allows different devices to be logically grouped together so they can all be controlled together. For example, you have multiple smart bulbs in your kitchen, and you want them to all turn… Read ⇢

-
My Matter enabled Home Energy Manager
I’ve finally create a video, where I run through my Matter enabled Home Energy Manager. Read ⇢
-
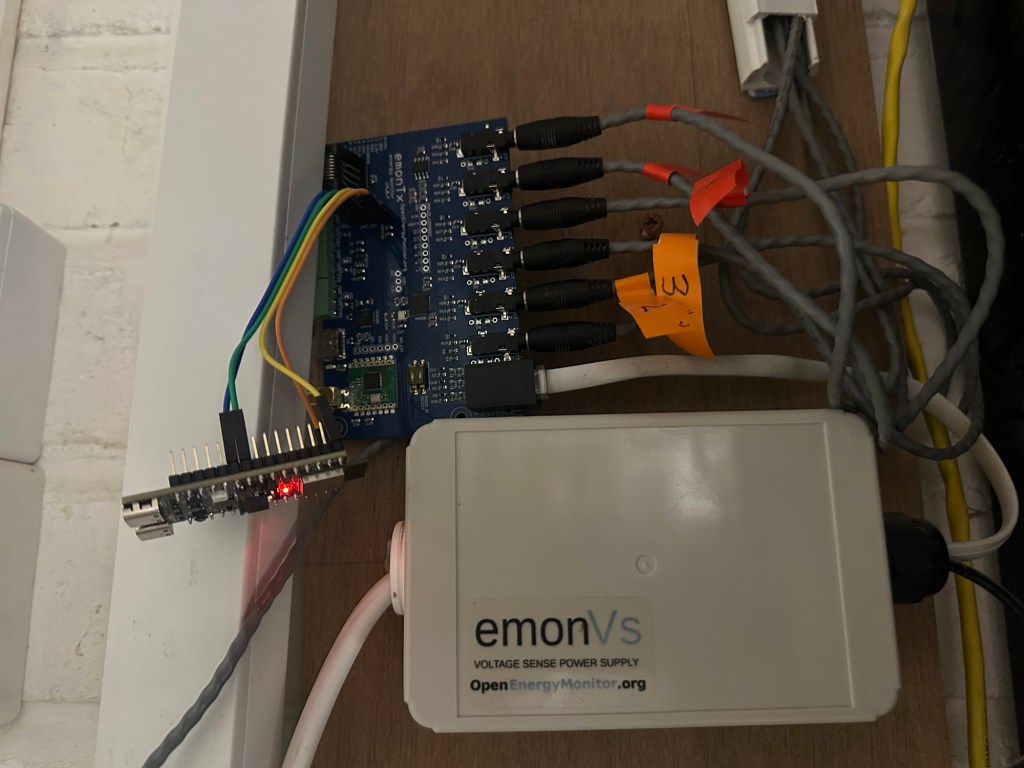
Adding Matter support to the OpenEnergyMonitor emonTx v4
As I continue to build my Matter based Home Energy Manager, I’m always looking for ways to get more power measurements into my system. As I currently have an Open Energy Monitor system installed, I started to wonder how I might add Matter support to is. The system I have… Read ⇢
-
Matter Home Energy Manager – First Milestone!
It’s been a busy few weeks, but I’ve managed to make steady progress on my Matter based Home Energy Manager, and I’ve finally reached the first major milestone: Displaying & recoding my grid consumption! It has taken quite a bit of foundation writing and experimenting, but it’s starting to coalesce… Read ⇢
-
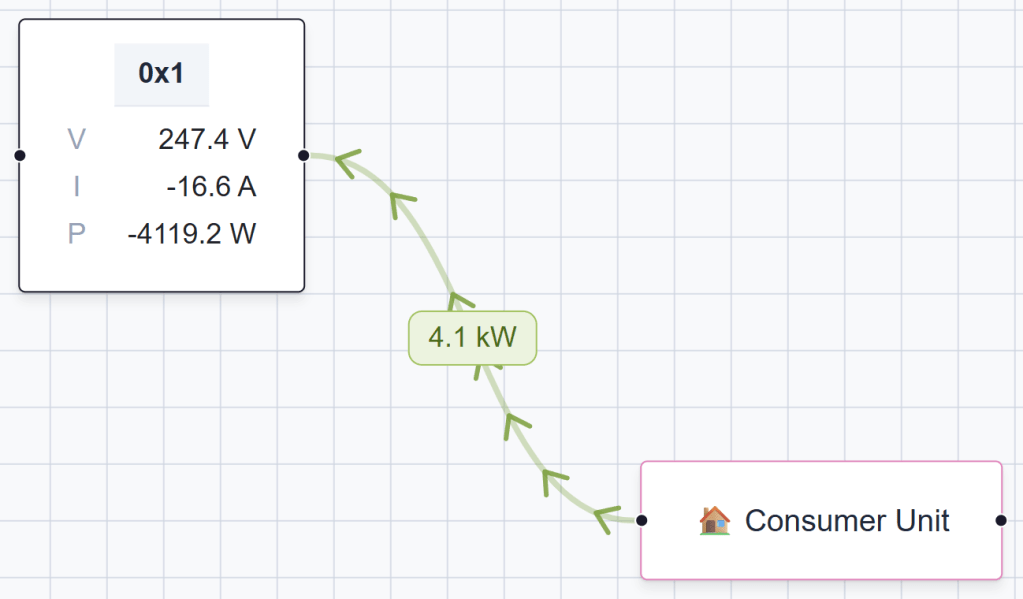
Building a Matter Meter Reference Point device for testing
I’ve finally started making progress with my Matter based Energy Manager UI. With the help of Claude Code, I even had a nice animation, showing power flowing. I was getting a sense for the how it might all hang together. My original goal was to use data from my Solax… Read ⇢
-
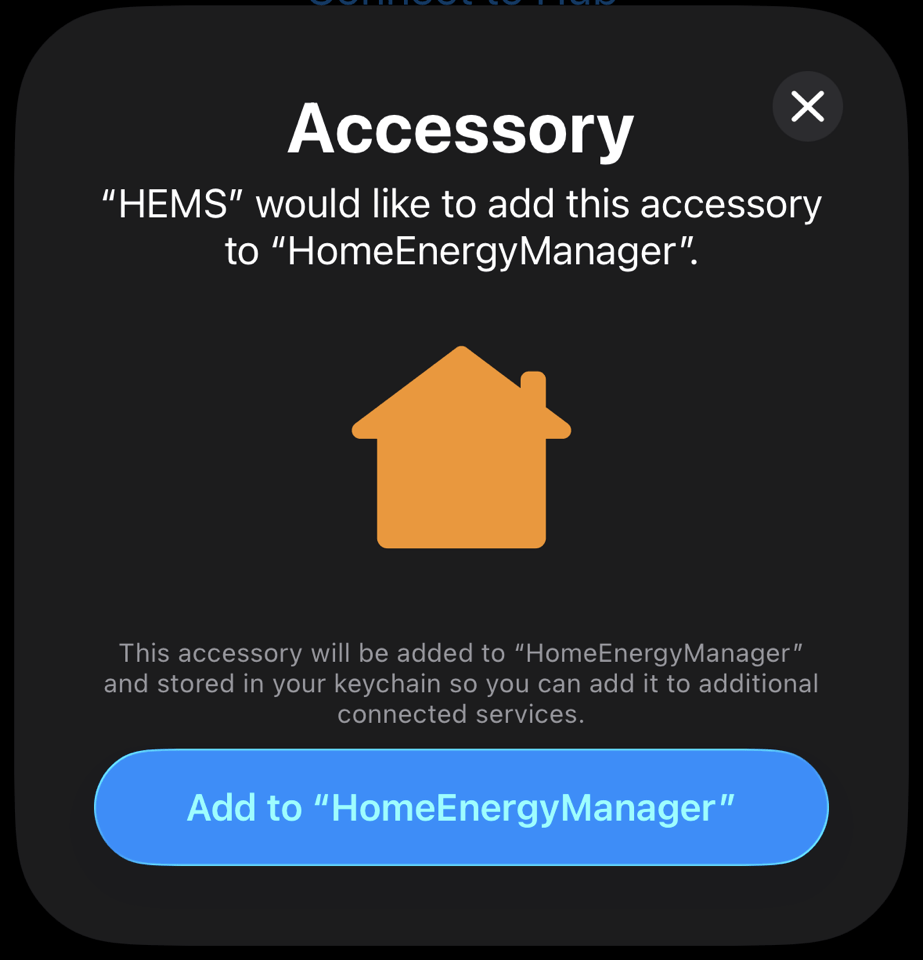
Building an ESP32 Matter Commissioner in SwiftUI
As part of my Home Energy Manager project, I realised that I would need a nice to connect my Matter devices to it. In Matter, adding a device is called commissioning and it’s typically done by scanning a QR code. The commissioner, in this case my Home Energy Manager, would… Read ⇢