As part of my ongoing experiments with C# and mDNS (to build my own Homekit accessory), I got to the point where I wanted to run my code on a Raspberry Pi.
Microsoft have released a version of Windows 10 that will run on a Raspberry Pi in a headless mode. The main advantage of this is that it contains the .Net Core runtime!
To get started, download Microsoft IoT manage and fire it up. Under the menu, you’ll see an option to Set up a new device. This lets you flash an SD card with the code necessary.
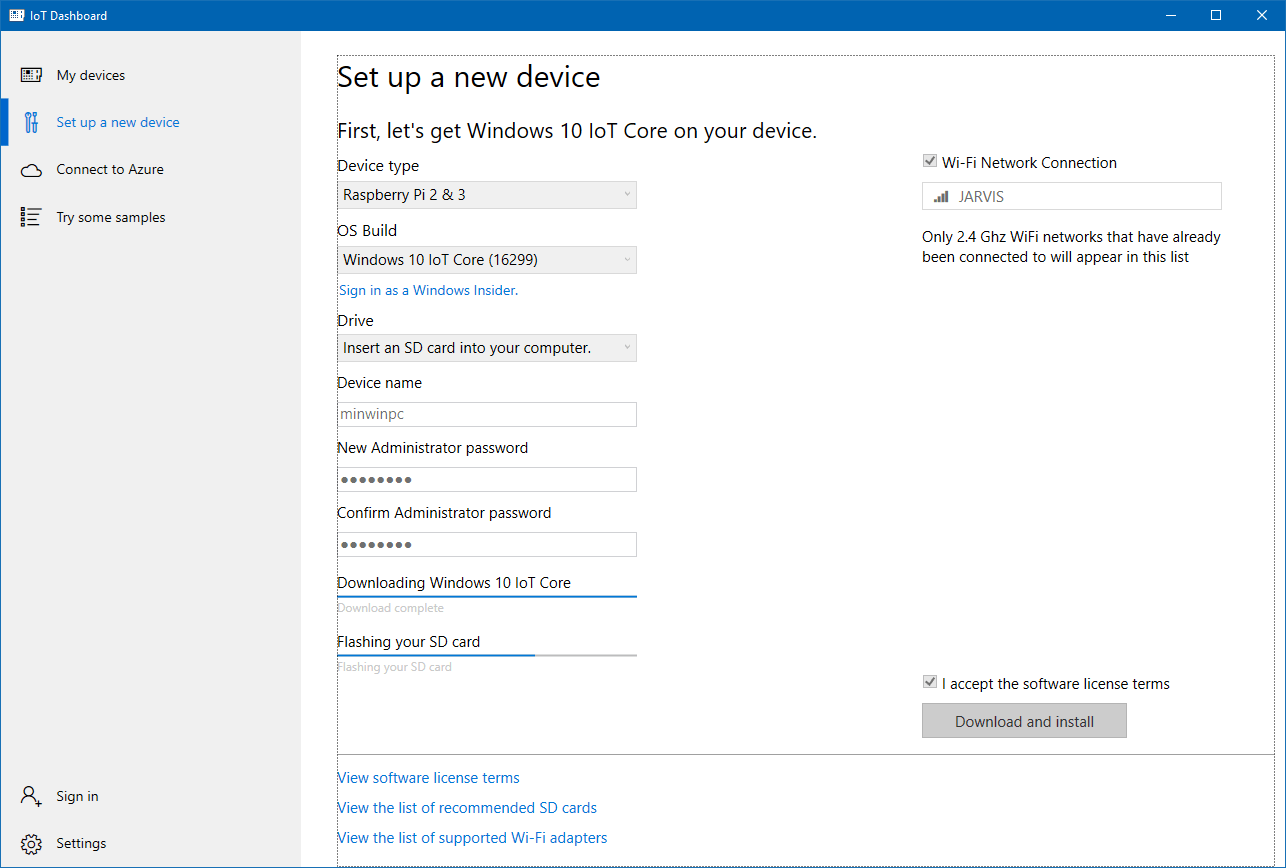
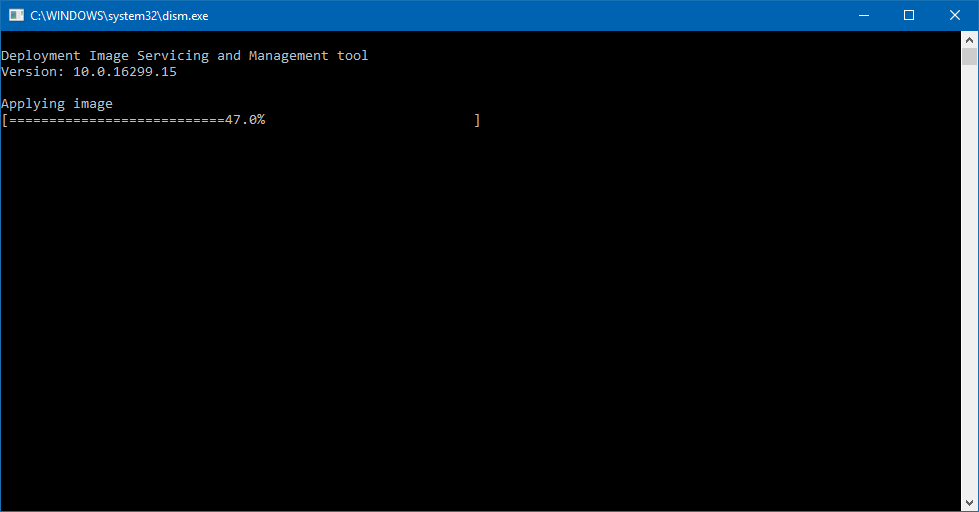
Once the formatting and flashing is complete, you’ll have an SD card containing Windows IoT. Pop this into your Raspberry PI, and after a minute or five it will appear under the My devices view.
To get me started, I launched Remote Powershell. When it started, I got prompted for credentials.
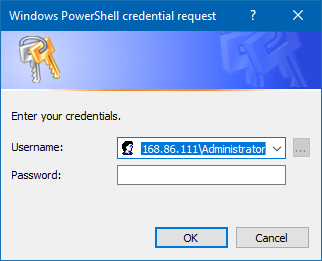
This includes the IP Address and the account Administrator (the password for which, you set earlier). I found that this just didn’t work. I replaced the IP address with the machine name (minwinpc) and it worked!
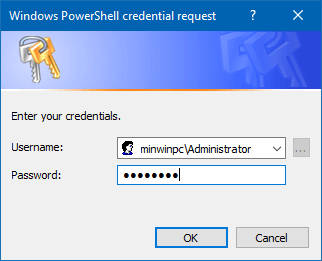
I just realised this is a real Windows XP dialog!
After Powershell started, I opened a file share and created a directory called Climenole. To get my little Console app ready, I needed to compile it for ARM. Thankfully, this was straightforward. From the command prompted, I ran this command
dotnet publish -r win-arm
This compiles the app for the win-arm architecture. From the project directory, you can access
\bin\Debug\netcoreapp2.0\win-arm
to see all the published files. I took all these files and copied them across to the Climenol directory I created on the Raspberry Pi.
Once the copy completed, I could run my app using Powershell.
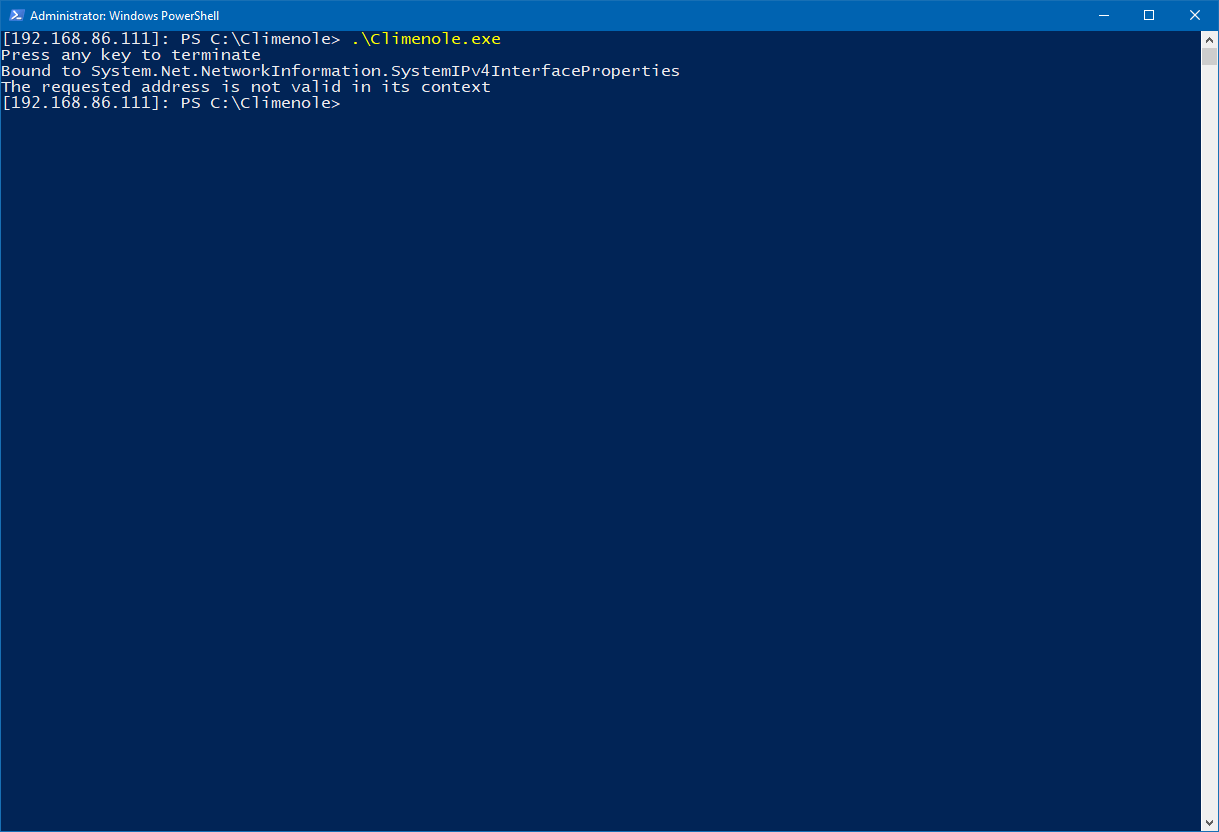
It didn’t work the first time as the hardcoded IP address wasn’t right, but after a tweak,
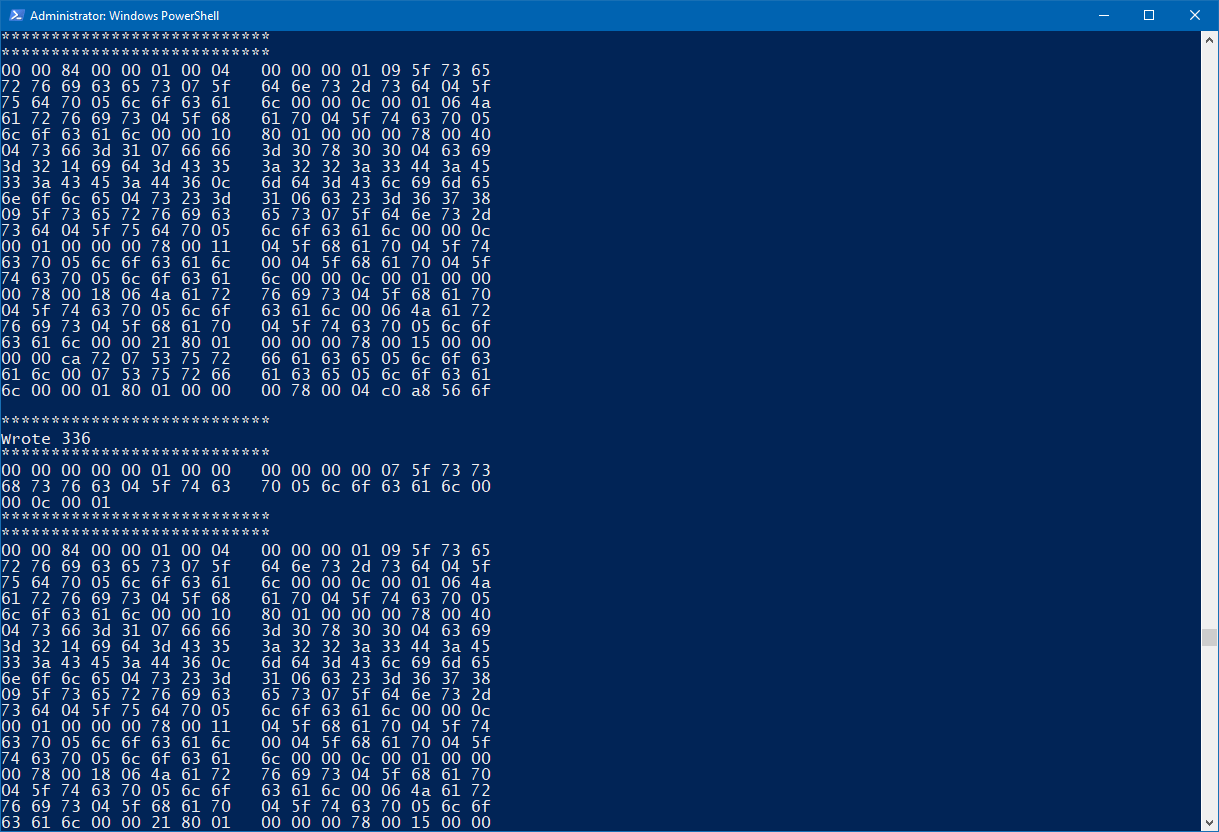
It started answering responses and even appeared in Homekit.
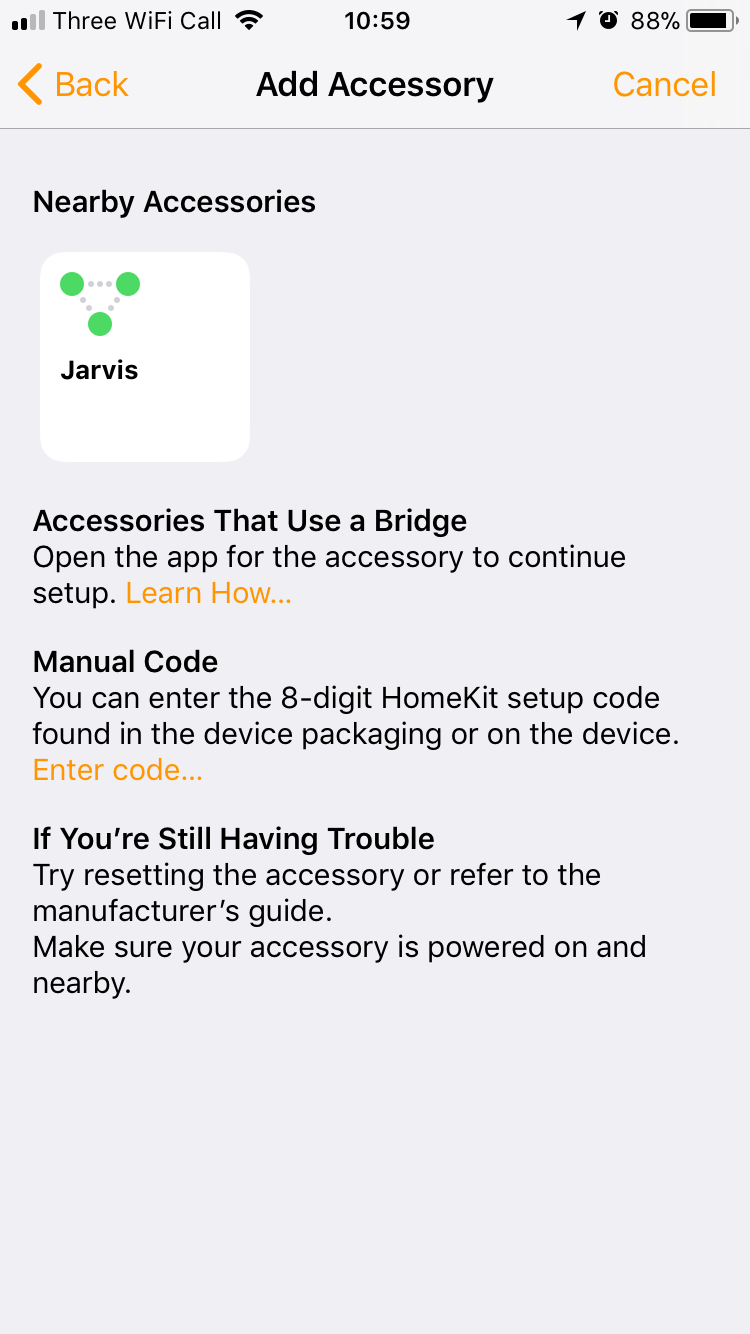
A good first step and proved that my mDNS was portable.
Next challenge is getting all the crypto code working, so that I can actually add and control the accessory from Homekit. It was a pain to get it working on the .Net Framework, so I suspect it will be no picnic on Core!
Update (07 Jan, 2019) I’ve had a couple of people ask to see the mDNS code. It’s up on Github – https://github.com/tomasmcguinness/dotnet-mdns

Leave a comment