Back in February of this 2020 (This post has taken me a year to write!), I preordered an alarm panel from Konnected.io.
The idea with the Konnected alarm panel is that you can take your existing wired alarm and connect it to your smart home setup. It’s a very clever bit of kit, which I came across accidentally.
It took a little longer to arrive as I there were some delays in the manufacturing process, but a little box was delivered containing a power supply, some cables and two boards; the alarm panel and the interface board.

Current Alarm
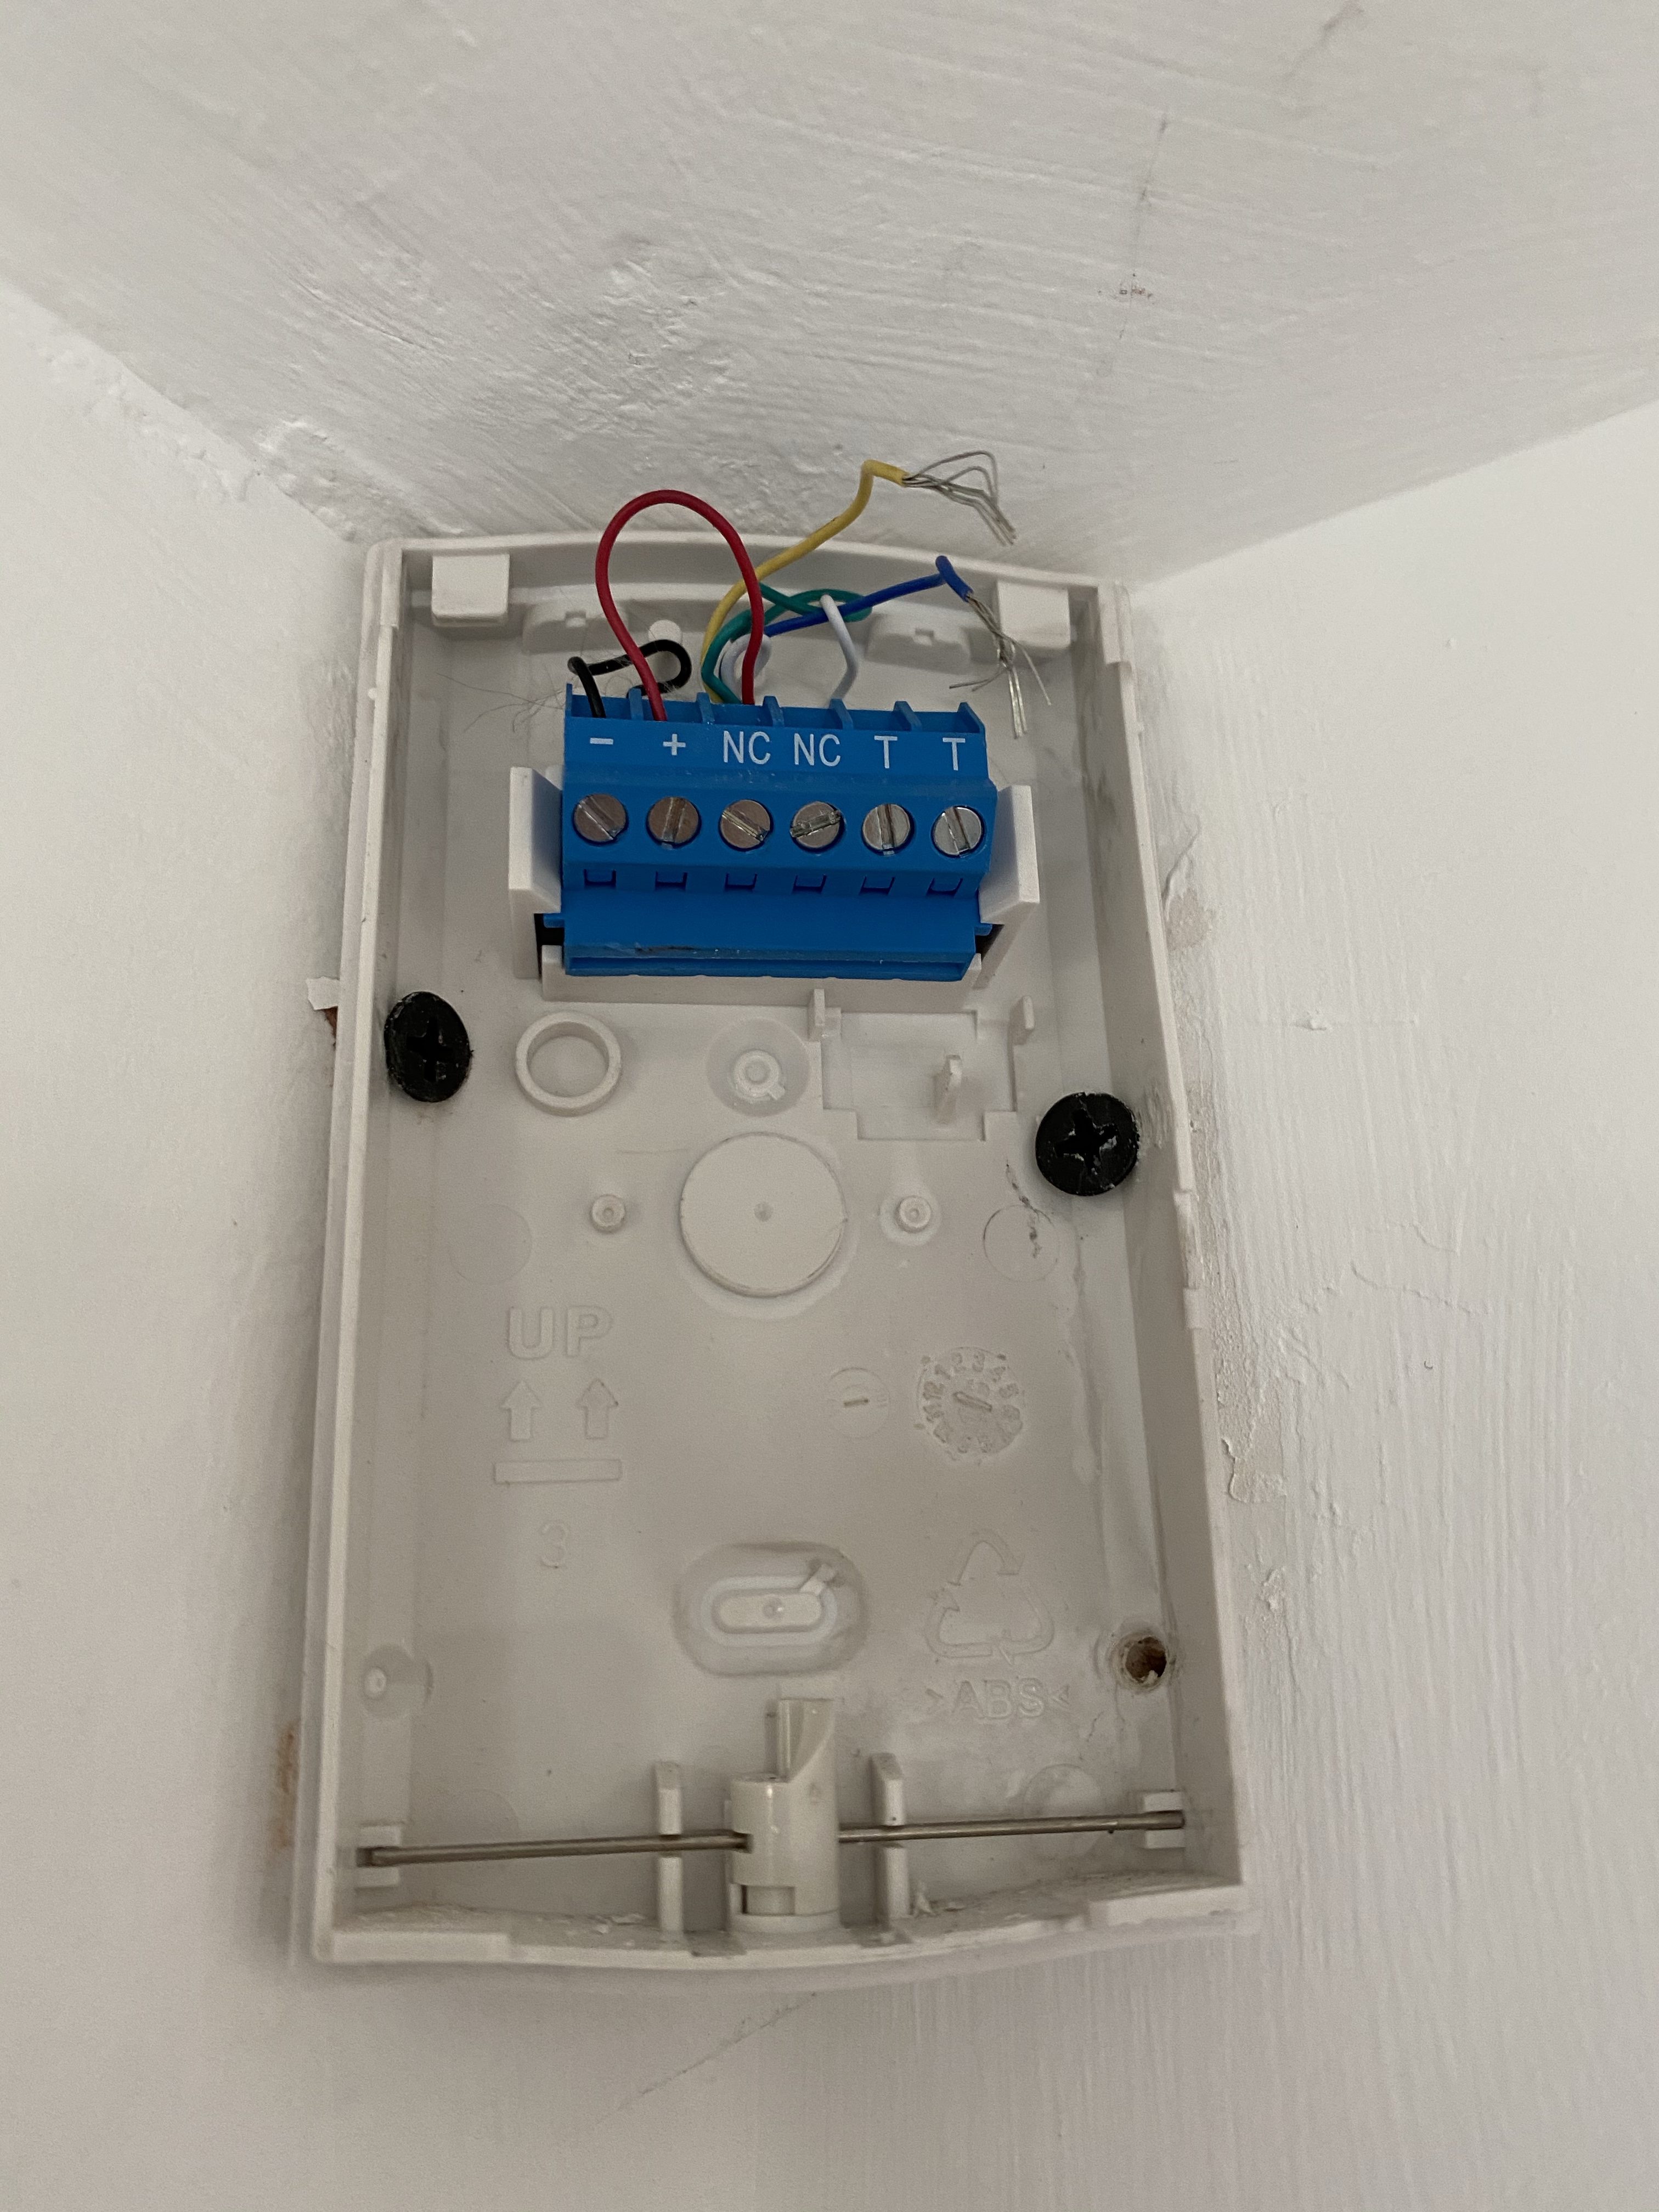
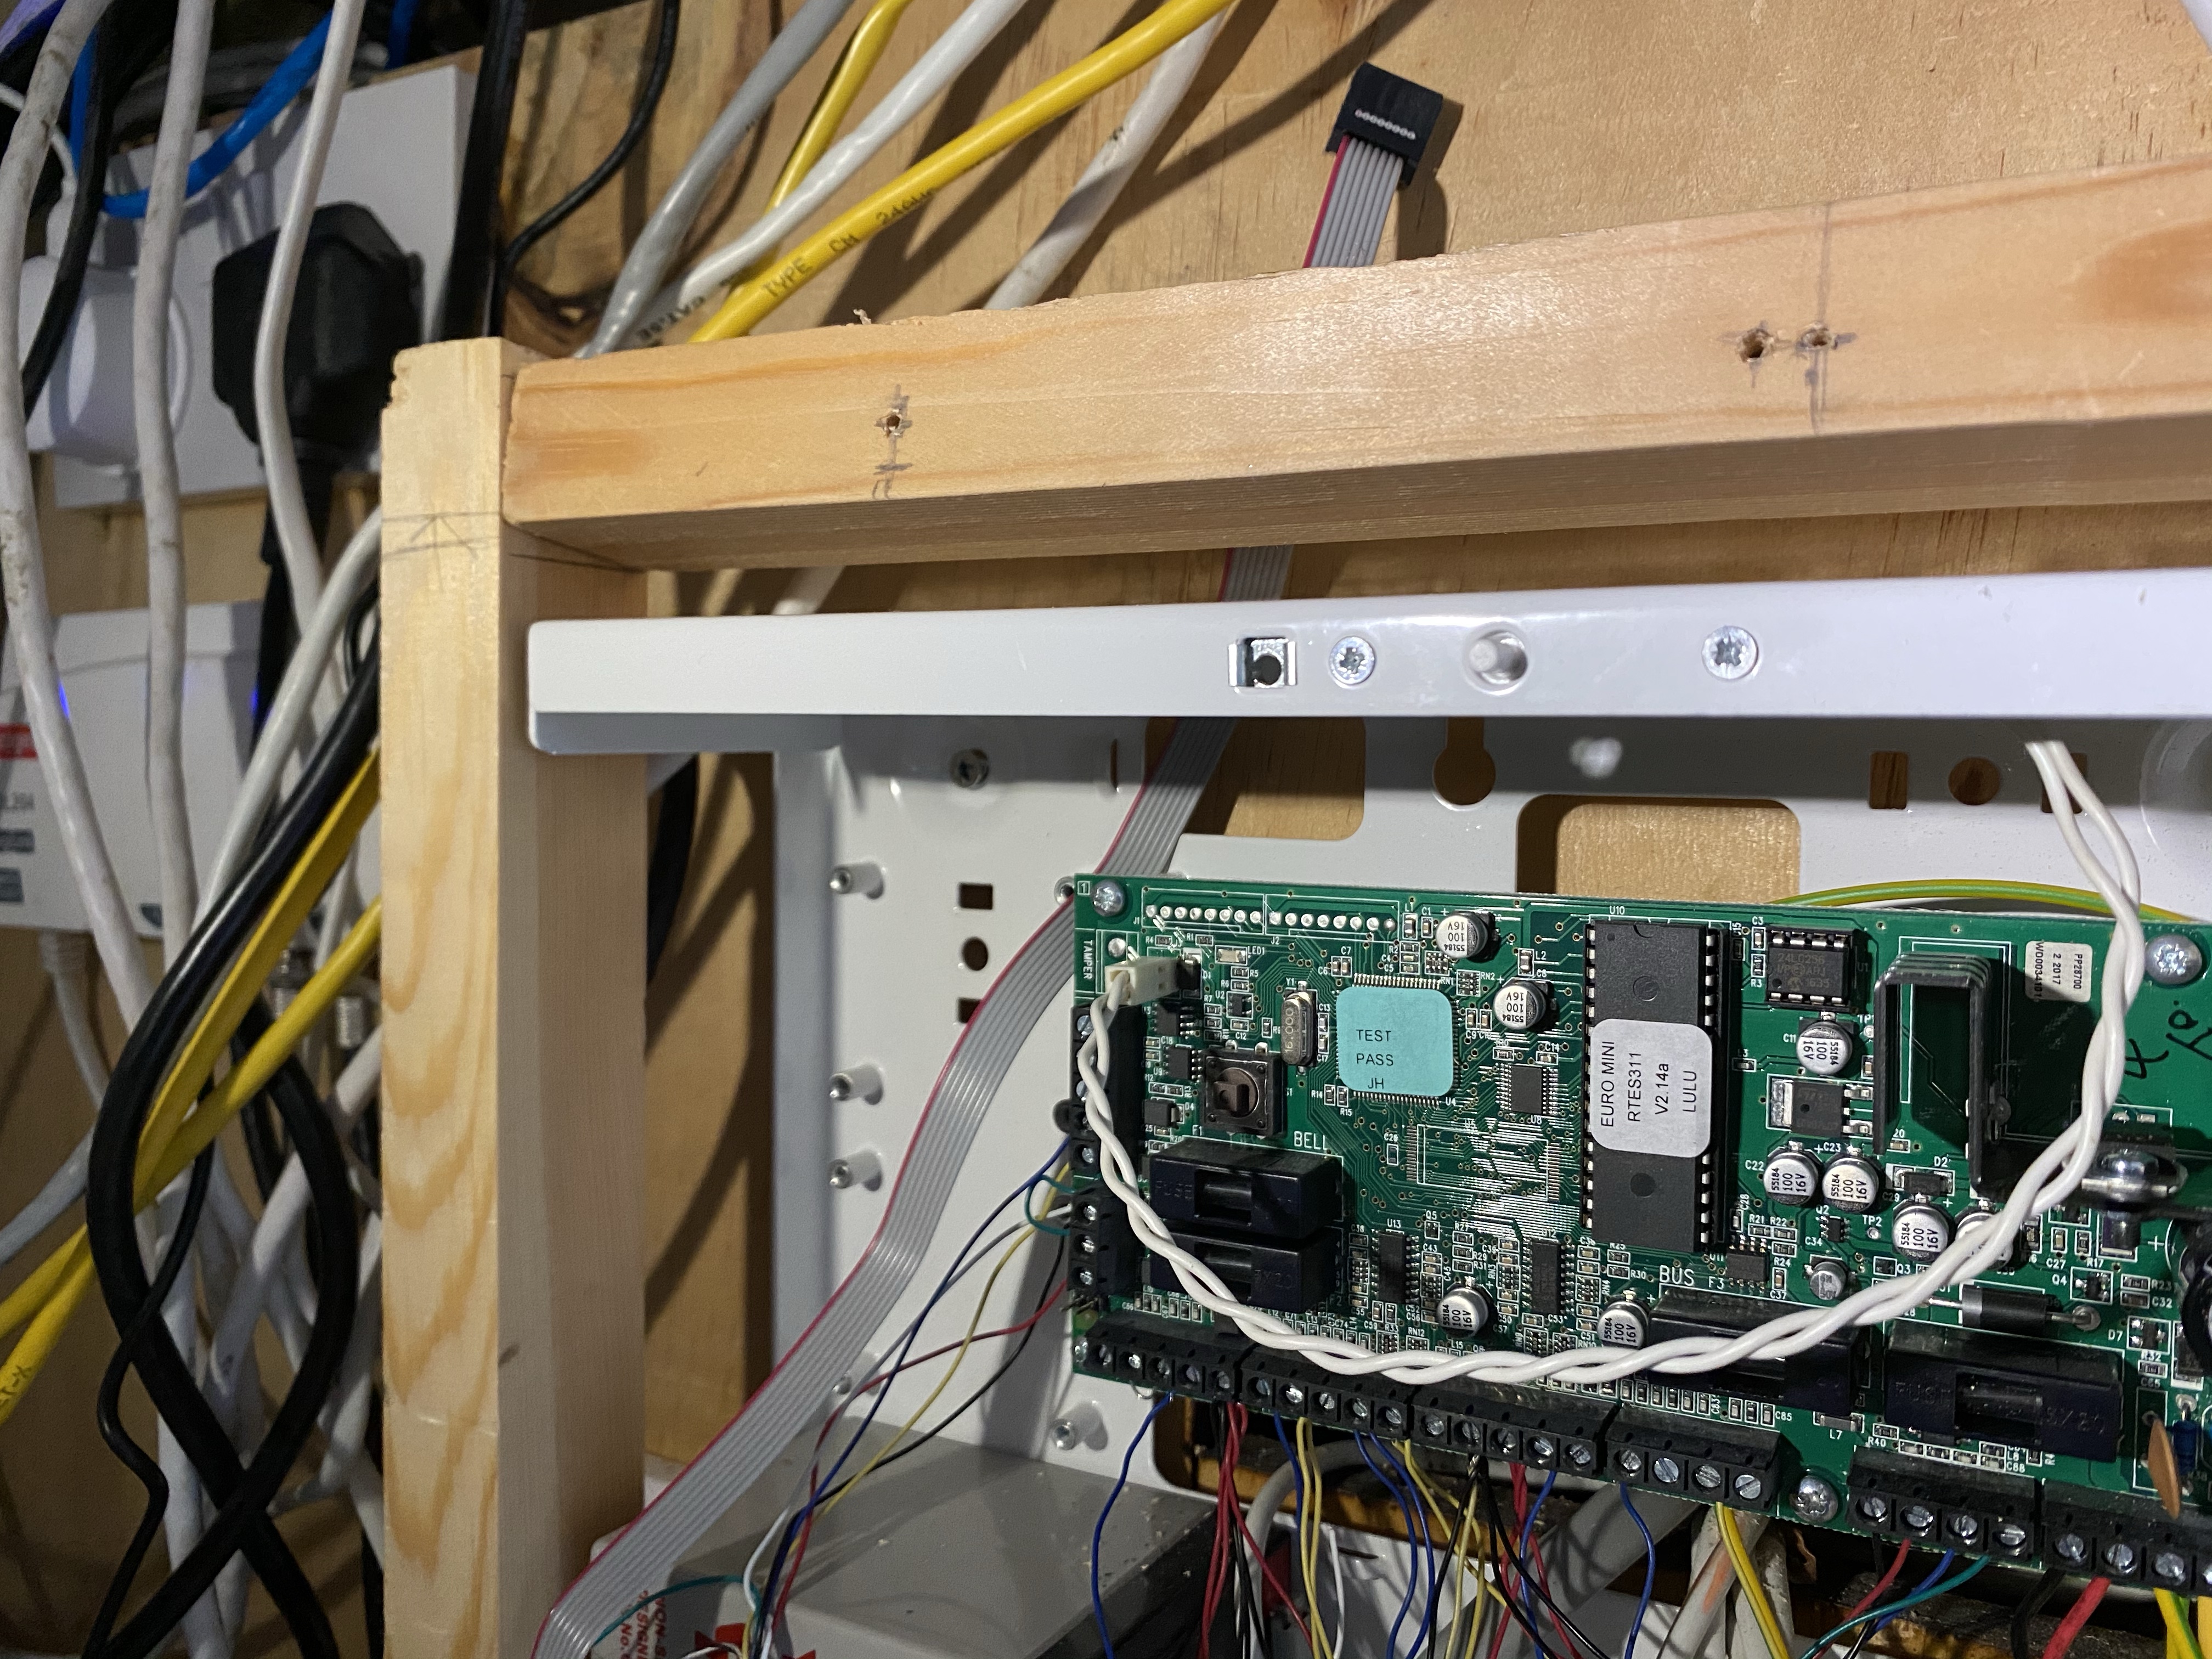
To see what I was dealing with, I opened my alarm panel after entering the engineer’s code.

I was hoping to see something labelled, which was let me know what wires connected to what sensors. I knew how many door and motion sensors I had and that lined up to the number of zones being used. Unfortunately, I had no idea what was connected to what.
Using my multimeter I had my wife go around the house, triggering the motion sensors. Oddly, some of them didn’t seem to have any effect. They were getting power as the lights turned on, but no voltage change was registered at the panel. To help me understand what was going on, I opened one of them up.
The fucking sensor circuit wasn’t even connected. HOLY FUCK. I mean HOLY HOLY FUCK. I connected that one and the panel showed the voltage change as expected.
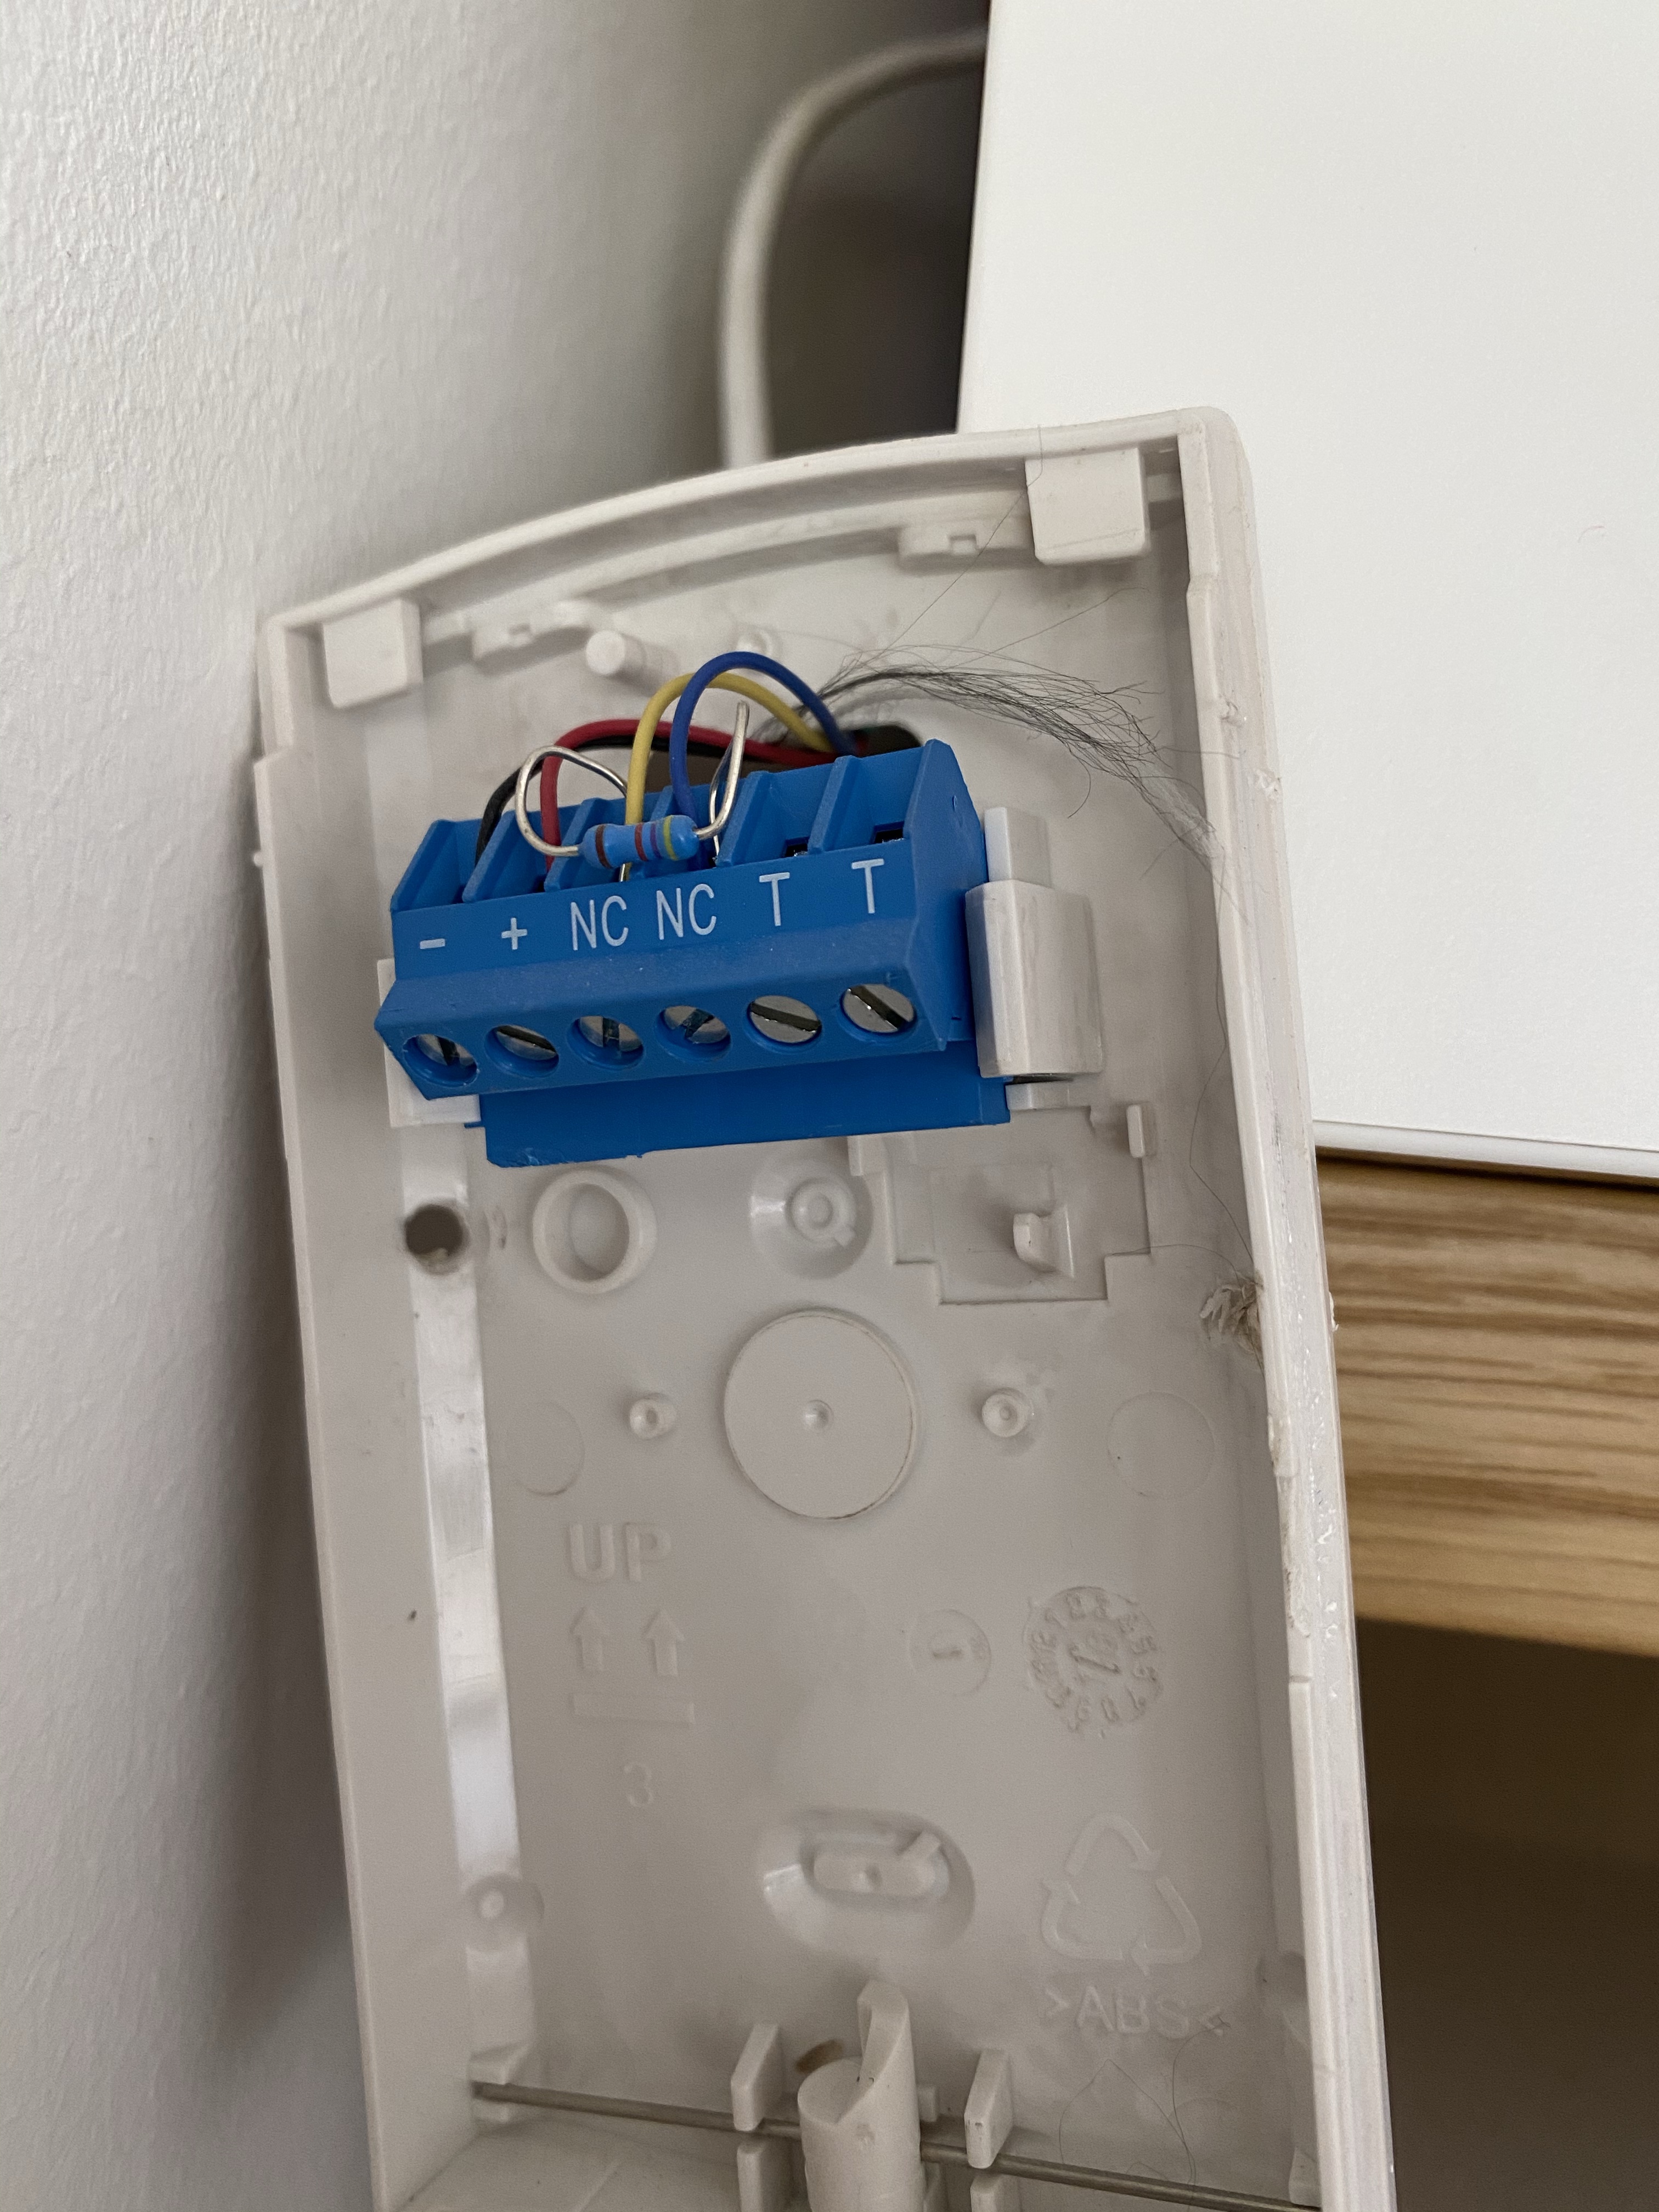
Opened another sensor to find the circuit shorted with a resistor. Normally this is fine when using resistance based tamper detection, but my panel wasn’t configured for this.
I double checked the Zones configured and found that two of them weren’t even used. A few clicks here and there and that was rectified. A walkthrough confirmed all the zones were wired up and responding.
Not only were some of them not wired up, others weren’t even included in the panel.
I had to go outside at this stage because my language wasn’t suitable for the ears of children.
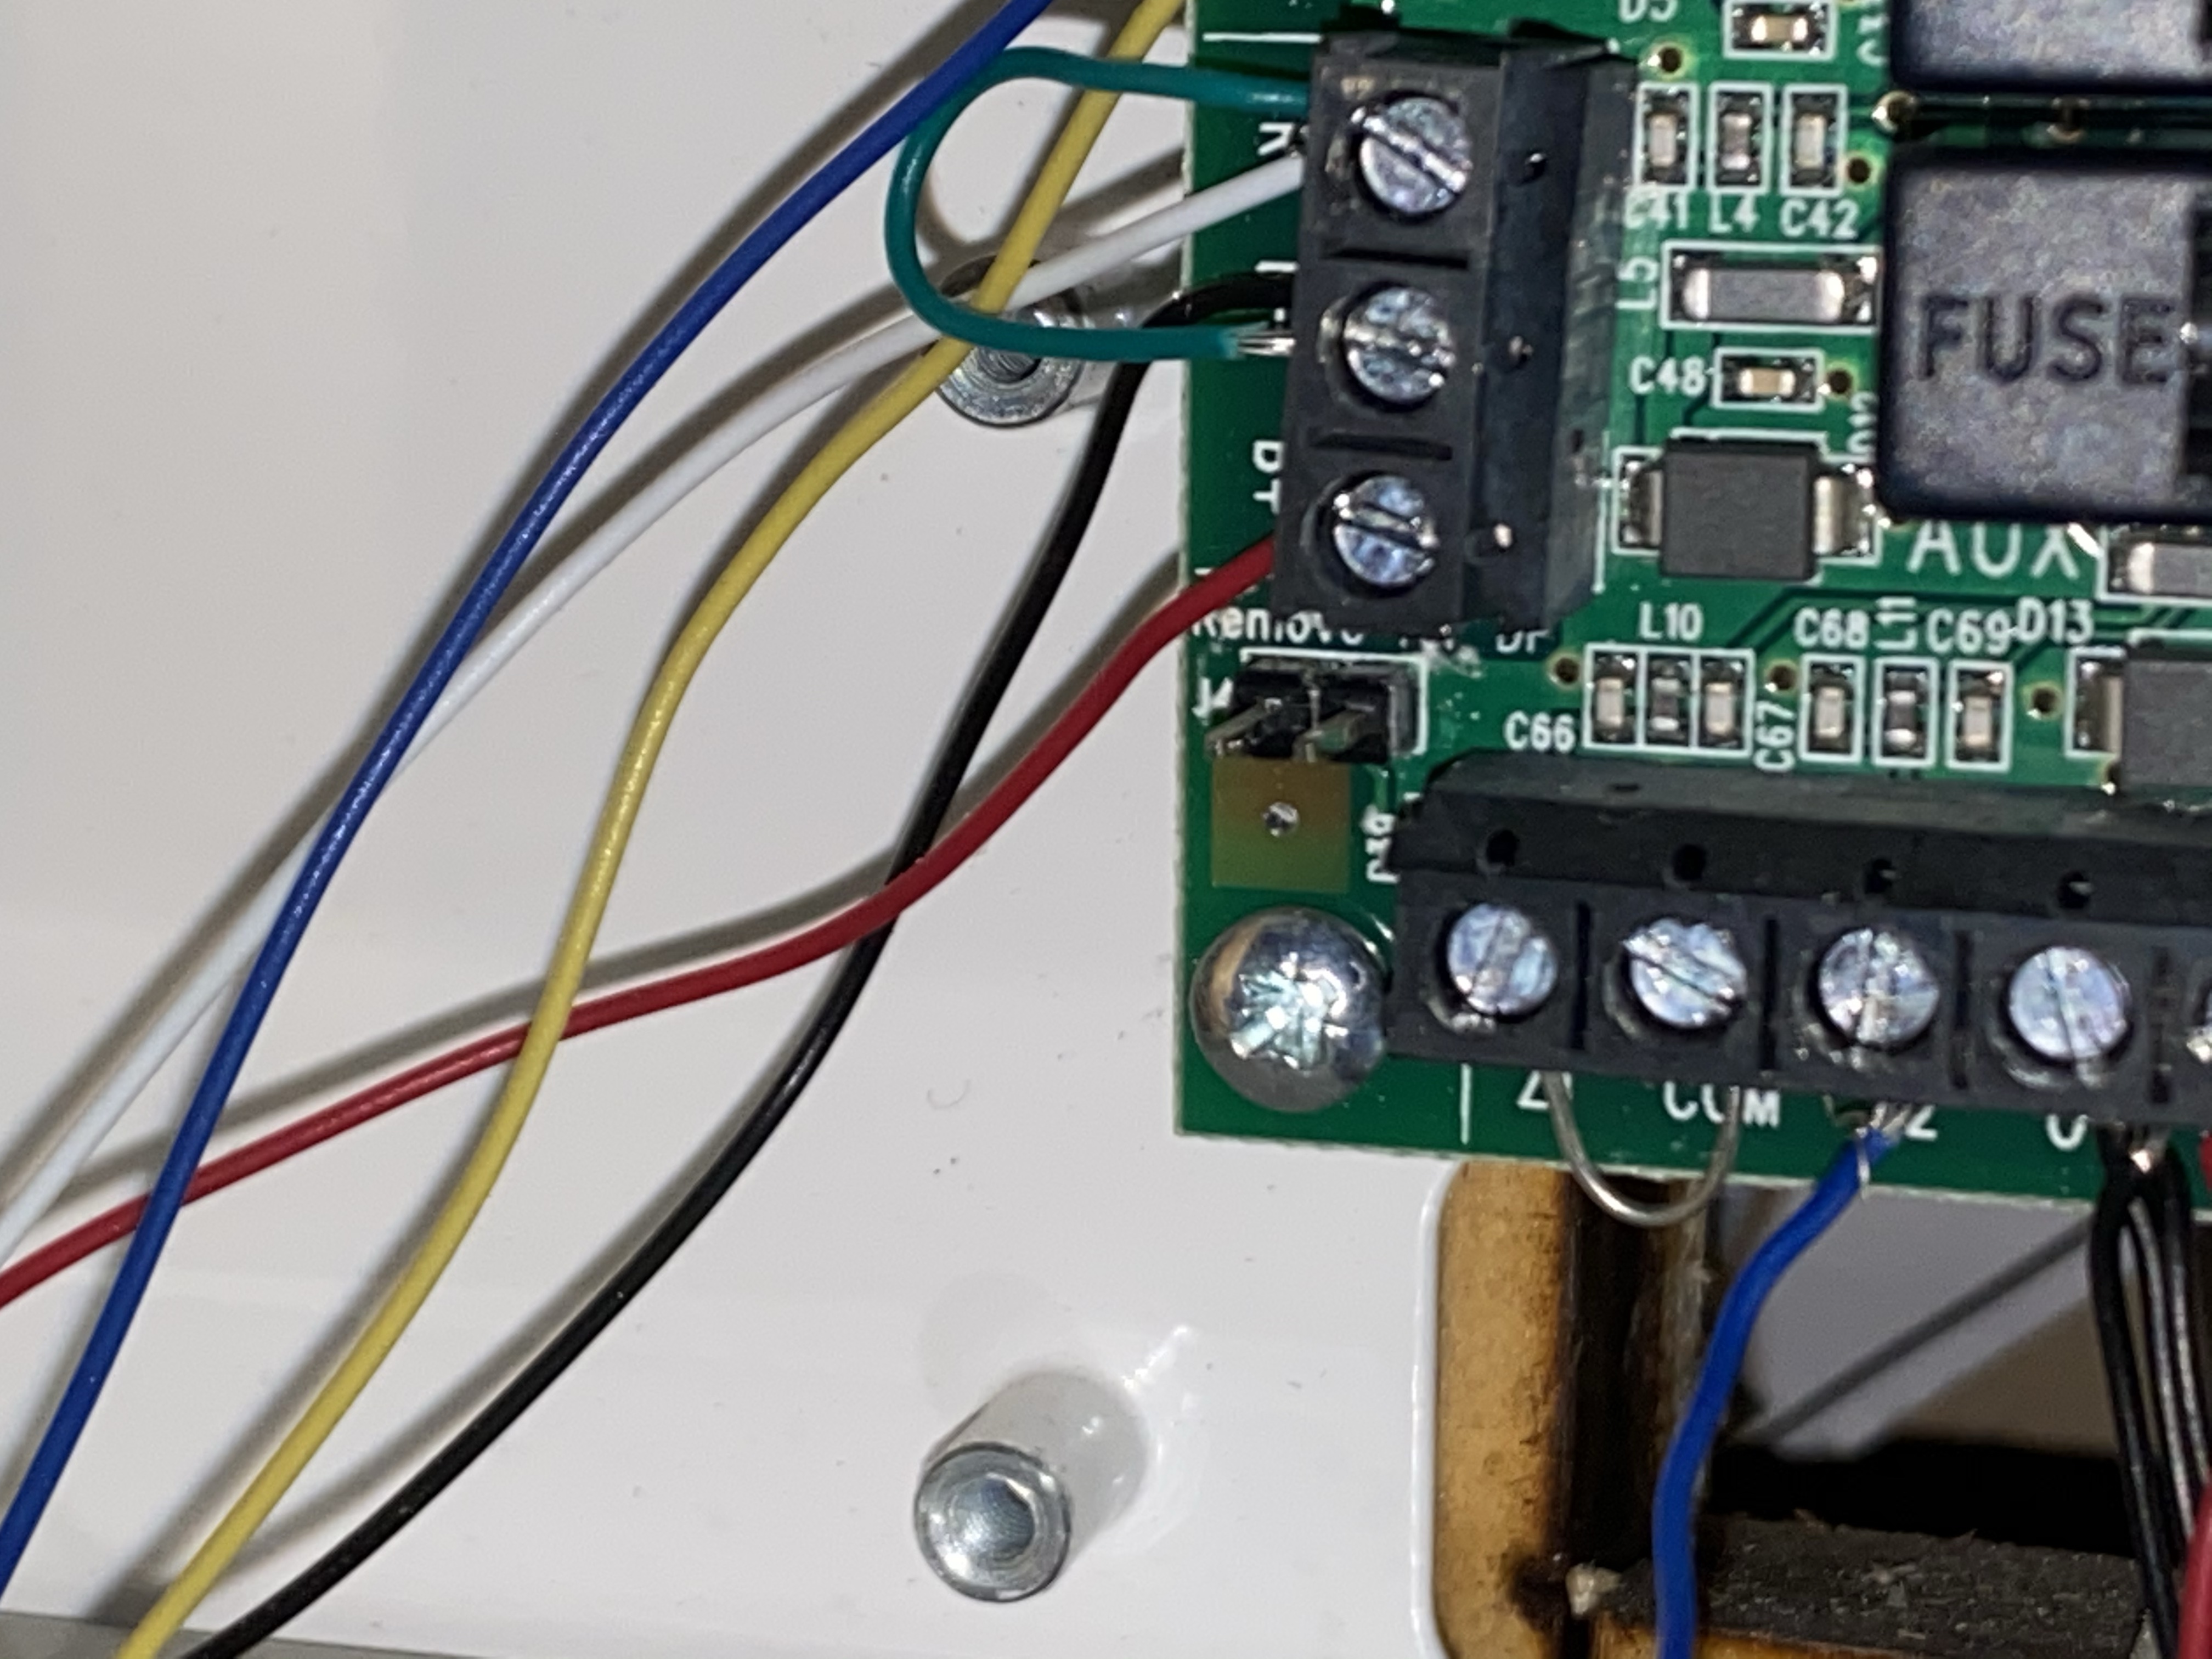
After putting everything right, I proceeded to actually connecting the Konnected Alarm Panel.
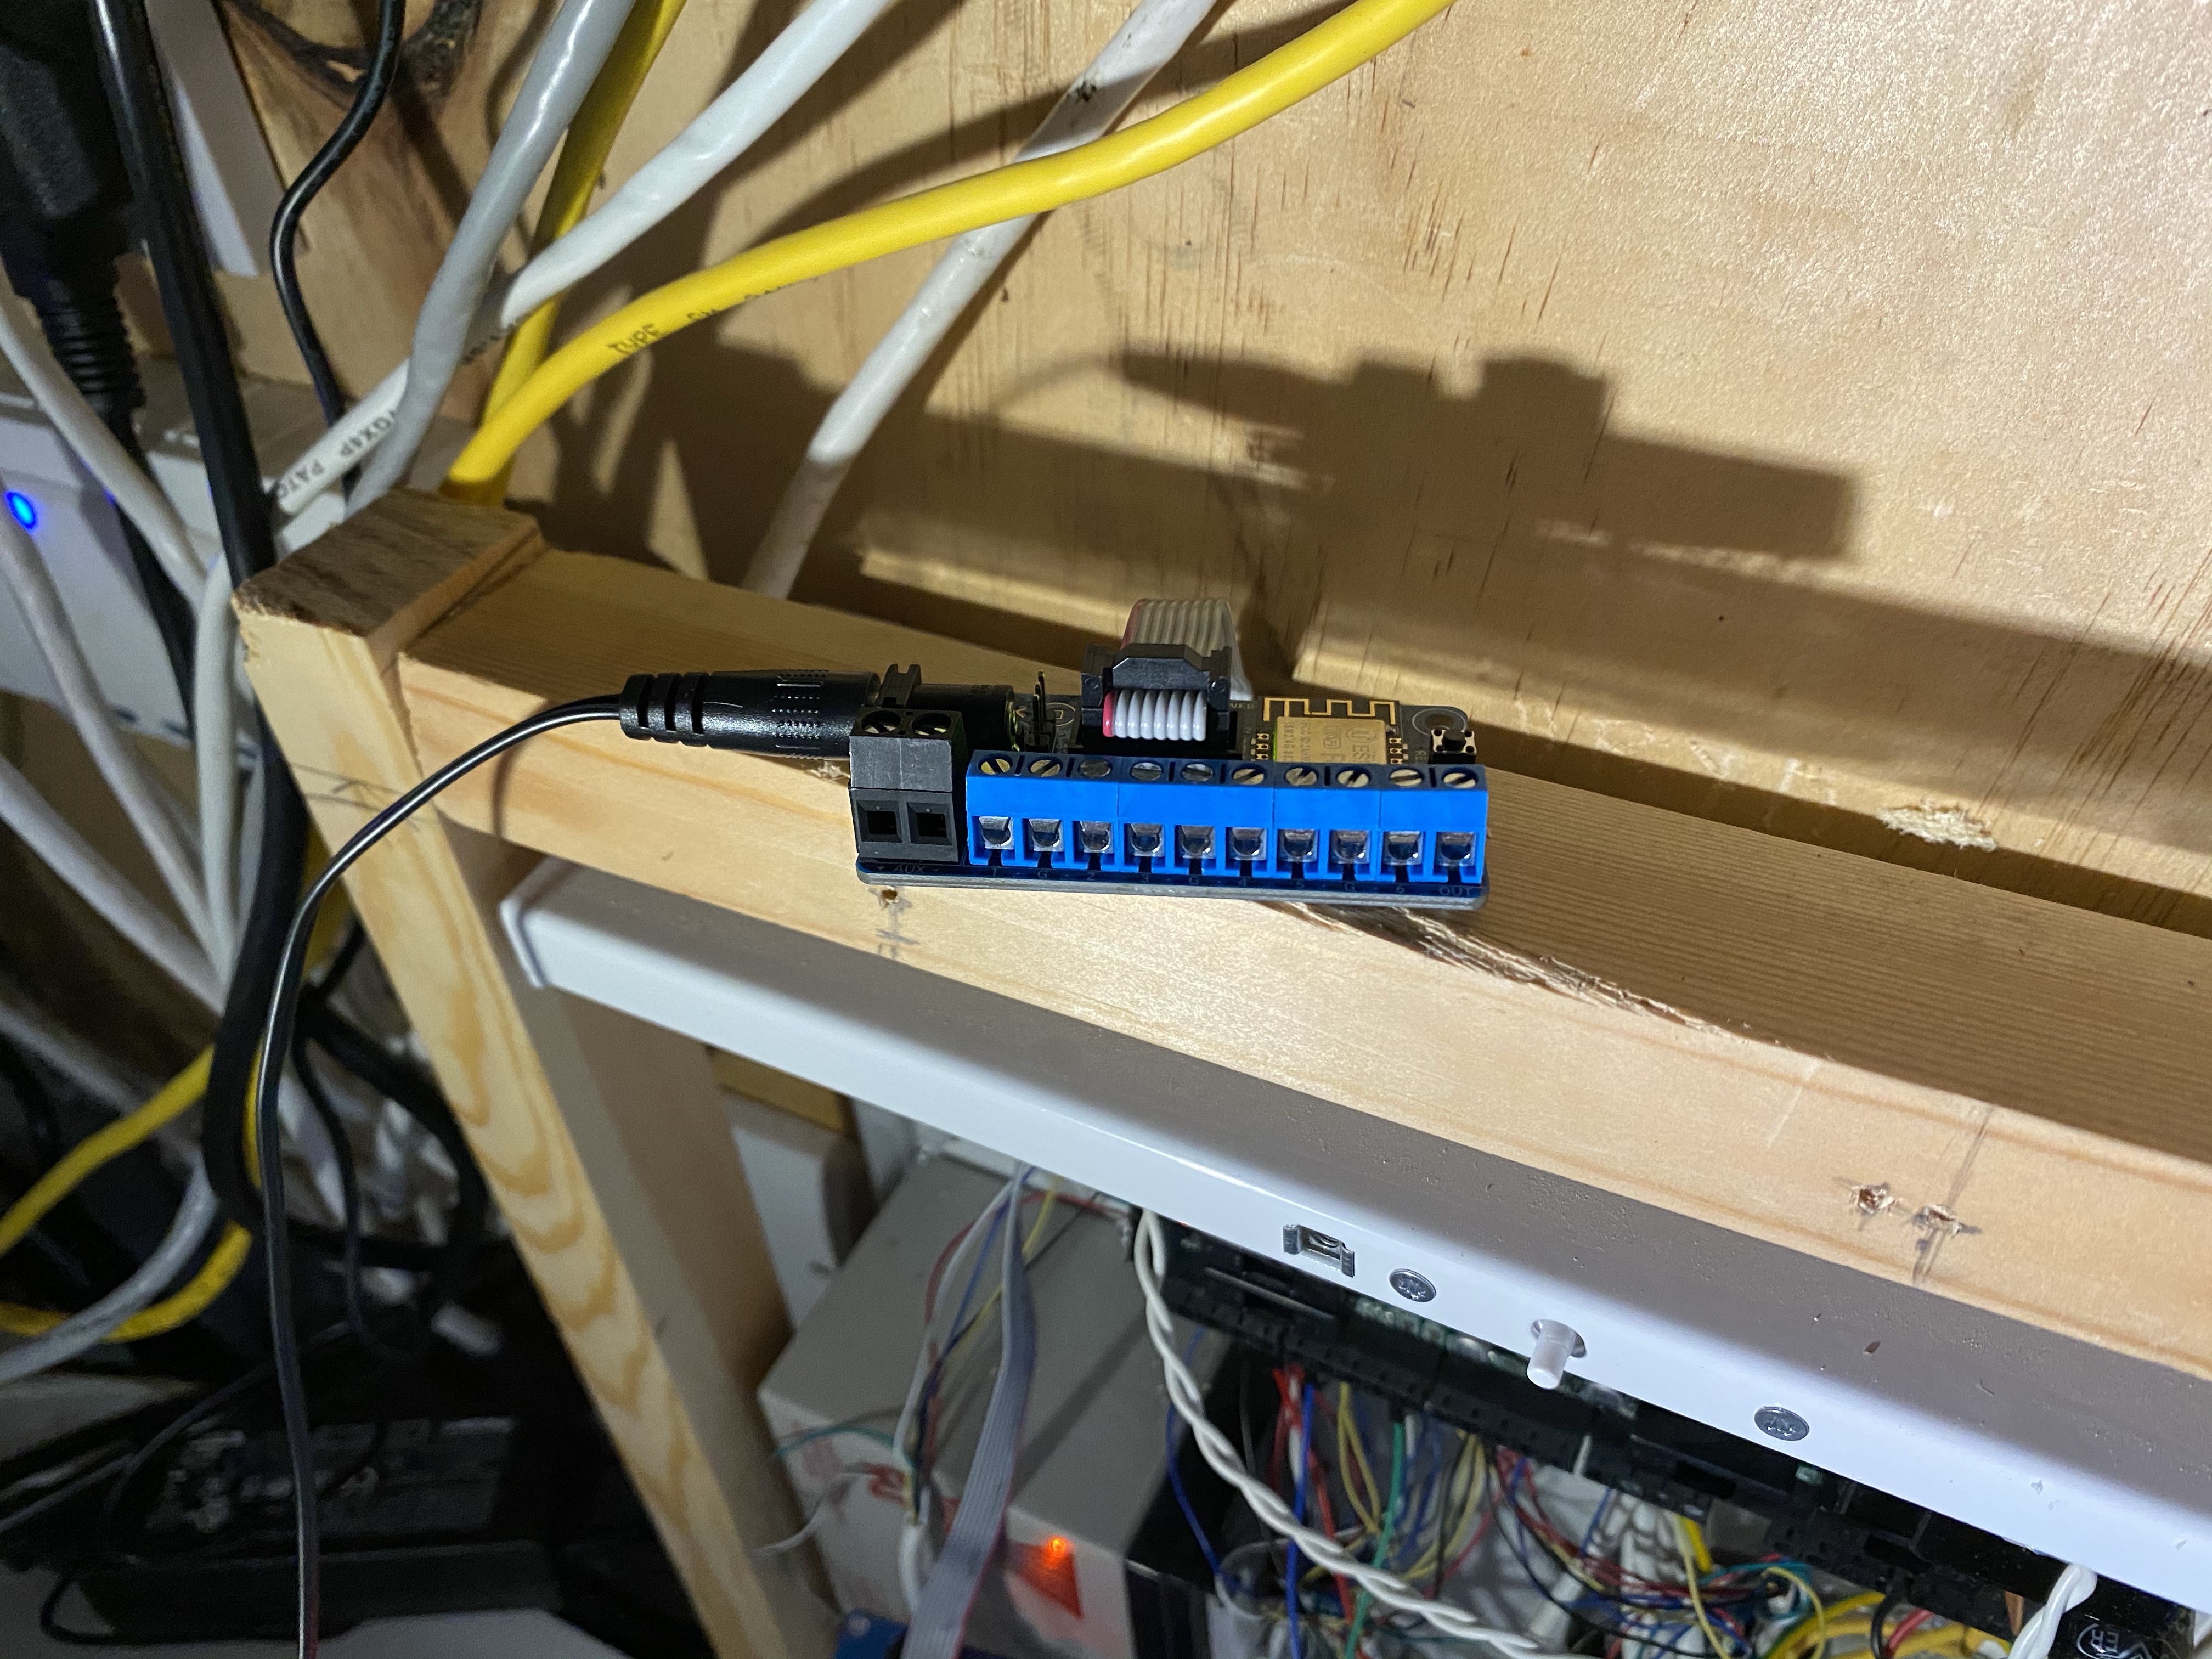
Installing the Konnected Interface Panel
After calming down and having labeled the various zones, I started installing the Konnected Interface Panel.


Thankfully, this step was pretty straight forward and didn’t take very long. It was a case of adjusting the little resistors until the red light went off. When the circuit was triggered, the light would turn on.
Setting up Home Assistant
I use Home Assistant for most of my Smart Home stuff and Konnected was fully supported with its own Integration.

Once I had connected the Panel to the WiFi using the iPhone App, the Home Assistant setup pretty much took care of itself.


Summary
The Konnected hardware is really solid and was really easy to setup. As I understand it, they are a very small company, but what they’ve done here is really clever. Setup was faultless and it’s never gone wrong.
One of the most interesting uses of this product is that it can enable remote arming/disarming of your alarm (if the panel supports it). I never got around to doing this, but the idea is simple. You install a small relay, connected to the Konnected panel. By turning on and off the relay, you can use the Key Switch feature of a standard alarm panel to arm/disarm it. Home Assistant supports this via it’s Alarm extension, but I think it would only really work if this could be used in tandem with the existing keyboard panel. It’s possible to have your panel emit high voltage via one of the Zones, but as all the zones on my panel are full, I couldn’t try this out.
If you have a wired alarm and you’re looking to make it smart, I’d highly recommend this product.

Leave a comment