As I explained in my earlier post, heating our bathroom, we installed a dual fuel tower radiator. A dual fuel radiator is one that can be heating by both our central heating and an electrical element inside the radiator. This allows us to dry our towels without having to turn on the central heating, something that is very useful in the summer months.
I opted for a dumb element, one that has no controls built into it. There are plenty of elements on the market that offer controls, Bluetooth integration and that sort of thing, but they can be very expensive and require dedicated apps etc. I wanted something I could add to my Home Assistant installation, something I had full control over.
My plan was to use a Shelly 1PM to allow me to turn the element on and off. Shelly offer a wide range of smart relays. I’ve used several of them to control lighting and I’ve found them reliable and easy to setup. The 1PM model also offer power monitoring, so I can measure the power being consumed. This isn’t really necessary, but I thought it might be useful to measure this and record the long term power consumption in order to understand how much the radiator costs to run.
Installation
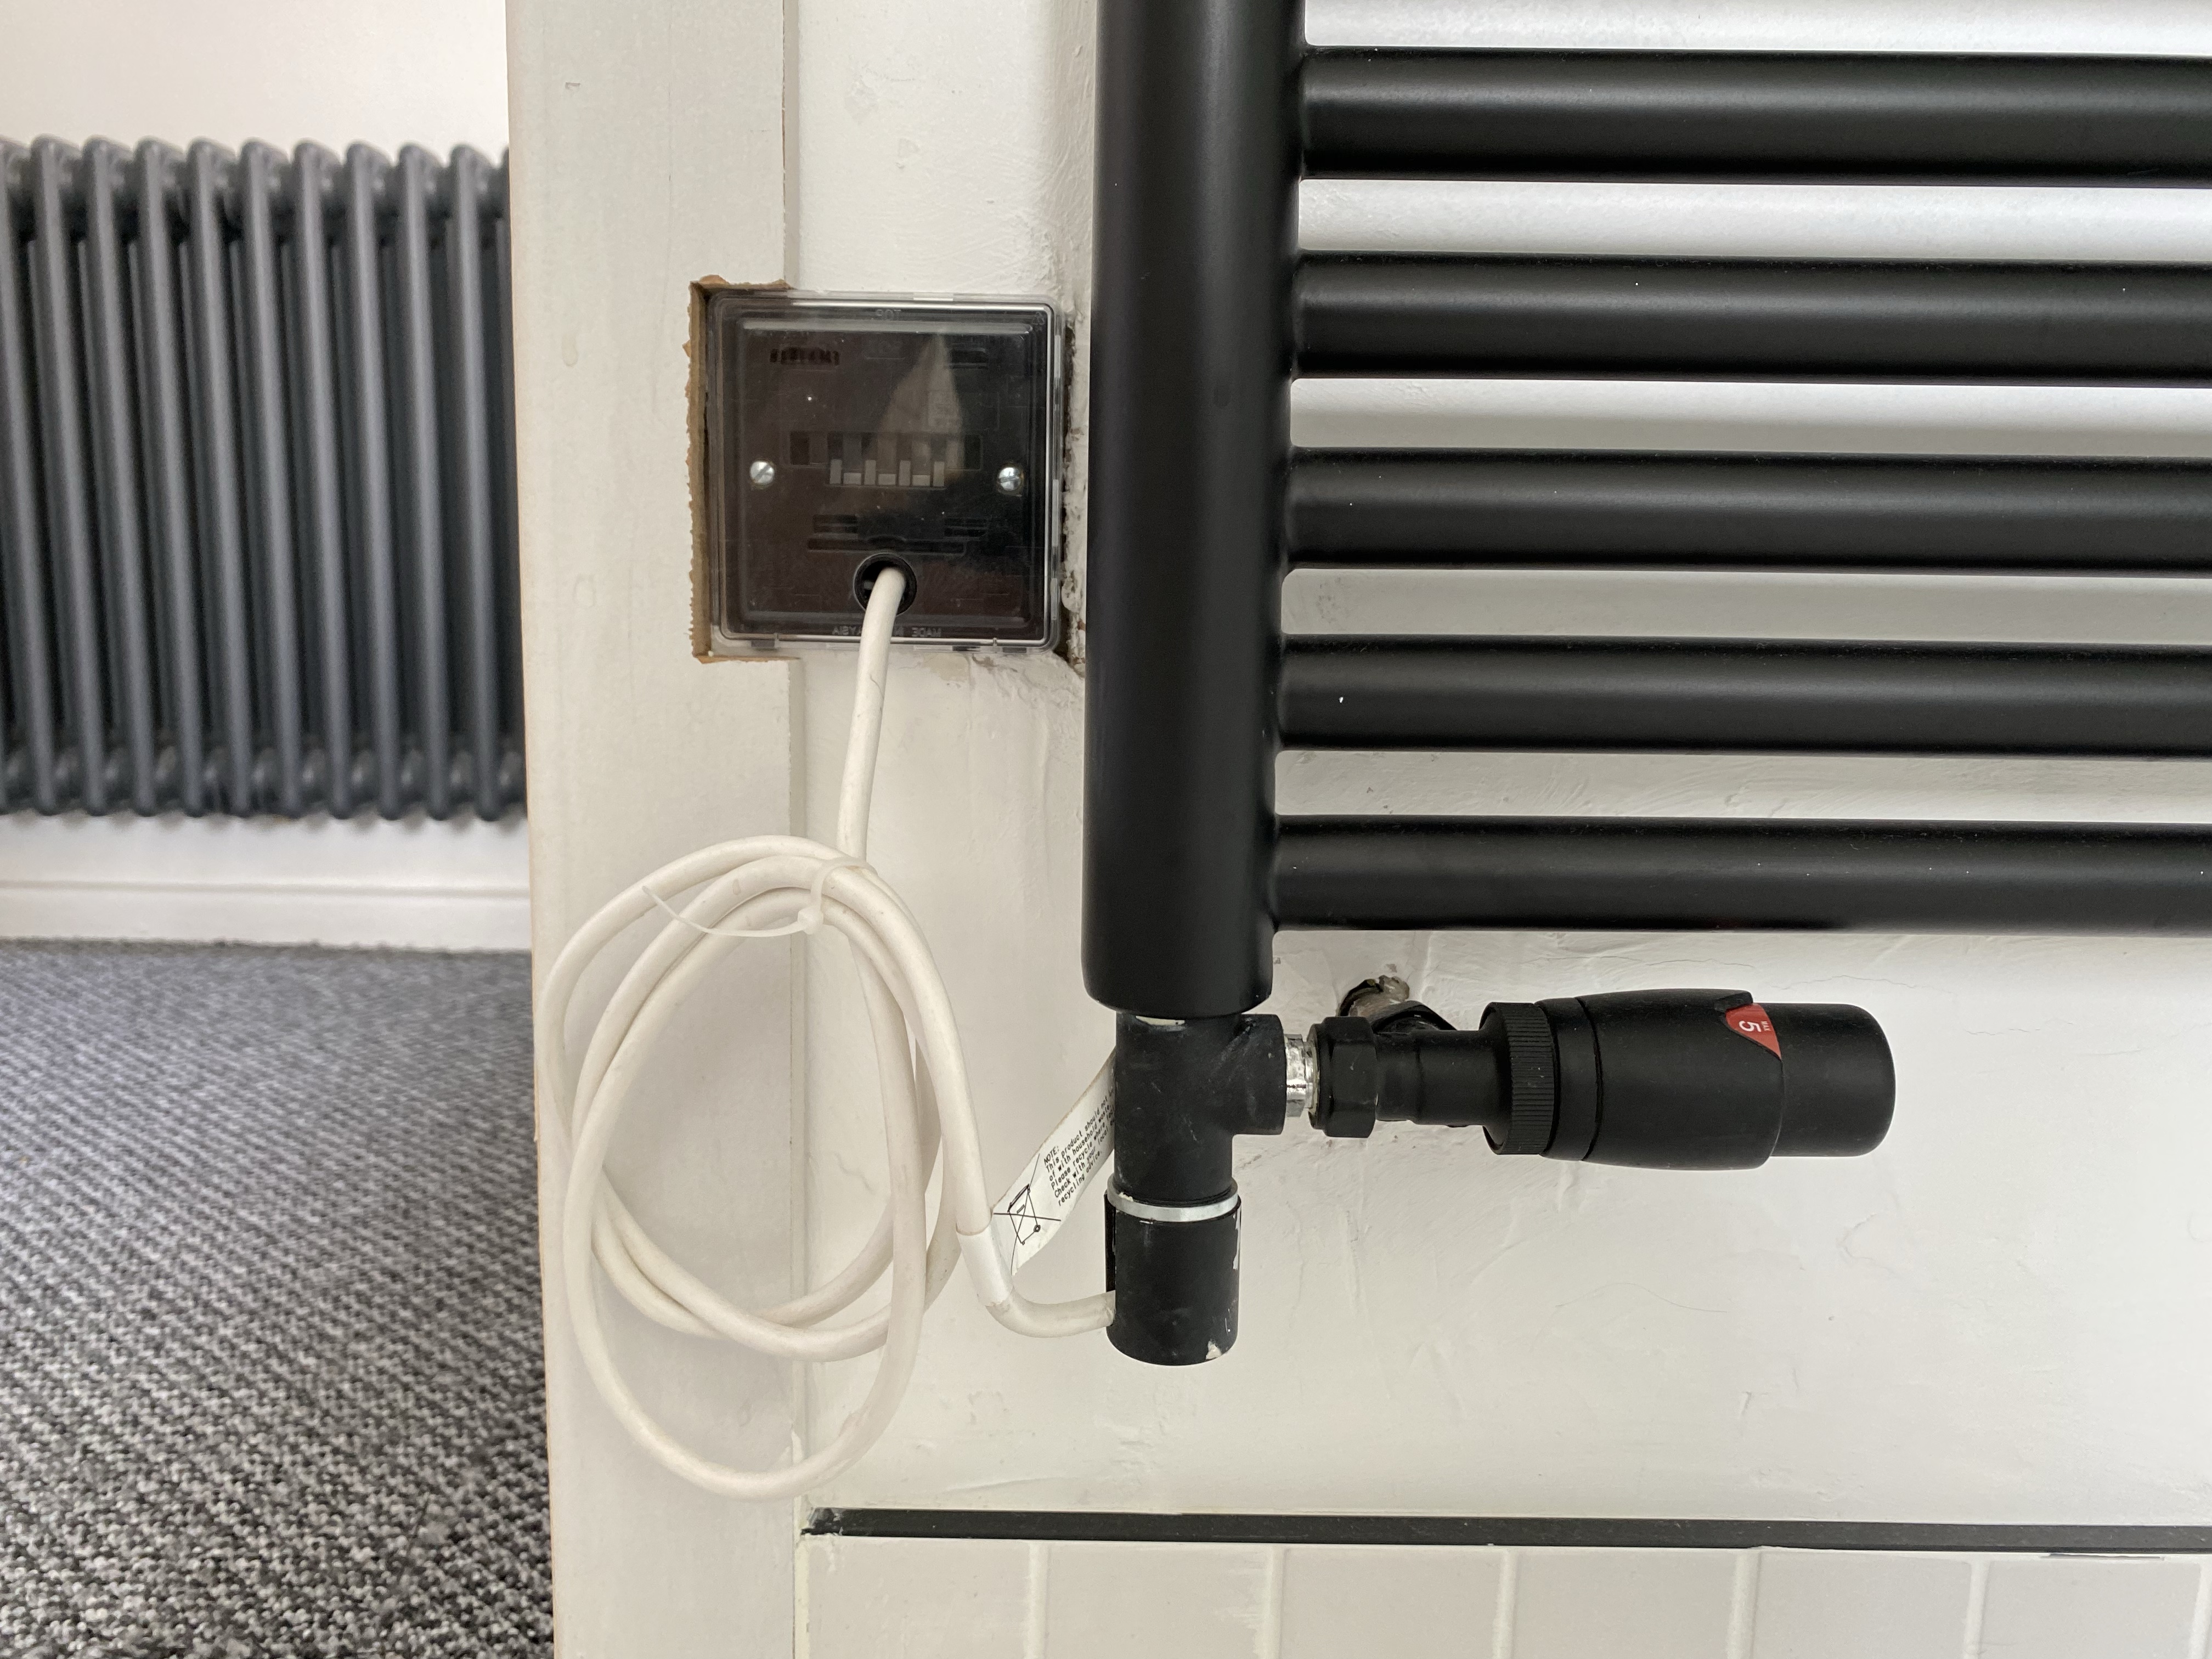
When the electrician was installing the element (has to be wired into the wall by a qualified electrician as it’s in the bathroom) I asked that they leave access to the wires beside the fuseboard.

What they left was exactly what I wanted.
Next step was to add a double pole, fused isolation switch. I wanted to be able to knock off the radiator and Shelly relay in the winter. I could have used the RCD directly, but I liked having a dedicated switch.
I added a second backing box to house the isolation switch. I knew a single box wouldn’t hold the switch and the relay. I put a 5A fuse into the switch.

With the double pole switch installed, I then wired in the Shelly. I didn’t need to use the switched life or L1, so installation was very simple, with the load (the element) going into 0 connection.

Once I powered up the Shelly, I connected it to my WiFi network. To my delight, Home Assistant detected it and allowed me to add an integration without having to do any MQTT customization! I haven’t controlled Shelly devices with anything except MQTT, so I decided I’d try this integration out.
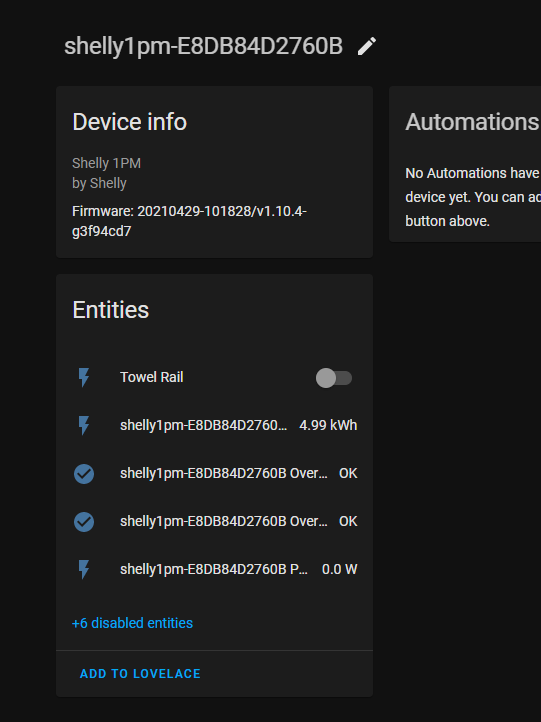
I switched on the relay and after a few minutes the radiator began to warm up. Success!
Automation
With the relay working as expected, I added a simple automation to NodeRed

When the towel rail is turned on, this automation will start a timer and automatically turn the element off after one hour. I receive notifications when this happens.
I’ve not controlled anything like this before – it’s one thing if a light automation fails to turn off a light, but if a 600W element is left on for hours and hours bad things might happen. The notifications give me some piece of mind. I’ve never had any reliability issues with NodeRed or HomeAssistant, but better to be safe than sorry.
Next Steps
I’d like the towel rail summer automation to be more automatic, removing the need for manual intervention at all.
My first thought was to use the humidity sensor to trigger the automation e.g. if humidity rises by a few % for a few minutes, then somebody is probably having a shower.
Another option would be to measure how much water being consumed over a period of time. If it’s lots, this would give a indication that a shower or bath is in use.
I’ll go with manual for the time being, mostly to gain confidence that my automation is working.

Leave a comment