
I’m building an extension to my kitchen.
As readers of my blog and Twitter will know, I love home automation and building work presents an opportunity to incorporate more of it!
My Current Smart Lighting
The vast majority of smart lighting in my house is provided by Shelly devices. These are incorporated into the ceiling roses or loft spaces and provide 99% of the lighting control. When my house was being refurbished back in 2021, I asked the electrician to ensure that each ceiling rose had a permanent live or that the permanent life was easily accessible. This enabled me to add the Shelly 1 devices without any drama.
A different approach
With our new extension, we were going to have a mix of down lights, track lights and pendants. The track lights and down lights would make the Shelly 1 devices really tricky to install. I had a chat with my electrian and asked him whether or not I could have all the wiring pulled back into one central location. I explained how the Shelly devices worked and he said it would be no problem at all.
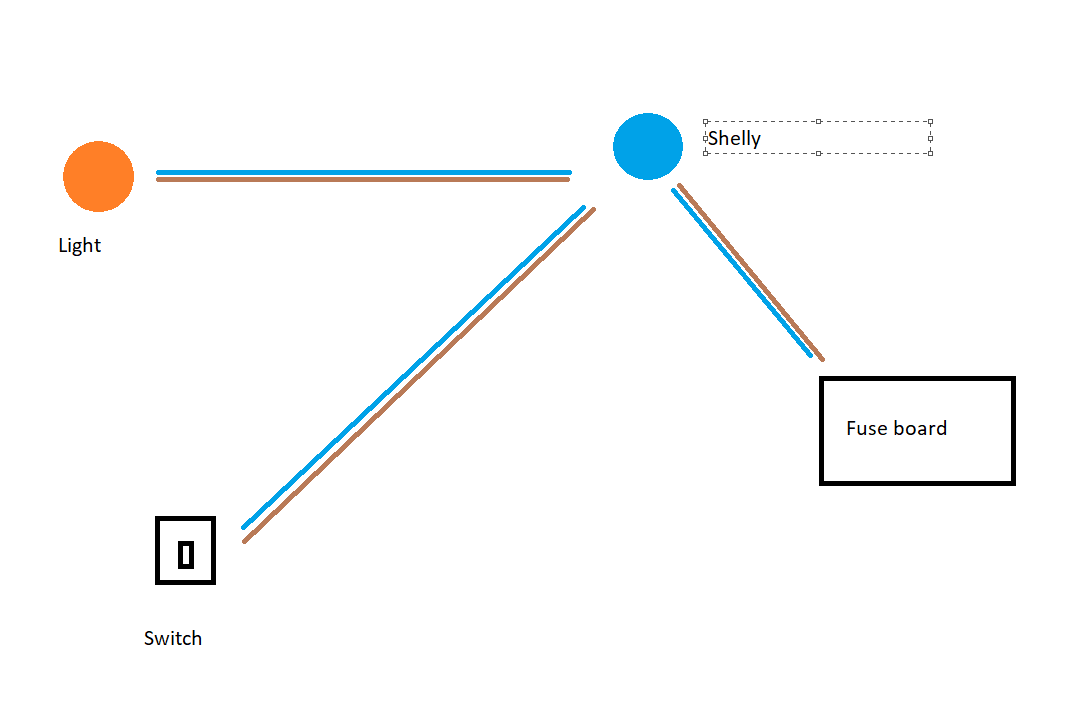
To explain this a little better, I’ll go over how it’s “typically” done.

In a typical ceiling rose, power from the consumer unit (fuse board) arrives at the unit. A wire then runs from the pendant down to the switch. Power is sent down to the switch and comes back to power the light.
In my arrangement, the power, lamp wire and switch wire would all be come back to a single location, where I could install a Shelly device.
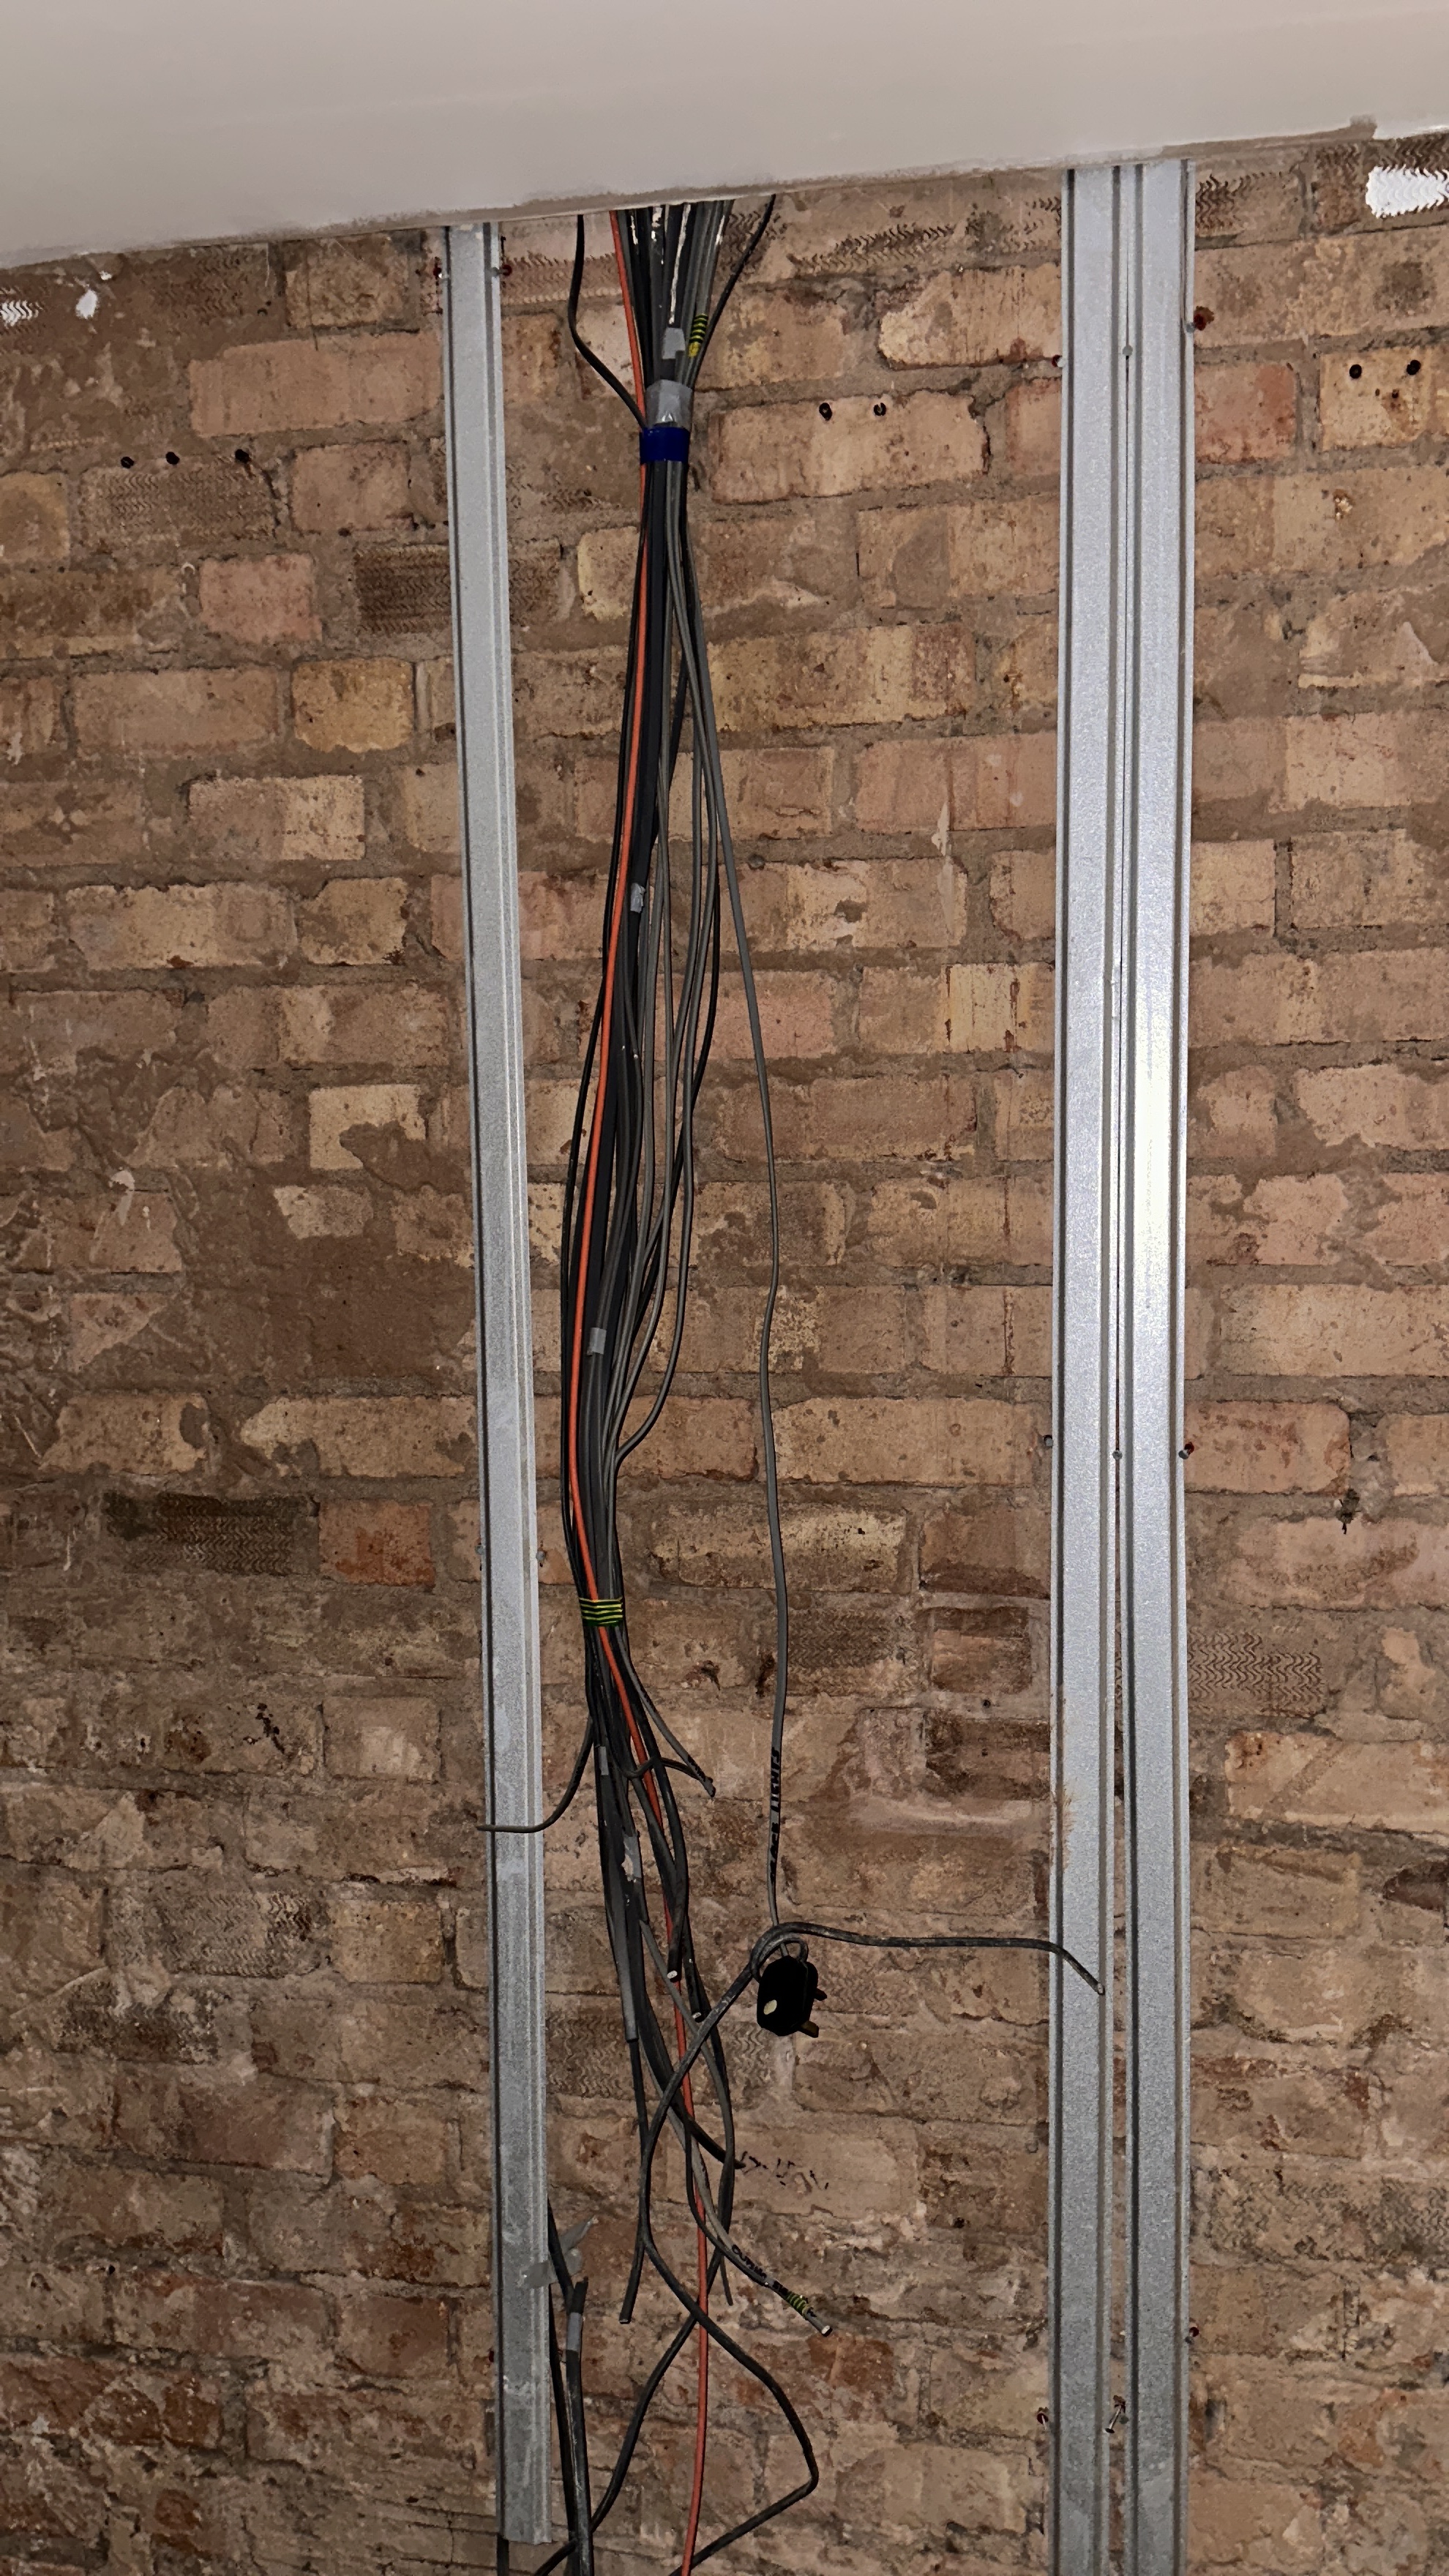
I had eight lighting circuits in total, covering the kitchen, the utility room and the outside lighting. After first fix of the electrics (where all the wires are put in) we had a mass of cables!
Wiring it all up
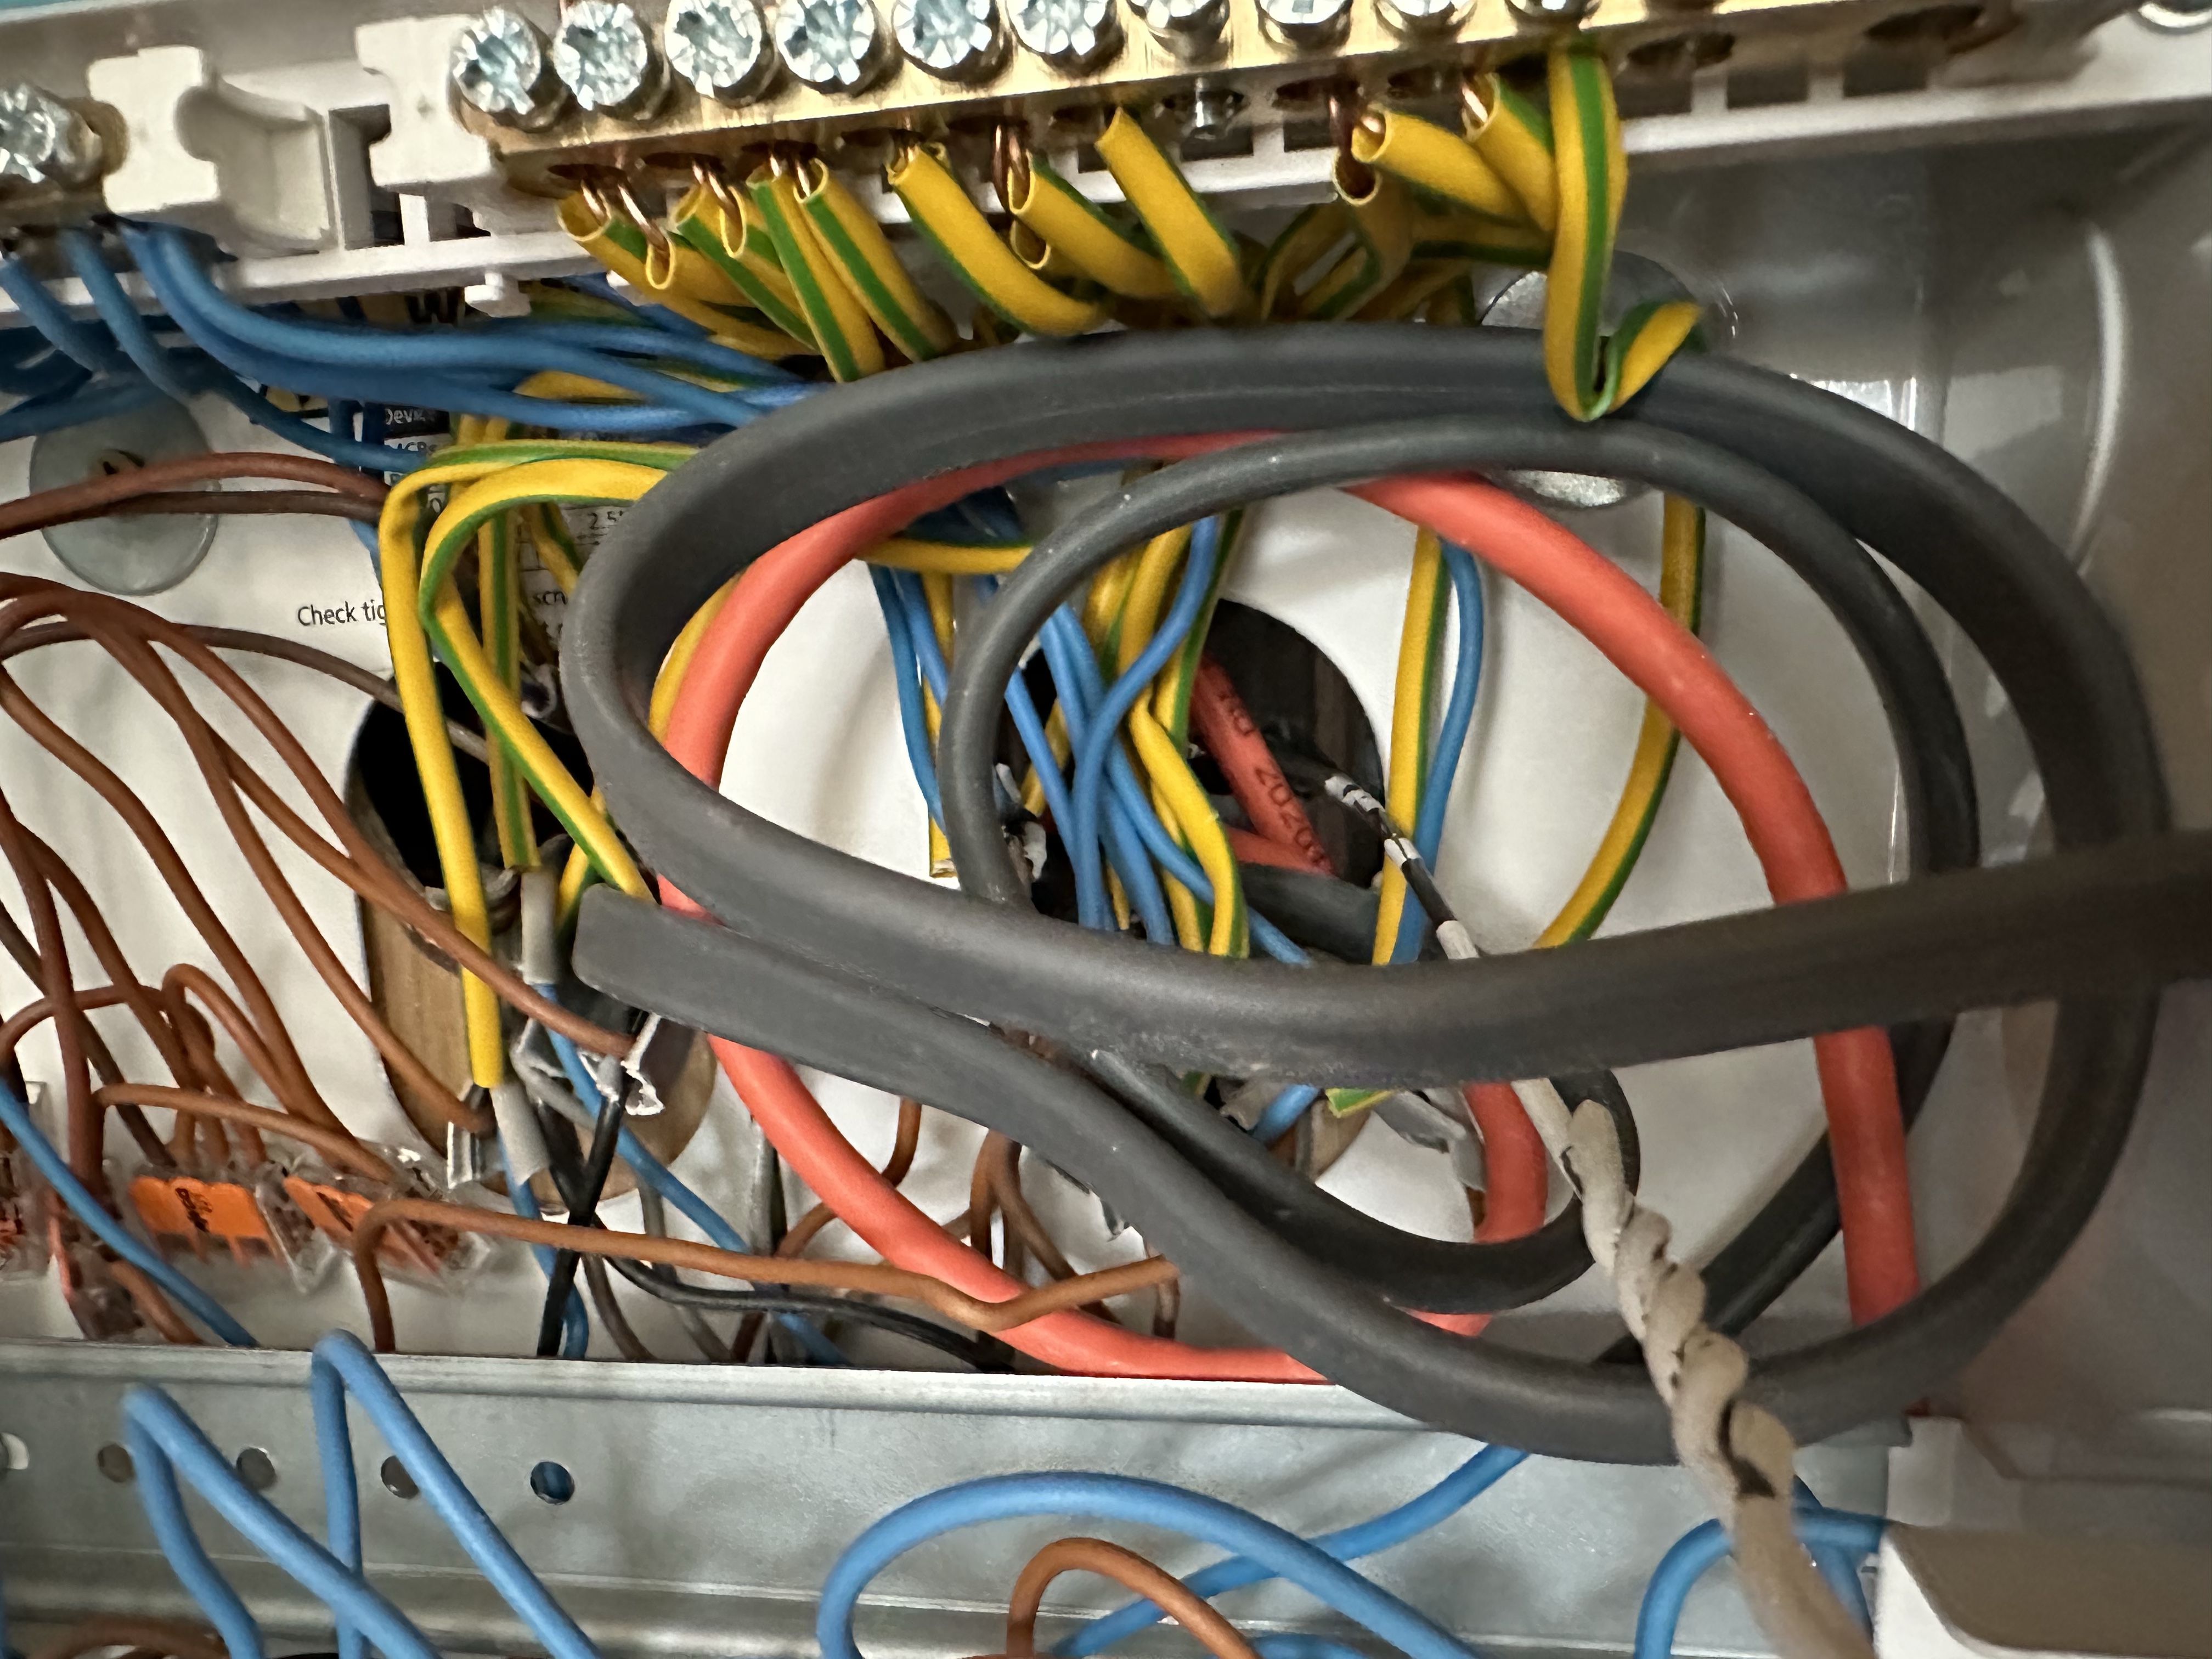
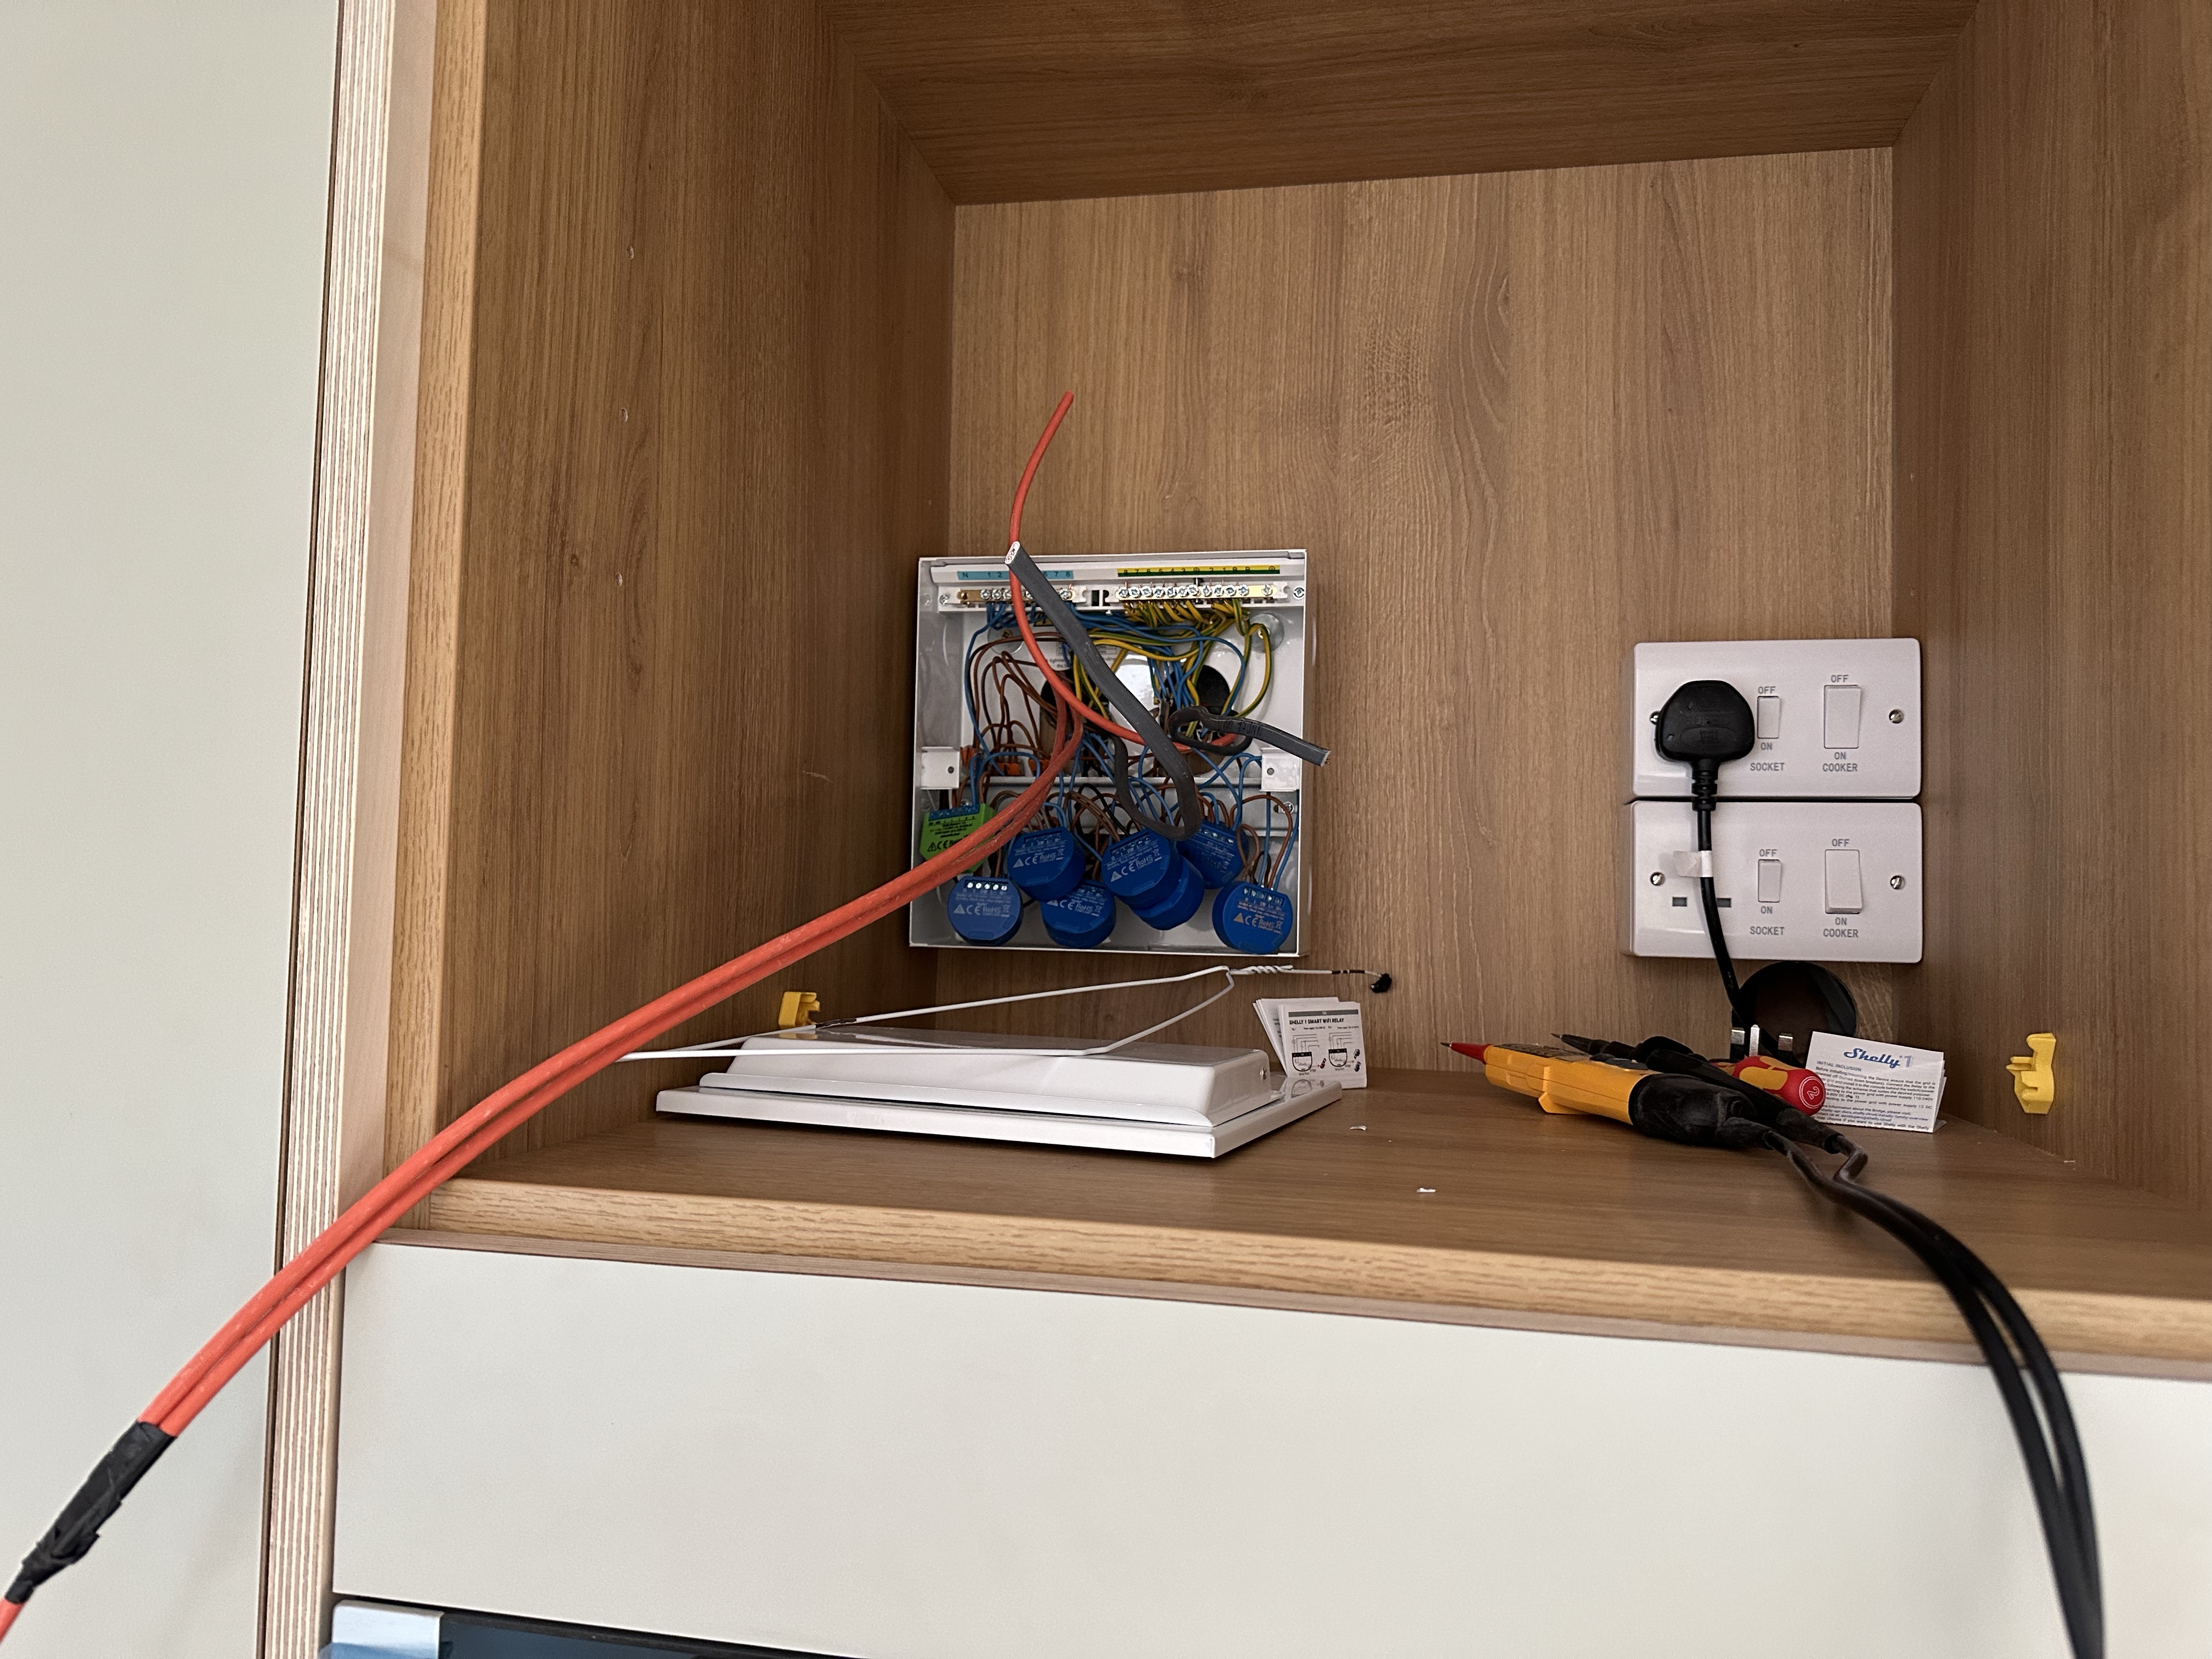
The electrician decided to use a small consumer unit to store all the wiring which was a great idea. It provided common rails for the multiple live and neutral wires what would be needed.
After a little troubleshooting, he got it all wired in.

When it came to configuring the Shelly devices, I hit a few bumps. Firstly, two of the little buggers were dead. I knew I’d fried one or two of my original ones when I was first installing them (one electrically and one botched firmware install), but I never threw them out. This meant I only had six operational units. The sixth one worked, but I couldn’t connect it to the Wi-Fi network, so it was practically useless. I scavenged a dimmer module from another light so the electrician could finish.
It was when I came to adding everything in Home Assistant that the biggest problem revealed itself. The metal consumer unit wreaked havoc with the Shellys’ Wi-Fi connection. The RSSI was really poor, and my experimenting showed about a 30% success rate when trying to operate the light via the app. They don’t have any external antenna, so I knew they’d always struggle.
Going Pro
At this point, I recalled that the Shelly product line contained the perfect alternative. The Shelly Pro range! These are DIN rail mounted units, designed specifically for consumer units. They provide the standard switch wire and on/off support, but also have power monitoring included.
More importantly, they also have ethernet connectivity, which would solve the problems caused by the big metal box. Unfortunately, I didn’t have any ethernet cables going to the unit, so that would have to be solved first.
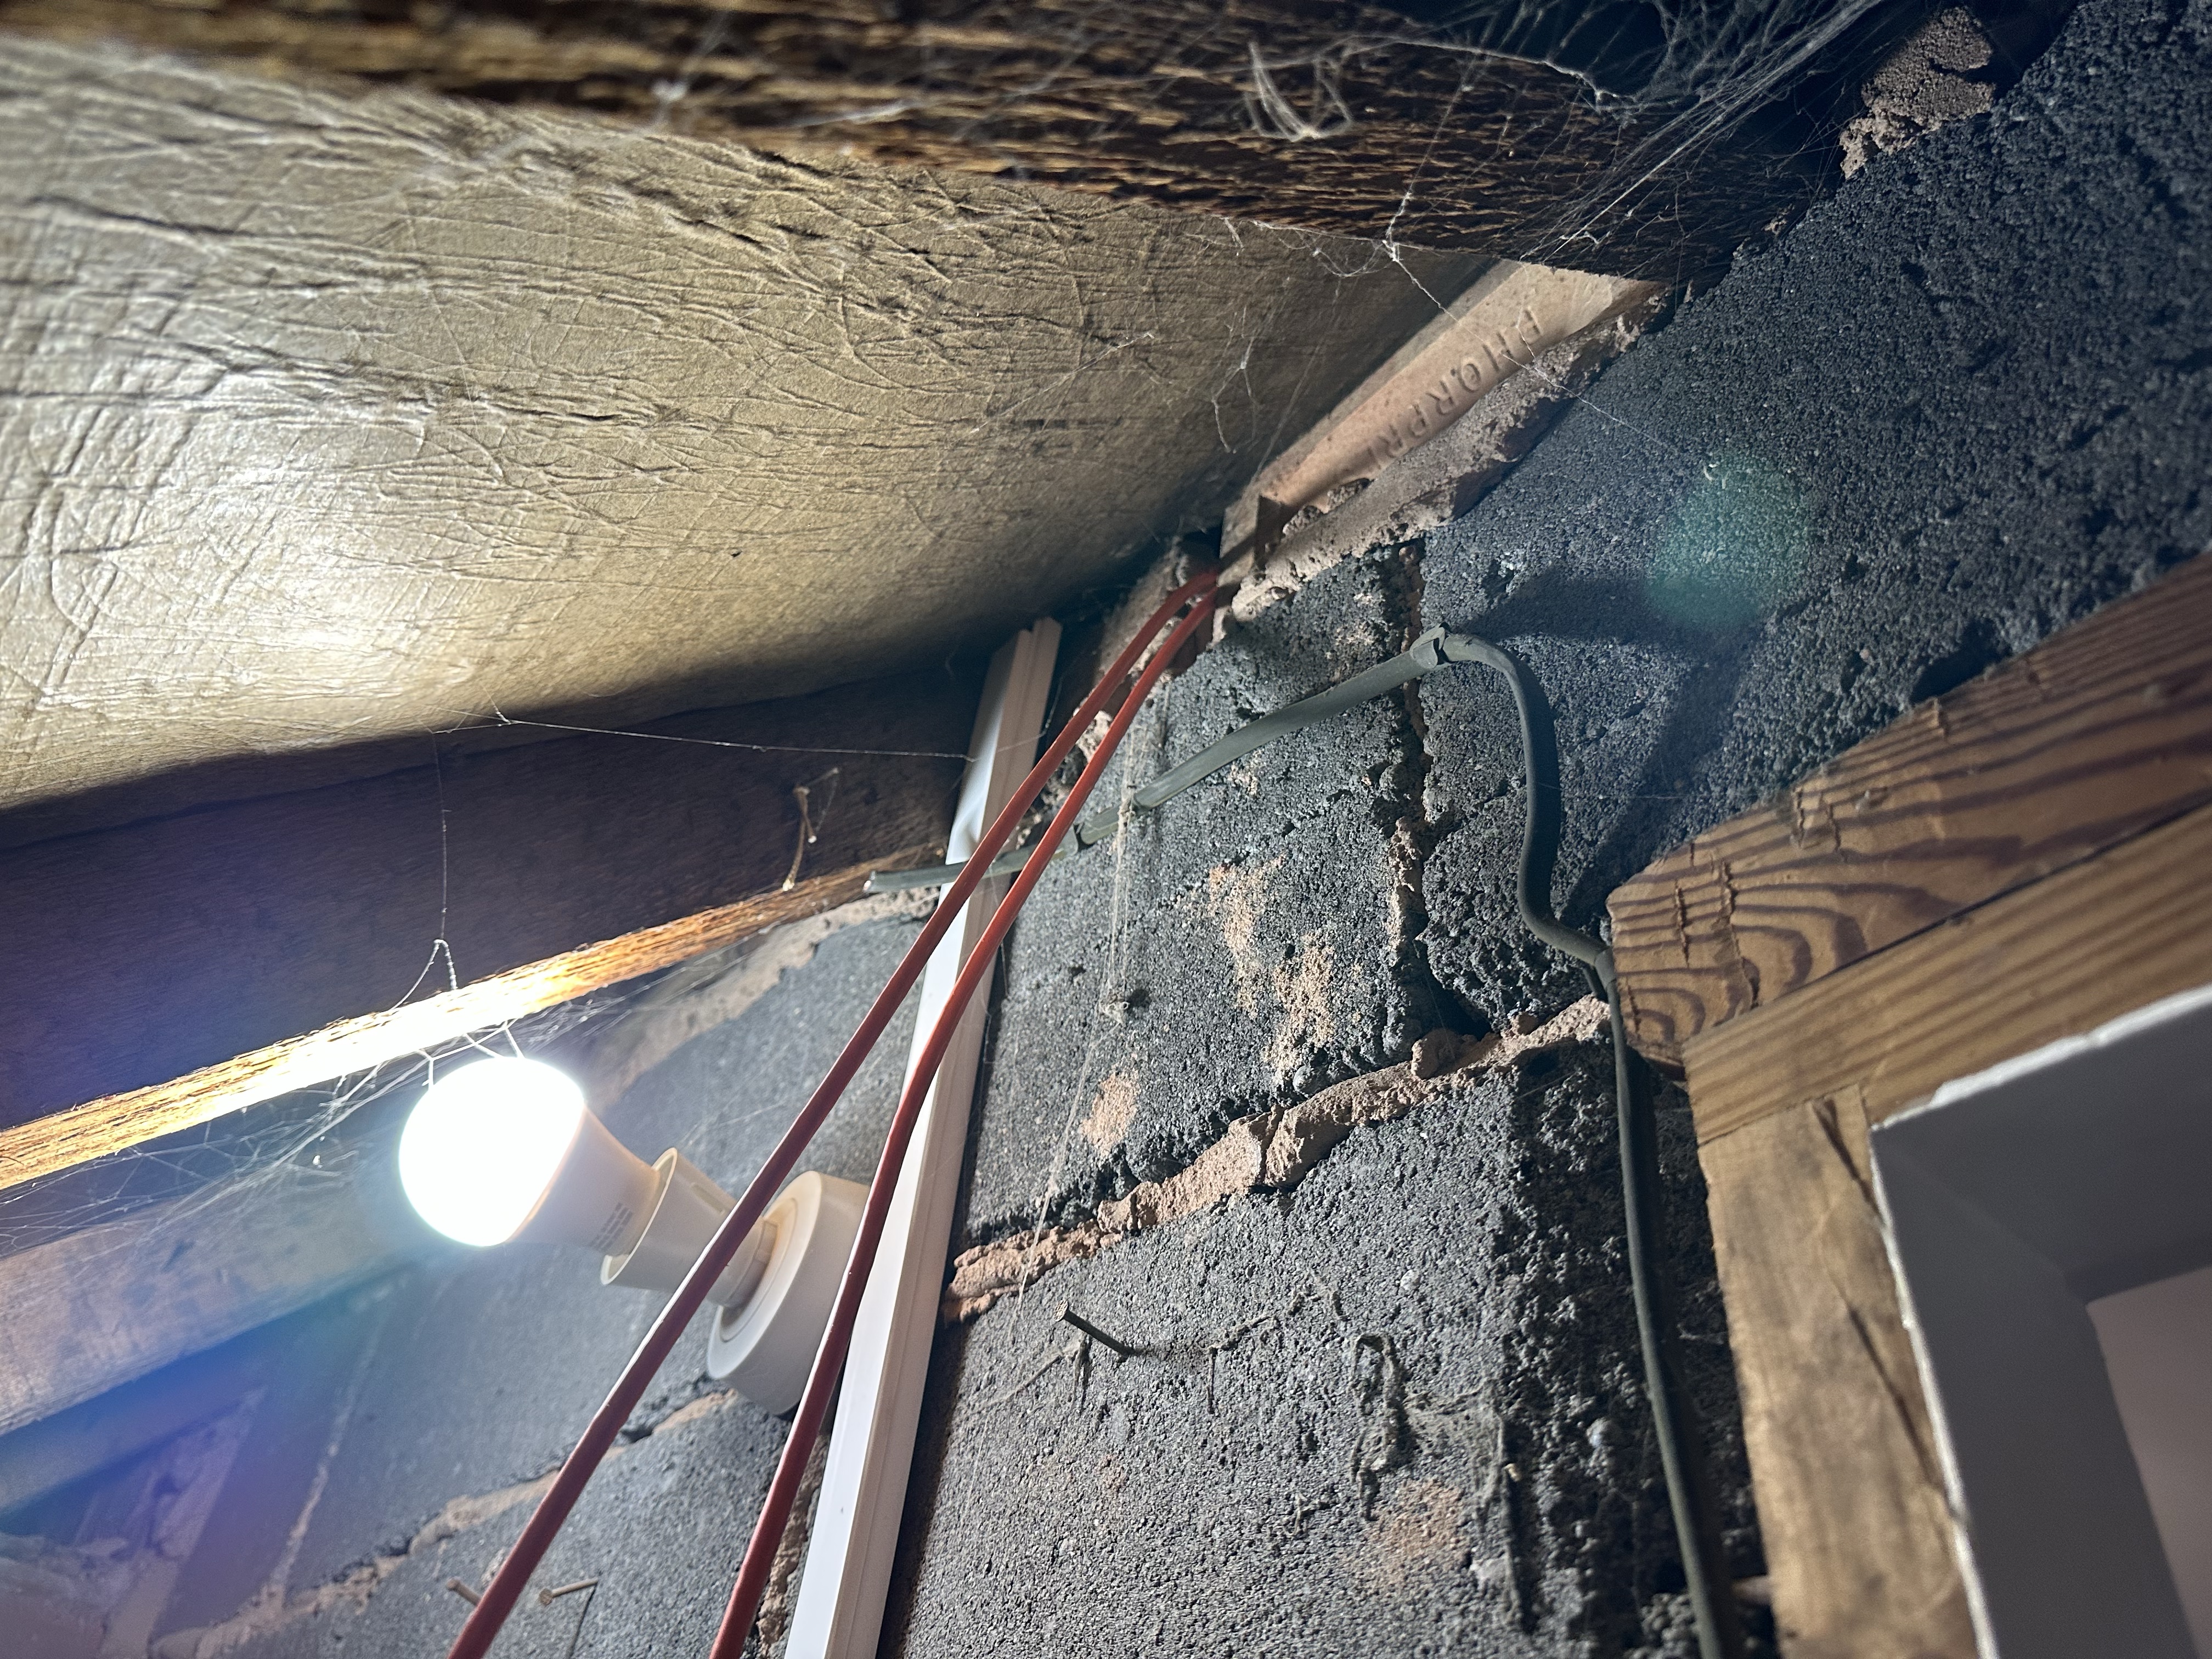
Moar ethernet!
After some detective work in the eaves and loft, I found a route for my ethernet cables that didn’t involve any drilling or fishing of cables. I pulled in two cables and fished them down through the kitchen ceiling into the unit where the consumer unit was installed. All invisible, no orange wires showing, which is important.
I have isolated the wiring unit at the fuse board and checked with my Fluke tested before I started feeding cables in. If you are working with electricity, please be careful! If you don’t know what you’re doing, get a professional!!
With some help from my wife and a coat hanger, we got the two ethernet cables through.
I have lots of ethernet cables in the loft, along with a small five port switch. I crimped the cables and tested them. Stage one complete!
Stage two was replacing the Shelly units. I worked one by one until, removing the wires from each individual Shelly and moving them into the Shelly Pro. I did it slowly like this as nothing was labelled, so this way I didn’t have to keep track of too much. The switch wires were either different colours or had a little collar on them.
After about an hour, I was finished. I connected the ethernet cables and both devices appeared on my network. I did a video of the whole process and it’s up on YouTube – https://www.youtube.com/watch?v=hxtuzFlFZ5s

Improvements!
So aside from the issues with WiFi and a metal box, the approach worked out as planned. That said, one thing I’d have benefited from was an isolation switch. When I was swapping out the Shelly 1 devices for the Shelly 4 devices, I had to kill the power at the fuse board, which is in the garage. A couple of trips back and forth could have been saved by having a switch beside the unit.
Next step is to add these to my Home Assistant integration and connect them to Homekit.

Leave a comment