
Light switches are great, but when paired with ordinary bulbs, they have their limitations. Smart light bulbs are better, but require a different approach!
My main problem with light switches is that they aren’t always beside you when you need to flick them. 99% of the time it’s not a problem as you flick the switch when you enter or exit a room.
Sometimes, however, you want to turn on the light, but you’re nowhere near the switch.
My Idea
We had a new kitchen installed back in 2023. One of the features of this was a smallish overhang on the counter.
For this project, I wanted to try and build a light switch I could put under the overhang. One that was easily accessible, easy to use and yet completely invisible. Well, okay, not completely invisible, just really hard to see 🙂
I wanted it to run on battery too, so I wouldn’t need to run power to it. This meant that WiFi was out of the question.
To ensure the button wasn’t visible side it, it needed to be small and thin.
Technology
When it comes to low power and long battery life, two options presented themselves. Zigbee or Matter over Thread. I have *lots* of Zigbee devices, so I decided to give Matter a chance here.
I won’t go into the details, but Matter is an emerging standard for smart home devices. It resolves many of the problems with the current ecosystems as devices can be shared easily. It supports WiFi or Thread (a lower power network).
By accident I happen to have a Thread network in my house thanks to the Apple Homepods I own. Nothing users Thread, so again, a good excuse to try it out.
Hardware Choices
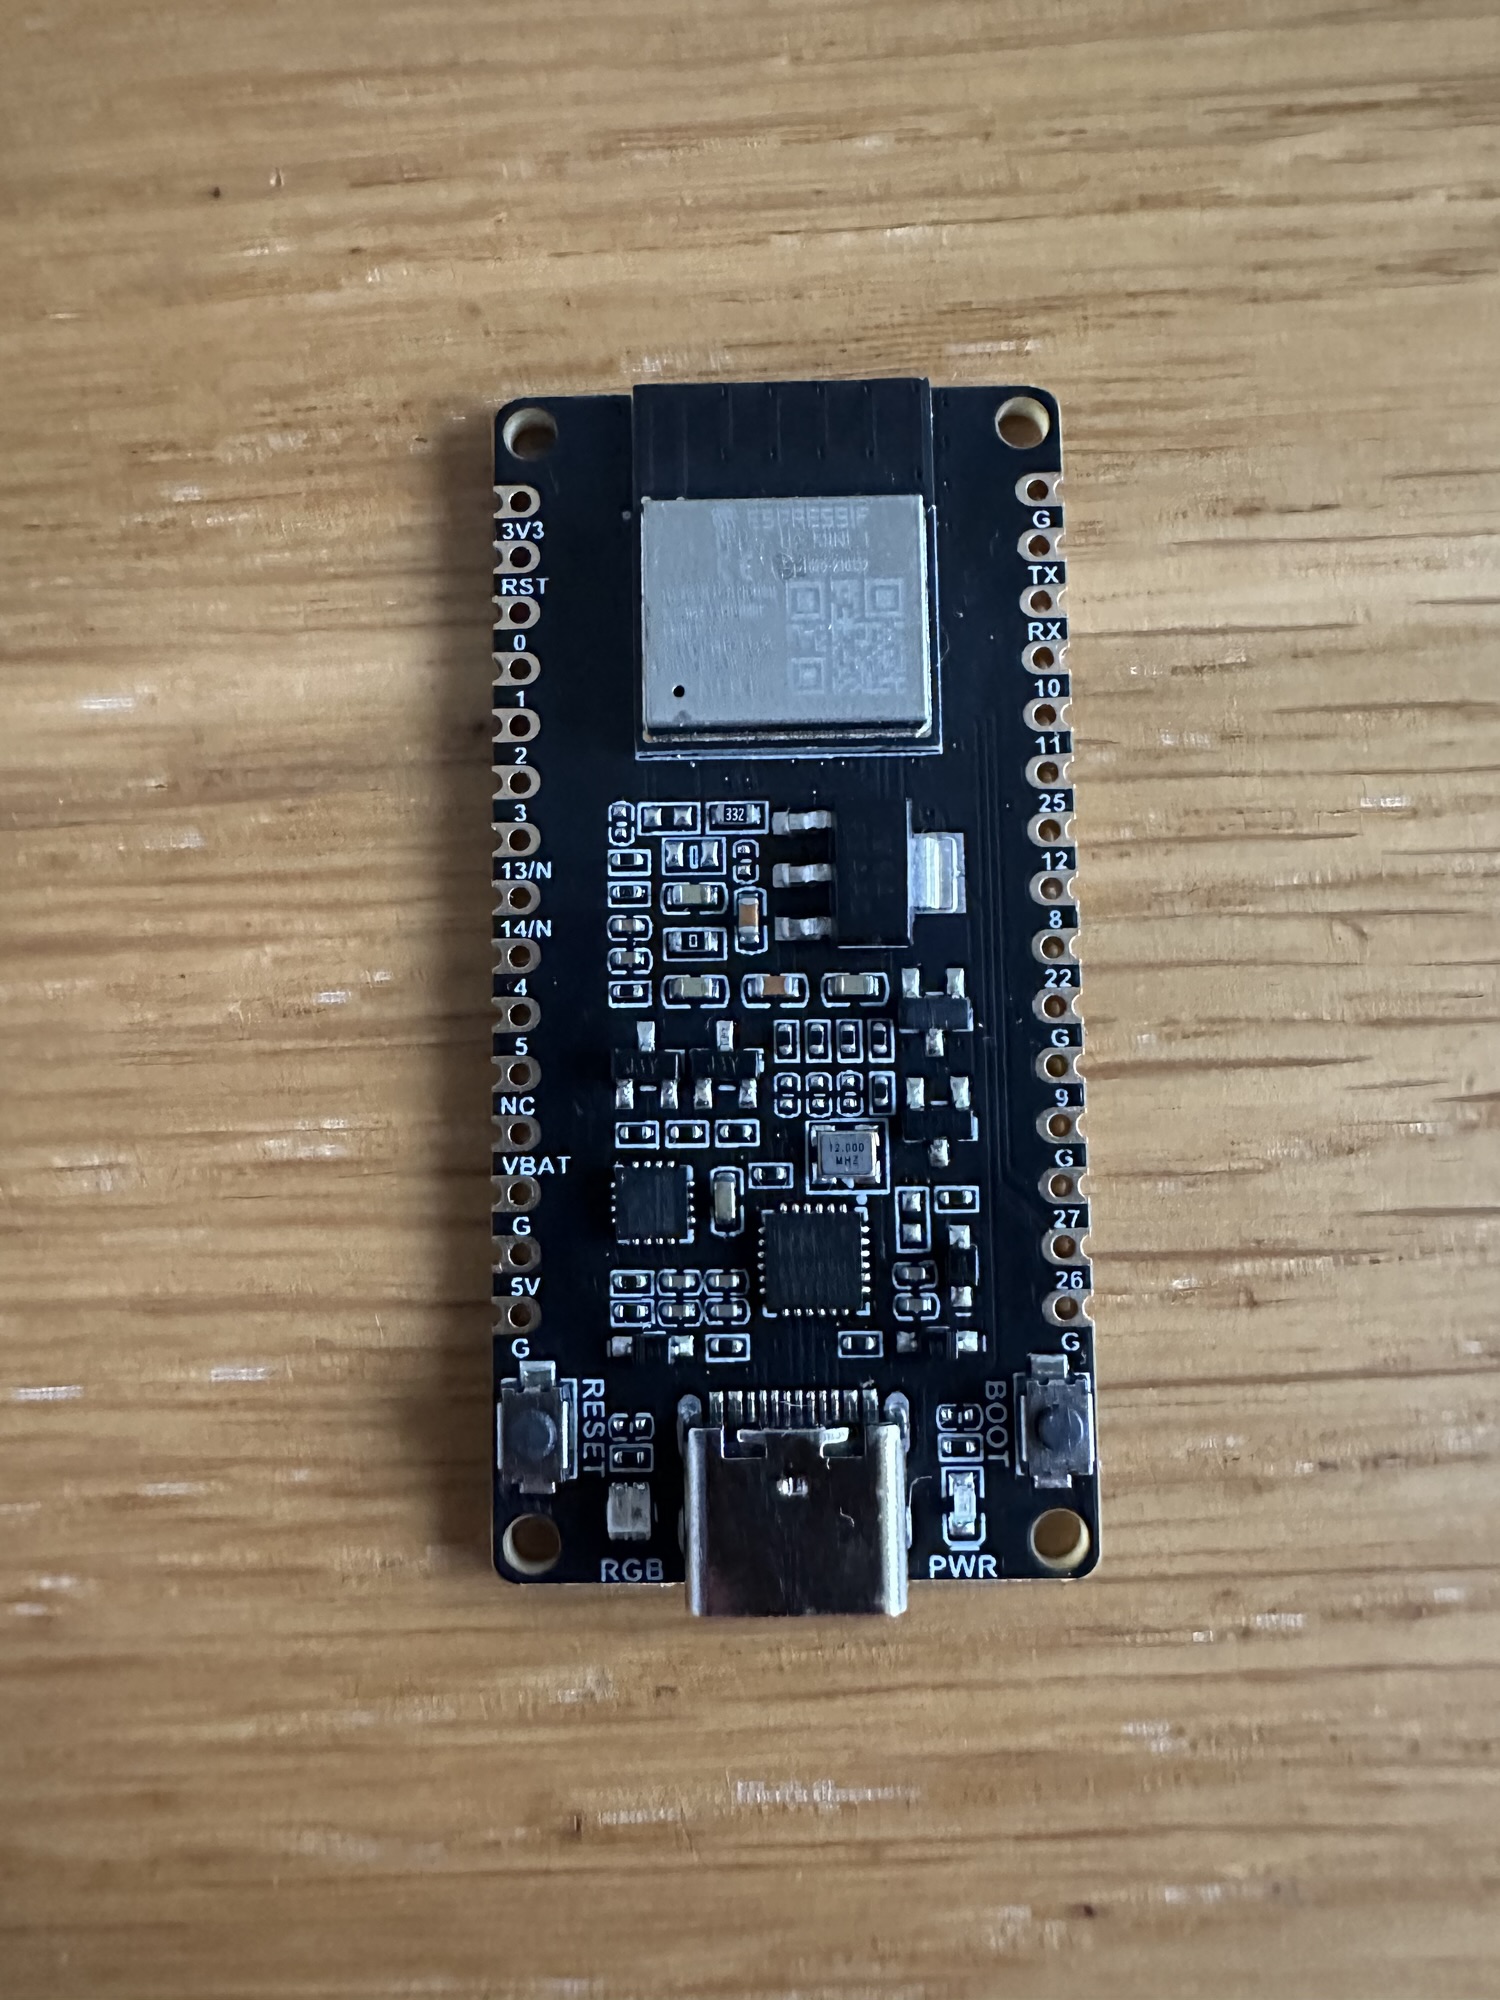
I had two micro controller units in mind for this: a Nordic nRF52840 or an ESP32.
The ESP32 comes in a few variants. only the H2 and C6 have the necessary radio for Thread, so they were options. The nRF52840 also supports Thread. I’ve been working with the nRF52840 on my radiator sensors, so figured I’d try the ESP32.
I picked up an H2 developer kit to get started. As always, bigger than I expected!
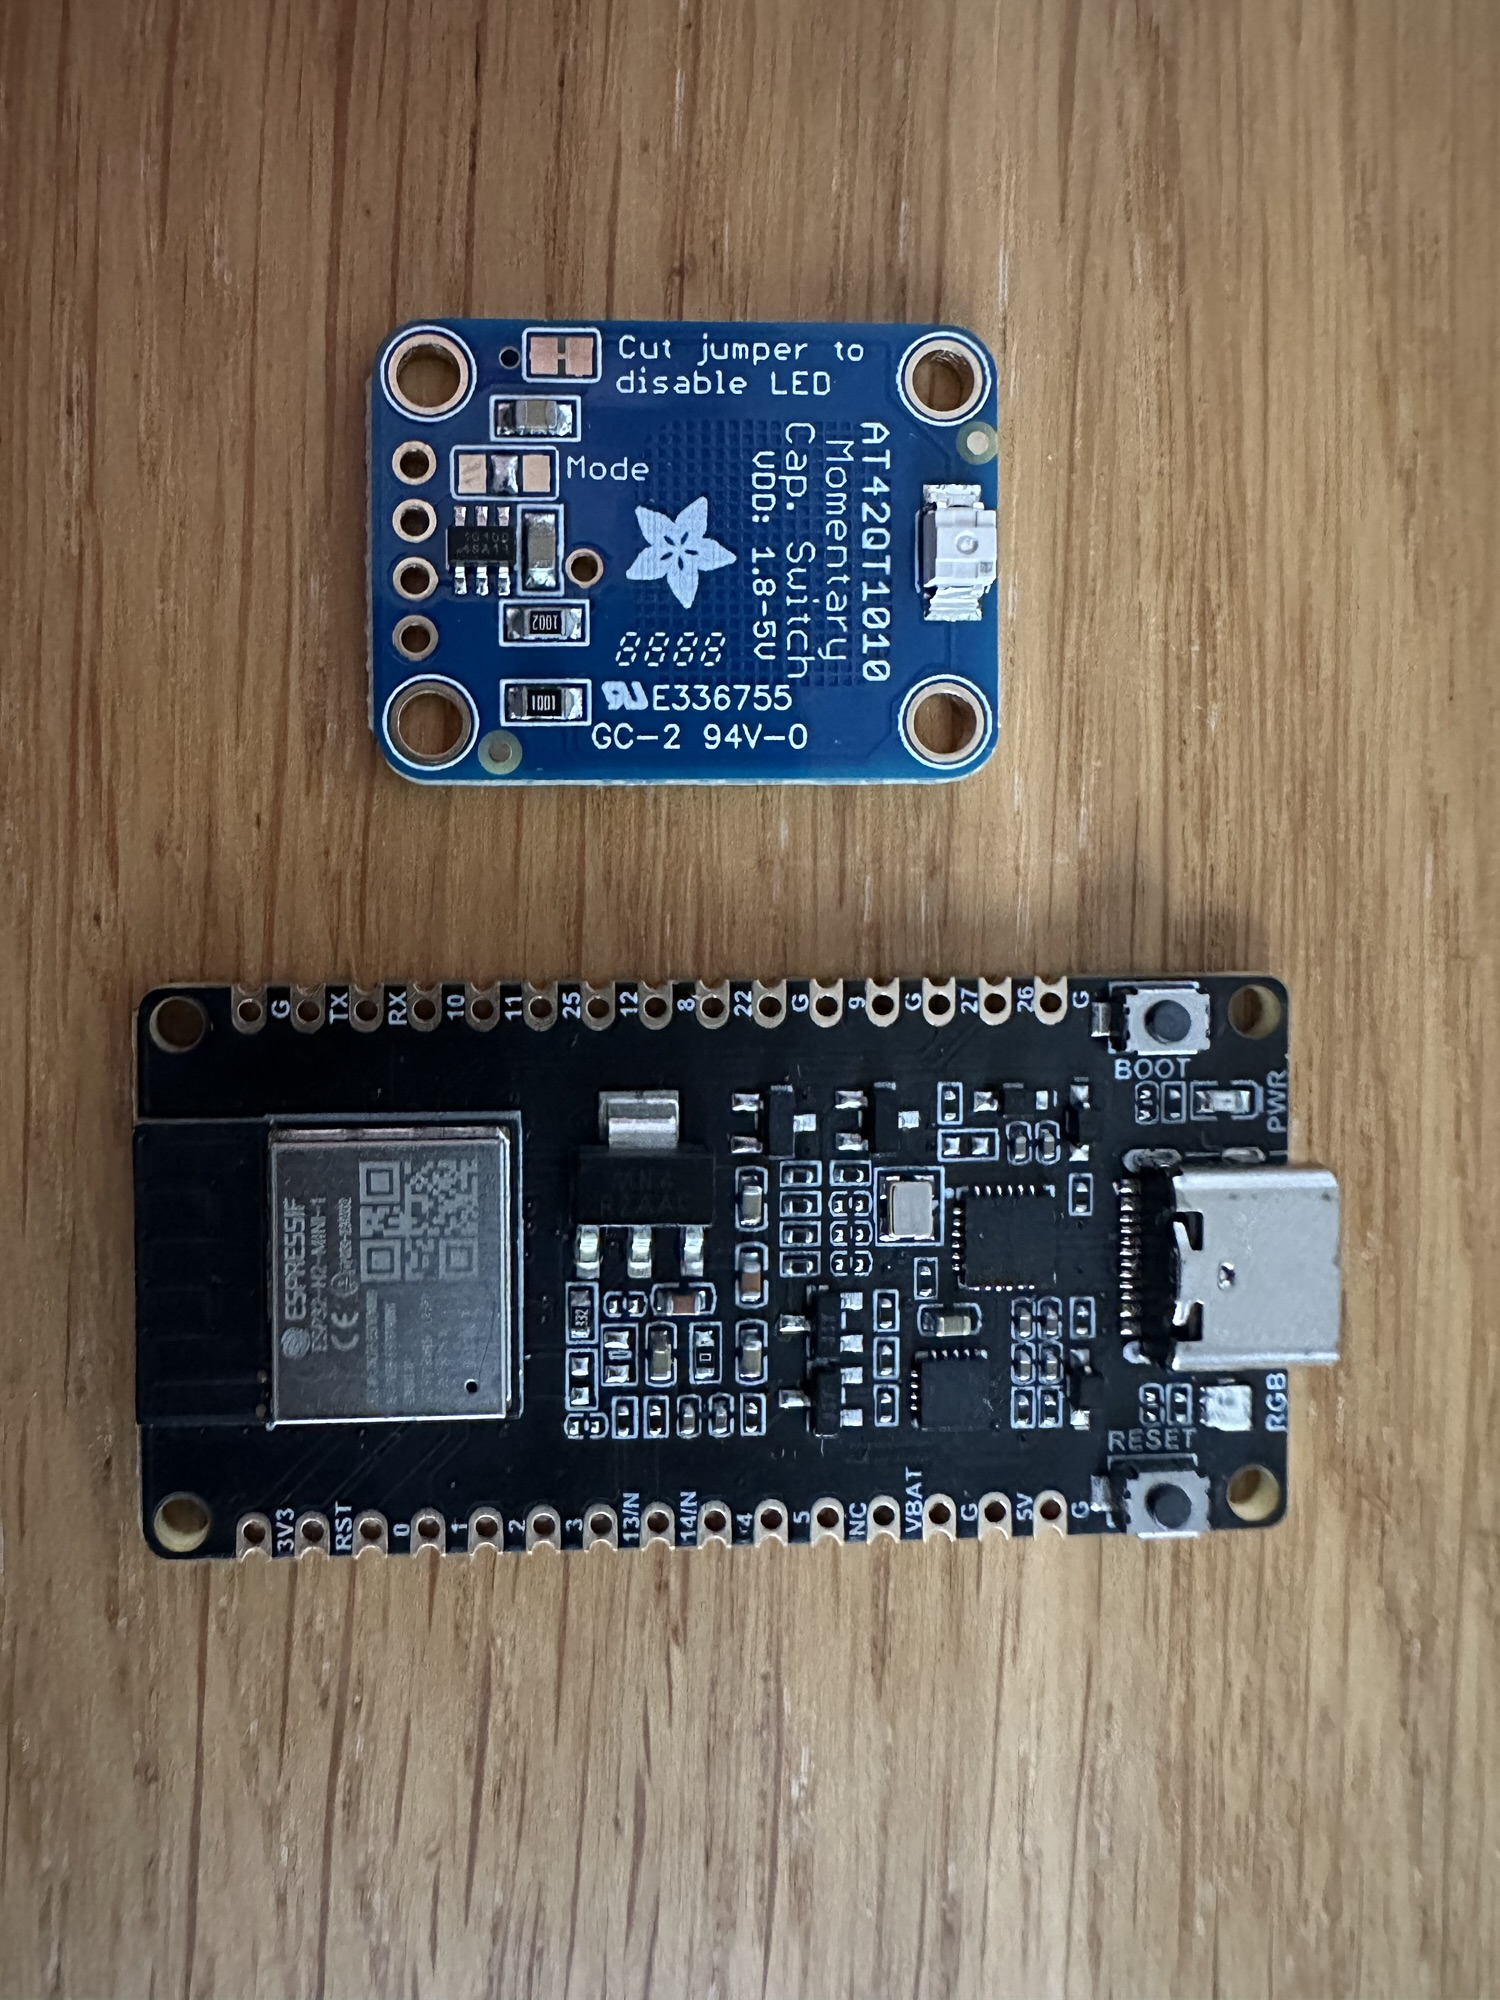
For the button, I decided to give a capacitive button a go instead of a mechanical button. They are thin and small. They consume power, but I thought they were a good starting point. I picked up an AT42QT1010 from PiHut as a starter for 10.
I opted to use the espressif frameworks instead of Arduino as I’ve always had a better experience. Espressif have their own Matter library, which was easy to get setup.
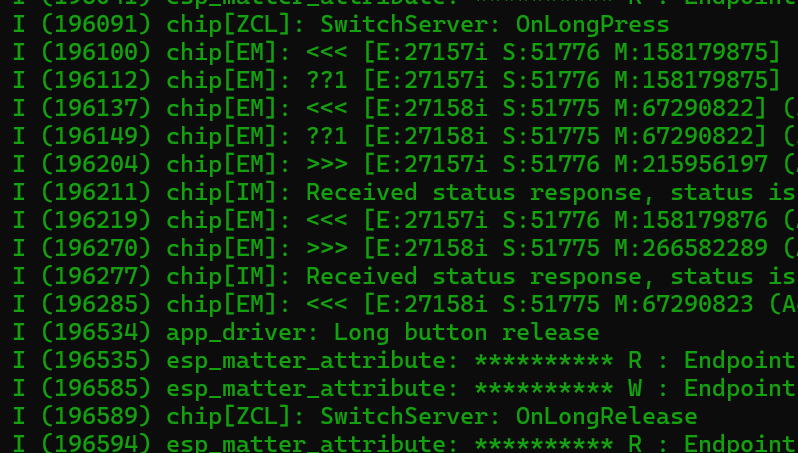
After a lot of hacking around with the samples, I got the capacitive button wired up and generating button presses! Espressif made this easy with their IoT espressif/button component.

I paired the device with my iPhone. With an automation, I used the capacitive button to turn the lights on and the “button” to turn them off. Apple’s HomeKit can’t *toggle* lights, hence the need for two buttons!
Power Consumption
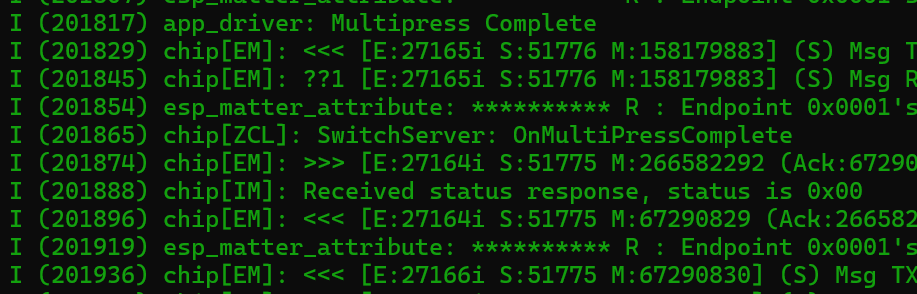
With the general idea working, I turned my attention to power consumption. Matter has the concept of an ICD or Intermittant Connected Device. These are designed to limit the power needed and only transmit when there is something to say. It piggy backs on the Thread concept of a Sleepy End Device.
After much reading, I found the espressif/button supports a power saving mode. I worked through another of the espressif samples and got the device working on battery.
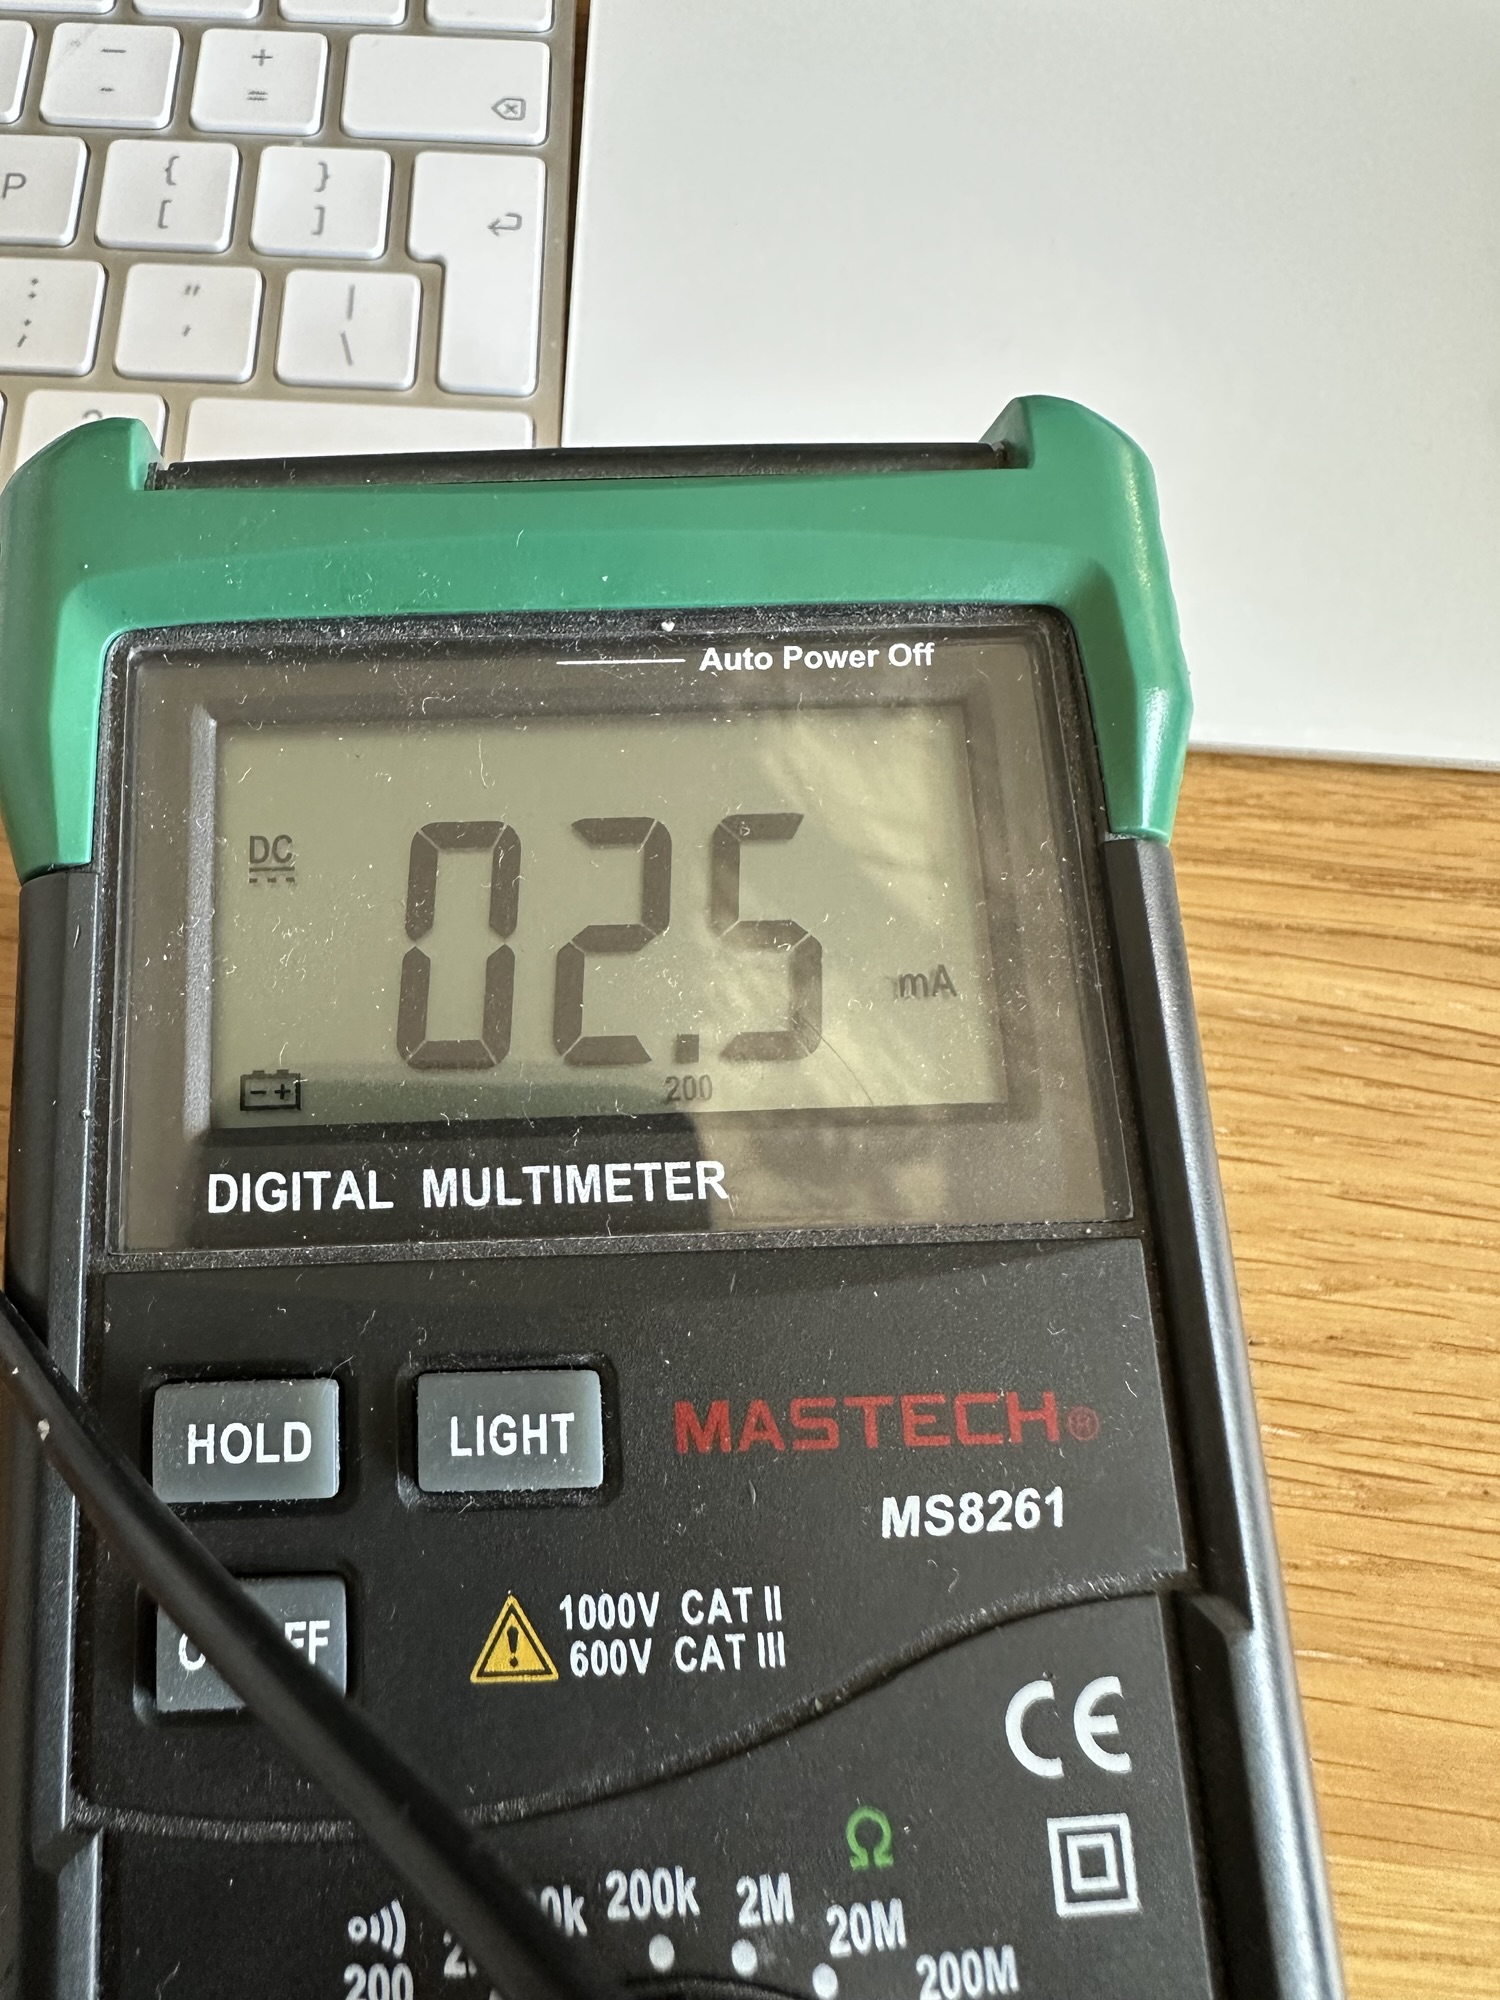
Initially, I thought it was drawing 2.5mA when asleep (which is good!), but it turns out that is the lower limit of my multi-meter!! The power consumption when the device is asleep is actually less than this.
That said, at 2.5mA, the 3500mAh battery I had in mind would give almost 2 month’s runtime. More than enough for an amateur like me!
With the button now working under low power mode, it’s time to expand its capabilities! That allows me to bring long press and multi-press support into play!!

Trying the C6!
The H2 development kit was working well, but for installation, it was a little bloody big!
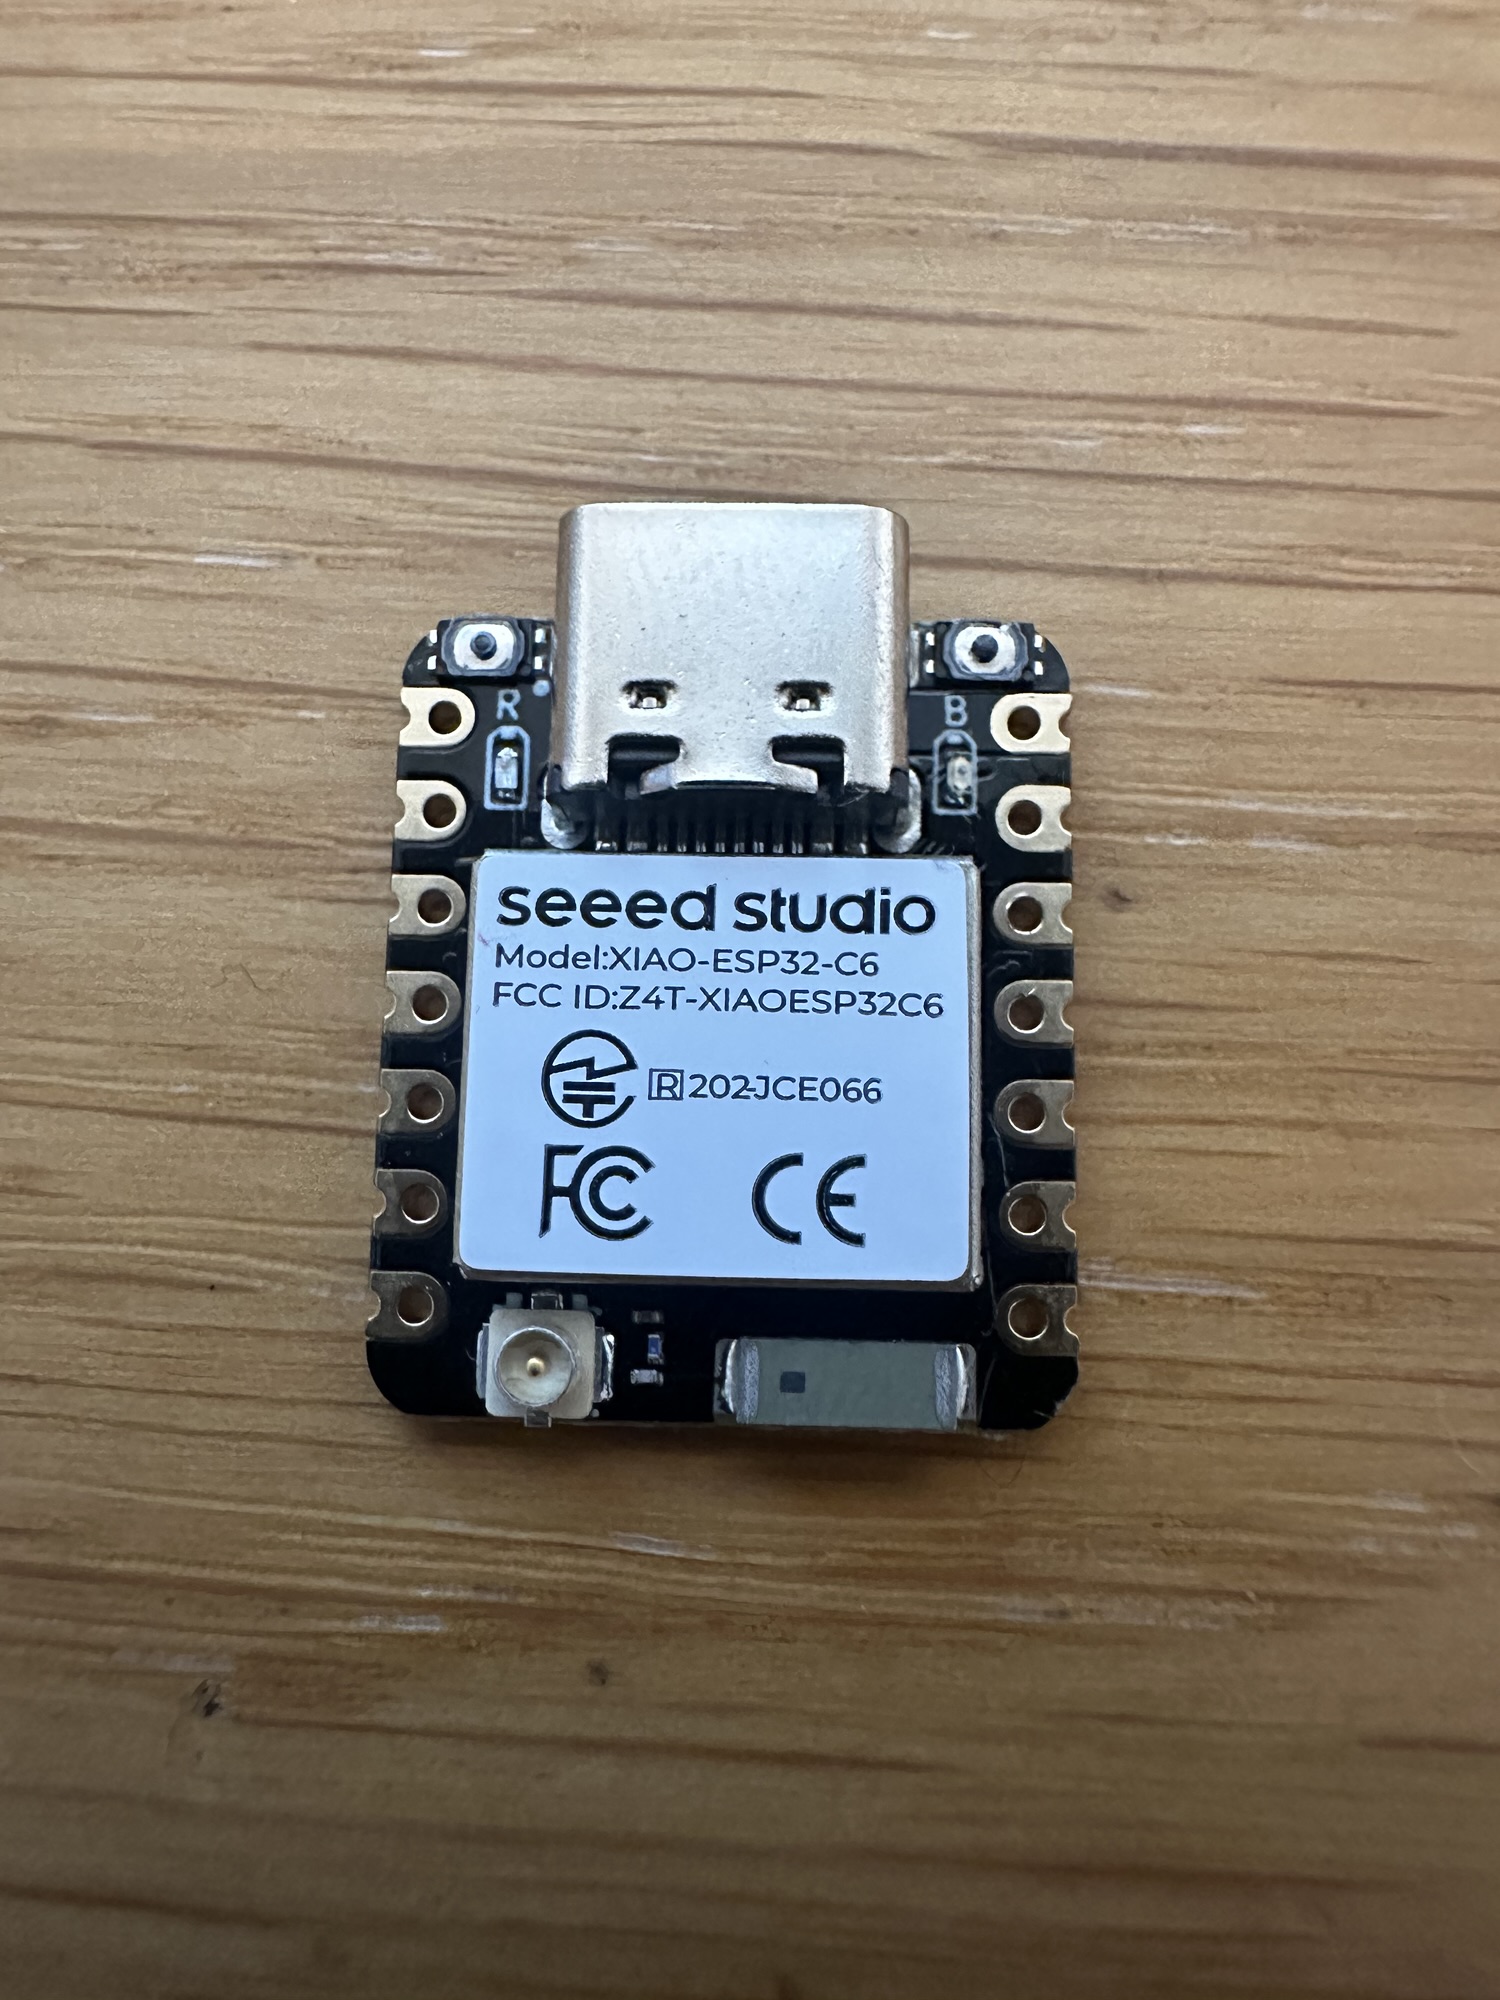
My favorite MCU maker Seeed have a XIAO ESP32-C6 unit, which is nice and small. It also has an external antenna connection, which I figured might help.
I had lots of pain getting my code working on this device. I spent a lot of time debugging my code and trying to get it running. It just never seemed to work when on battery.
It turned out that the power consumption was *so* low, the resistor in my multi-meter was essentially blocking the power!!
After that *ah-ha* moment, I moved to the 10A input on my multi-meter and the problem went away!! This only confirmed the low, low power consumption, which was good news!!
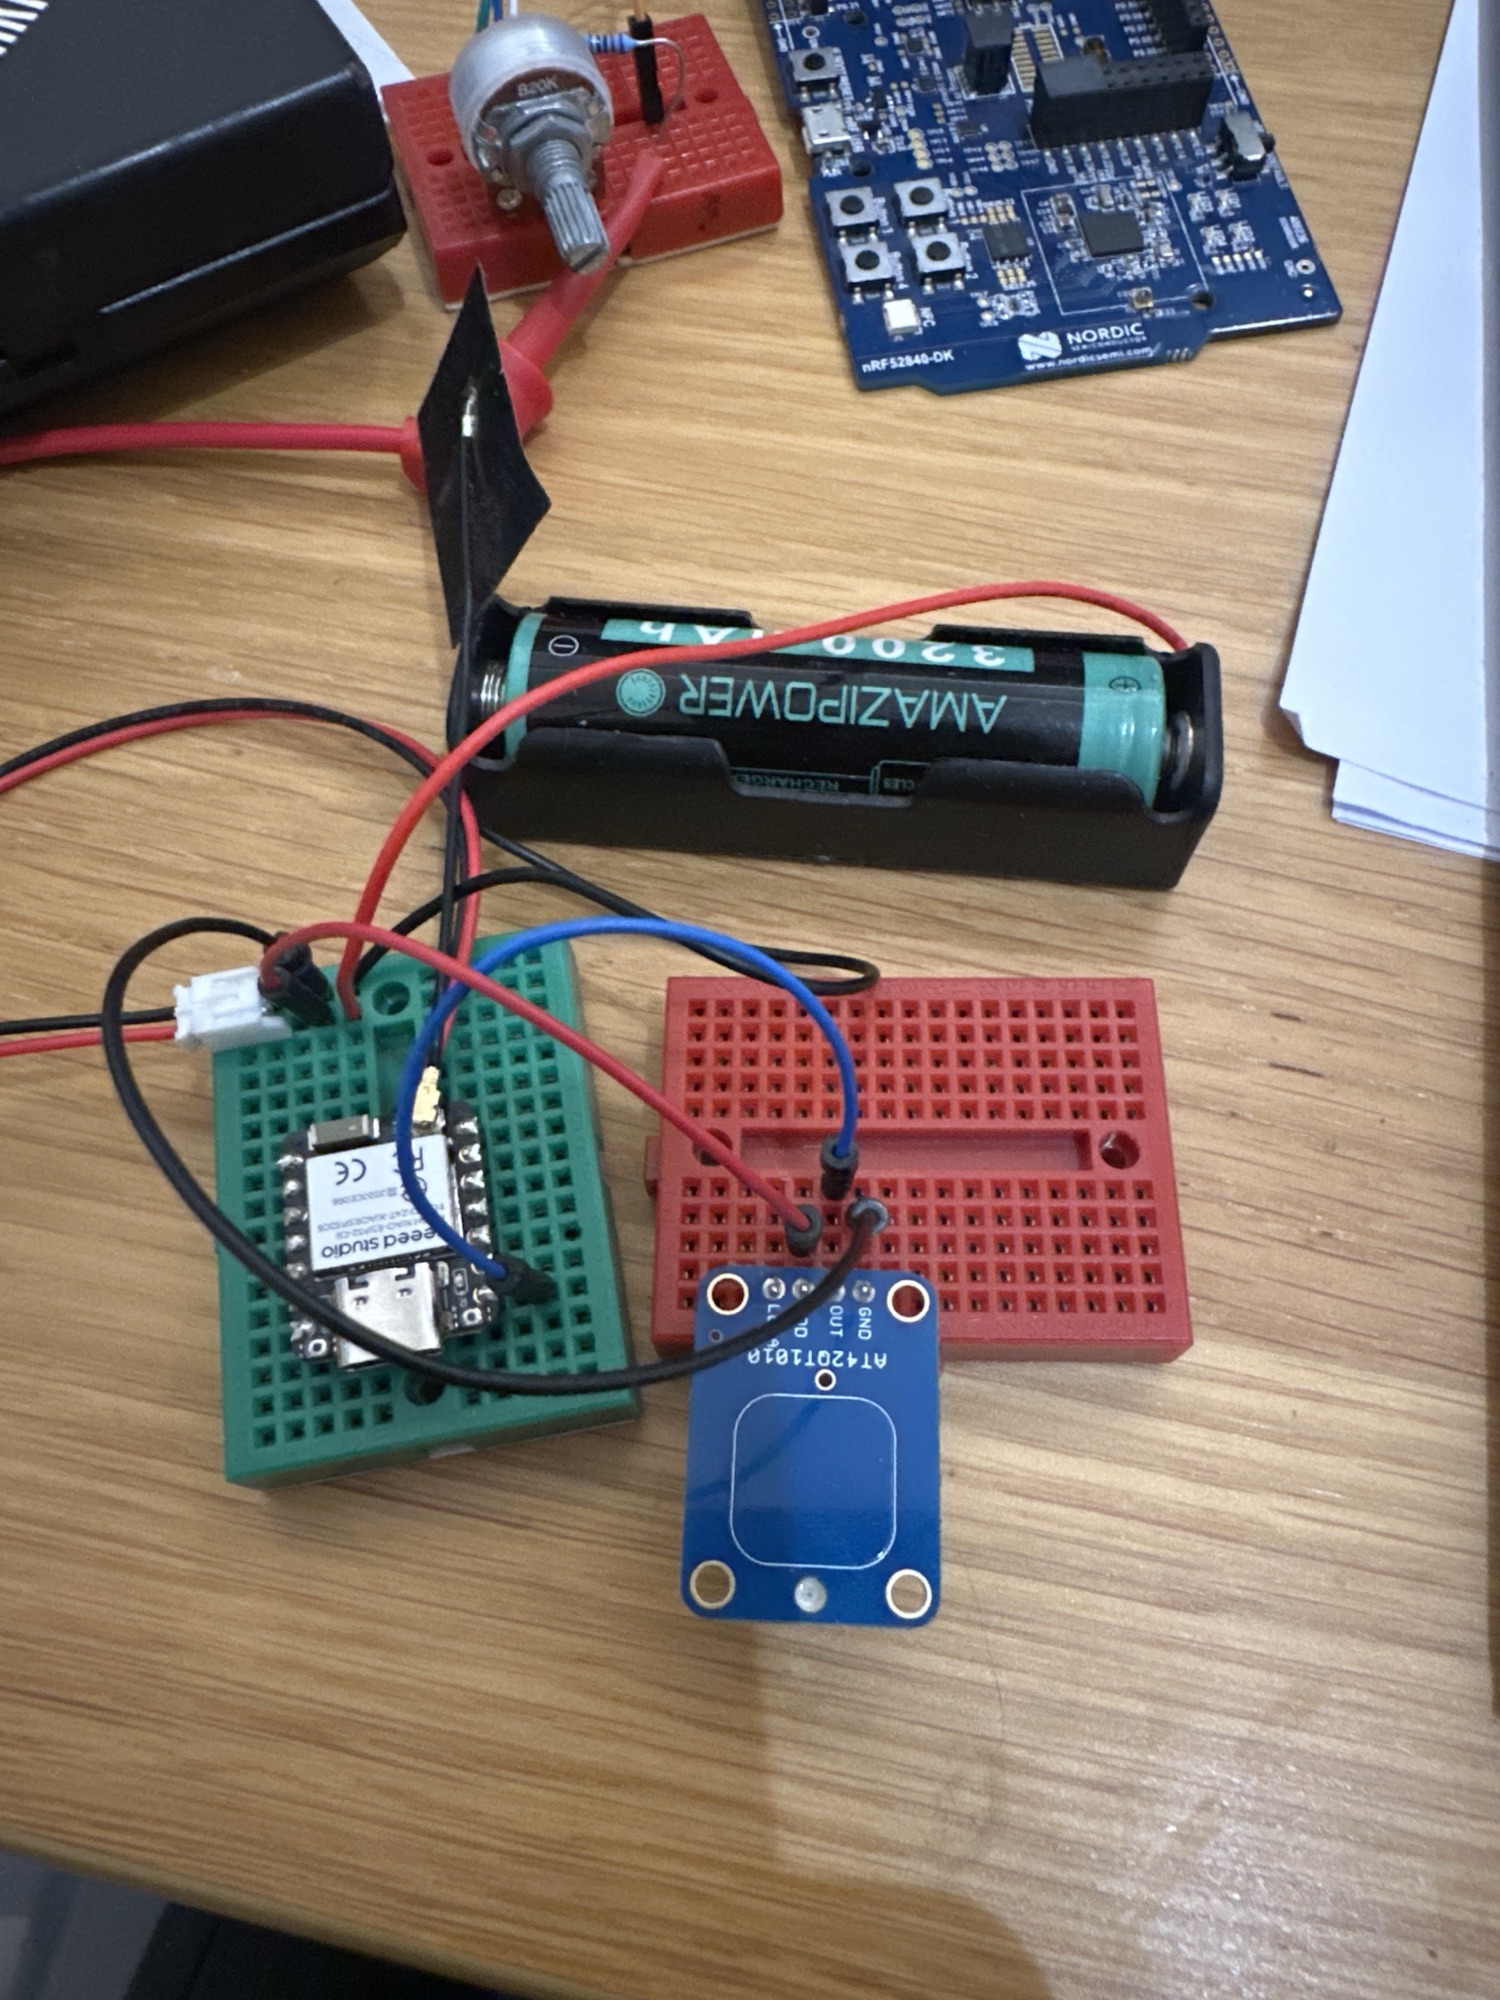
I soldered some wired onto the battery terminals on the back of the C6 and we were in business!
Next Up
Next step is adding some longer wire between the C6 and the capacitive button, before installing it!
I have the perfect place in mind under the kitchen sink. There is a nice gap between the worktop and blanking drawer. I can also use some velco to fix the battery to the back of the blacking drawer.
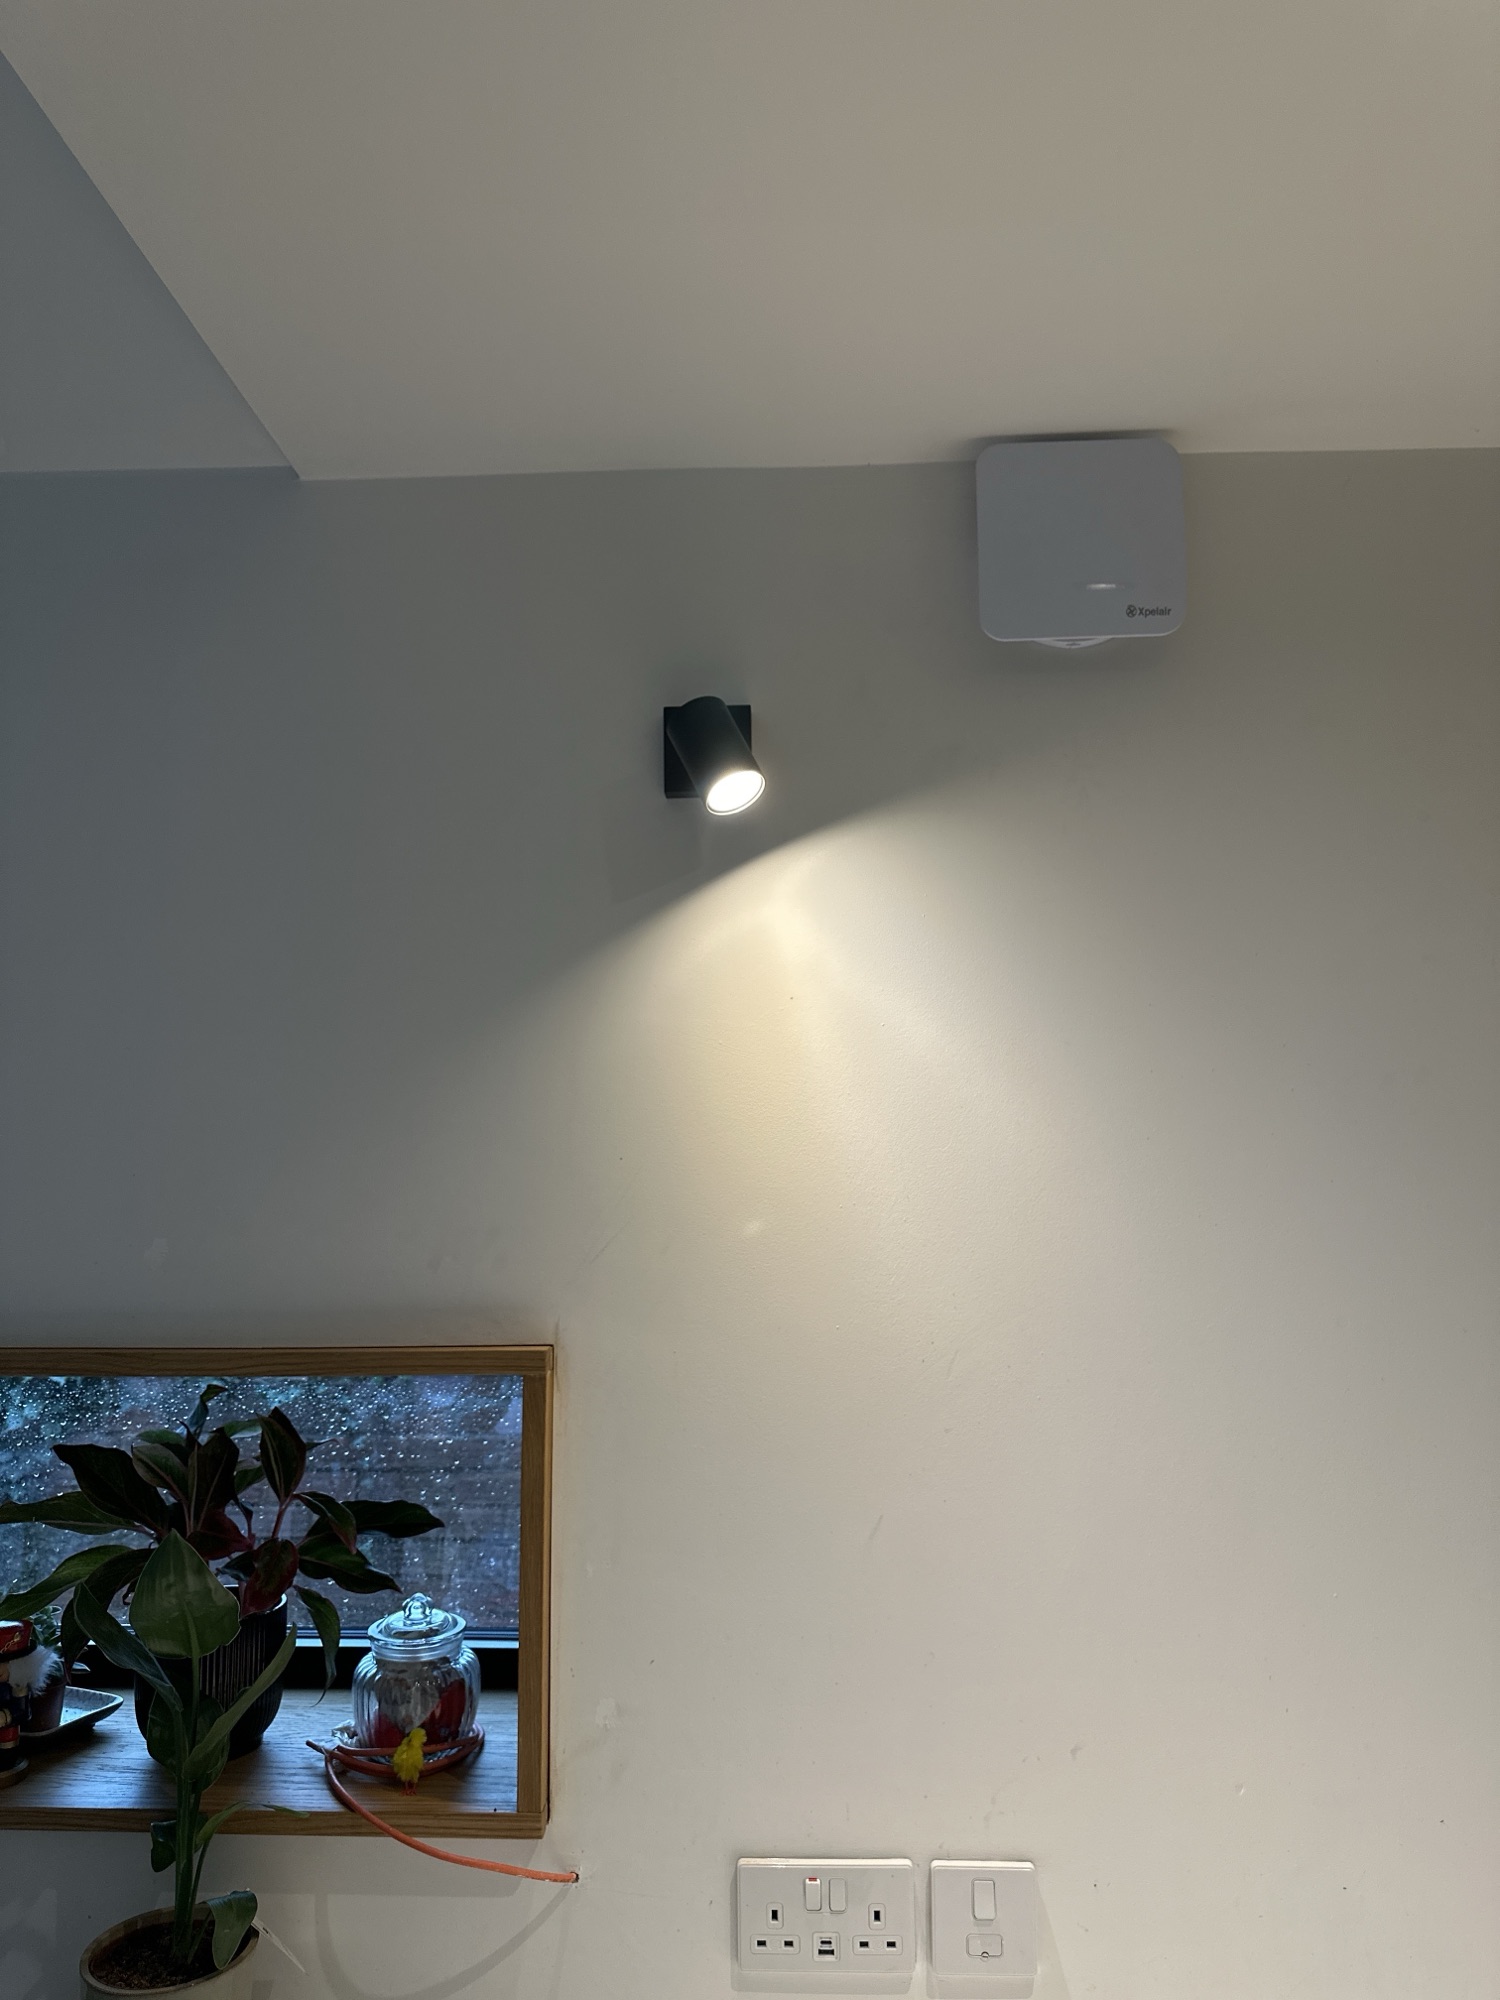
I’ve just installed a new spot, which shines onto the sink, so it’s an ideal test setup!
More to come!

Leave a comment