In this post, I look at supporting the Matter Setup Code when adding nodes. This will give me more flexibility as I’ve been using the standard test code until now.
This follows on from these previous posts on the subject
- Building a new heating monitor using Matter and ESP32
- Matter Heating Monitor – showing commissioned Nodes
- Matter Heating Monitor – Deleting Nodes
- Matter Heating Monitor – Showing Device Types
Commissioning
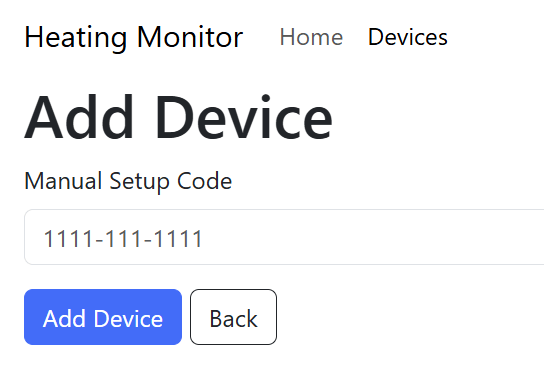
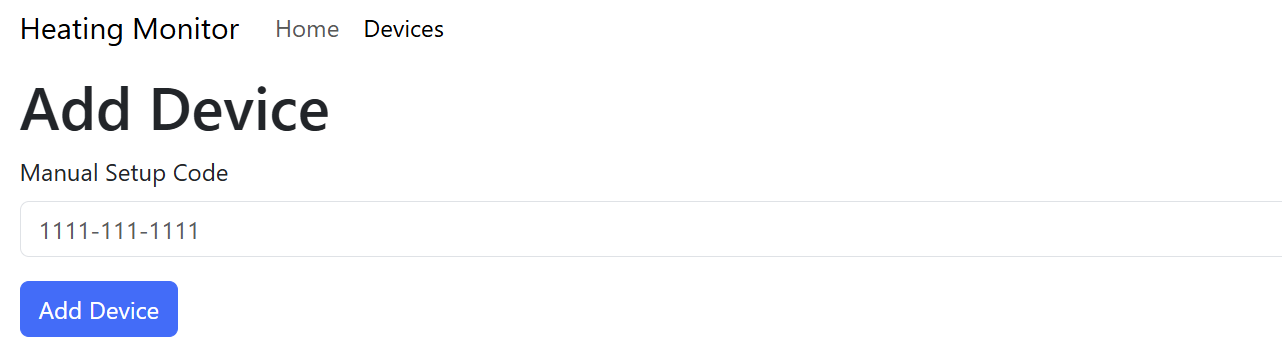
I added support for commissioning very early on. You can’t have a Matter Controller if it has nothing to control! And whilst I build the UI to accept a Setup Code, I never did anything with it.
I’m getting to the point where I need to support proper Setup Codes.
The current mechanism I’m using has a fixed passcode and discriminator, which I pass into the pairing command. The Matter Setup Code contains these values, encoded in the string.
First, I needed to pass the setup code from my ReactJS app. I did this by adding a Submit handler to the existing form. This will put the single <input name=”setupCode”> into a JSON string.
function handleSubmit(e: any)
{
    e.preventDefault();

    const form = e.target;
    const formData = new FormData(form);

    var object: any = {};
    formData.forEach((value, key) => object[key] = value);
    var json = JSON.stringify(object);

    fetch('/nodes', {
        method: form.method,
        headers: { 'Content-Type': 'application/json' },
        body: json  });
}
On the ESP32 side, I grab the JSON in the POST handler by reading the body
ESP_LOGI(TAG, "Commissioning a node");

/* Read the data from the request into a buffer */
char content[100];
size_t recv_size = std::min(req->content_len, sizeof(content));

esp_err_t err = httpd_req_recv(req, content, recv_size);
I’m using a fixed buffer of 100 characters, which is more than enough.
Once I’ve read in the payload, I parse it and extract the setupCode value.
cJSON *root = cJSON_Parse(content);

if(root == NULL) {
    ESP_LOGE(TAG, "Failed to parse JSON");
    httpd_resp_set_status(req, "400 Bad Request");
    httpd_resp_send(req, "Invalid JSON", HTTPD_RESP_USE_STRLEN);
    return ESP_ERR_INVALID_ARG;
}

const cJSON *typeJSON = cJSON_GetObjectItemCaseSensitive(root, "setupCode");

SP_LOGI(TAG, "Setup Code: %s", typeJSON->valuestring);
Parsing the Setup Code
With the Setup Code available, I now needed to parse it and extract the passcode and discriminator.
The chip-tool from the SDK offers a way to parse setup codes, so I started digging. After a few wrong turns, I found how it is done – ManualSetupPayloadParser. This class is designed to parse manual Setup Codes!
SetupPayload payload;
ManualSetupPayloadParser(typeJSON->valuestring).populatePayload(payload);
I then updated my two variables
uint32_t pincode = payload.setUpPINCode;
uint16_t disc = payload.discriminator.GetShortValue();
OnNetwork!
With the mechanism working, I decided to test it out. I put my Office Desk Bulb (a Nano Leaf Thread bulb) into commissioning mode and tried the code.
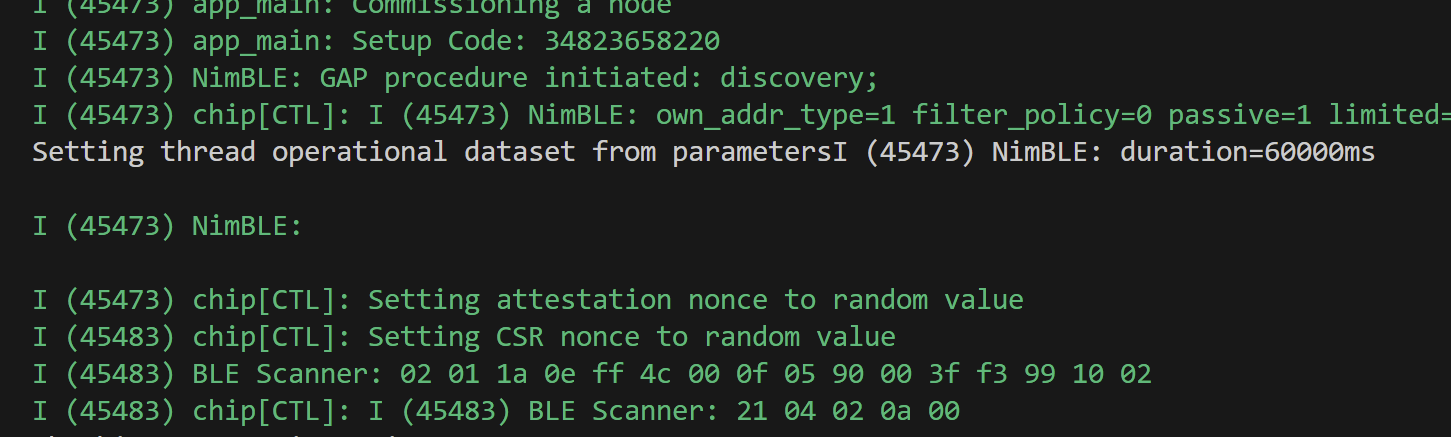
It then sat there for ages, with BLE Scanner messages coming up.
Then I realised the problem! I was trying to commission via BLE, but this device was already OnNetwork since it had been commissioned. This mean I couldn’t use the BLE commissioning mechanism.
I then twigged why other controllers ask this question:
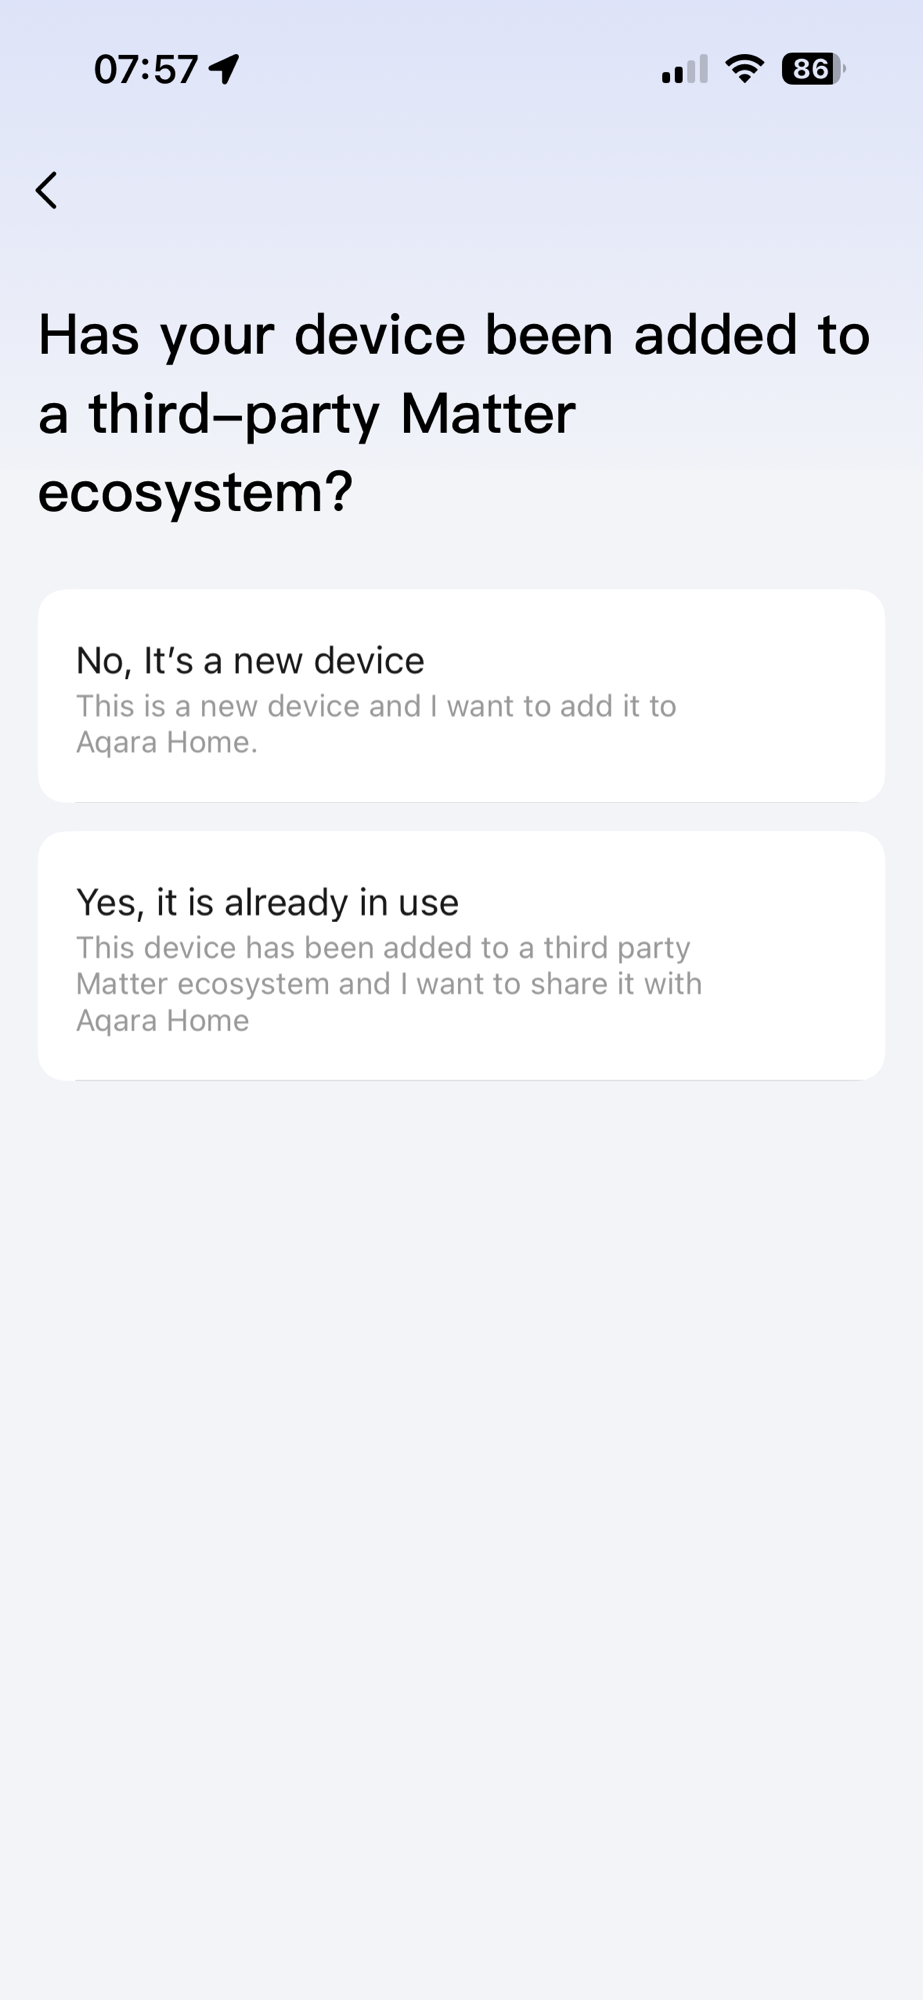
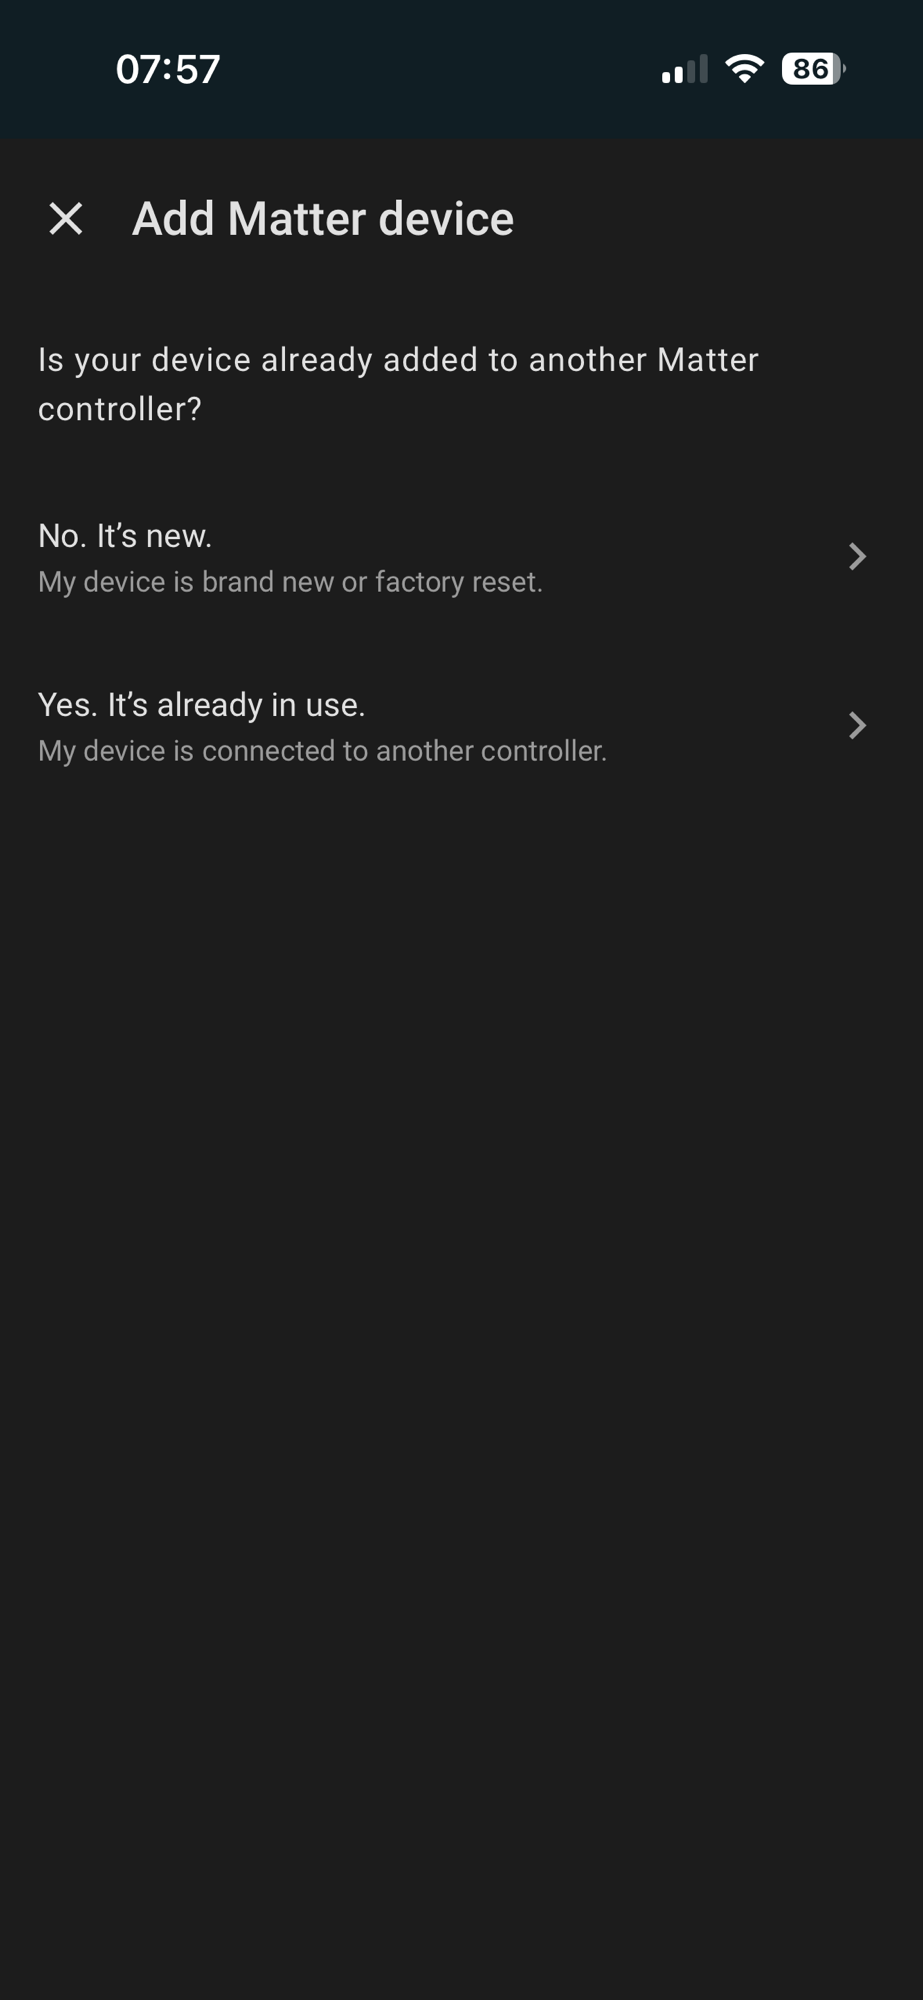
They need to know if they are going to use Bluetooth or the existing network connection for communication.
The ChipSDK backs this up as the pairing_command also has this method:
esp_err_t pairing_command::pairing_code(NodeId nodeId, const char *payload)This was better, as it removed the code parsing step, using the payload value directly.
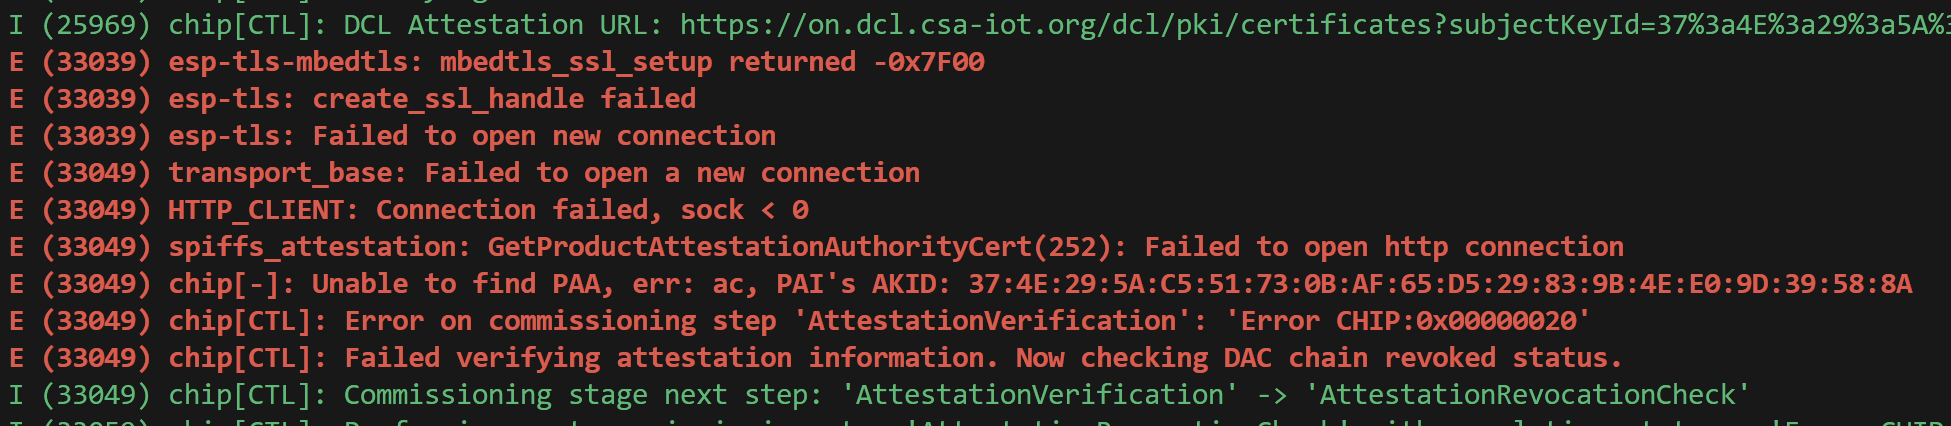
I updated my POST handler to call this method. It almost worked, finding the device using DNS, but failing the Attestation checks!

I ran into this *exact* same issue when trying to pair a Nano leaf bulb using the chip-tool. I don’t have the right production certificates.
I found a few settings in the project related to Attestation.
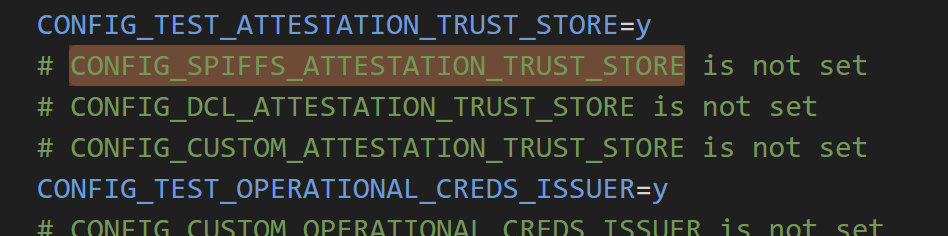
In the case of the chip-tool, I pointed it at a directory full of certificates. For the ESP32, I didn’t want to have to embed all the certificates. I turned on CONFIG_DCL_ATTESTATION_TRUST_STORE. The documentation said this would download the certs on demand, which seemed perfect.
Unfortunately, it didn’t work due to a DNS issue!

once I resolved that, I got different errors:


No matter what tweaks I made, I couldn’t get the attestation certificates to download automatically.
Who cares about Attestation?
After taking a break and making dinner, I realised something; why was I even bothering with attestation?? My temperature sensors aren’t even certified themselves. As a commissioner, it’s up to me whether or not I care about a device being certified.
Google and Apple just warn that the device isn’t certified, but they let you continue all the same. I needed to do the same thing, so I began looking at how to skip attestation. If I can’t skip it, I want to at least ignore the result.
There were a few mechanisms present in the ChipSDK. The first appears to be a way to bypass Attestation completely. I found this in the chip-tool which has a –bypass-attestation argument. This seems to set a mBypassAttestationVerifier variable. Another option is provided by the chip::Credentials::DeviceAttestationDelegate. You can use the callbacks to tell the commissioner to continue, even if Attestation fails.
Unfortunately, neither of those options are available via the esp-matter pairing_command. You can’t configure the bypass variable nor does it implement this interface! They only implement two of the three I have found in other examples 🤬
class pairing_command : public chip::Controller::DevicePairingDelegate,
                        public chip::Controller::DeviceDiscoveryDelegate {
In order to commission the Nano Leaf bulb, I would need to create my own implementation to support the DeviceAttestationDelegate.
To do this, I just copied the existing esp_matter pairing_command which I had been using. I put it into its own namespace and added the DeviceAttestationDelegate.
class pairing_command : public chip::Controller::DevicePairingDelegate,
                        public chip::Controller::DeviceDiscoveryDelegate,
                        public chip::Credentials::DeviceAttestationDelegate {
There are two functions on the delegate
chip::Optional<uint16_t> FailSafeExpiryTimeoutSecs();
void OnDeviceAttestationCompleted(<lots of params>);
I implemented both of these. The first was just empty, returning the optional
chip::Optional<uint16_t> pairing_command::FailSafeExpiryTimeoutSecs() const
{
    return Optional<uint16_t>();
}
The second I copied from the one of the ChipSDK examples
void pairing_command::OnDeviceAttestationCompleted(chip::Controller::DeviceCommissioner *deviceCommissioner, chip::DeviceProxy *device,                                           const chip::Credentials::DeviceAttestationVerifier::AttestationDeviceInfo &info,
chip::Credentials::AttestationVerificationResult attestationResult)
{
    ESP_LOGE(TAG, "Device Attestation Completed with result: %d", static_cast<int>(attestationResult));

    // Bypass attestation verification, continue with success
    auto err = deviceCommissioner->ContinueCommissioningAfterDeviceAttestation(device, Credentials::AttestationVerificationResult::kSuccess);
}
In a nutshell, this tells the commissioner to just continue, calling ContinueCommissioningAfterDeviceAttestation.
With this in place, I updated my POST handler to use *my* version of the command.
heating_monitor::controller::pairing_code(node_id, setupCode);I tried my Nano Leaf bulb again.

You can see the message “Continuing commissioning after attestation failure”!
It went on to fetch the part list and device type list
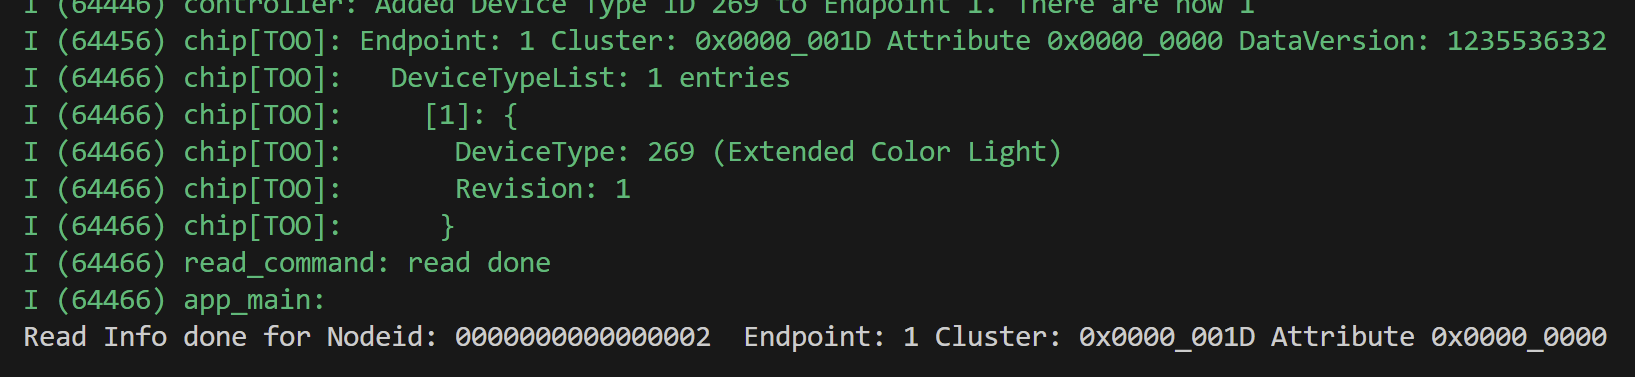
Sadly, my storage model then broke down! The new node id should be 2, not 429496730!! D’oh!
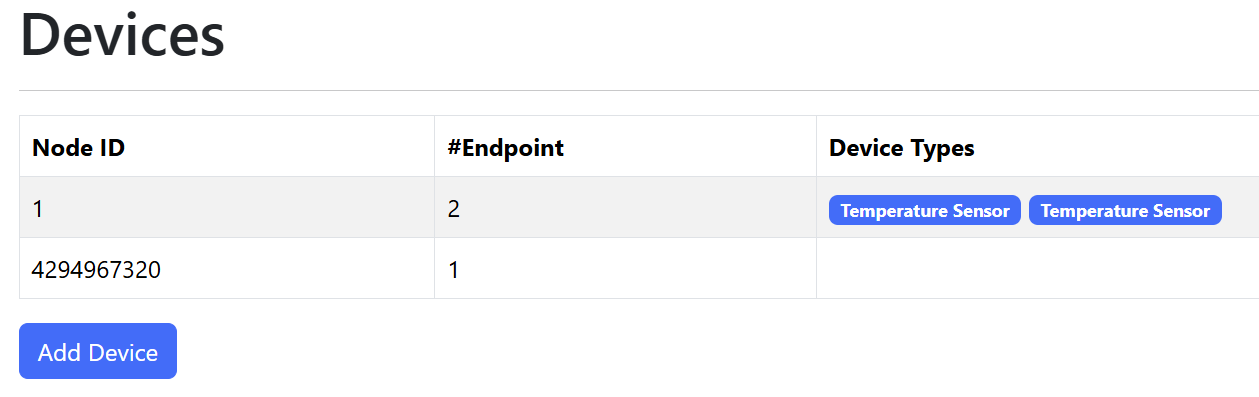
At first, I thought it was my persistence mechanism, but when I logged what was being loaded….

I could see two nodes, with the right IDs (0x0002 and 0x0001).
The GET handler, that build up the JSON, painted a different picture:

The first node was correct, but the second node was all over the place. What was suspicious was that the endpoint id of node 2 was 770. The same value as the device types for endpoint 1 and endpoint 2 of Node 1.
I reviewed my code and realised my mistake. I was using a for loop to iterate across the node_list. I changed this to use the next pattern I’d seen.
matter_node_t *node = g_controller.node_list;

while (node)
{
    cJSON *jNode = cJSON_CreateObject();

    ESP_LOGI(TAG, "Node ID: %llu", node->node_id);
This did it!

Amazing. I now had commissioned a Light bulb.
Summary and Next Steps
I ran into two challenges whilst adding support for setup codes.
The first was parsing the setup code, which turned out to be unnecessary!
The second was Attestation. I worked around that by simply ignoring it, but I did learn a little more about how it worked.
In the end I managed to successfully commission a commercial Matter device!
Whilst this ended up as more of a detour than I planned, my next challenge is getting the values from the Temperature Sensors!
Stay tuned.
Code
All the code is up on Github – https://github.com/tomasmcguinness/matter-esp32-heating-monitor/
Progress to date is under tag 0.0.4
Did you like reading this post?
If you found this blog post useful and want to say thanks, you’re welcome to buy me a coffee. Better yet, why not subscribe to my Patreon so I can continue making tinkering and sharing.
Be sure to check out my YouTube Channel too – https://youtube.com/tomasmcguinness
Thanks, Tom!

Leave a comment