
Whilst looking into the new Commodity Tariff cluster in Matter v1.5, I found myself hitting a problem.
I was trying to build an ESP32 device that share information from Energy Provider using the new clusters. I use a company called Octopus Energy, here in the UK. They offer a comprehensive REST and GraphQL API, which I hoped to use.
However, to use their URL, you must authenticate. This means I needed a way to pass credentials, like an API key, to my Matter device.
My Options
My initial plan was to build a web server on my device, which the user could access after commissioning.
The user would need to commission the device and then remember to open the web page and configure it. The clusters would also be empty until the device was configured correctly. I figured I could use mDNS to make it easy for the user to discover the device. However, what I didn’t like was the process was disjointed. You had to commission the device and then open a URL to configure it. I also couldn’t display the mDNS name as part of the commissioning flow.
Another option in my head, was a to build a custom cluster in my device. I could then build an app that worked with those custom clusters. I love building apps, but this seemed like a lot of effort. It also had a similar problem – knowing you needed the app and what the app was called. If others want to use my device, I’d also need to maintain an app. Or worse, have users to compile their own instance. Not great.
I felt like Matter had to have some way to perform out-of-band configuration in a discoverable way.
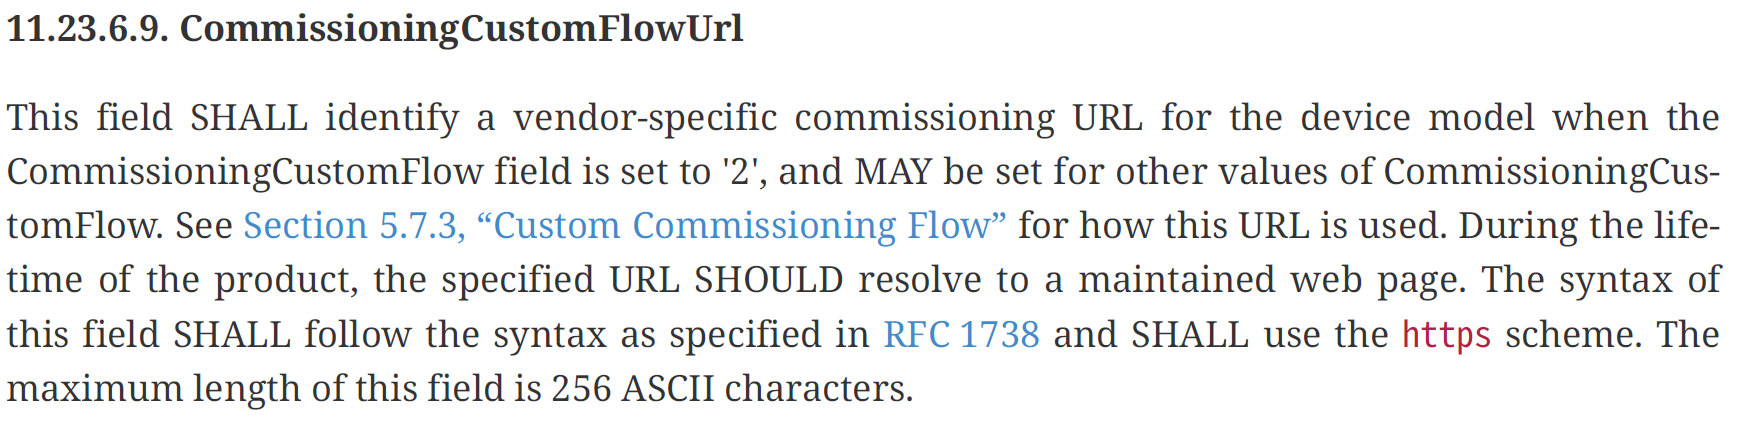
After a lot of reading and re-reading of the Commissioning section, I found this in section 4.3.1
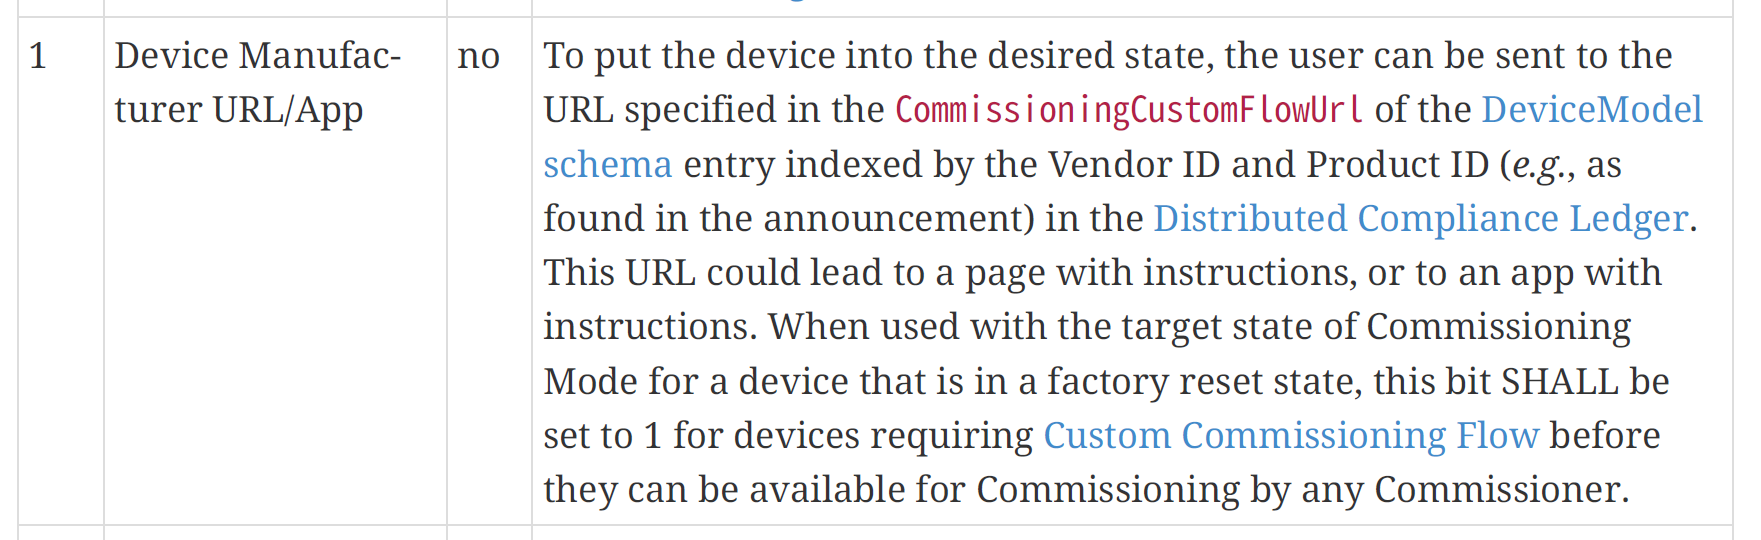
This seemed like what I was after. During commissioning, this URL could be returned and displayed to the user. It needed the DCL (distributed commissioning ledger), which I knew nothing about, but I didn’t let that concern me.
I could put my mDNS name in this CommissioningCustomFlowUrl.
Sadly, this was torpedoed for two reasons. First, my device wouldn’t be on the network at this point as it wasn’t commissioned. This would make my web server inaccessible! Second, the URL needed to use https!
I needed https and, for experience, mDNS, .local and HTTPS don’t go together.
Bluetooth to the rescue?
So the URL would work, but the device wouldn’t be commissioned, so IP access would be impossible. I then had a brainwave. What about Bluetooth? Most modern browsers can now access Bluetooth. I could build a web page that connected to my device over Bluetooth and allowed the user to configure it.
Once connected to my energy provider, it could then be commissioned into my Matter fabric!
I set to work. In a basic HTML page, I added a button and a function
async function bluetooth() {
const options = {
"acceptAllDevices": true
}
navigator.bluetooth.requestDevice(options)
.then(device => {
console.log('> Name: ' + device.name);
console.log('> Id: ' + device.id);
console.log('> Connected: ' + device.gatt.connected);
})
.catch(error => {
console.log('Argh! ' + error);
});
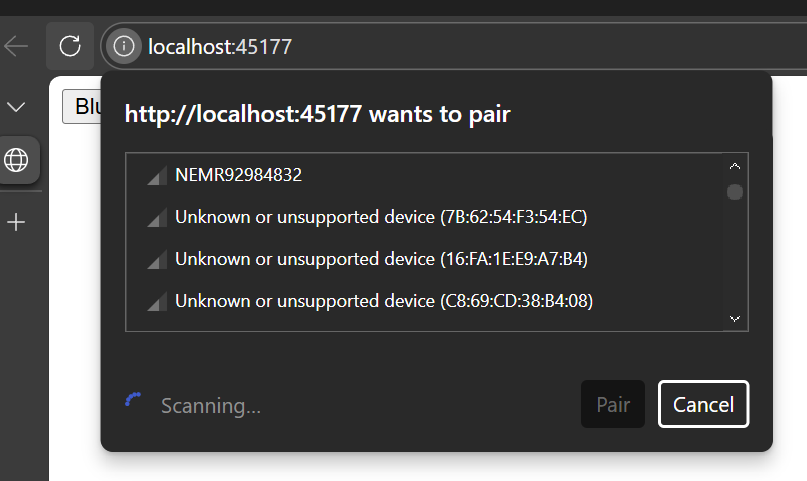
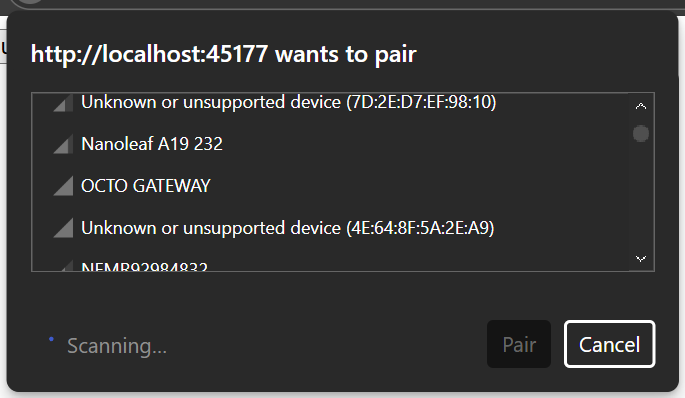
}This worked, showing a list of Bluetooth devices that were advertising
On the ESP32 side, I butchered one of the examples and got it working.
esp-idf/examples/bluetooth/ble_get_started/nimble/NimBLE_GATT_ServerI removed the Heart Rate monitor service and changed the device’s name.
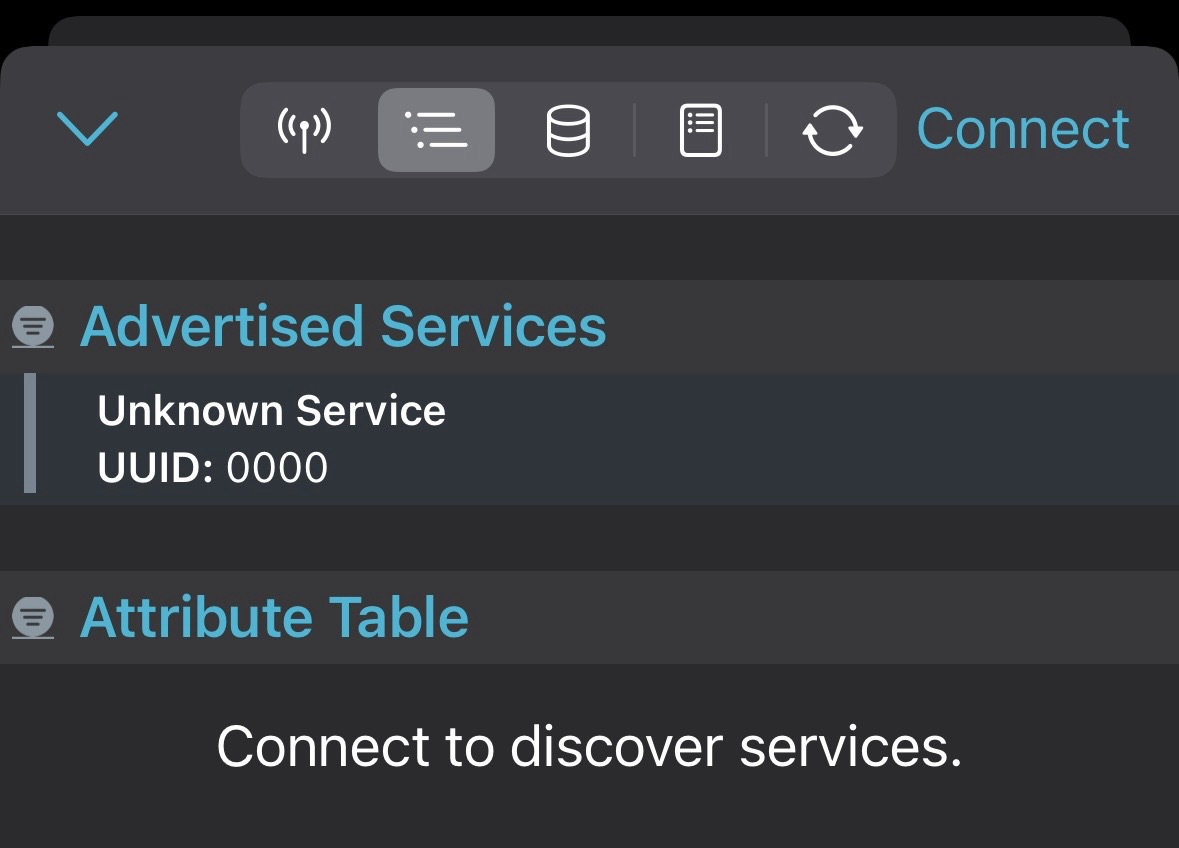
Using the nRF For Mobile app, I was able to see the Automation service and write to the LED.

What’s in a name?
The first challenge was making it easy to find the device from the HTML page. Have a long list of “Uknown or unsupported device” is hardly usable.
After some tinkering, I found that the name of my device, OCTO GATEWAY, was there. It was just lost in a sea of devices.
Thankfully, the Bluetooth SIG had a solution for this – devices could advertise their services, making it easy to filter.
I added the LED service to my advertising payload
adv_fields.uuids128 = (ble_uuid128_t[]) {
    led_chr_uuid
};
adv_fields.num_uuids128 = 1;
adv_fields.uuids128_is_complete = 1;
That wasn’t like.

Error 4, I think, means the message is too large.

I decided to just try and a shorter service identifier.
adv_fields.uuids16 = (ble_uuid16_t[]) {
    BLE_UUID16_INIT(0x2001)
};
adv_fields.num_uuids16 = 1;
adv_fields.uuids16_is_complete = 1;
This worked and my service was visible (even if the ID looked wrong)
I modified my Javascript function to filter by the service.
async function bluetooth() {

const options = {
    filters: [
        { services: [0x2001] },
    ],
};
Sadly, that filtered out everything.
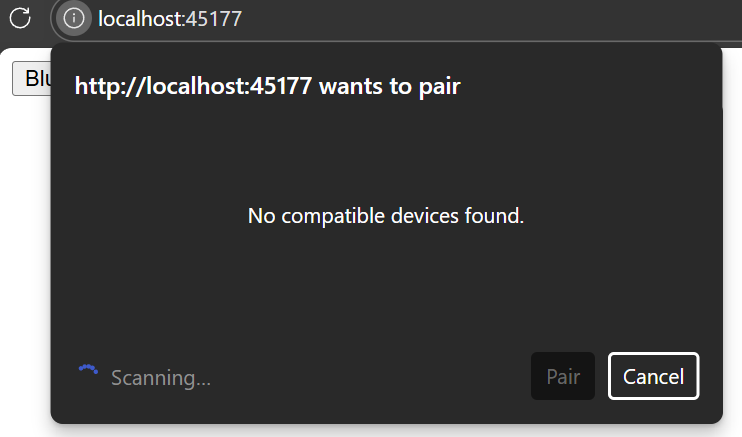
I then tried a different approach. I shortened the device name to OCTO and restored the 128 bit service identifier. That didn’t work either.
After an hour or two, I gave up and opted for a simple Name filter!
const options =
{
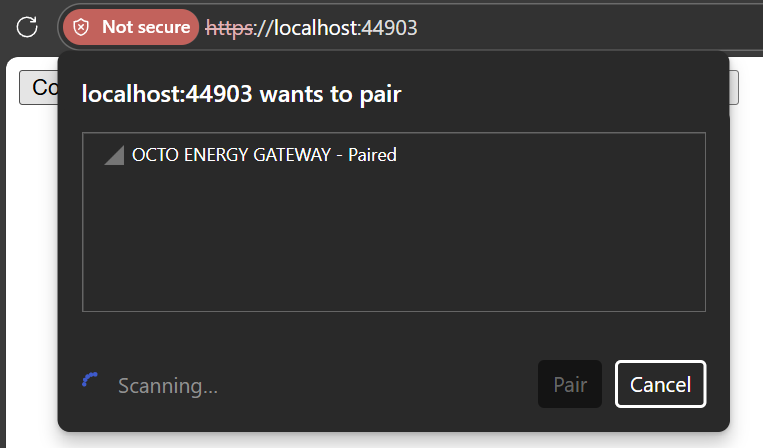
filters: [{ namePrefix: "OCTO"}],
};This worked, showing me the device
Connecting & Writing a value
With the ability to select a device, I then tried to connect and write a value.
First, was connecting. This is done using
return device.gatt.connect();This returns an instance of the GATT server.
To write a value, it’s a case of getting the service, then the characteristic and then writing a value.
g_gatt_server.getPrimaryService(0x1815)
  .then(service => service.getCharacteristic("00001525-1212-efde-1523-785feabcd123"))
  .then(characteristic => characteristic.writeValue(Uint8Array.of(1)))
  .then(_ => console.log('Value written.'))
  .catch(error => console.error(error));
Initially this complained, since I had declared the service. I updated my options to include this
const options =
{
  filters: [{ namePrefix: "OCTO" }],
  optionalServices: [0x1815]
};
This code worked, turning on the LED

but then immediately disconnected from the device, citing a NotSupportedError

After some reading, I realised the issue was the *way* I was performing the write.
I updated my javascript to write without expecting a response and bingo!
.then(characteristic => characteristic.writeValueWithoutResponse(Uint8Array.of(1)))I was able to write over and over again!
Getting QR code
I was now able to write to a characteristic over Bluetooth. This would be something I could tweak easily enough, letting me write a string or key.
As a final challenge to myself, I thought it might be cool to pop up the Matter QR code. Once the device had communicated with my energy provider, it could fetch the QR code. This would indicate the device was ready for commissioning and make the experience pretty seamless for the user.
The basic code to print out the pairing codes is this:
node::config_t node_config;

node_t *node = node::create(&node_config, NULL, NULL);
ABORT_APP_ON_FAILURE(node != nullptr, ESP_LOGE(TAG, "Failed to create Matter node"));

err = esp_matter::start(app_event_cb);
ABORT_APP_ON_FAILURE(err == ESP_OK, ESP_LOGE(TAG, "Failed to start Matter, err:%d", err));

PrintOnboardingCodes(chip::RendezvousInformationFlags(chip::RendezvousInformationFlag::kBLE));
PrintOnboardingCodes is doing all the heavy lifting, but this function only works once Matter is started. This is because the Commissioning data (passcode, discriminator etc) need to be loaded. This is done automatically by starting the Matter stack, which I wasn’t doing.
I had a go at setting up the CommissioningDataProvider outside of start(), but I failed miserably.
At this stage, I had explored the concept enough to prove it could work, so I parked it.
Summary
This was a quick experiment to see if I could configure a device via Bluetooth. The approach seems to have legs.
To test the loop completely, I would need to get my URL into the DCL. I reached out to the CSA to see about getting access, but I’m not hopeful.
That said, I’ll try and flesh out the webpage *anyway*. It will work regardless of DCL inclusion. I’ll also try and get the QR thing working.
I also would love to understand why the filtering using services doesn’t work. I know this API is experimental, but it would be nice to understand what I’m doing wrong.
Thanks for reading!
Did you enjoy this post?
If you found this blog post useful and want to say thanks, you’re welcome to buy me a coffee.
Be sure to check out my YouTube Channel too – https://youtube.com/tomasmcguinness
Thanks,
Tom!

Leave a comment