
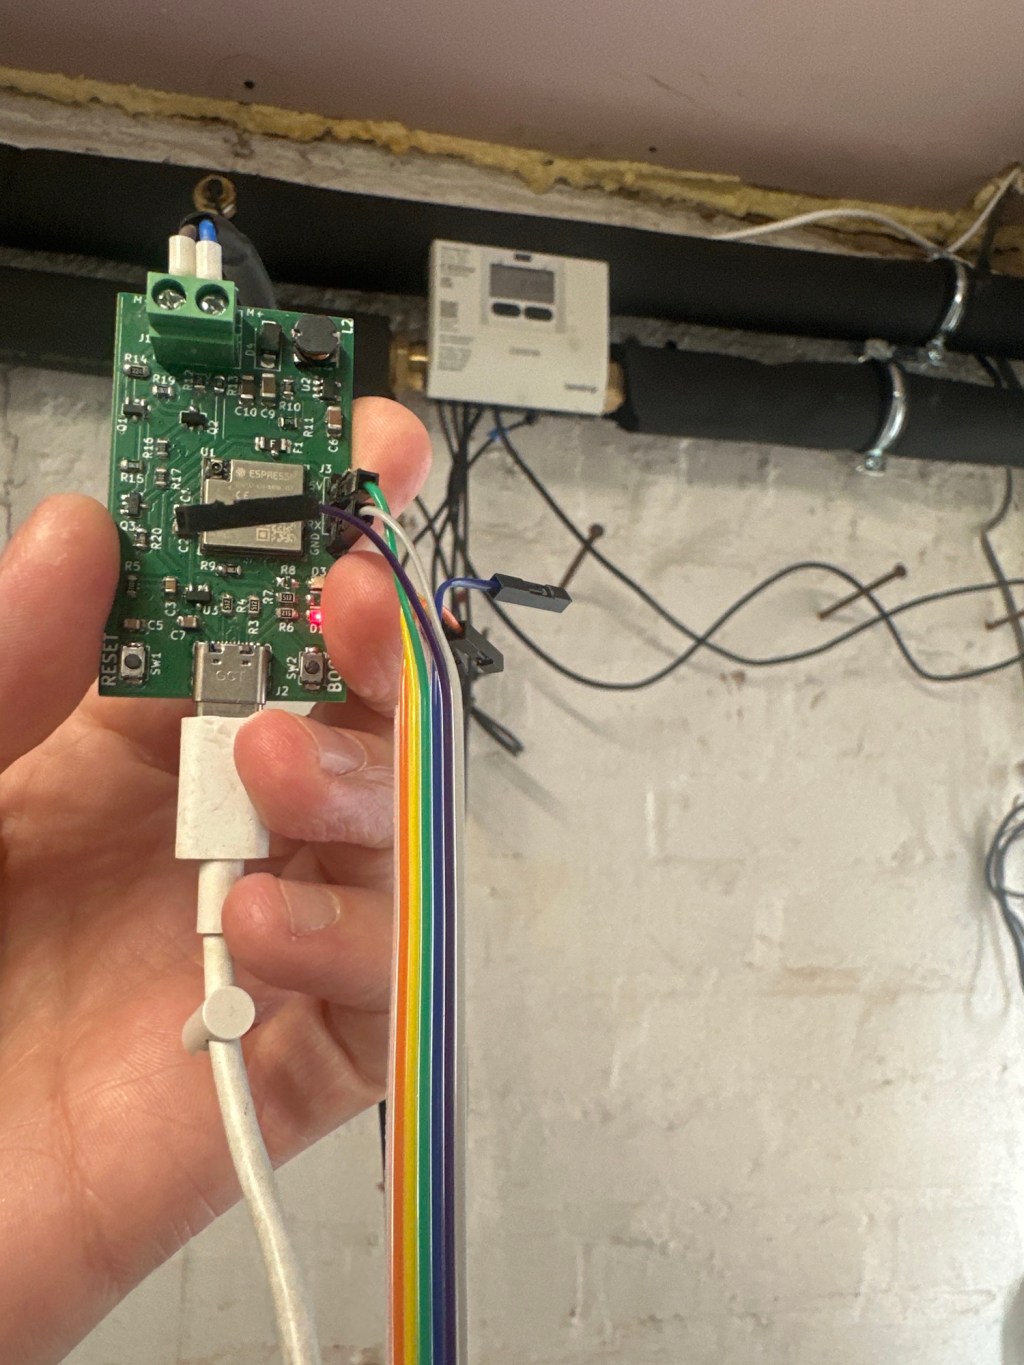
The initial desktop testing of my MBus adapter went very well – you can read more here – MBus ESP32 Adapter – First MBus test.
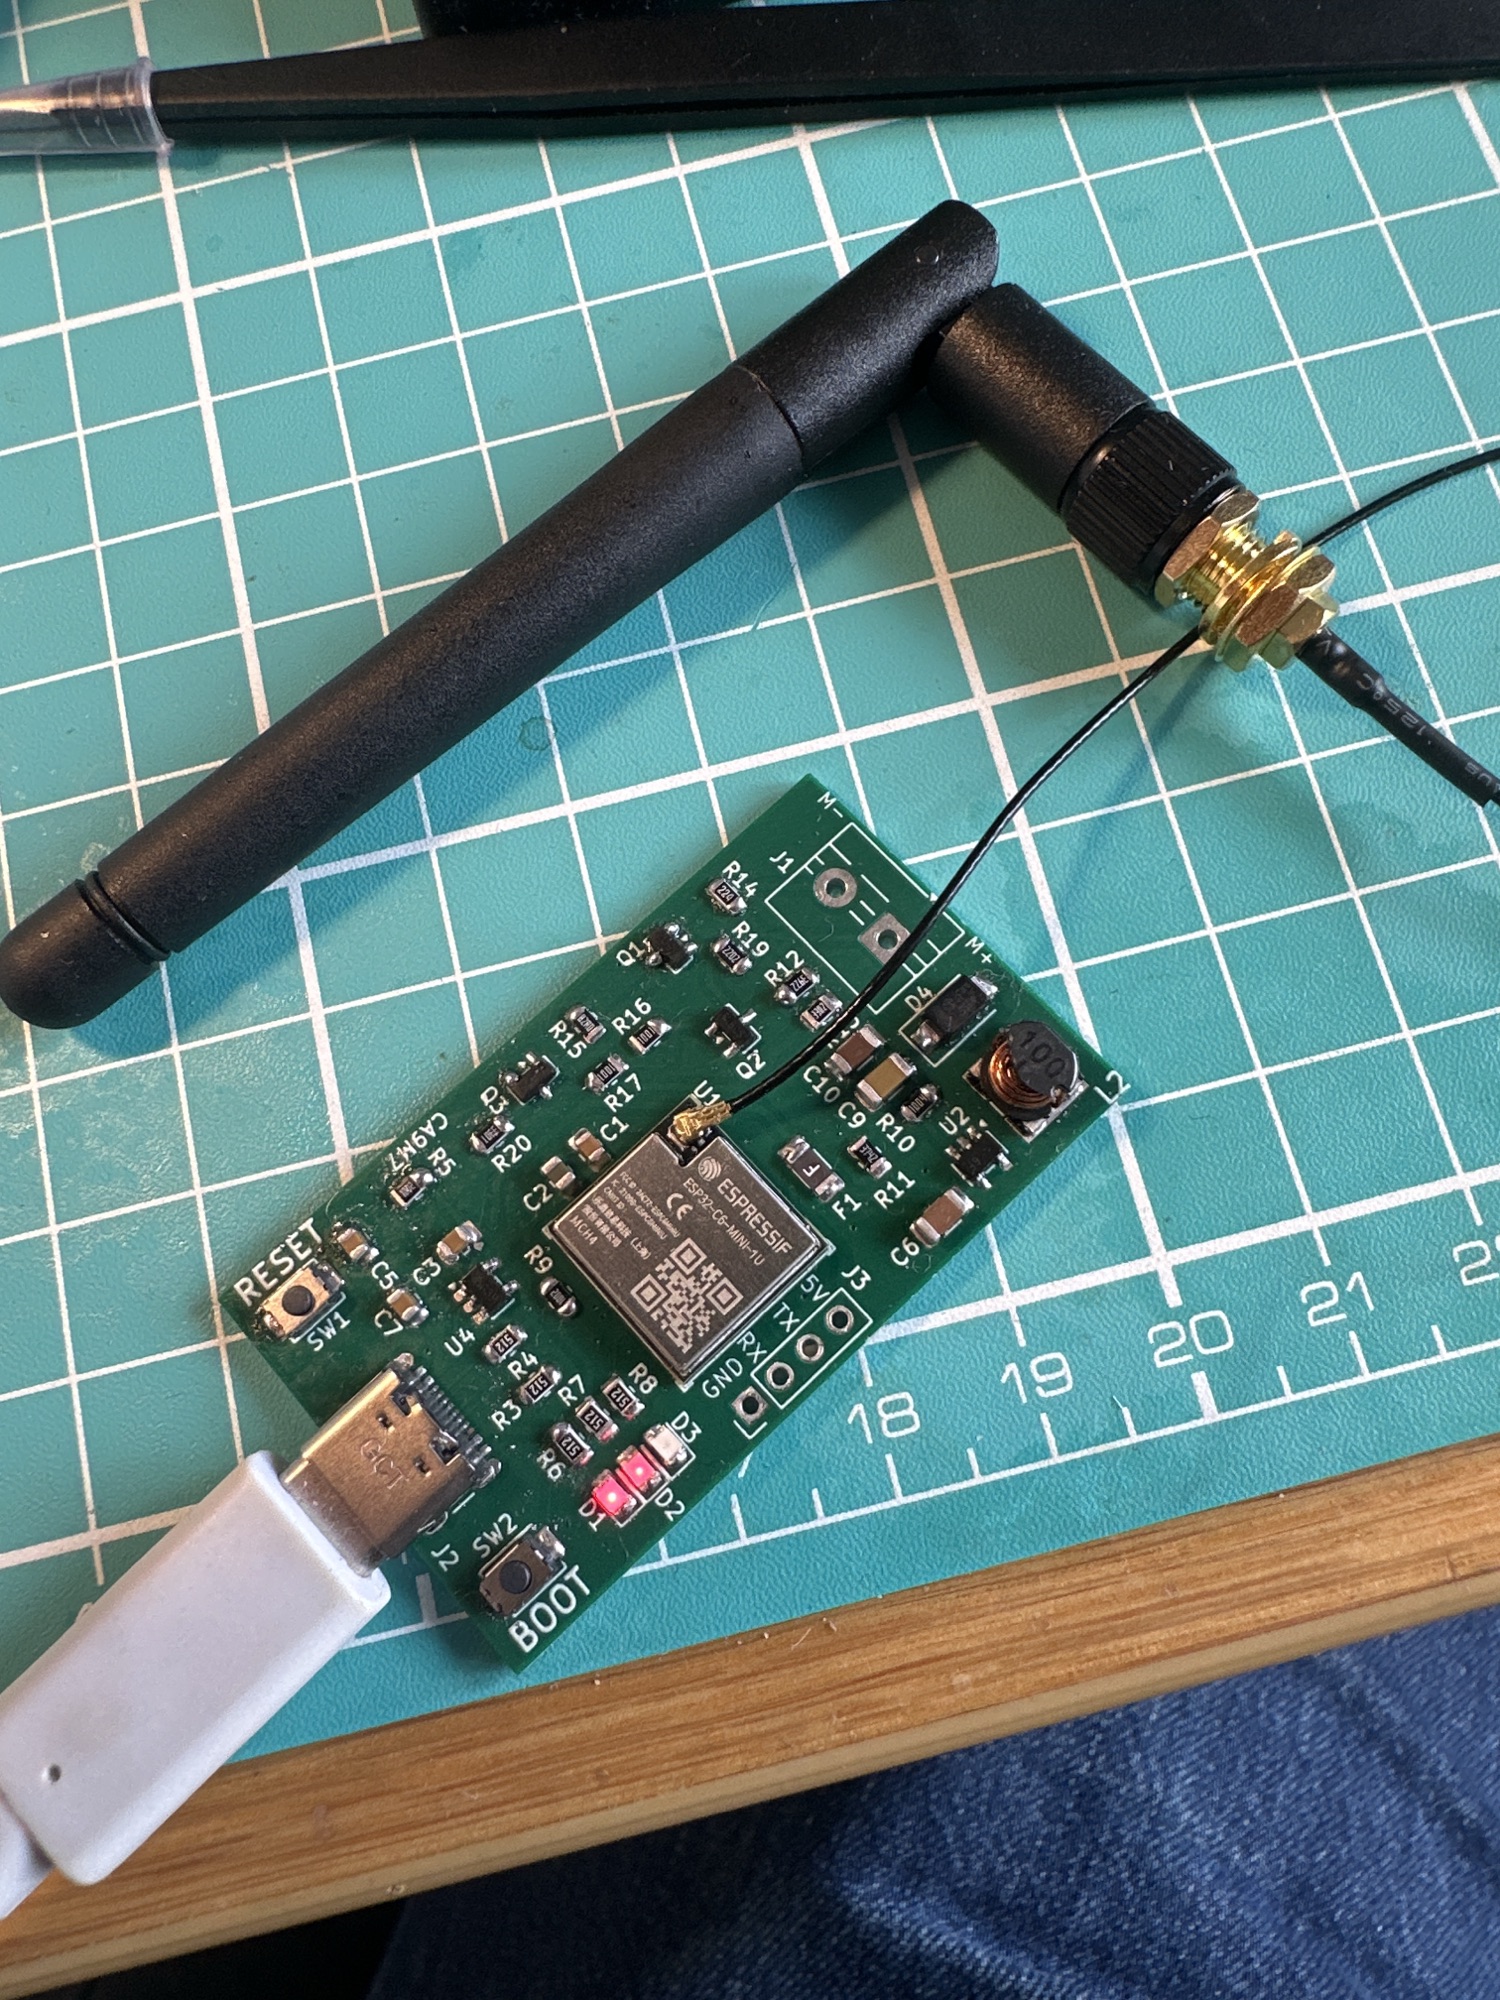
But there is a big gap between bench testing and the real world. In this post, I want to document my attempts to use my adapter to read a real MBus device – my Kamstrup Heat Meter

I planned to expose the Heat Meter readings over Matter, using some custom firmware I had written for my board.
Moar power!
Since testing the original version of the board, Revision F, I had updated the design to include a larger LDO, capable of delivering 600mA of power.
Testing with an actual meter
To perform this testing, I had a few hoops to jump through! Mostly because of the location and issues with my primary laptop. I had to dig out my trusty Dell XPS!
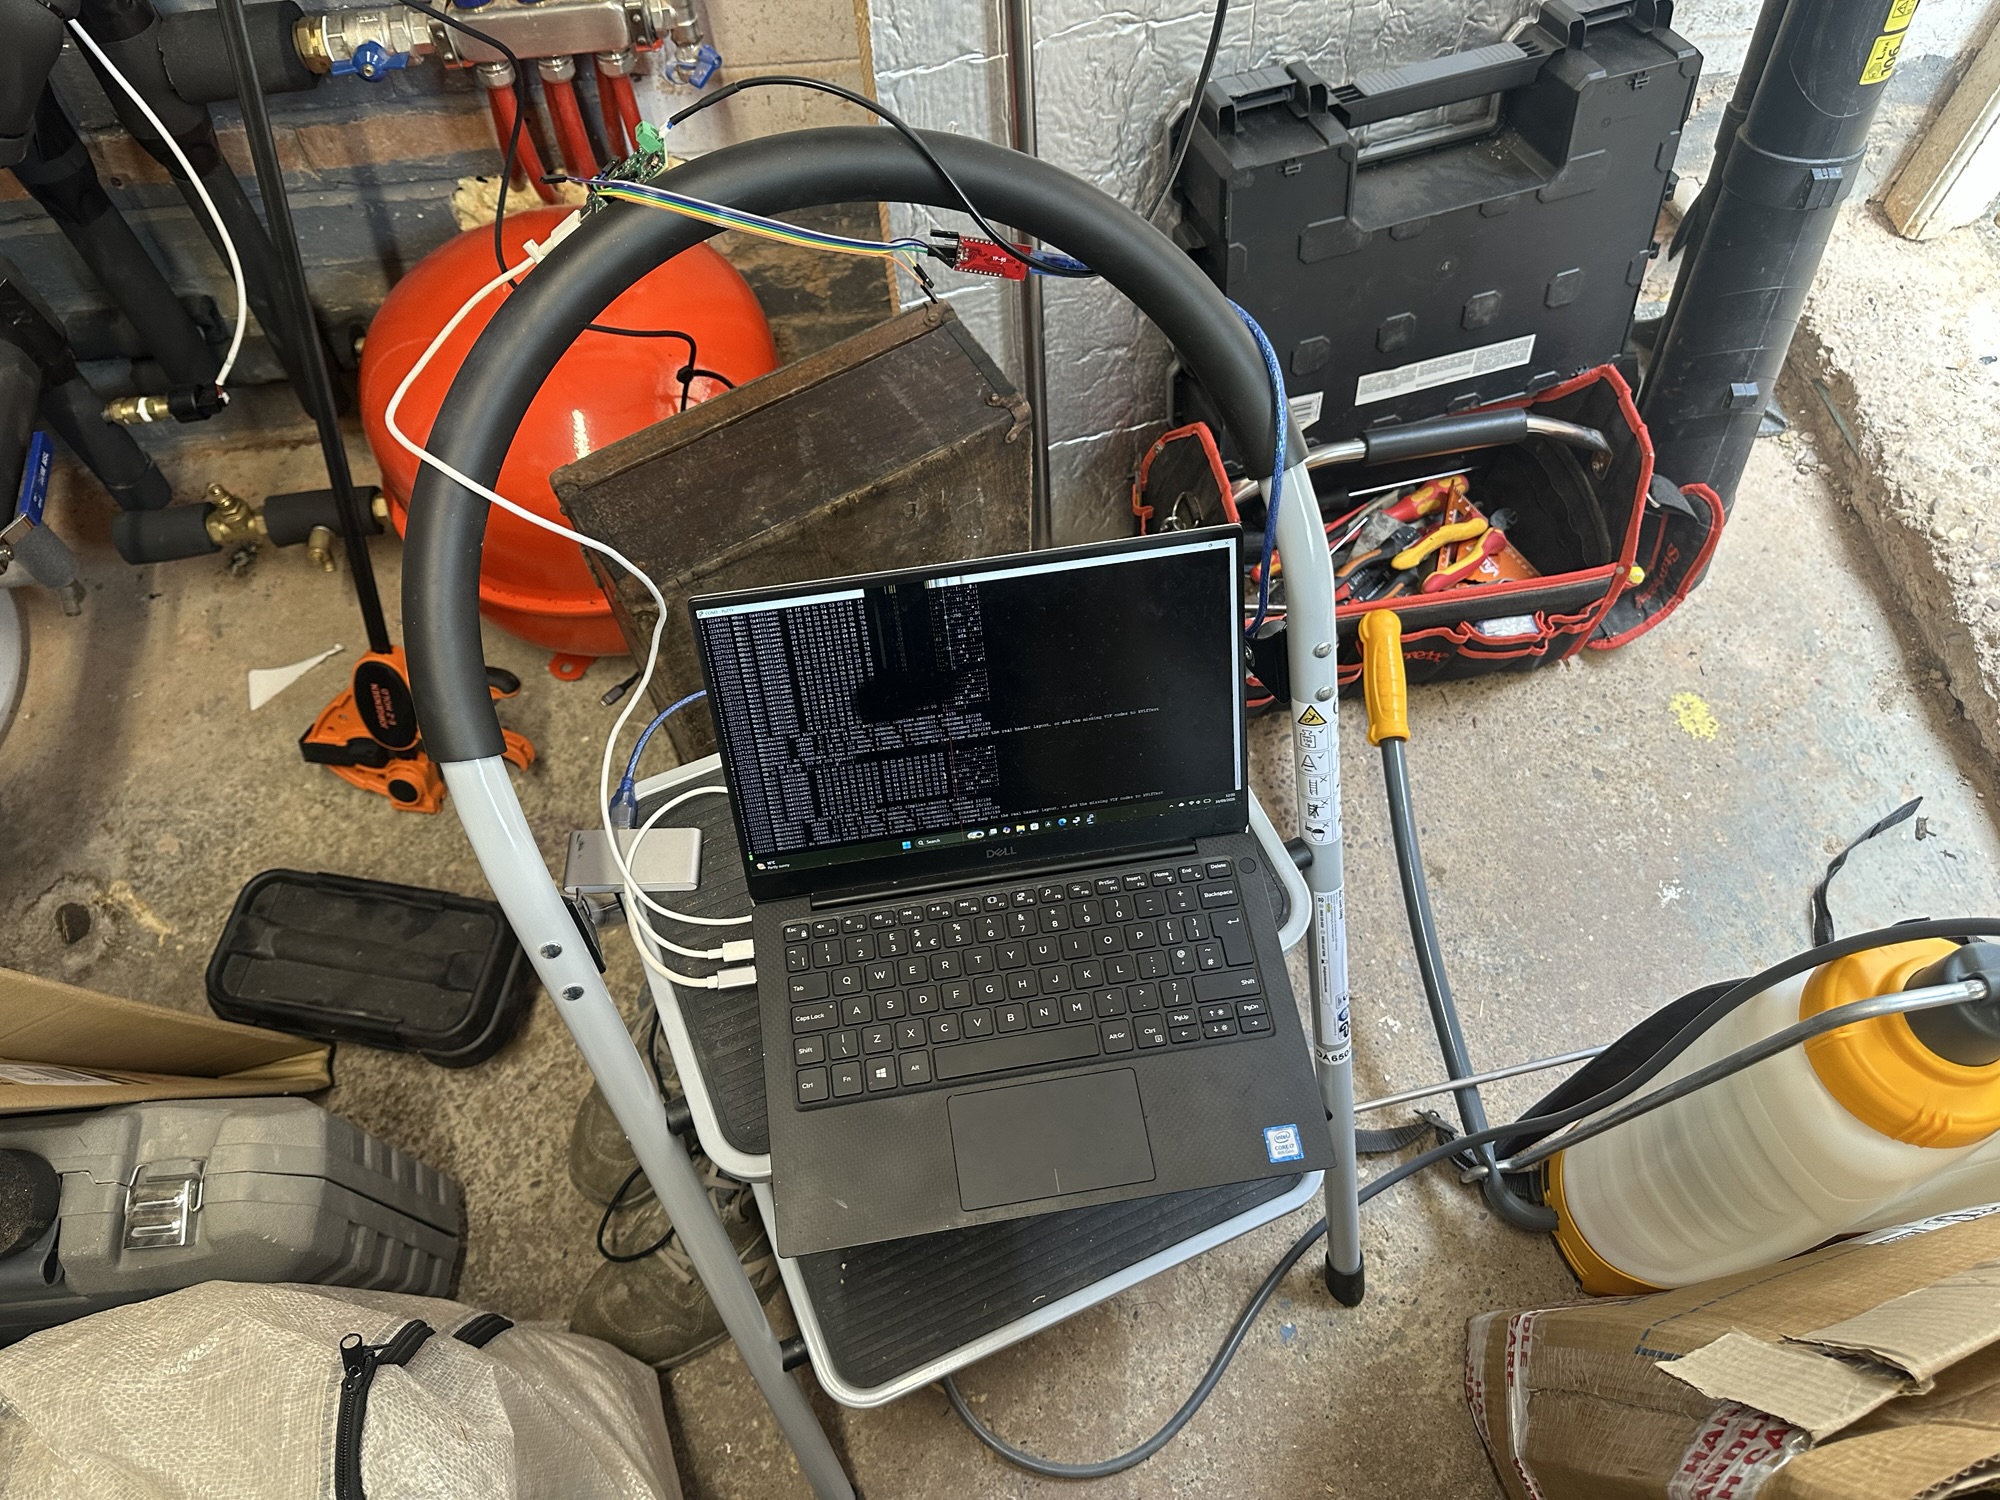
To make debugging easier, I started to use the UART output terminals I added to my board. This meant I didn’t need to keep hopping into WSL (Windows Subsystem for Linux) when I wanted to view the console ouput. This involved adding a header terminal and connecting a YP-05 UART to USB adapter (the first firmware related gizmo I ever bought)
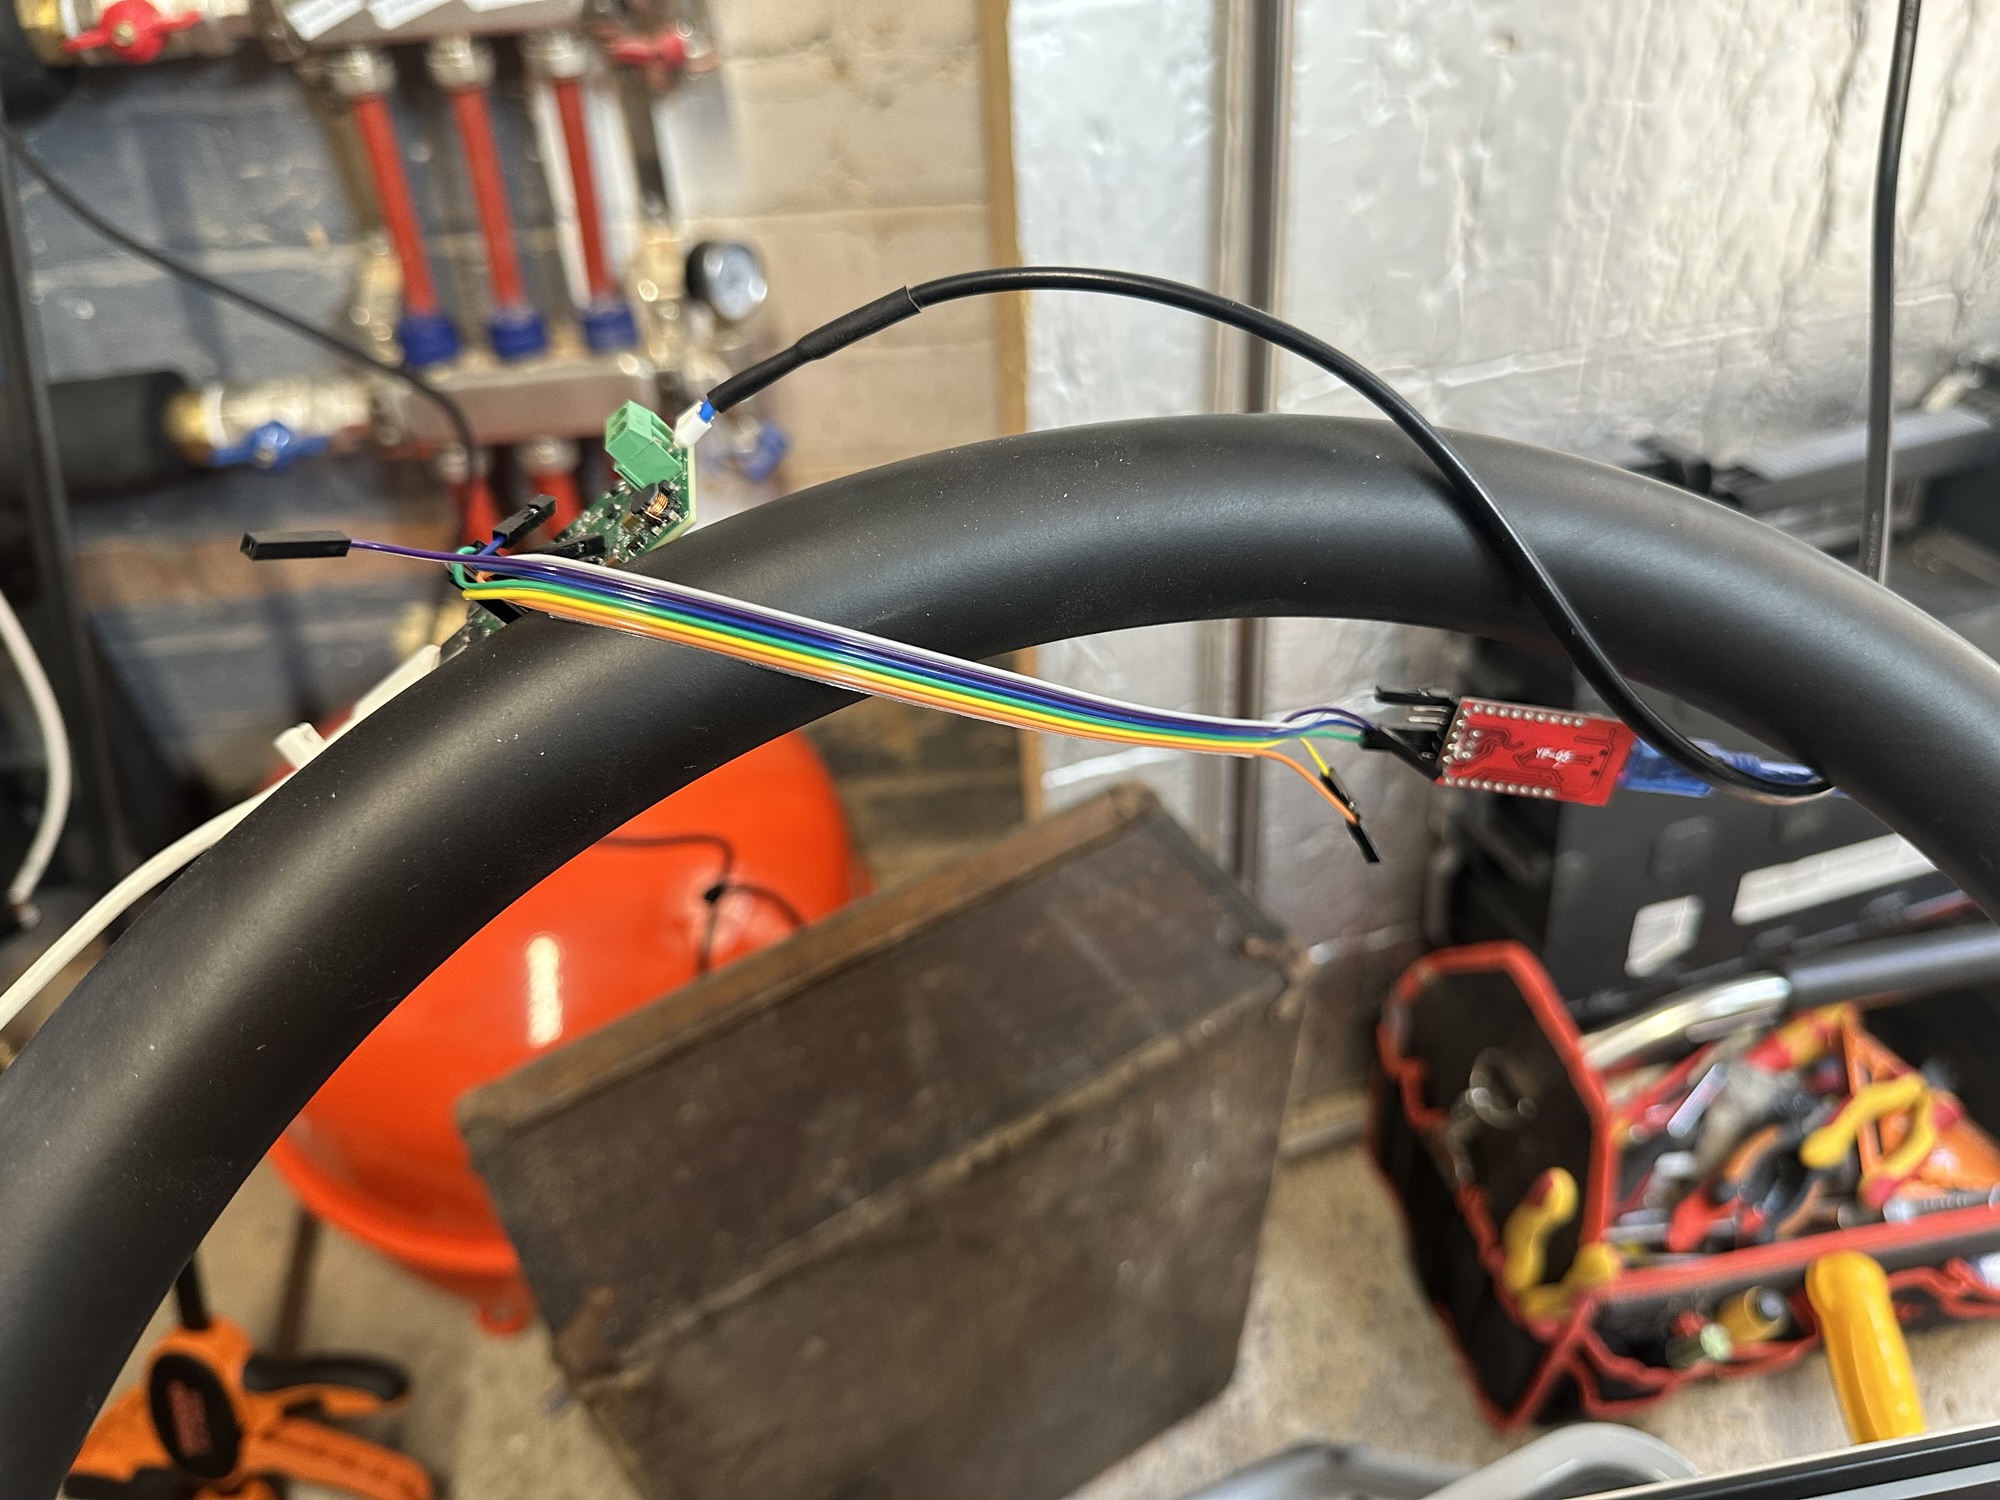
I used the USB connection for power. Word to the wise here. The YP-05 can use 5V or 3.3V (configured via a jumper). I fried one of my ESP32 modules by mistakenly using 5V!
I wired the M+ and M- wires from the 403 into my board (polarity doesn’t matter) and *amazingly*, I received 205 bytes of data from my query! Holy S**T!!
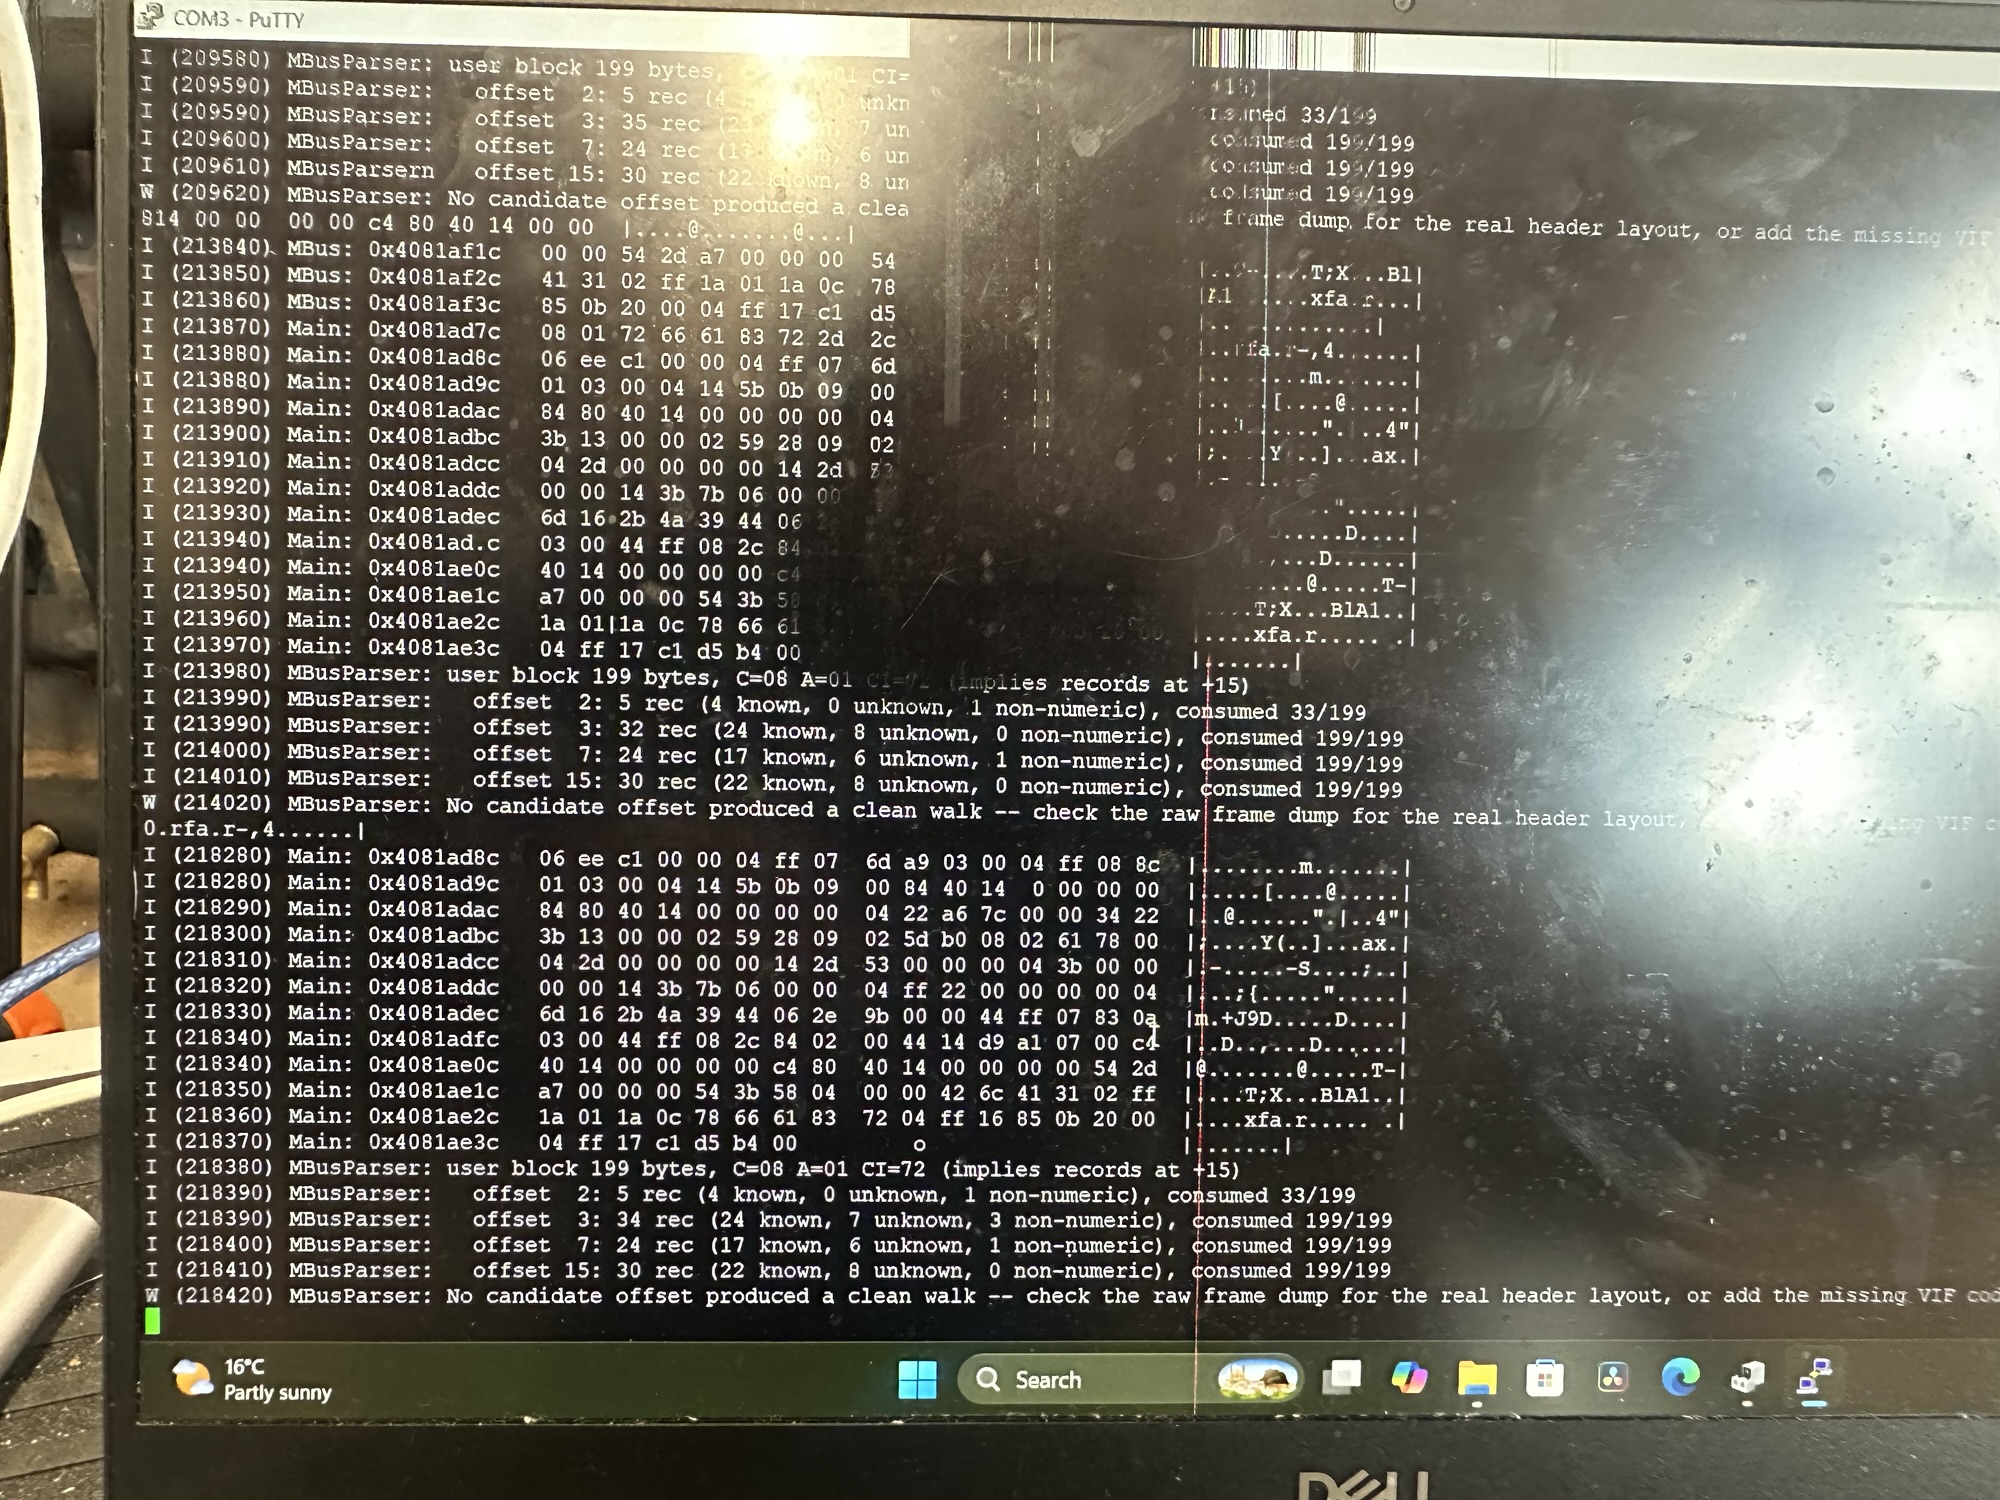
The MBusParser reported failure, because it was expecting values from the Arduino MBus Meter test I had configured it for. The fact it successfully received, verified (checksum was correct) and parsed 205 bytes was amazing!!
Displaying Real Values
I gave Claude the glamorous job of getting all the field values and add them to the firmware, so they could be understood. After flashing and reconnected, it read out some of the values:
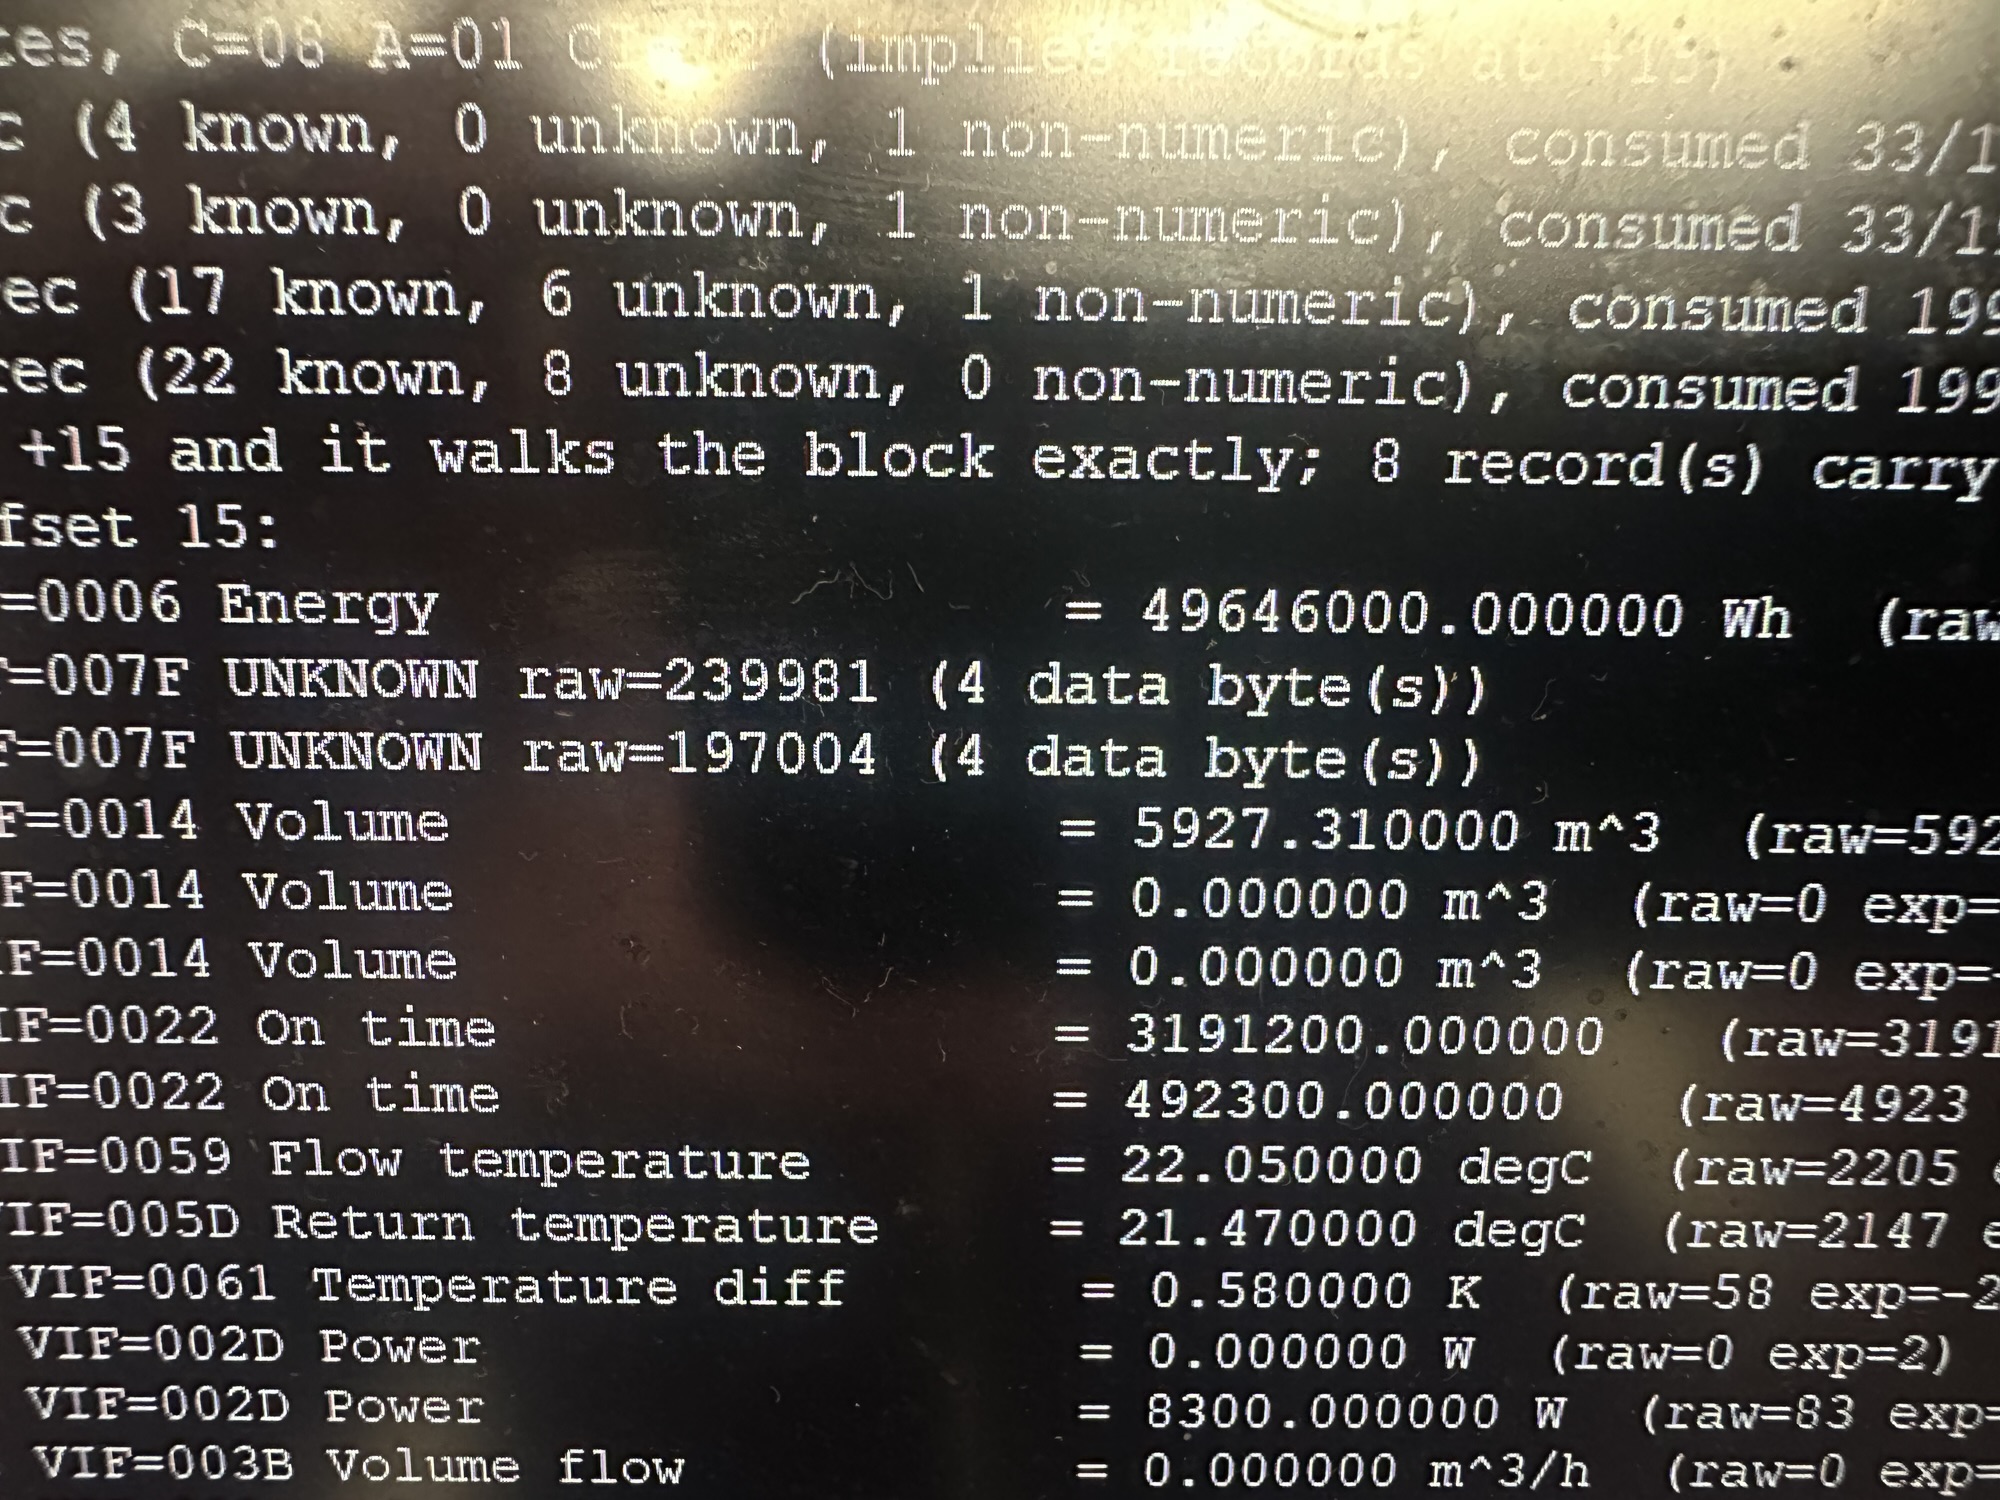
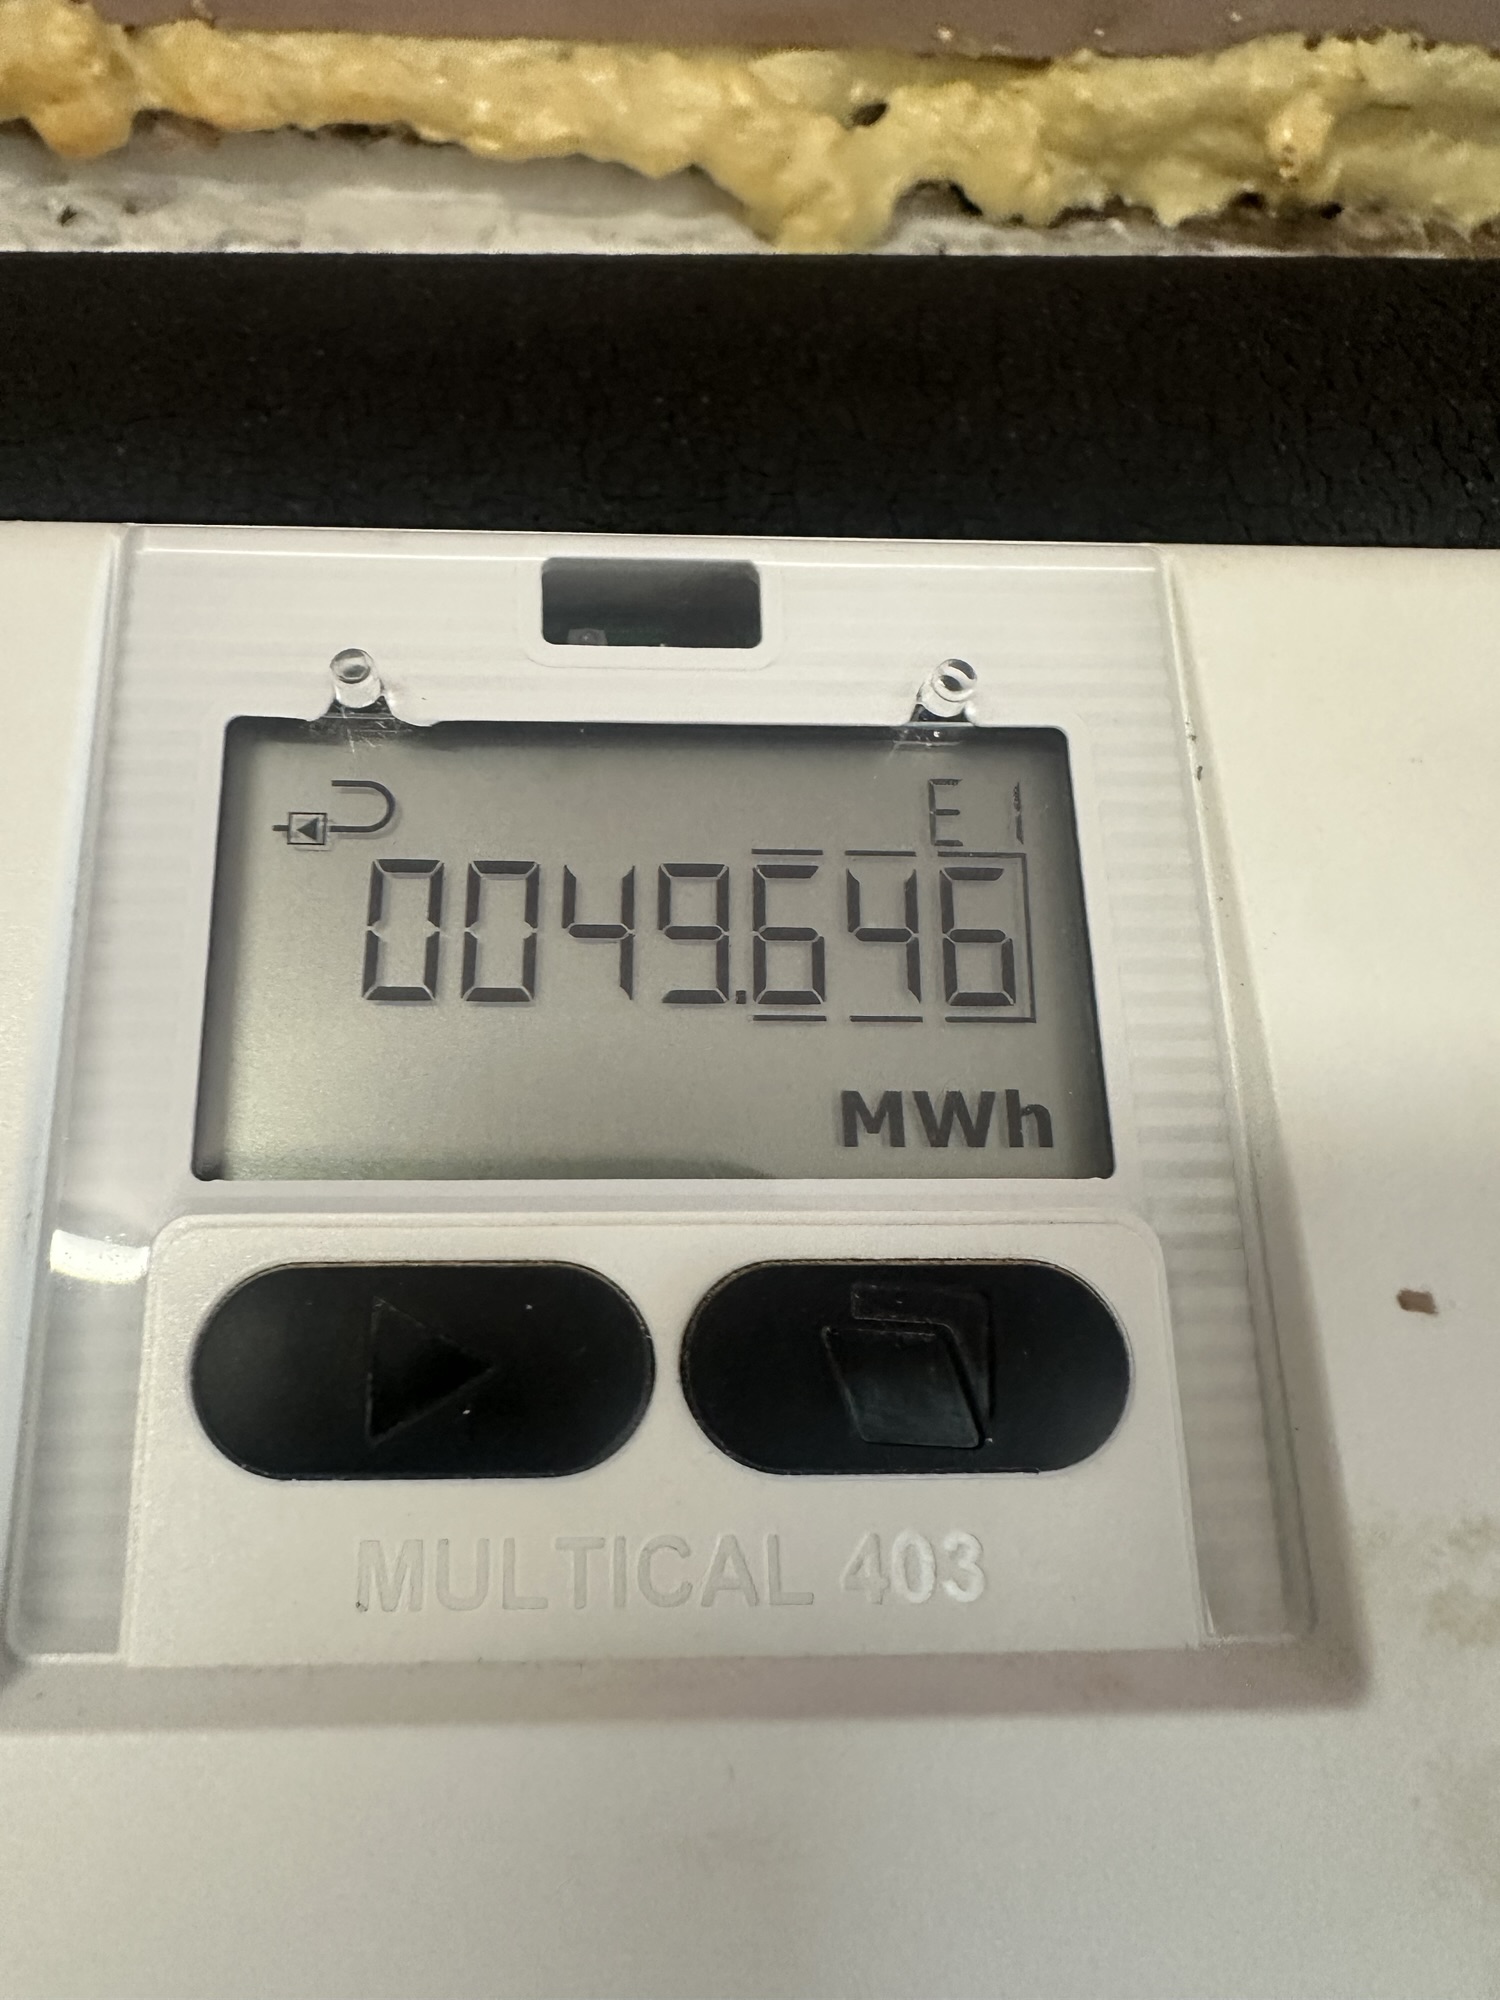
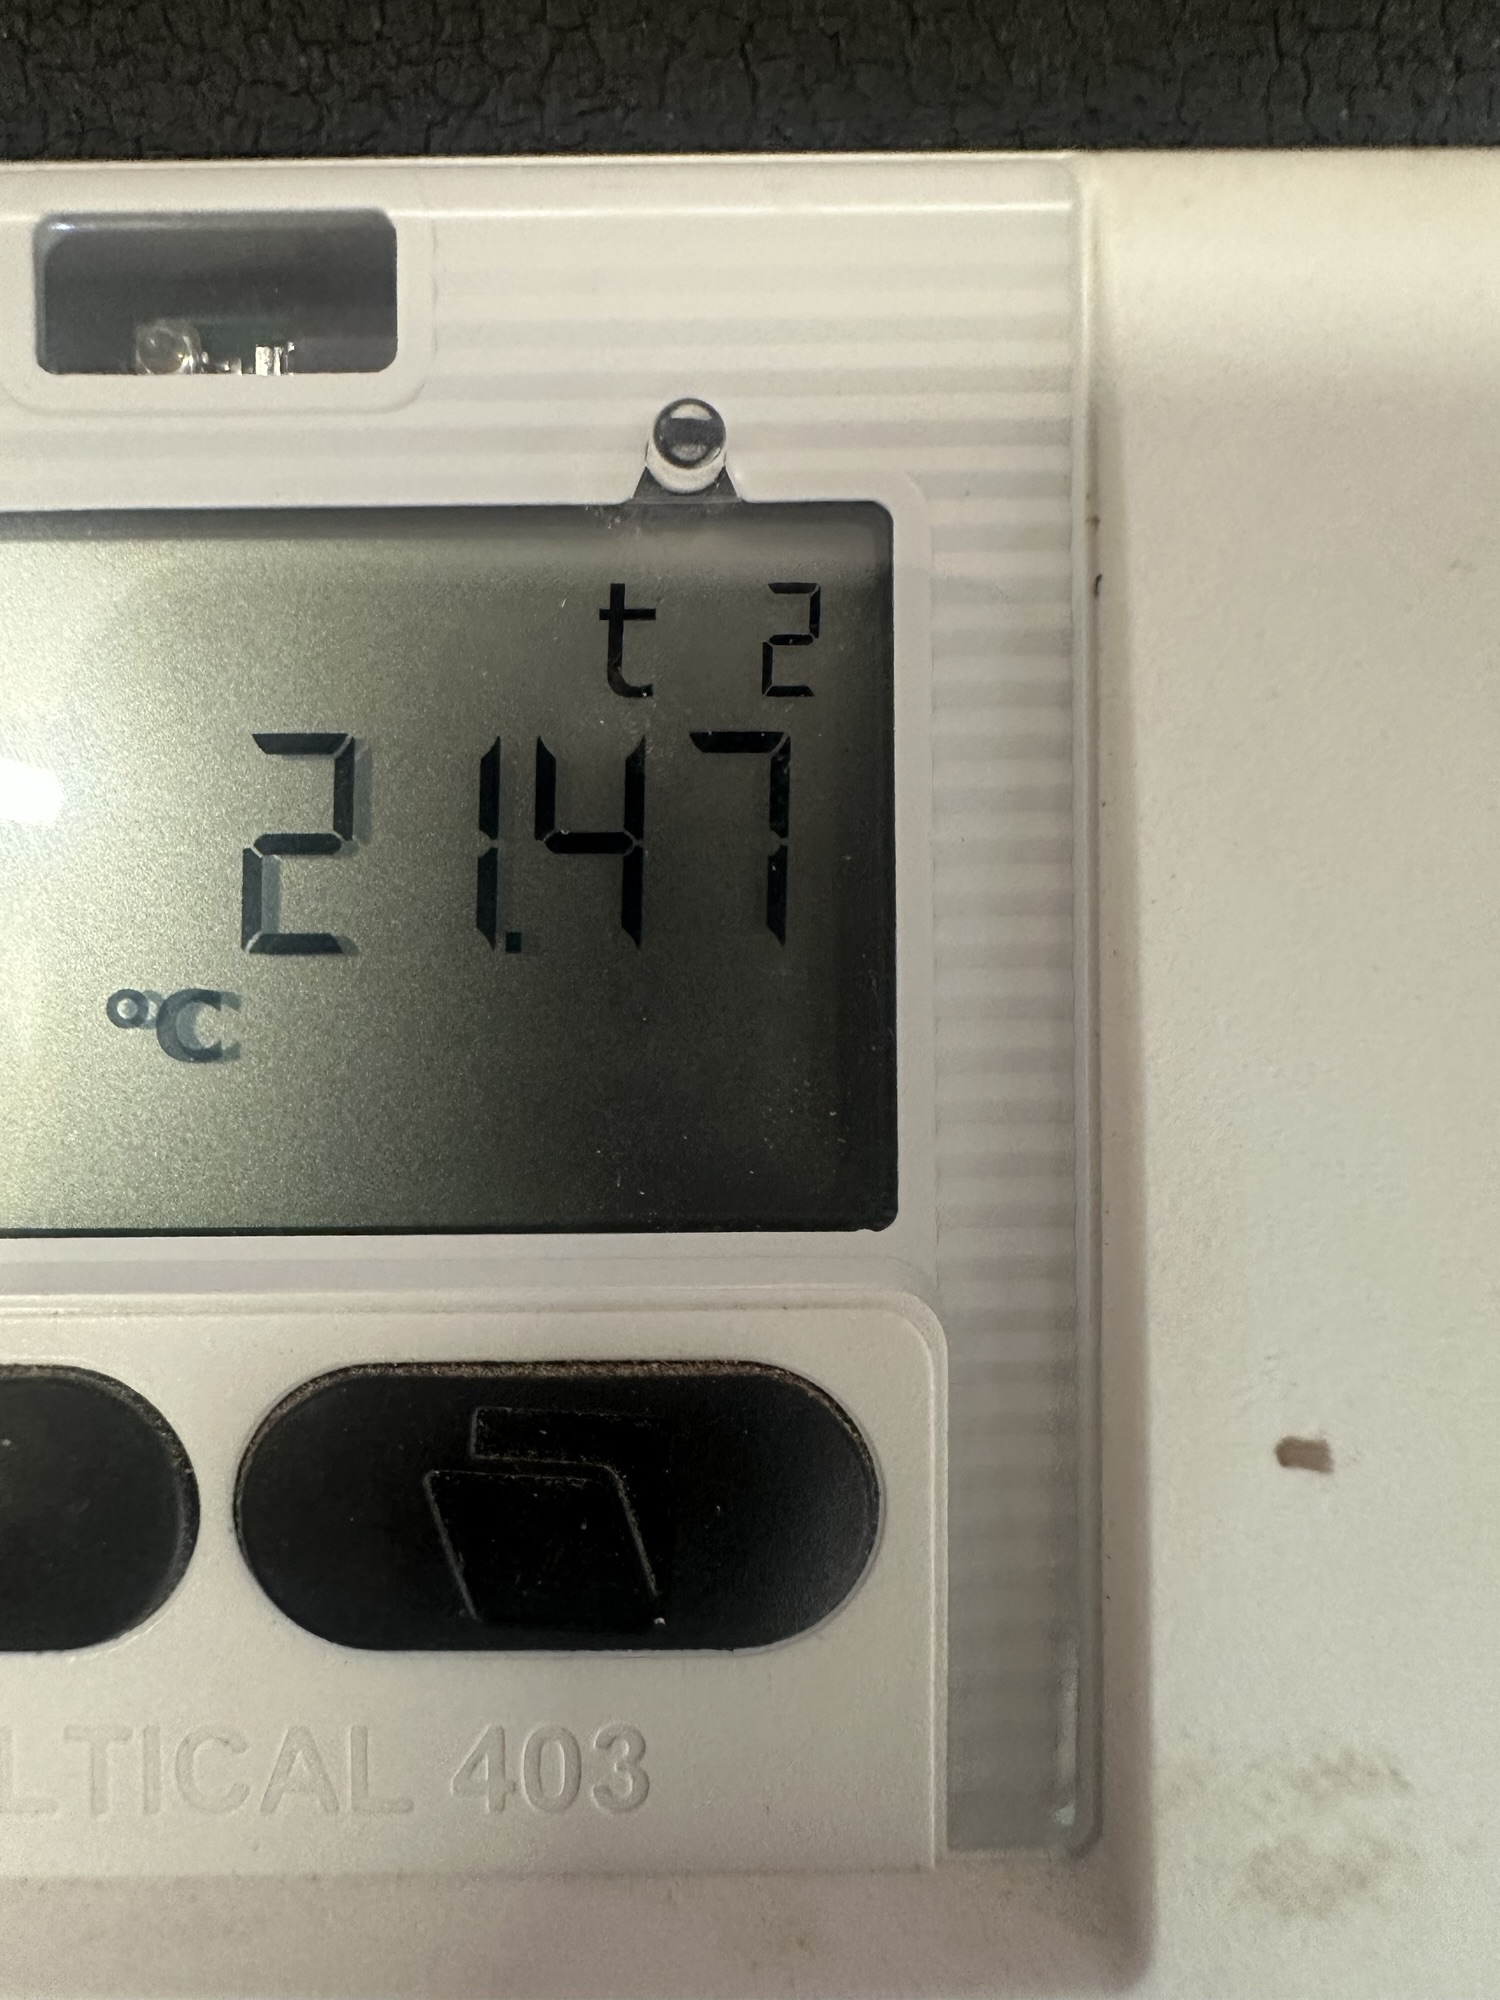
The energy at the top was spot on!
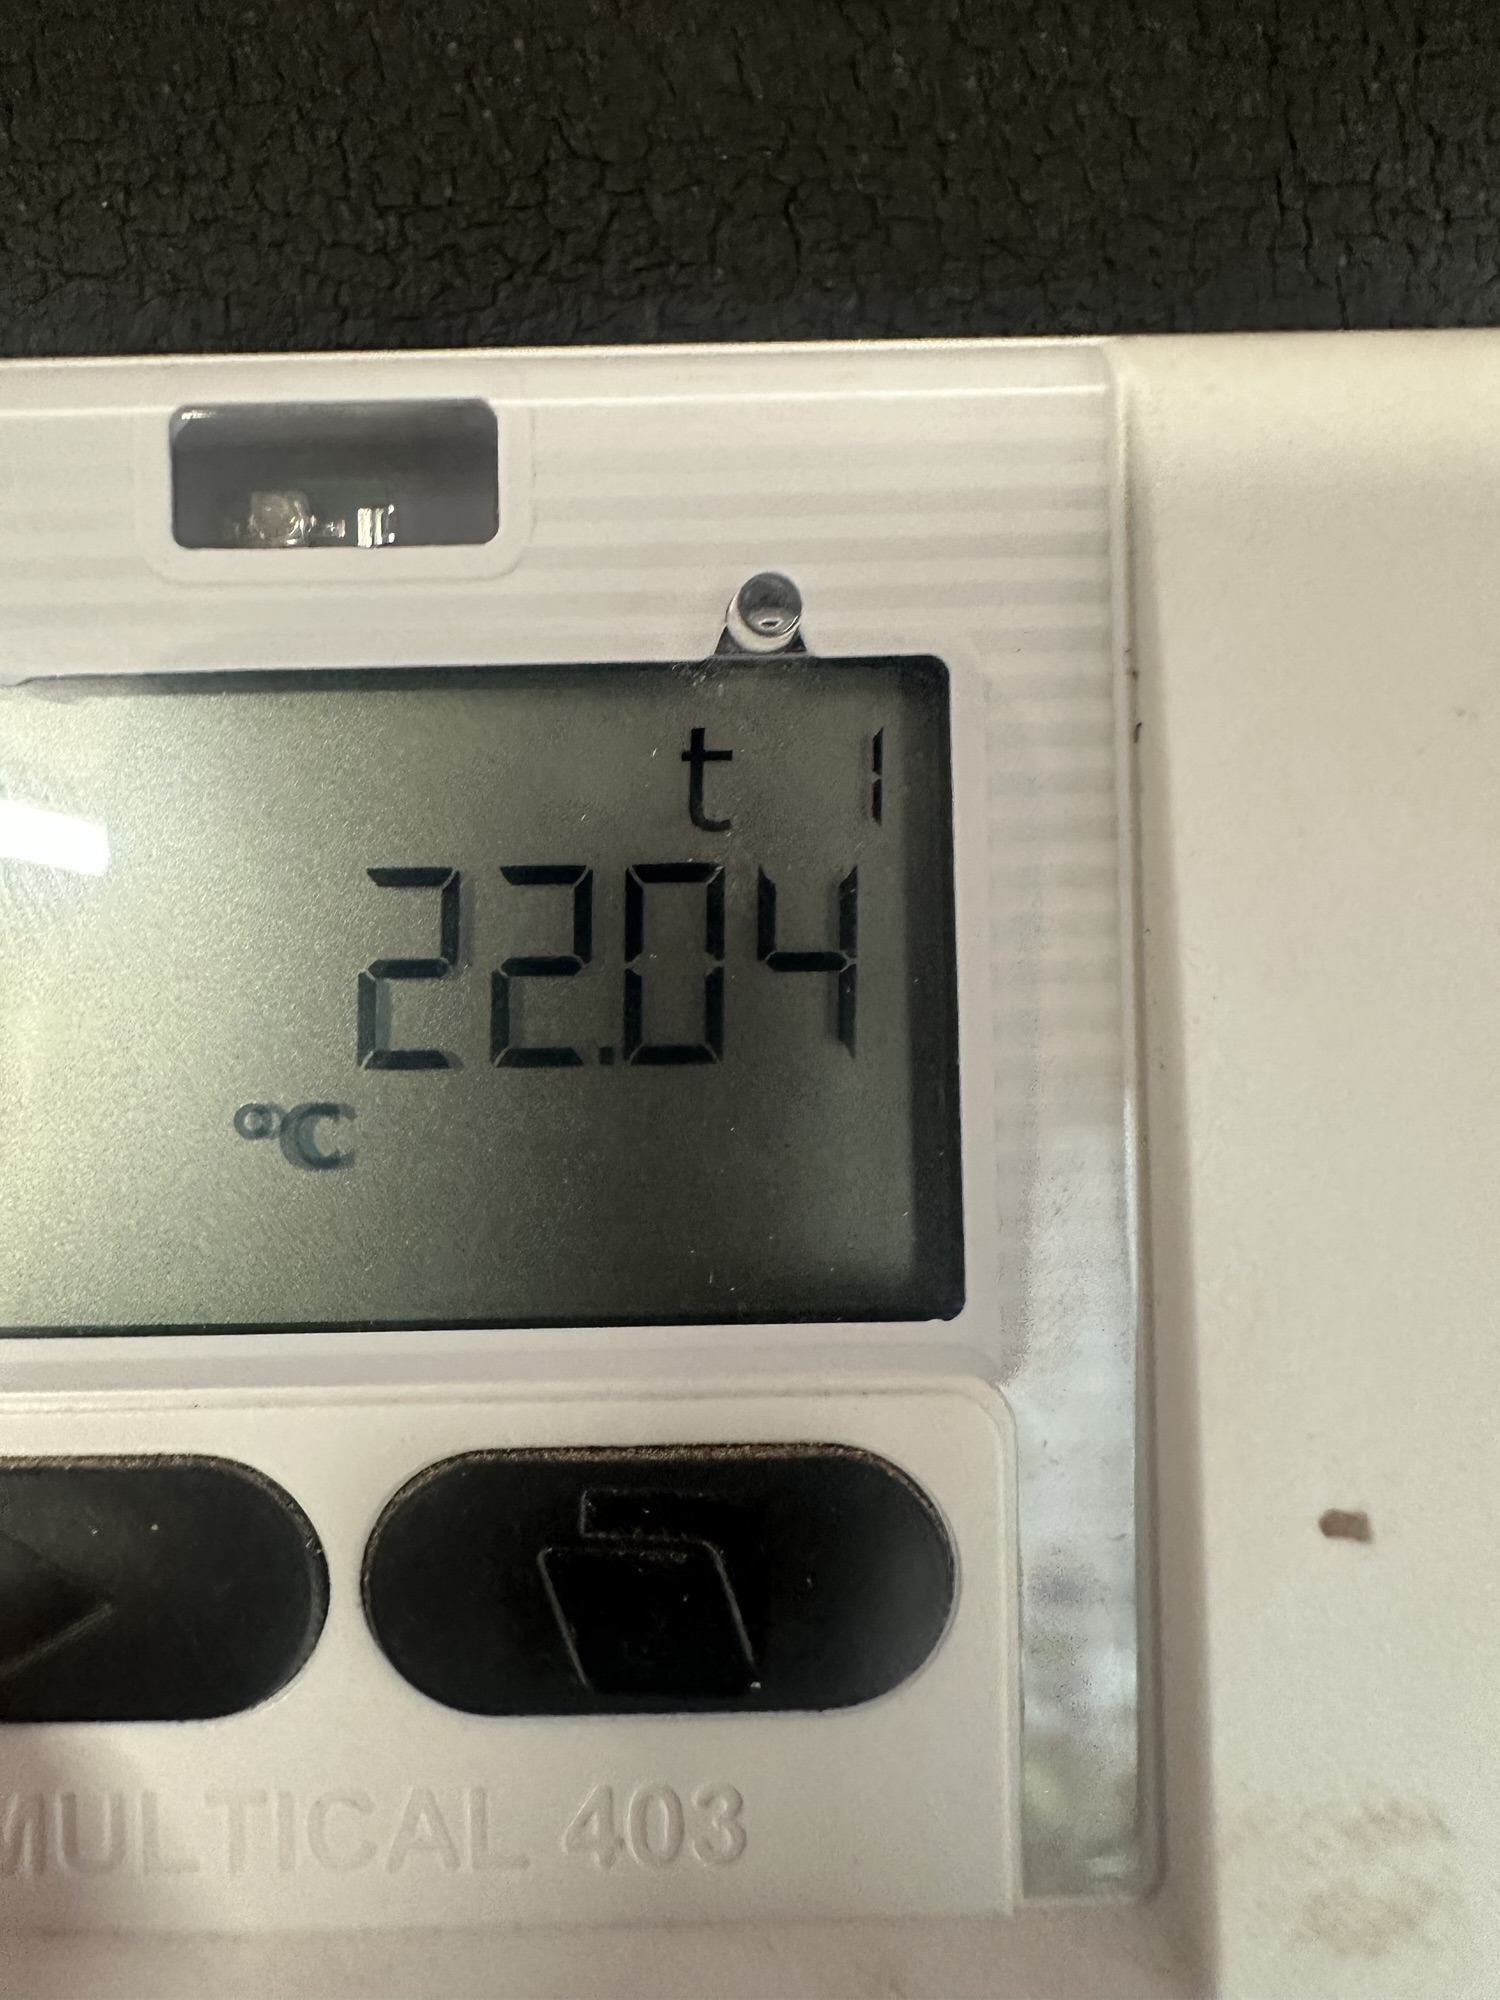
and both temperatures also matched (the slight difference is down to the difference in time taking the photos)
Next Steps
Now I’ve got something reading the meter, the next step is to wire that up to the Matter stack and get these values flowing into my heating monitor.
As always, the code for this project is up on GitHub – https://github.com/tomasmcguinness/matter-esp32-mbus-adapter
The repo needs a good cleanup, but it’s all working!
Did you enjoy this post?
If you found this blog post useful and want to say thanks, you’re welcome to buy me a coffee.
Be sure to check out my YouTube Channel too – https://youtube.com/tomasmcguinness
Thanks,
Tom!

Leave a comment