
Even since I started working from home, I had this mad idea of installing intercoms across my house. It was mostly inspired by watching (and re-watching) of the TV show Mad Men! All of the main characters had their own intercom for being buzzed or asking their secretary for coffee.

When I started working from home, I had this cute notion that instead of my wife and I shouting at each up and down the stairs, we could “buzz” each other. Less “Peggy, get in here” and more “Would you like to go for a walk?”
I’d looked at this a few years back, hoping I could buy a vintage one, but whilst I found some listed, none were ever available to buy. Here are a few links that I found over time.
Vintage Western Electric Speaker Phone 55b circa 1969 working | #522689811
WE 592 – 1A and 1A1 Speakerphones
WESTERN ELECTRIC 666B SPEAKER / MIC BLUE – ULTRA RARE | #4723386035
Could I build my own??
I always figured the electronic side of the project would be easier. At the most basic level I’d need an ESP32, a microphone and a speaker. The enclosure, however, was a different beast. Back in 2020, making my own enclosure would have been impossible.
Fast forward to 2026 and as the proud owner of a Bambu A1 3D Printer, I wondered if I could print the enclosure?
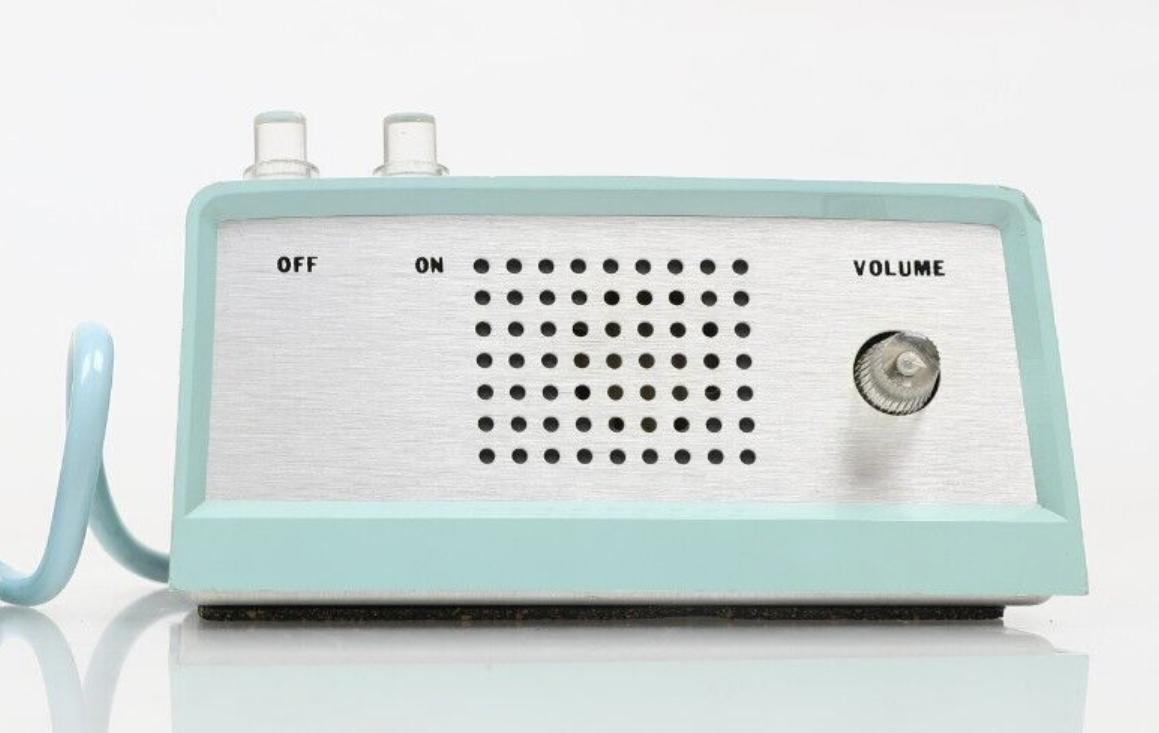
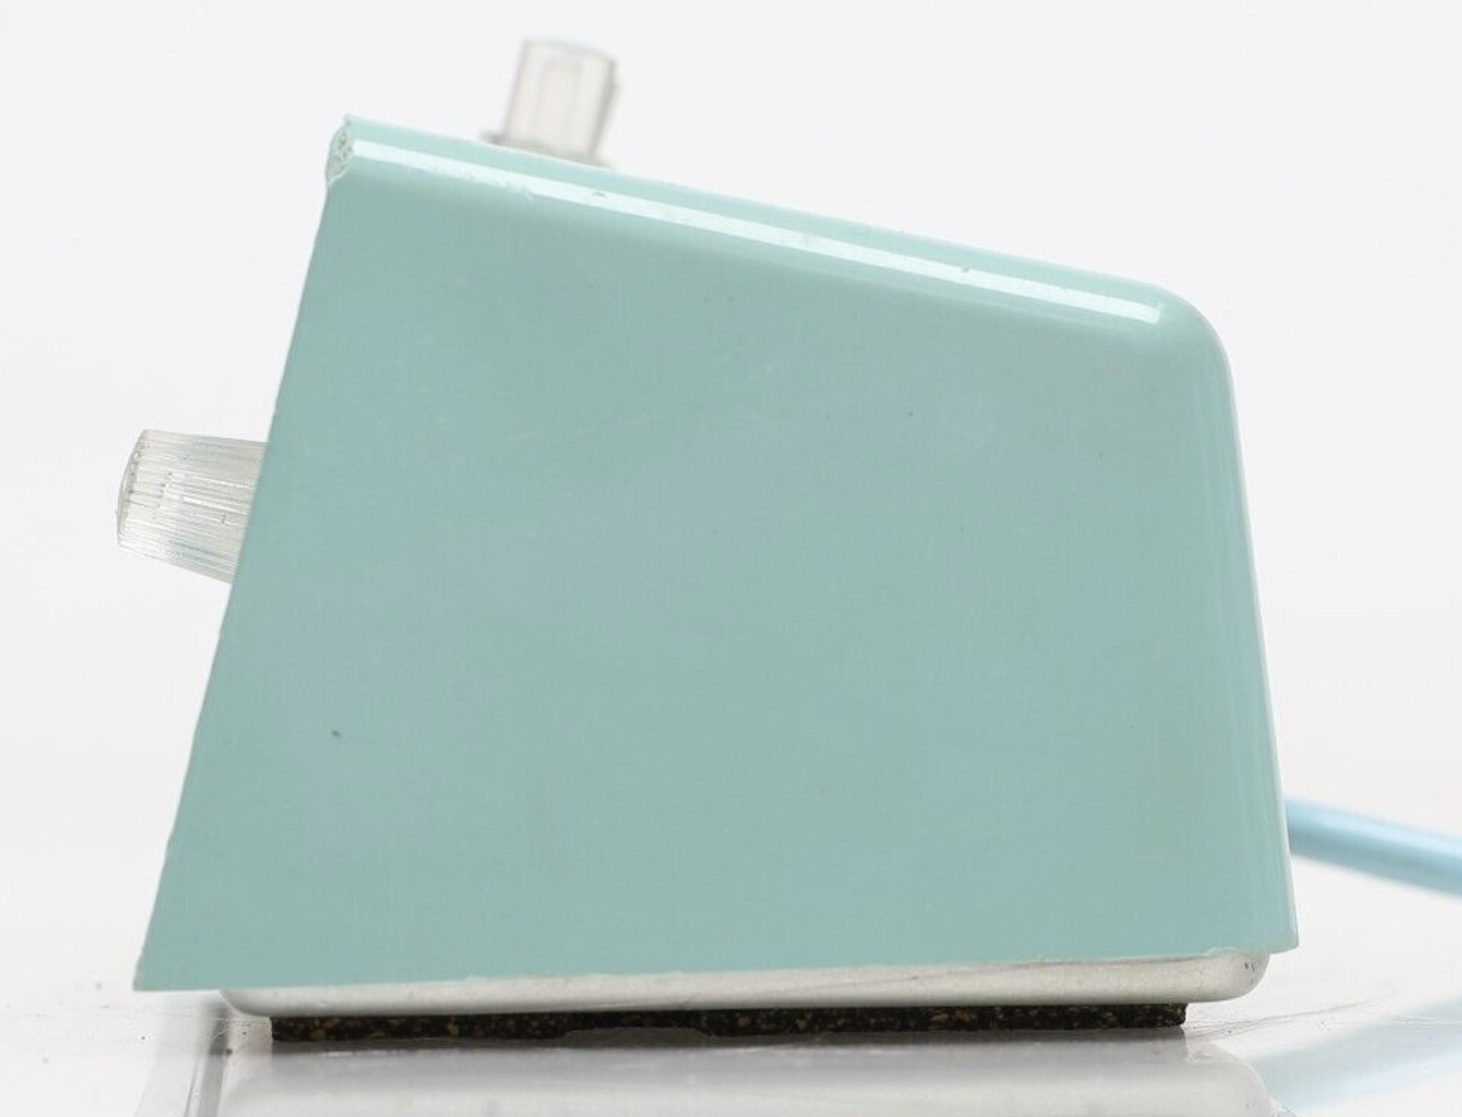
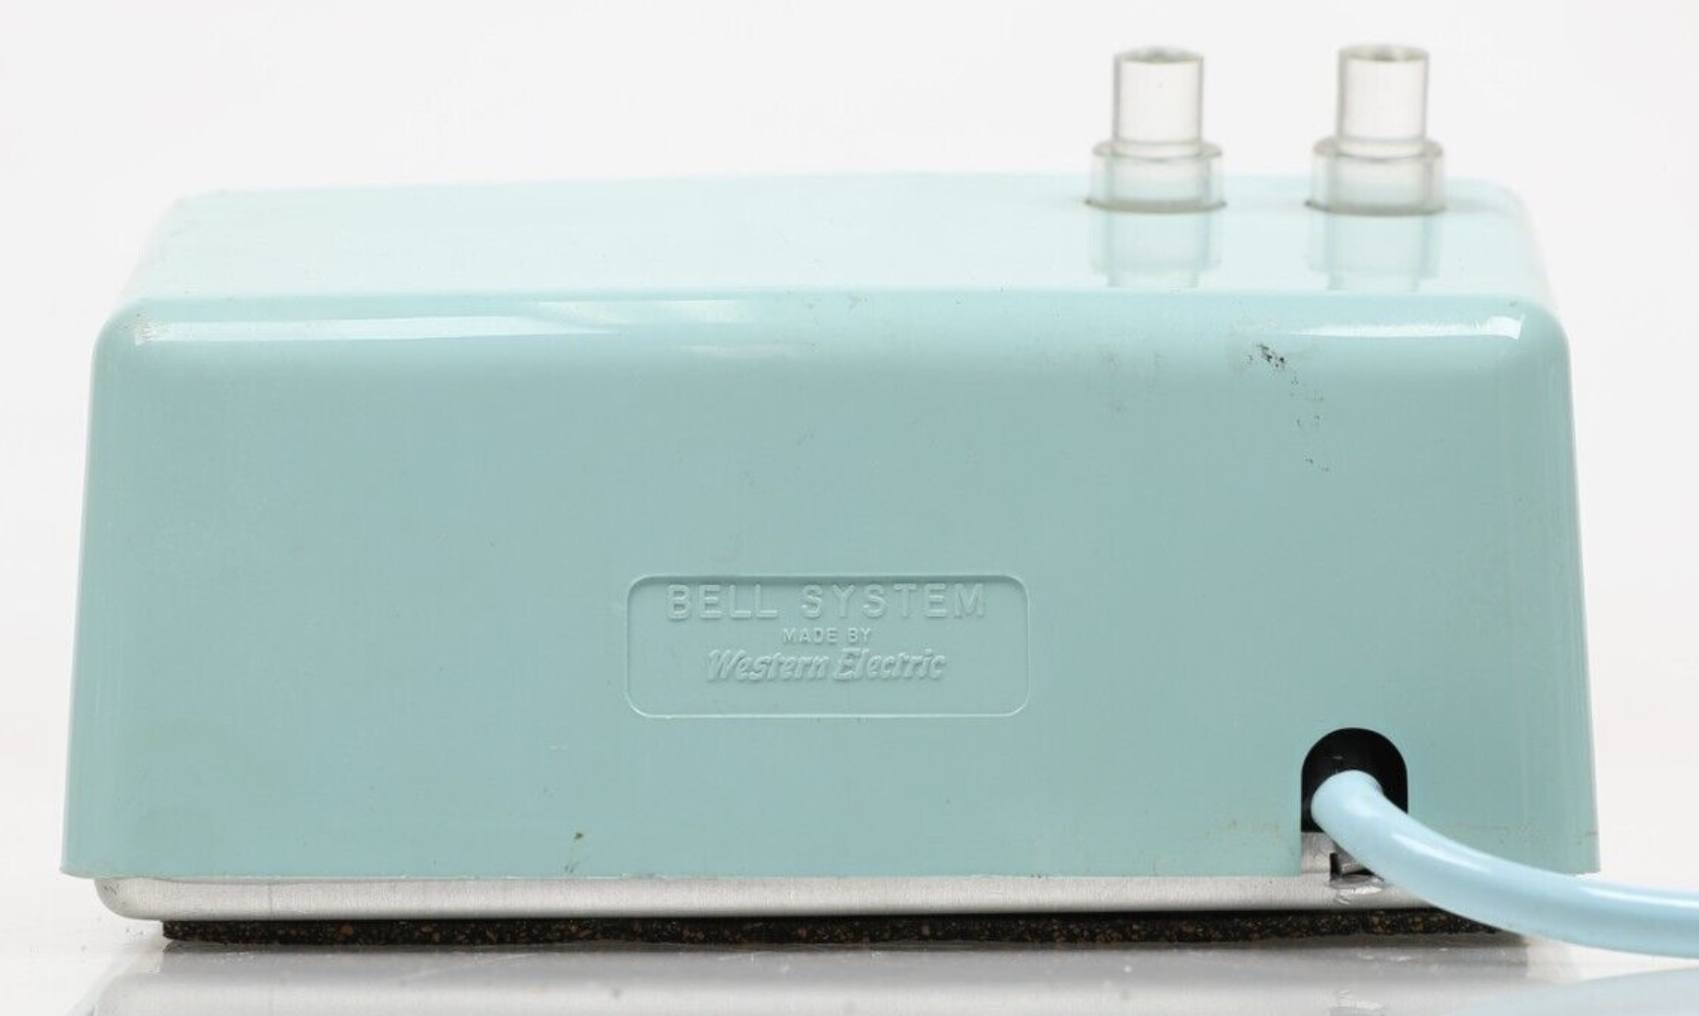
I some pretty clear pictures and they seemed to match Don’s intercom. This gave me the shape, which was enough to get me started.
Designing the enclosure
The first step was designing the enclosure in 3D. For this, I chose Blender. I had never used Blender at this point, so I started with some simple YouTube tutorials to get me the basics.

I used the solidify modifier to make the cube hollow and then adjusted the edges to make the rough shape. I used the bevel tool to round all the edges.
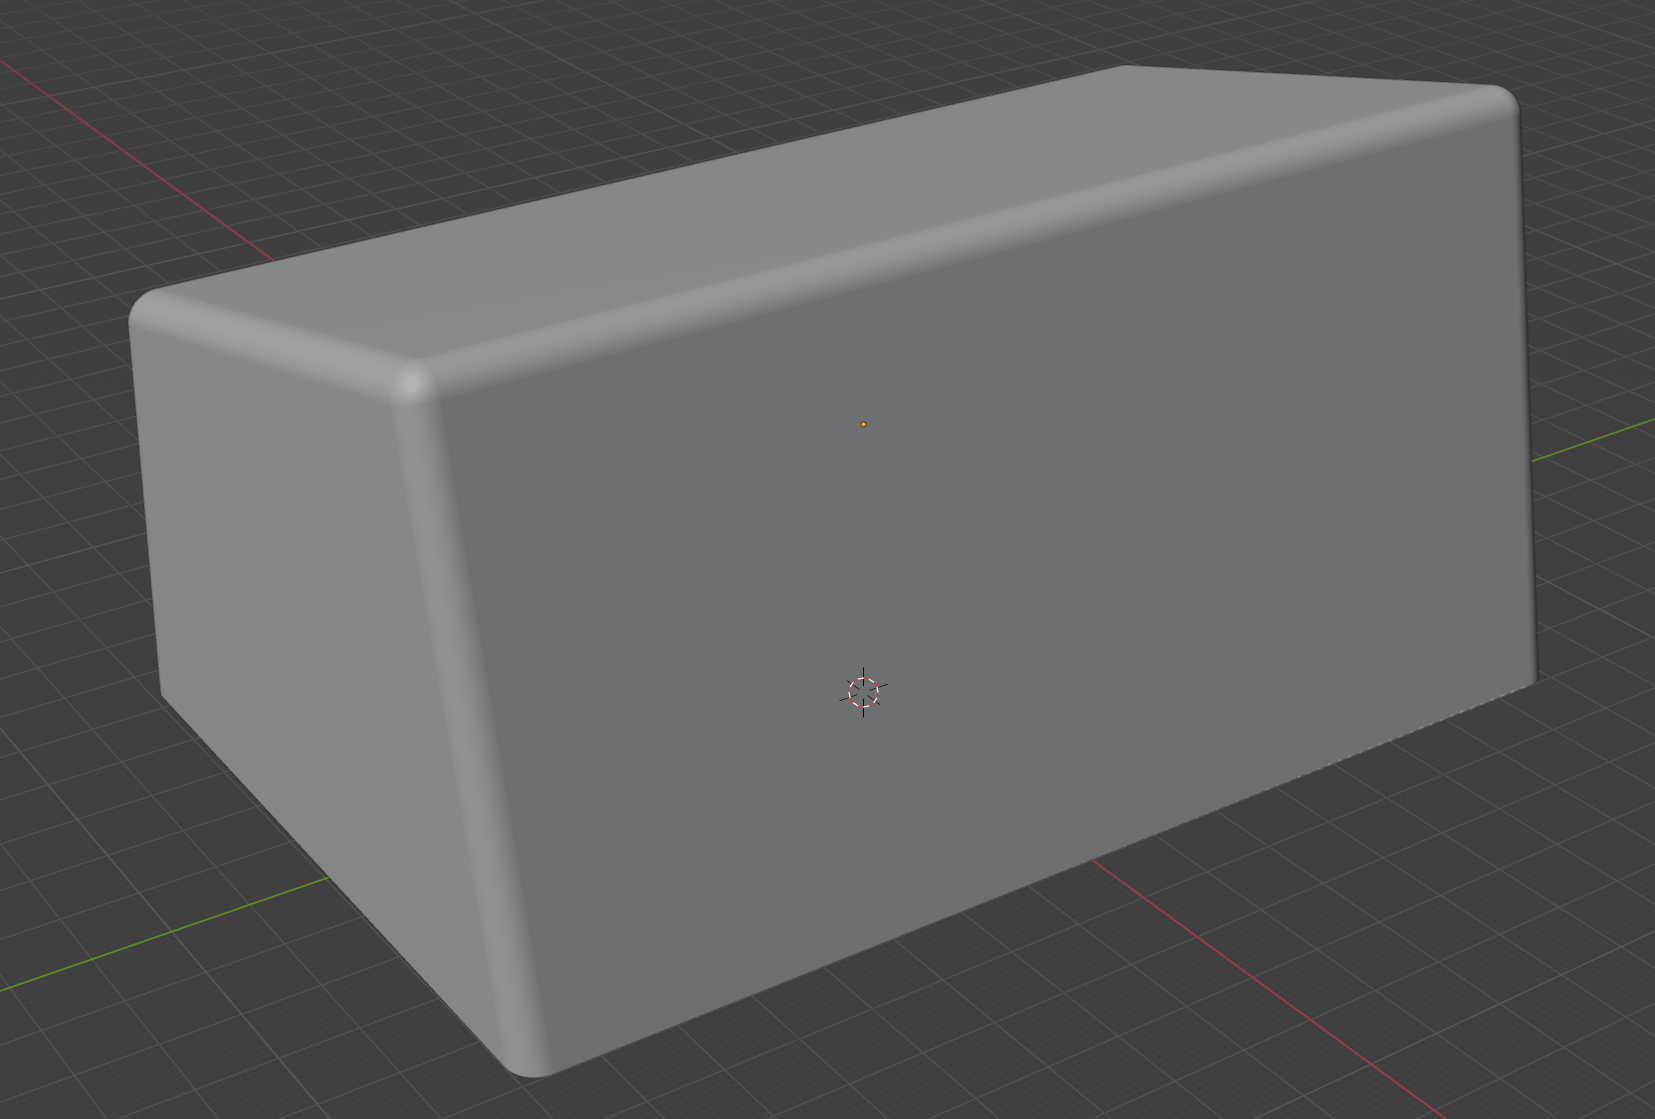
Using the boolean modifier and other shapes, I cut out the bottom, front, rear connector and holes at the top for the push buttons.
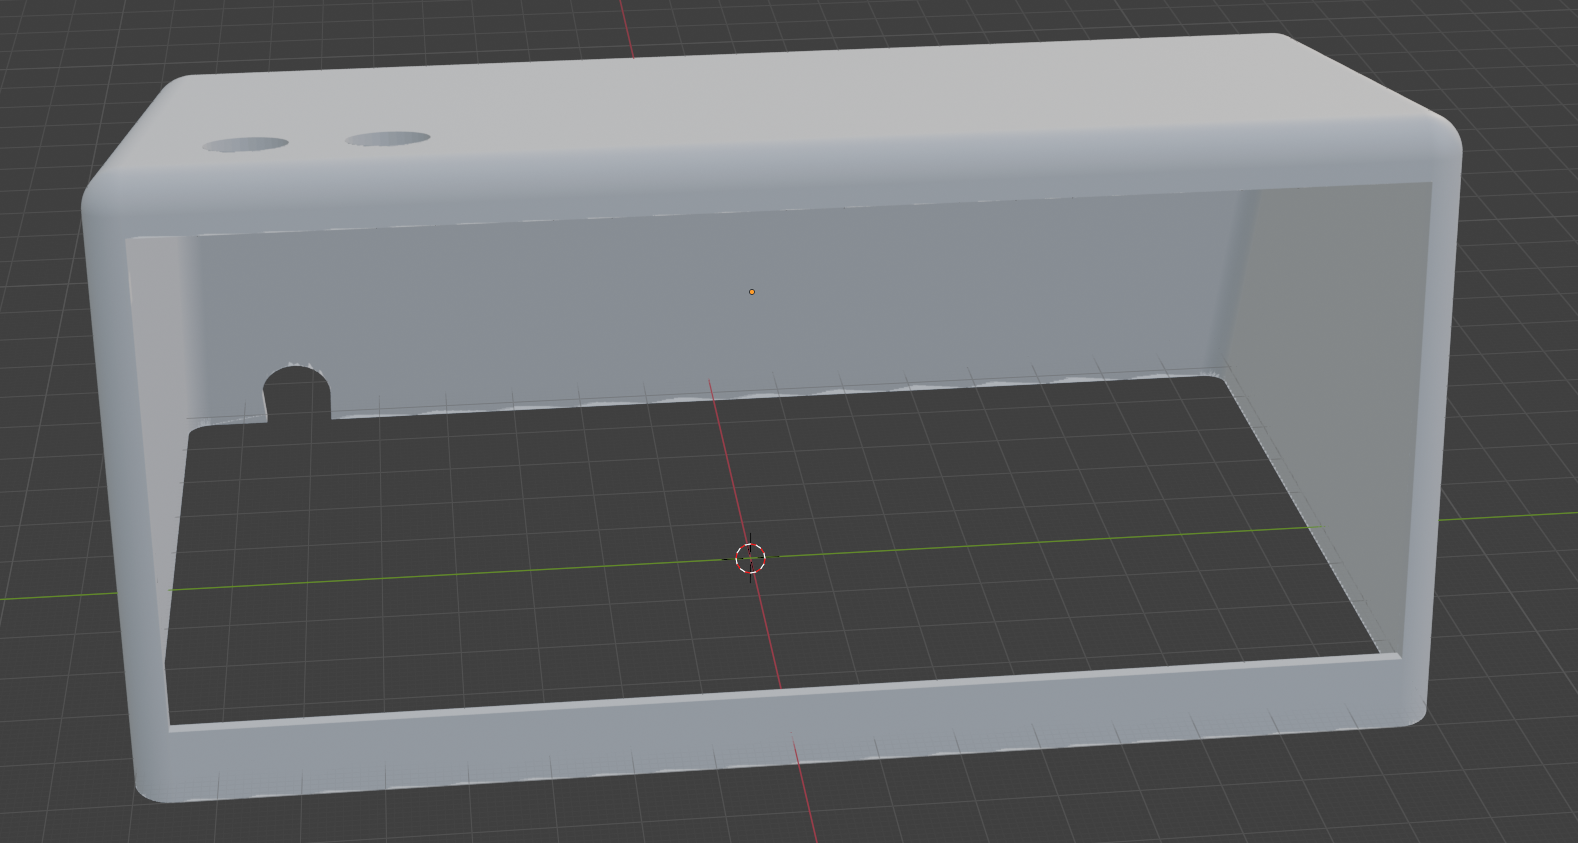
I then loaded it into BambuStudio and it looked pretty good!
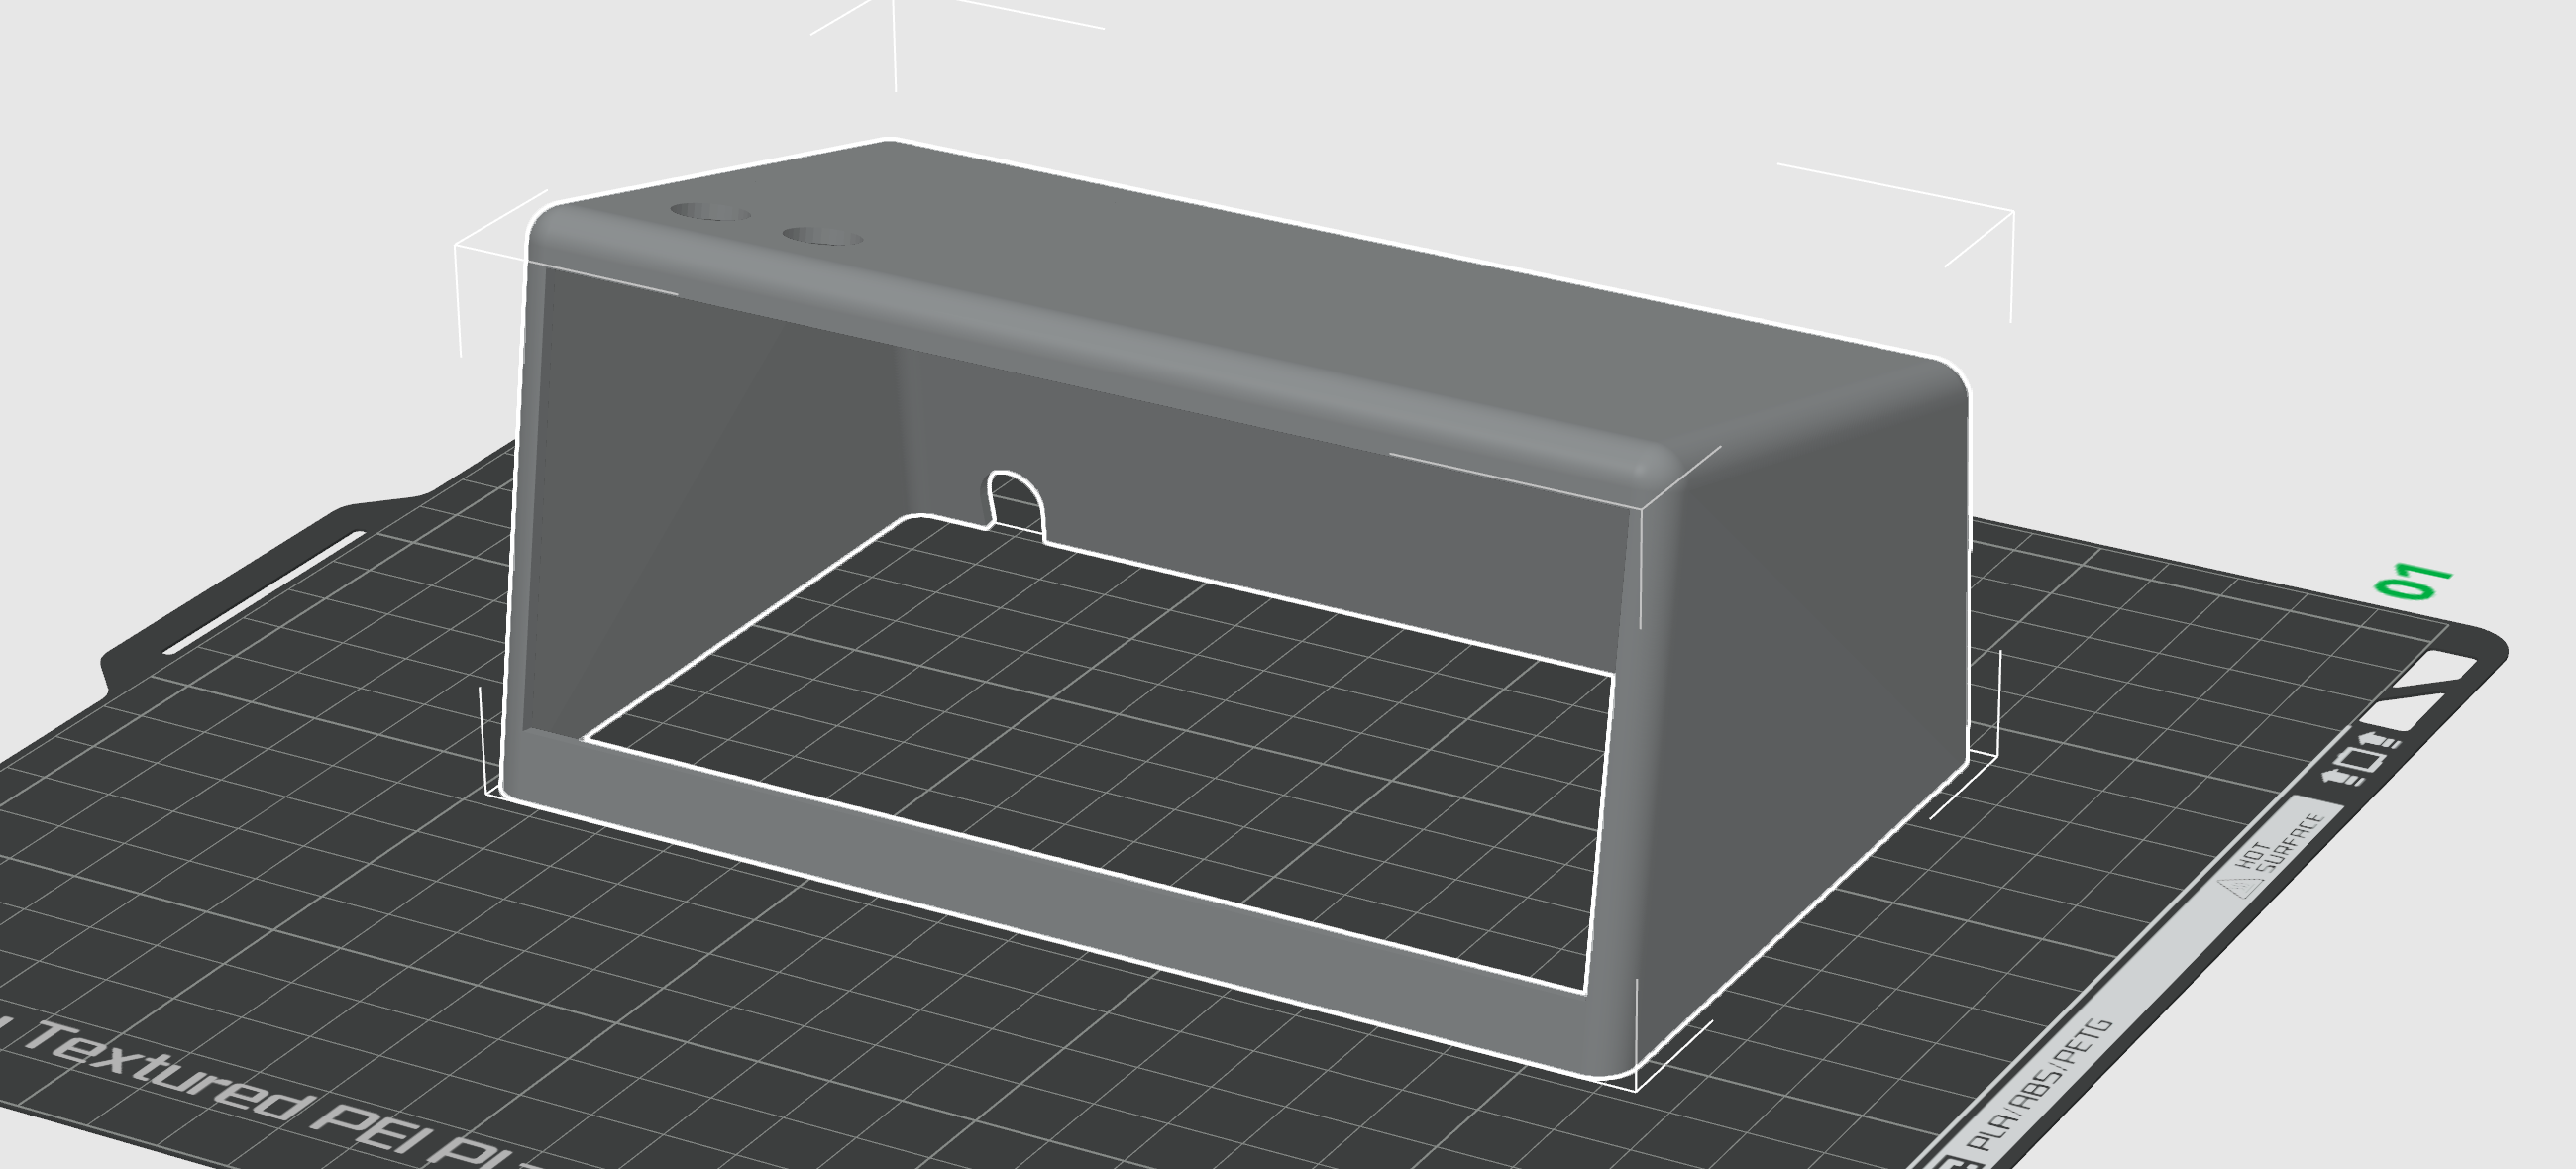
I sliced it and sent it to print.
What a disaster!
It took three attempts before I started to get something to print and unfortunately, the end result was terrible!
My first attempt filed after the 2nd layer! It tried to lay down the outline (and the base of the support trees), but it didn’t do it correctly. The filament started to curl up and immediately detached from the base. I cancelled the print and binned it.
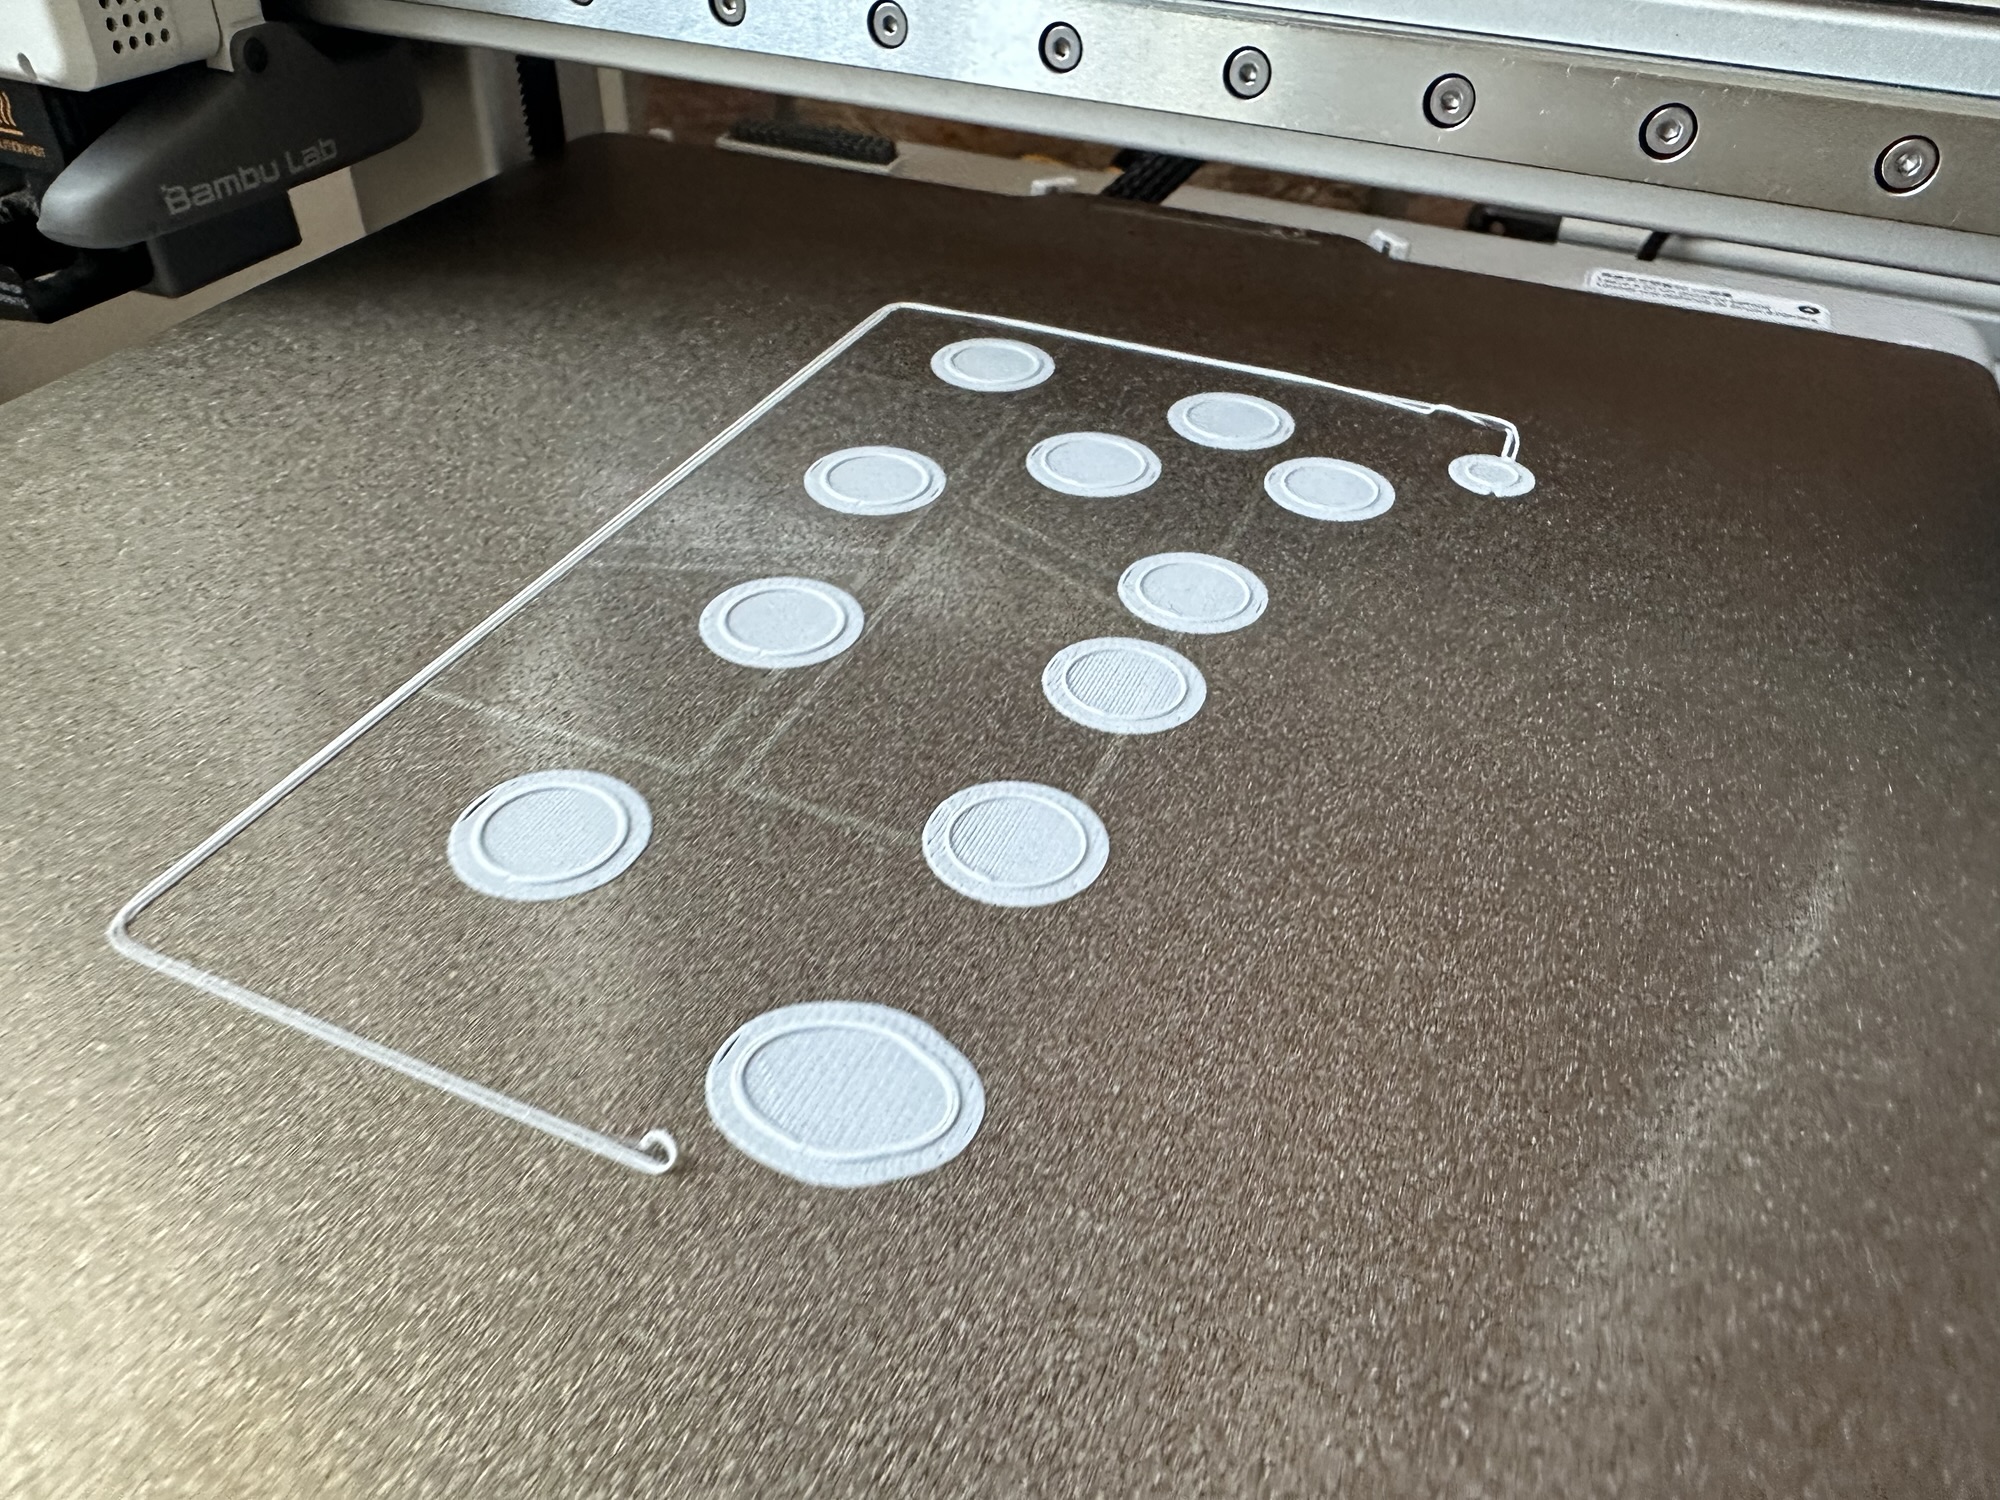
The 2nd attempt wasn’t much better. It got a little further with the outline, but again, it detached from the base.

After a closer look, I realised that it was because the bottom of the print wasn’t flush with the plate. This meant it was only putting down a tiny part of the outline. I worked around this by dropping the print by 1mm, making the plate *cut* through the print.
I also added a brim to try and help the outline stay attached.
Unfortunately, whilst that helped the first few layers, it quickly went wrong 🤣🤣
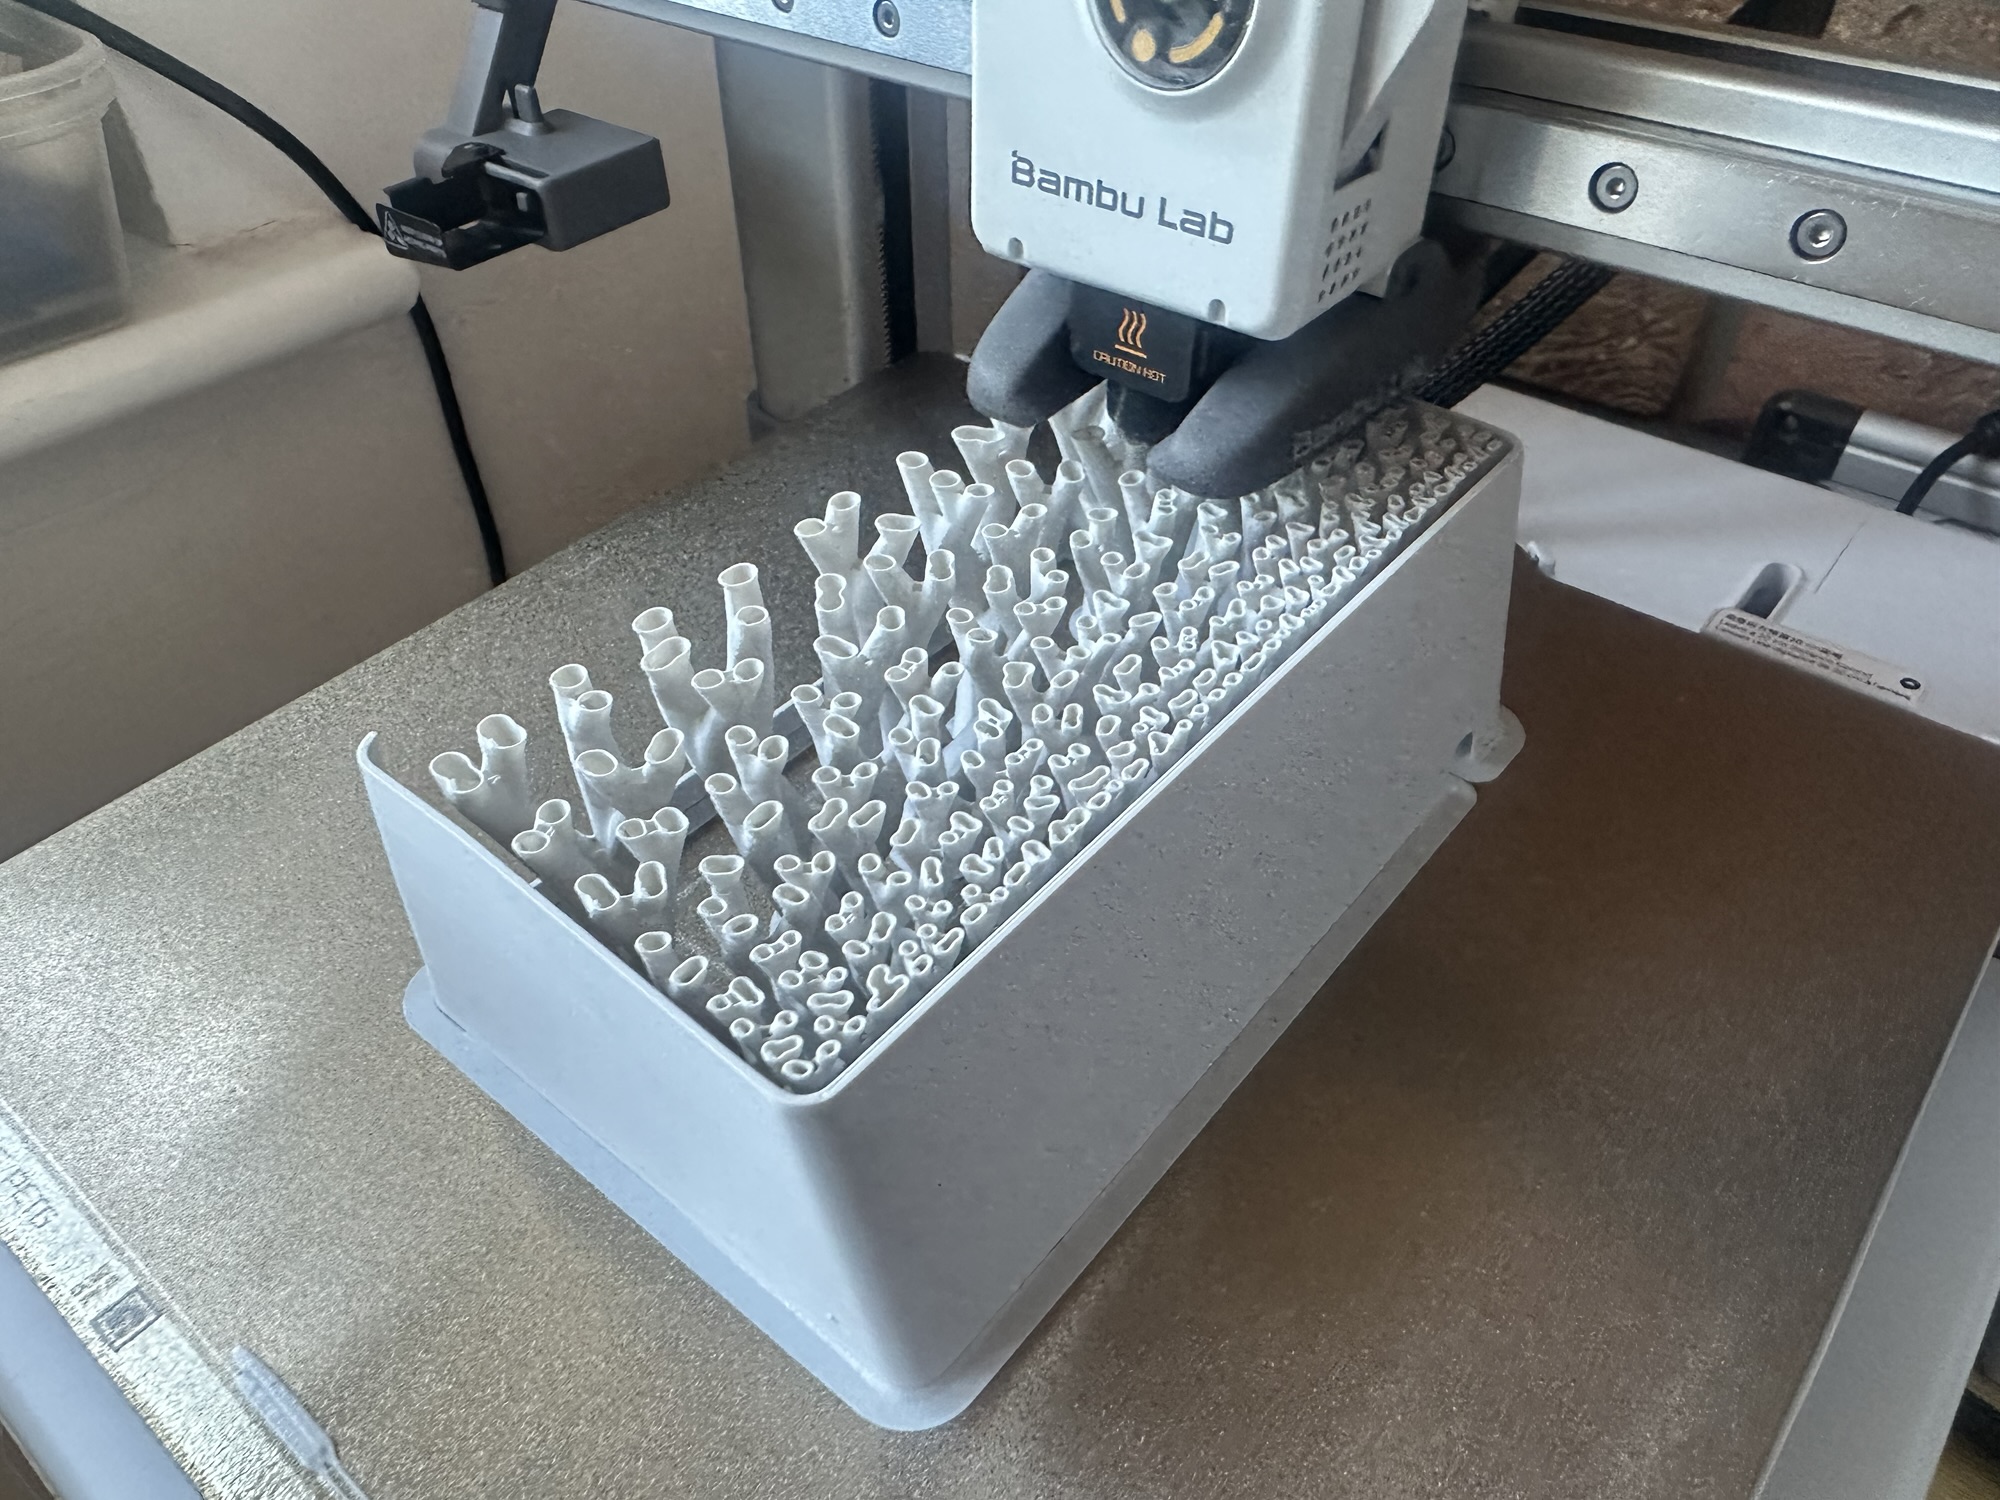
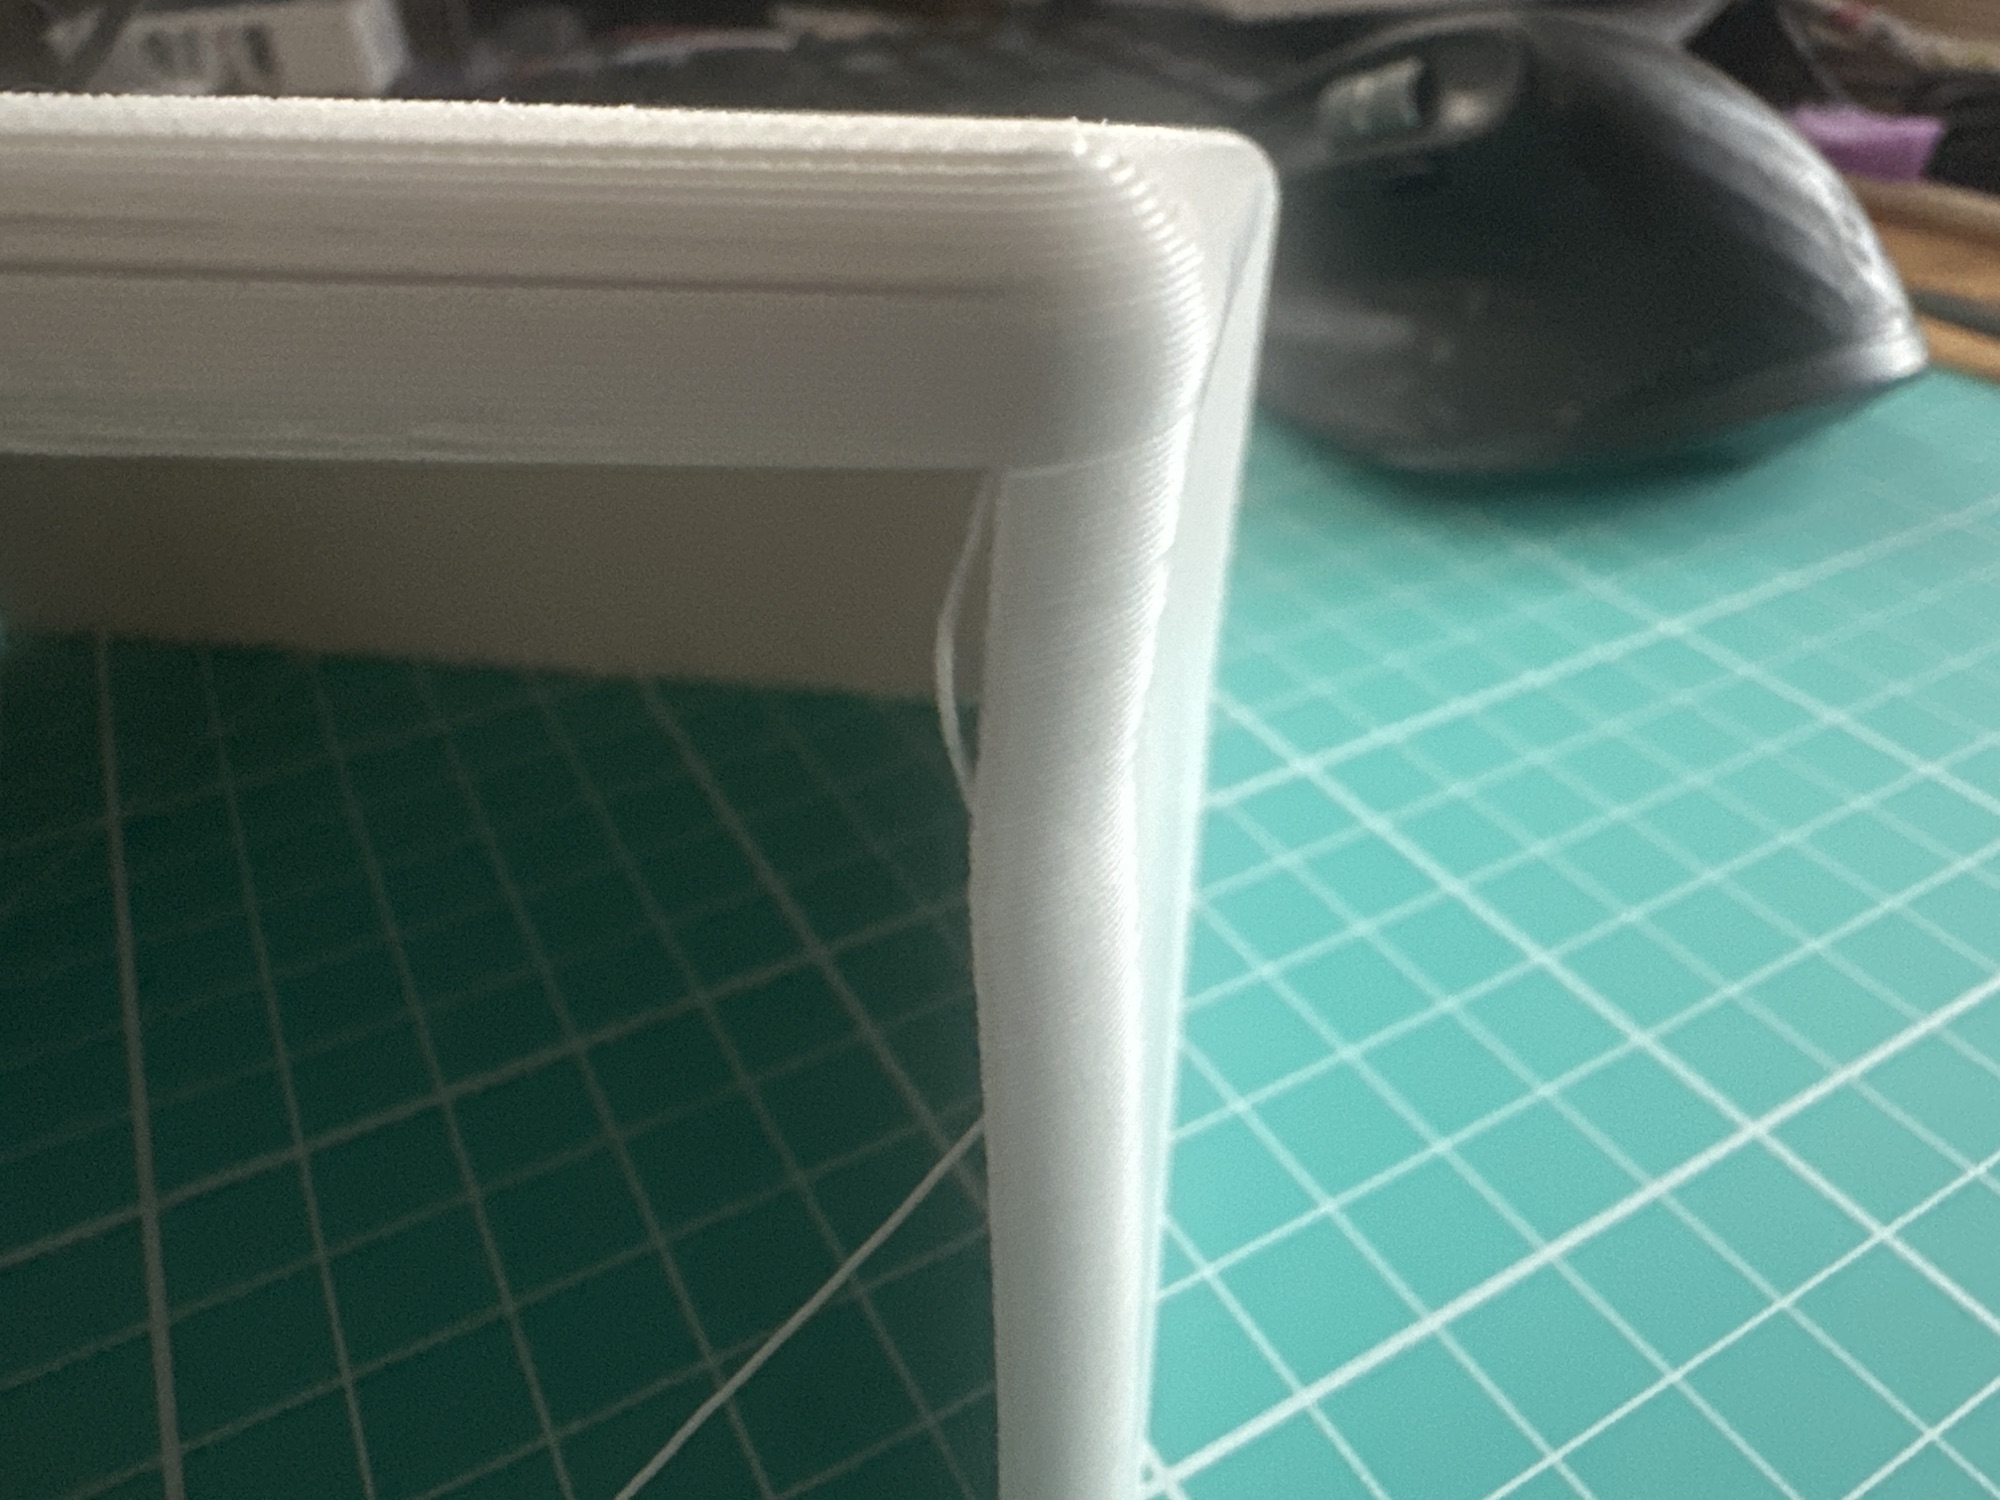
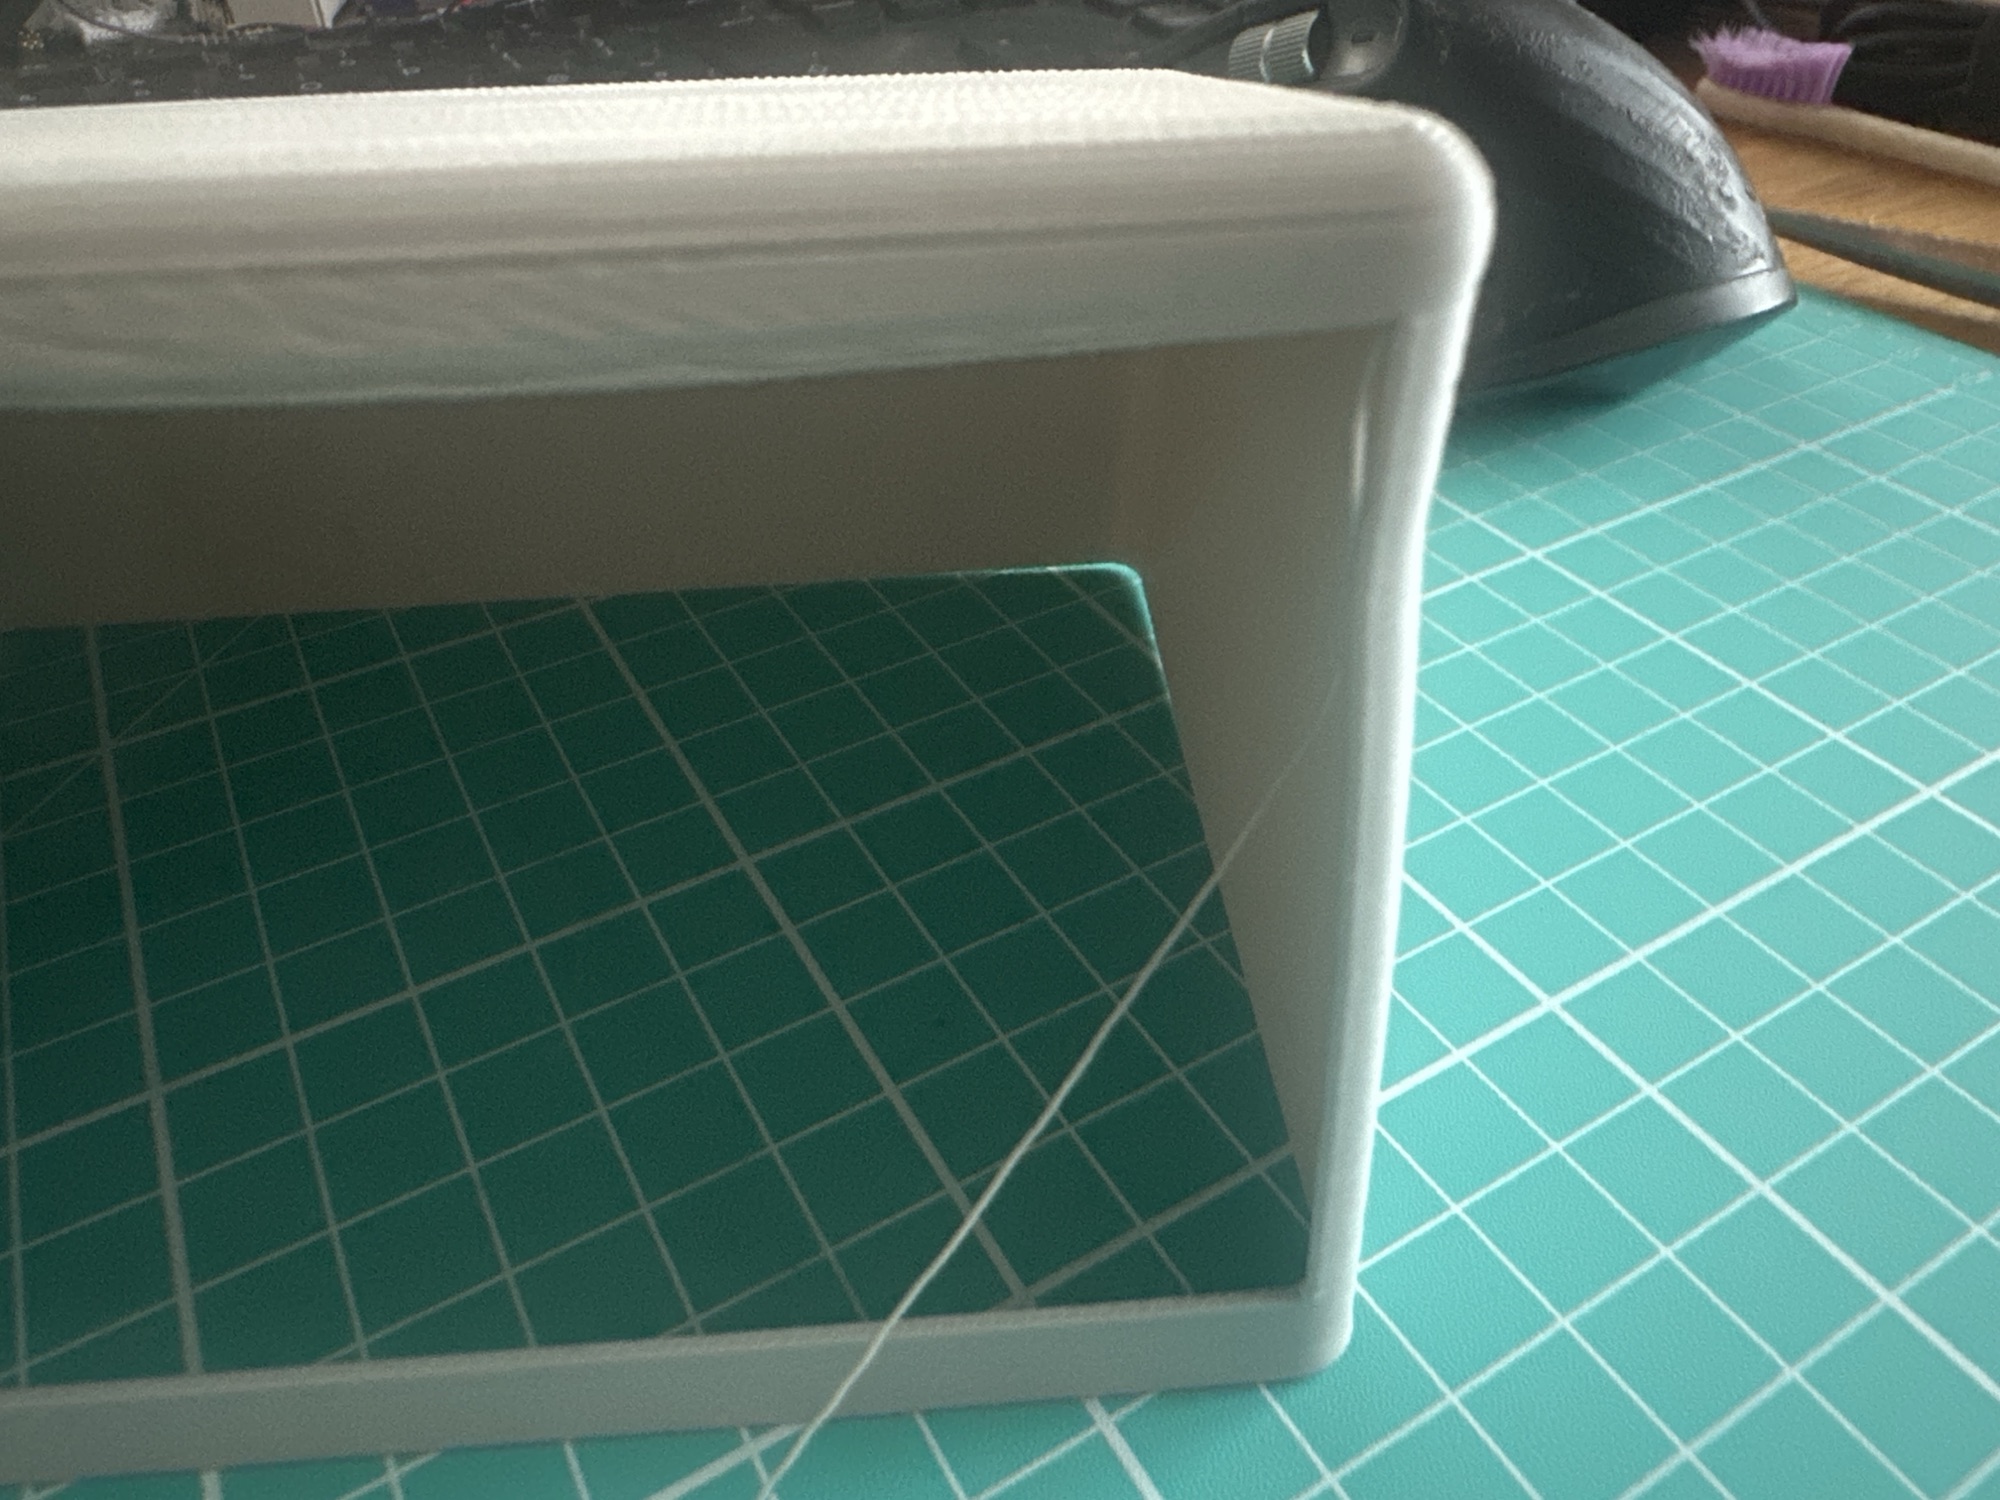
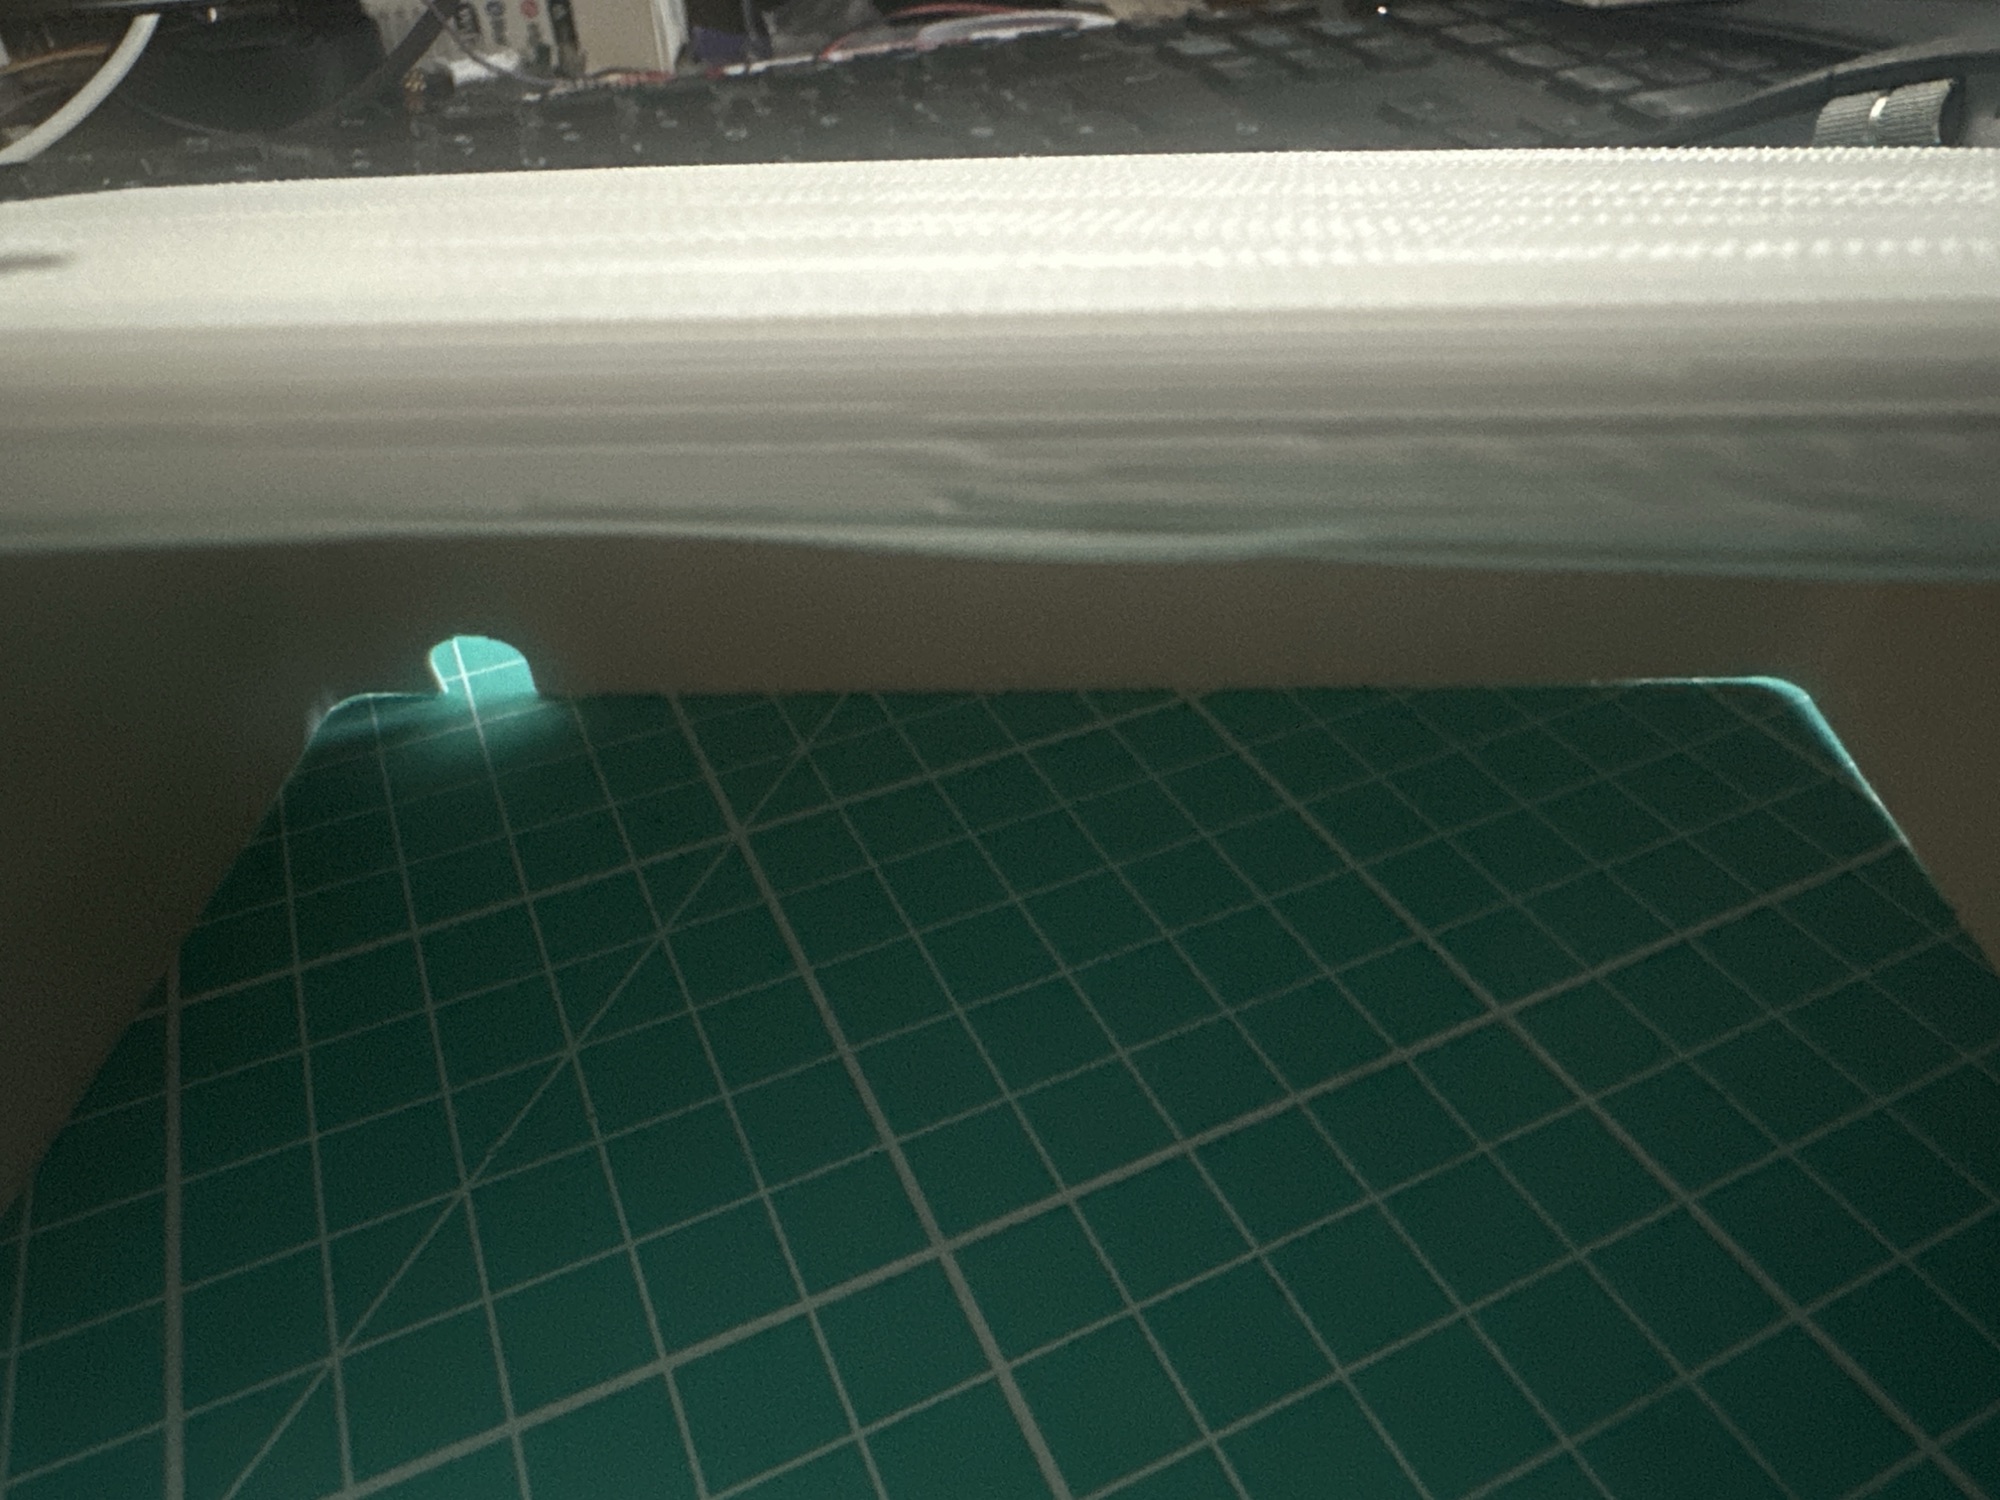
Once the print got about 80% of the way to the top, the sides started to warp. The top also looked awful (but I put that down to coarse nature of my setup)
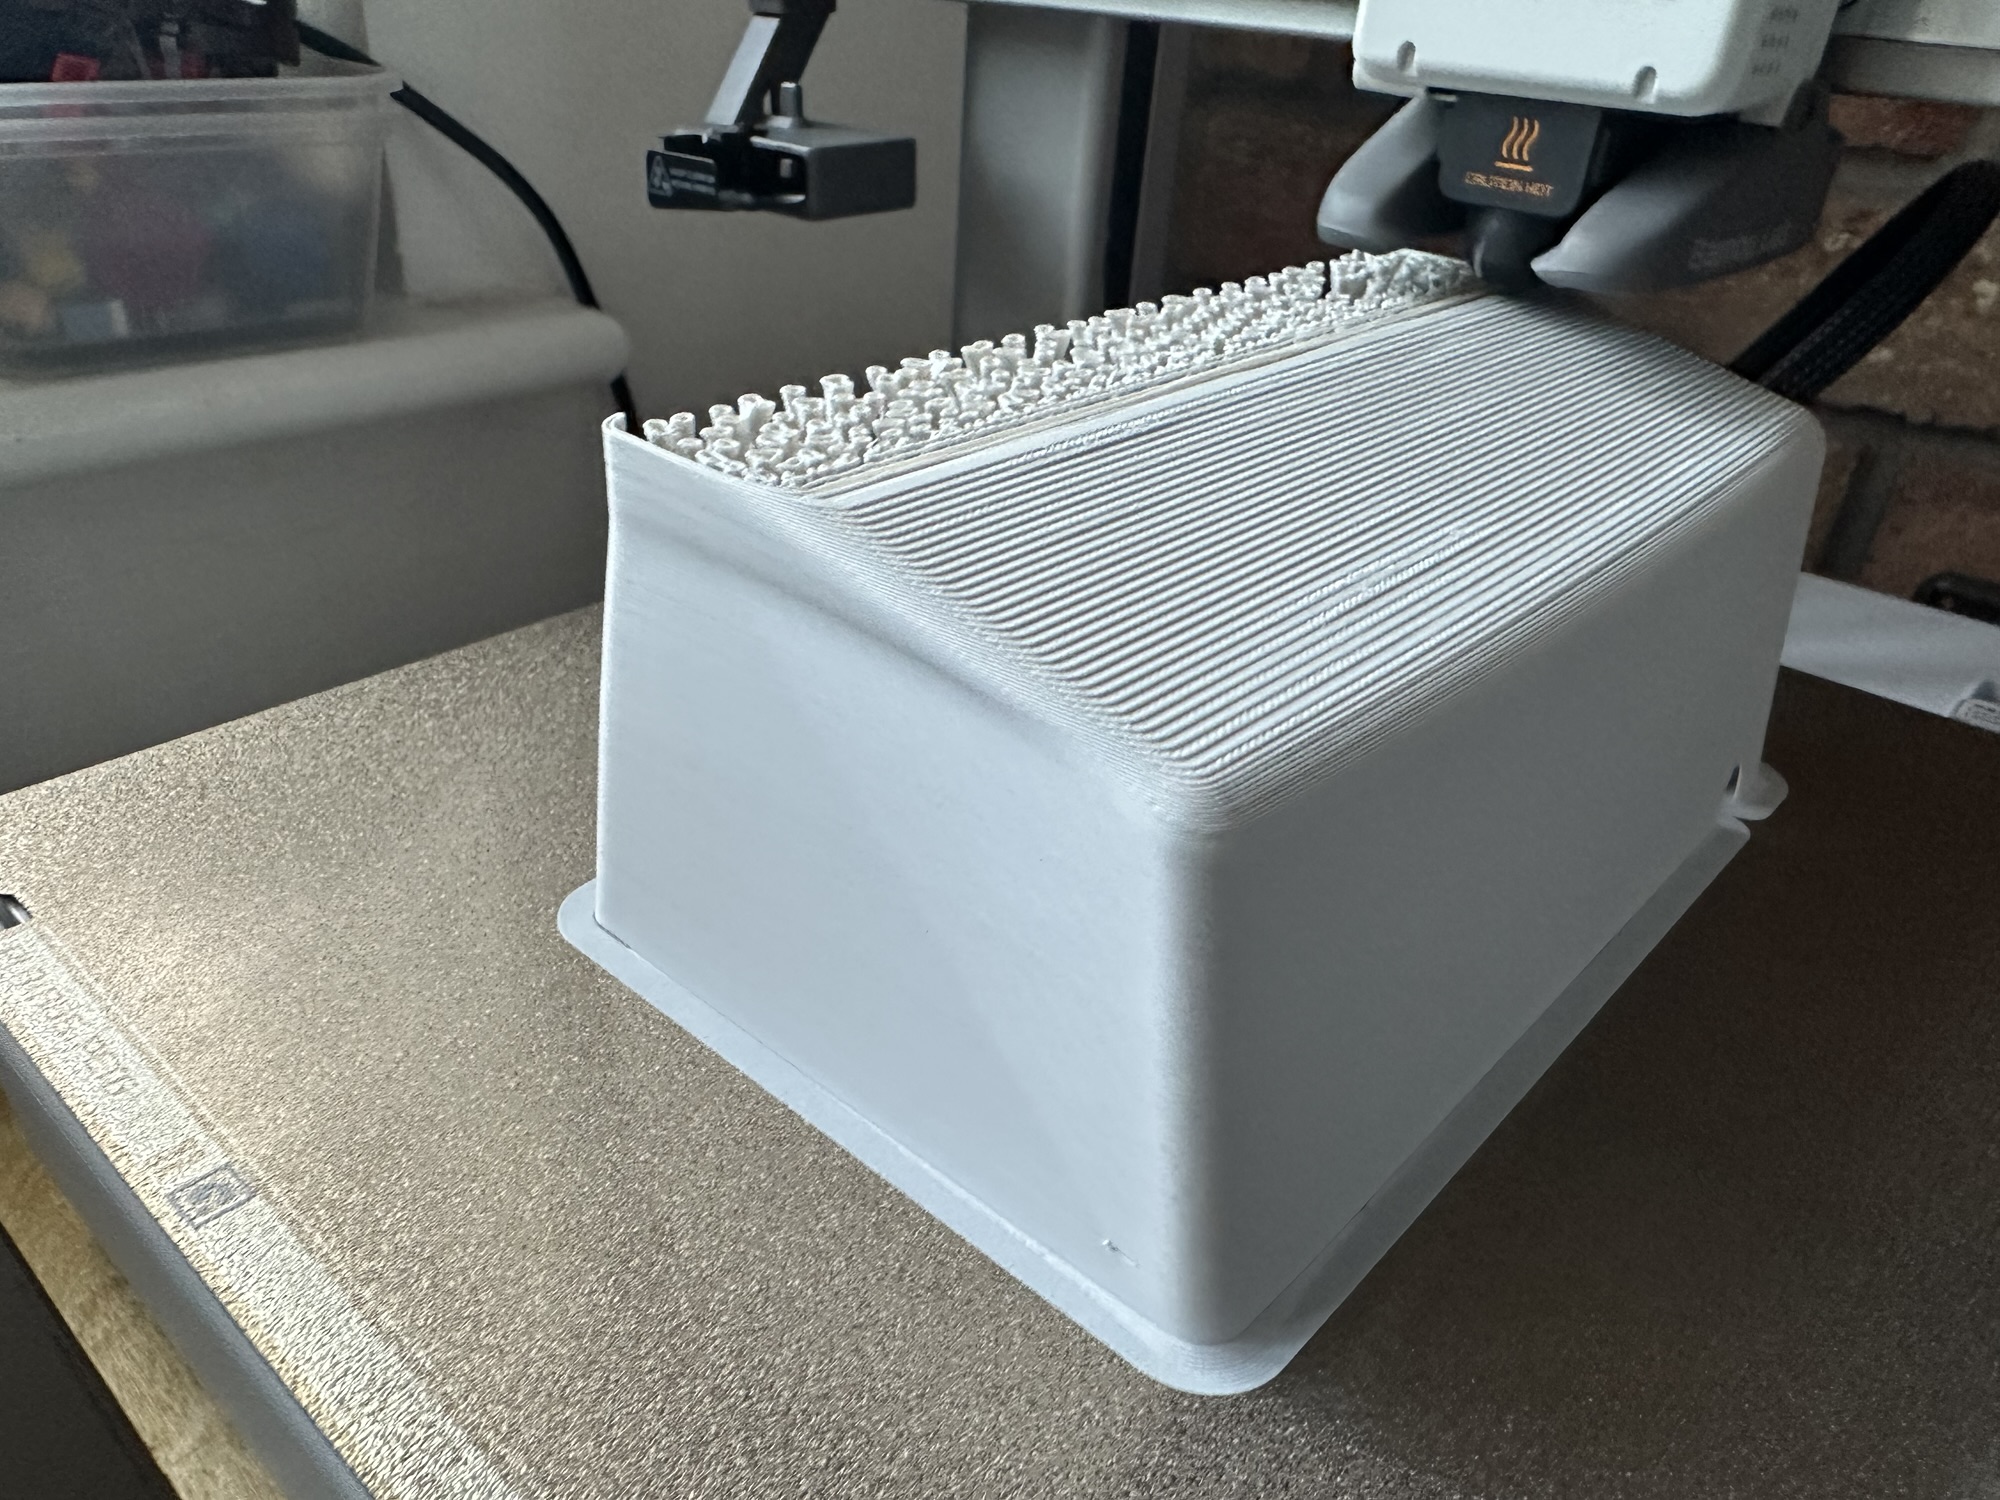
The top of the cut out also appeared unsupported, so that caused more deformation.
If at first, you don’t succeed…
Perhaps trying to make the perfect enclosure on my first try was a little ambitious! I have lots to learn when it comes to blender, 3D design and 3D printing. Every journey starts with the first steps, even if you trip over.
For mark II, I’m going to try and make something a little more “boxy”. Less sloping edges and thicker walls. I think I’ll also make it a little smaller too. Now that I have an idea of the size, I think it’s a little too big.
Be sure to subscribe so you don’t mix the next update!
Did you enjoy this post?
If you found this blog post useful and want to say thanks, you’re welcome to buy me a coffee. Better yet, why not subscribe to my Patreon so I can continue making, tinkering and sharing.
Be sure to check out my YouTube Channel too – https://youtube.com/tomasmcguinness
Thanks,
Tom!

Leave a comment