
As part of my Home Energy Manager project, I realised that I would need a nice to connect my Matter devices to it.
In Matter, adding a device is called commissioning and it’s typically done by scanning a QR code. The commissioner, in this case my Home Energy Manager, would then connect to the device and set it up. This is usually done with Bluetooth.
In my Matter heating monitor, I did all this through the web application. Because my sensors used Bluetooth, it meant I needed my sensors to be close to the dev kit. This meant I needed to commission the various sensors at my desk, then move them to their final location.
This flow was pretty clunky as it involved a lot of moving. It also disguised issues with my Thread network. Great coverage at my desk during commissioning, terrible coverage in their final location.
It would have been much better to be able to install the devices, power them up in place and *then* commission them.
For my home energy manager, I was going to take the same approach as my heating monitor, but there was one small issue; The ESP32-P4 I was planning to use doesn’t have Bluetooth support! Without Bluetooth, I would be limited to commissioning on-network devices, which would make my life harder than they needed to be.
It’s worth noting that the ESP32-P4 is typically paired with C6 or H2 to provide networking, but I didn’t want to go down that route.
What I needed was a way to commission the various devices in situ and give my Home Energy Manager permission to control them. This was how Home Assistant’s companion app appeared to work. It did all the QR code scanning, but the device ultimately appeared in Home Assistant itself, not iOS Home.
This seemed like a good started place.
Matter and iOS Home
As you’d expect, iOS offers a complete Matter SDK to handle everything related to Matter, so I started with a simple SwiftUI app that had one button.
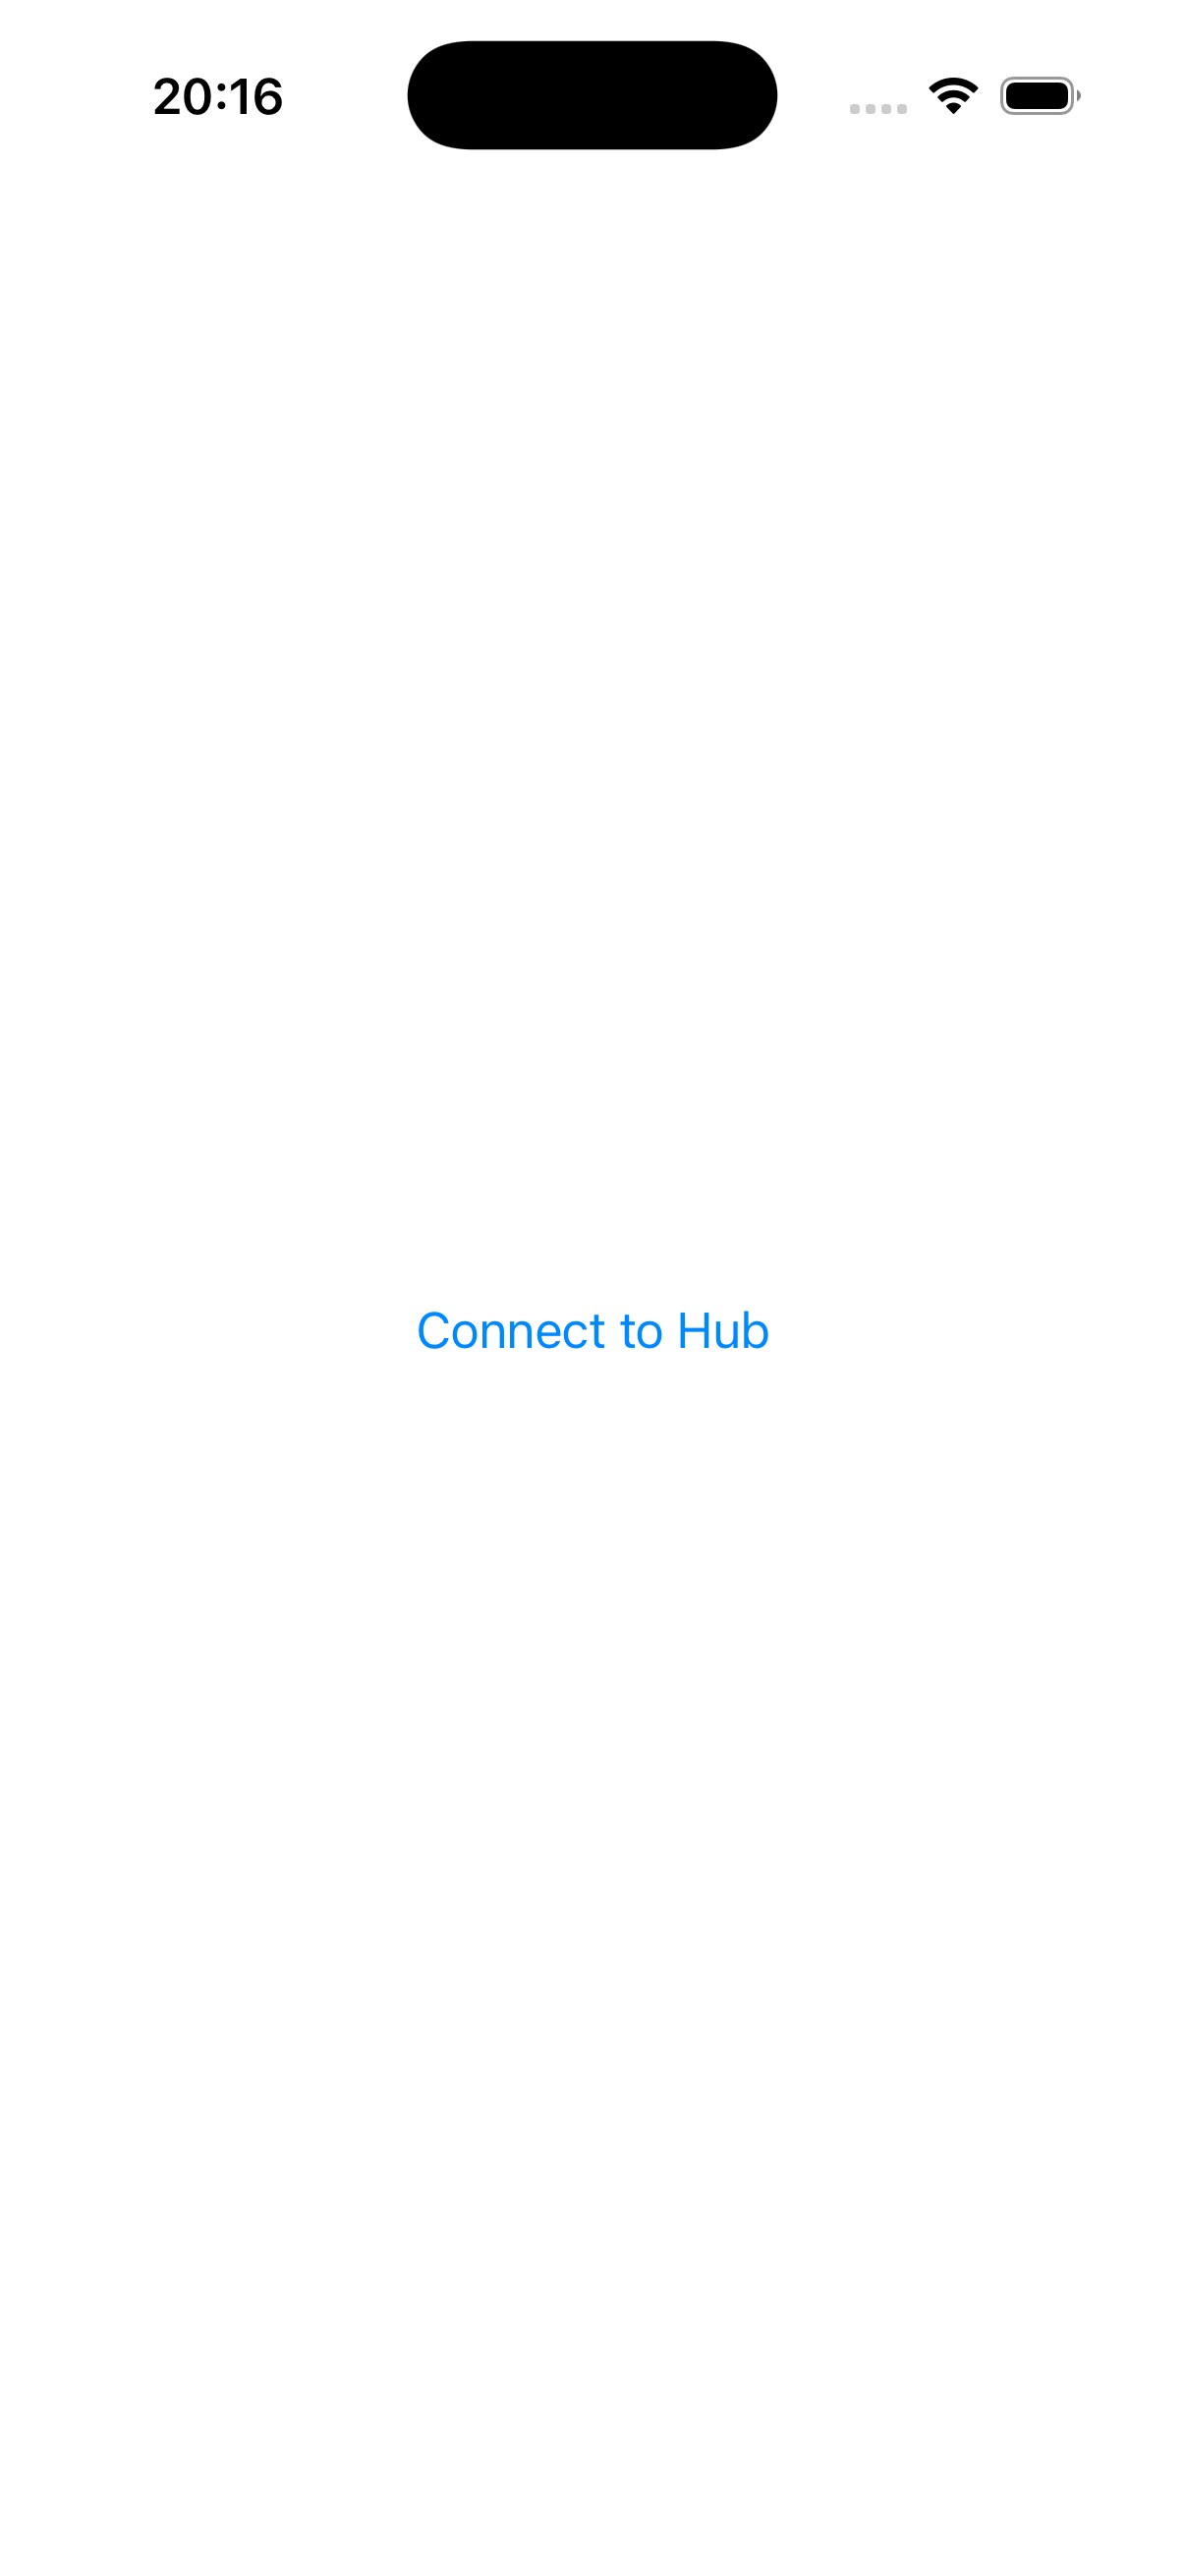
Clicking the button triggers a Matter Commissioning flow with the following code
let homes = [MatterAddDeviceRequest.Home(displayName: "My Home")]let topology = MatterAddDeviceRequest.Topology(ecosystemName: "HomeEnergyManager", homes: homes)let request = MatterAddDeviceRequest(topology: topology)do { try await request.perform() print("Successfully set up device!")} catch { print("Failed to set up device with error: \(error.localizedDescription).")}
MatterAddDeviceRequest is part of the Matter.Support framework, which is dedicated to handling commissioning. The code brings up the familiar UI.
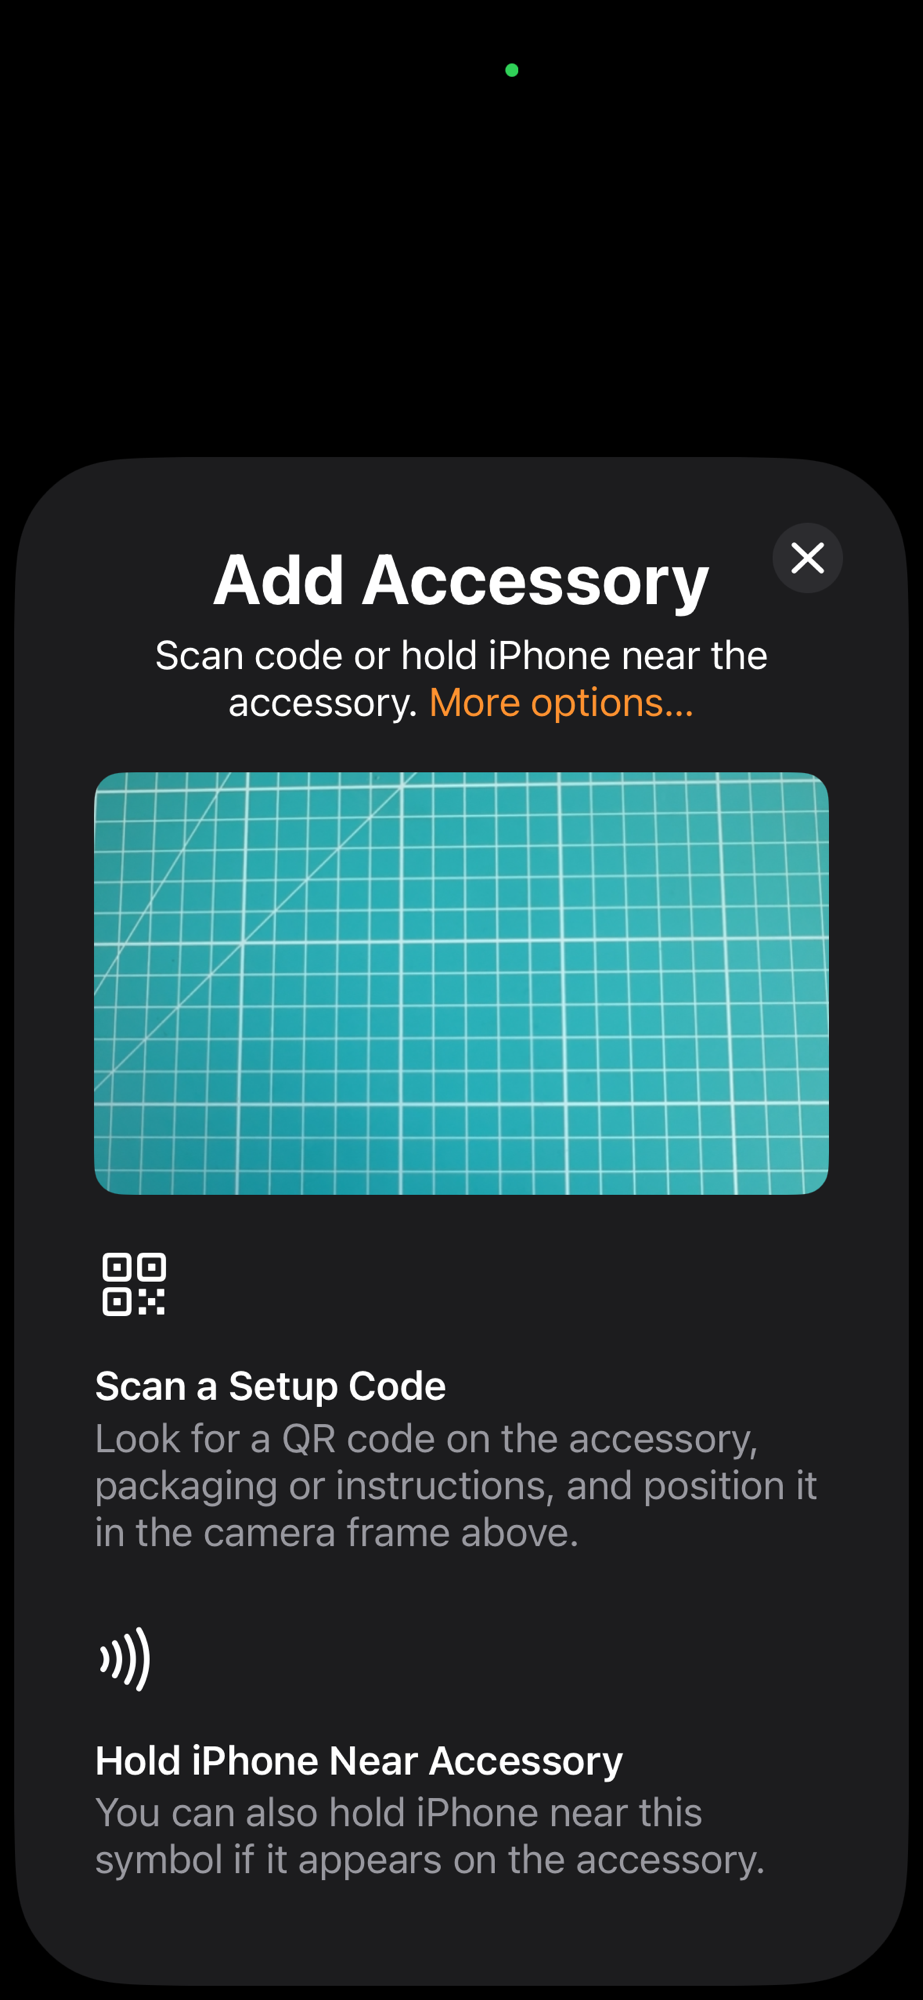
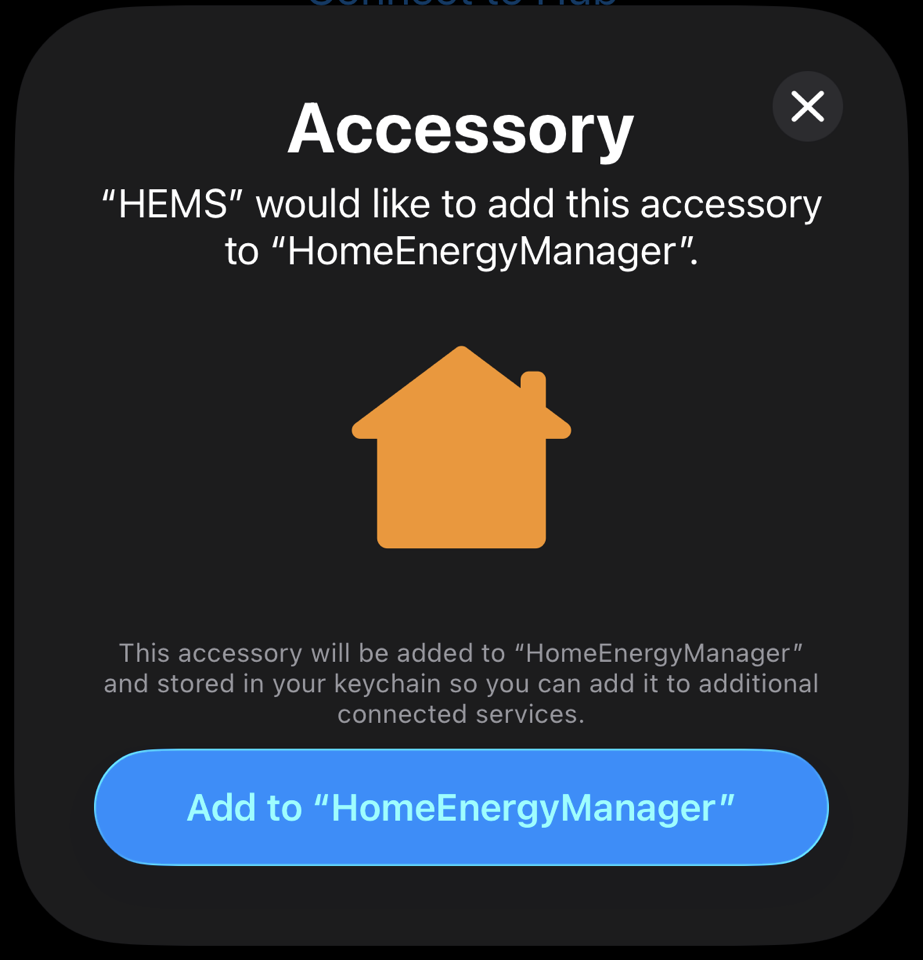
After I scanned a standard Matter QR code, I was then given confirmation, which included the names I set.
At this stage, I realised that I had no clue what was actually happening under the covers. With some help from Greg and Apollon77 on Discord, and a read through the Home Assistant companion app, I leaned how it worked.
- You can scan the QR code or enter a manual pairing code.
- iOS commissions the device and adds it into its own fabric.
- iOS then opens the commissioning window on the device and shares the new pairing code.
- It then tells you the pairing code and lets you handle the commissioning yourself.
In order to handle the pairing code, I needed to add a special iOS Extension.
The Extension
Following the instructions from Apple’s documentation
https://developer.apple.com/documentation/mattersupport/adding-matter-support-to-your-ecosystem
I added a new class, extending the MatterAddDeviceExtensionRequestHandler class.
class RequestHandler: MatterAddDeviceExtensionRequestHandler {}
There are numerous methods in this class that can be overridden, depending on the needs of your project. For me, I only want to do custom commissioning, so I implemented commissionDevice
override func commissionDevice(in home: MatterAddDeviceRequest.Home?, onboardingPayload: String, commissioningID: UUID) async throws { let url = URL(string: "http://192.168.1.181") var request = URLRequest(url: url!.appendingPathComponent("controller/commission")) request.httpMethod = "POST" request.setValue("application/json", forHTTPHeaderField: "Content-Type") request.timeoutInterval = 90 // commissioning can take a while request.httpBody = try JSONSerialization.data(withJSONObject: [ "onboardingPayload": onboardingPayload ]) let (_, response) = try await URLSession.shared.data(for: request) guard let http = response as? HTTPURLResponse, http.statusCode == 200 else { throw PairingError.pairingFailed }}
This method just receives the onboardingPayload that is created when iOS opens a commissioning window. I couldn’t get my home-energy-manager.local domain working, so I’m using a fixed IP address. Not ideal, but it works 🤣
This value is then posted to my ESP32, which is hosting a web service.
The API
The API server receives the request and parses out the onboardingPayload string. It then parses the payload, pulling out the details.
chip::SetupPayload payload;CHIP_ERROR parse_err;if (strncmp(onboarding_payload, "MT:", 3) == 0){ parse_err = chip::QRCodeSetupPayloadParser(onboarding_payload).populatePayload(payload);}else{ parse_err = chip::ManualSetupPayloadParser(onboarding_payload).populatePayload(payload);}
As the API can only return when commissioning succeeds or fails, I need to use a Semaphore. The ESP32 commissioning API uses callbacks, so the semaphore lets me wait for a success of fail
s_commission_ctx.done = xSemaphoreCreateBinary();s_commission_ctx.result = CHIP_NO_ERROR;if (!s_commission_ctx.done){ return ESP_ERR_NO_MEM;}
I then kick off pairing
chip::NodeId node_id = matter_controller_allocate_node_id();esp_matter::controller::pairing_command_callbacks_t callbacks = { .commissioning_success_callback = on_commissioning_success_callback, .commissioning_failure_callback = on_commissioning_failure_callback};esp_matter::controller::pairing_command::get_instance().set_callbacks(callbacks);chip::DeviceLayer::PlatformMgr().LockChipStack();esp_matter::controller::pairing_code(node_id, onboarding_payload);chip::DeviceLayer::PlatformMgr().UnlockChipStack();
before waiting
if (xSemaphoreTake(s_commission_ctx.done, pdMS_TO_TICKS(60000)) != pdTRUE){ ESP_LOGE(TAG, "Commissioning timed out"); vSemaphoreDelete(s_commission_ctx.done); return ESP_ERR_TIMEOUT;}
Commissioning will pass or fail, and the appropriate callback will be invoked. I set the result and release the Semaphore.
static void on_commissioning_success_callback(ScopedNodeId peer_id){ s_commission_ctx.result = CHIP_NO_ERROR; xSemaphoreGive(s_commission_ctx.done);}static void on_commissioning_failure_callback(ScopedNodeId peer_id, CHIP_ERROR error, chip::Controller::CommissioningStage stage, std::optional<chip::Credentials::AttestationVerificationResult> additional_err_info){ s_commission_ctx.result = error; xSemaphoreGive(s_commission_ctx.done);}
Testing
To test this flow, I used matter.js to create an OnOff device.
npm run matter-device
This creates a device and presents the QR code.
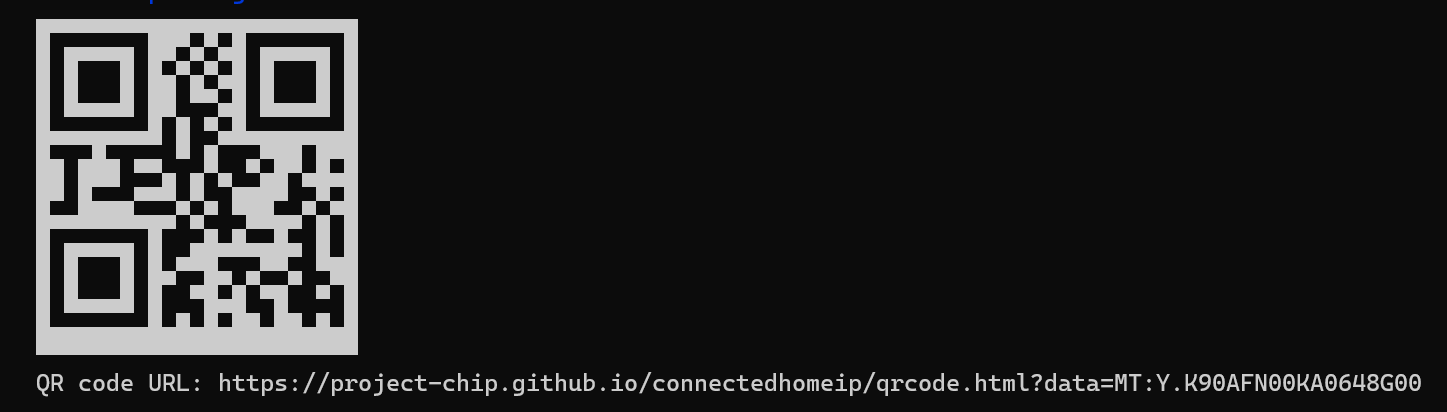
I scanned this with my iOS app and the device got commissioned. Then, as expected, it opened a commissioning window!

The iOS app then made the network requestion to my /commission endpoint and my ESP32 sprung into action!

After a few seconds, commissioning completed!
Two Fabrics
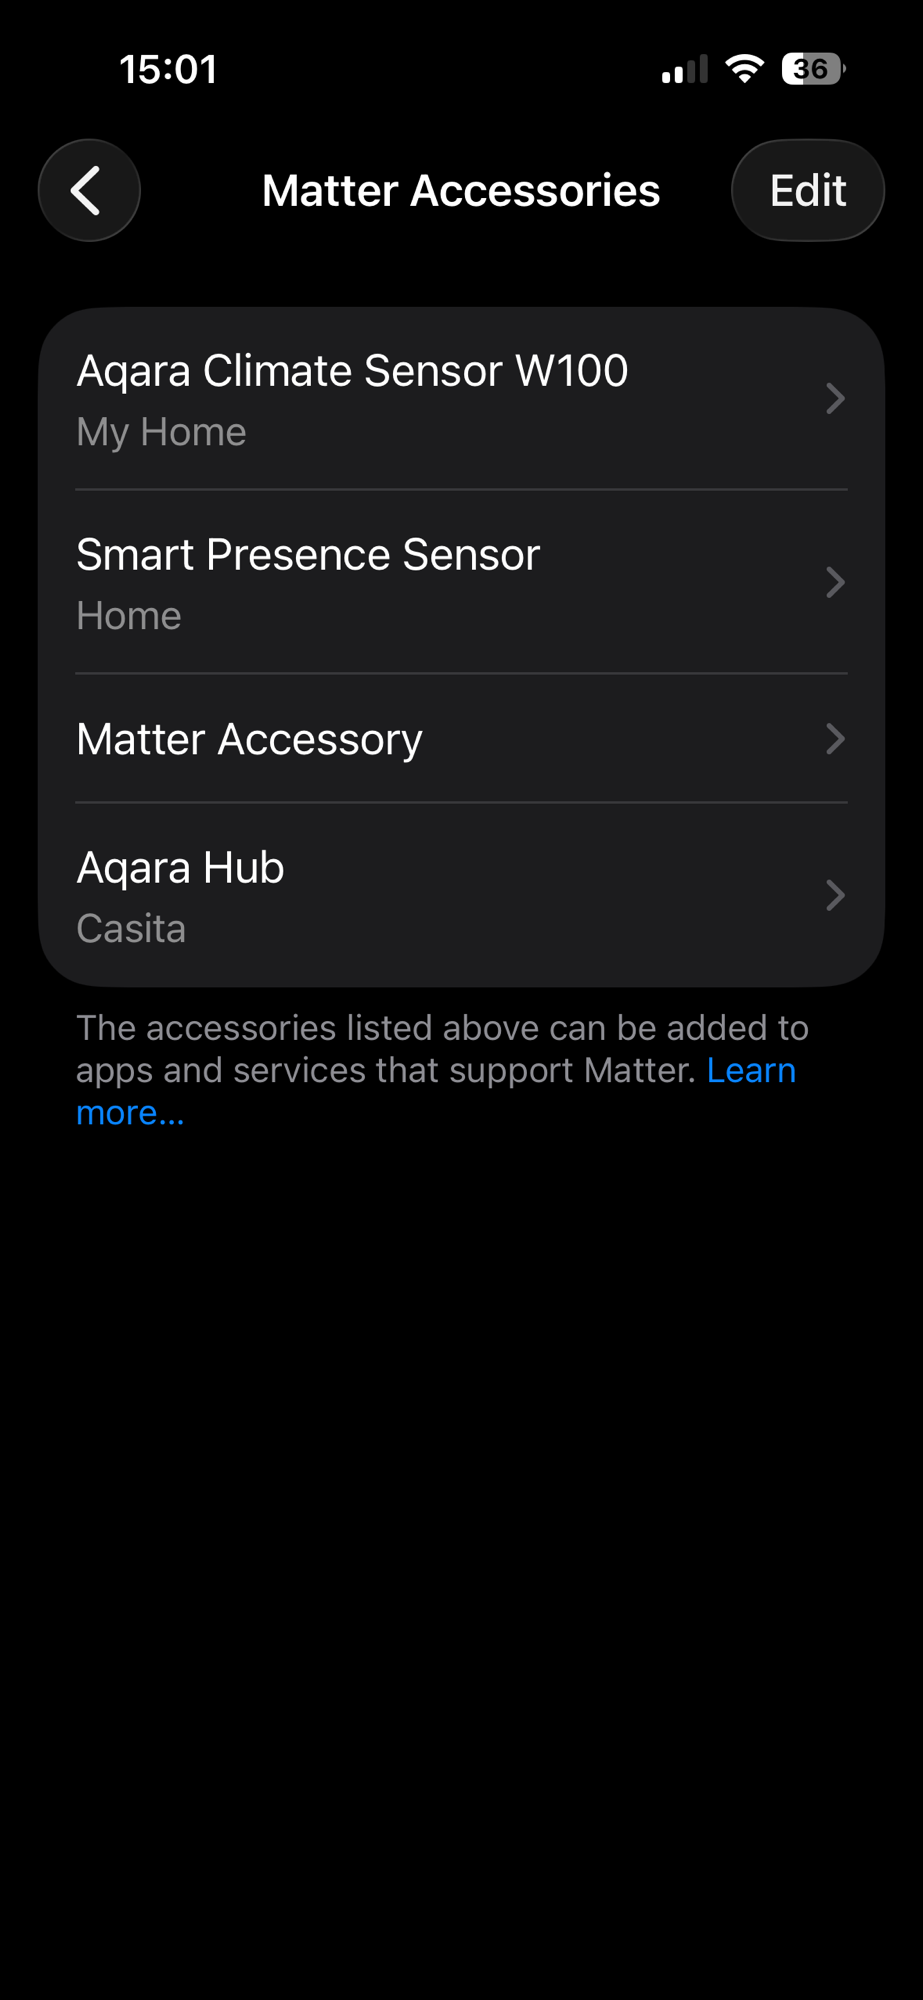
As I mentioned, iOS initially commissions the device into its own fabric, before allowing my ESP32 Controller to commission it again. You can verify this by going to Settings -> General -> Matter Accessories in iOS. In my list, you can see the “Matter Accessory”.
Opening this shows that it’s the matter.js device I just commissioned
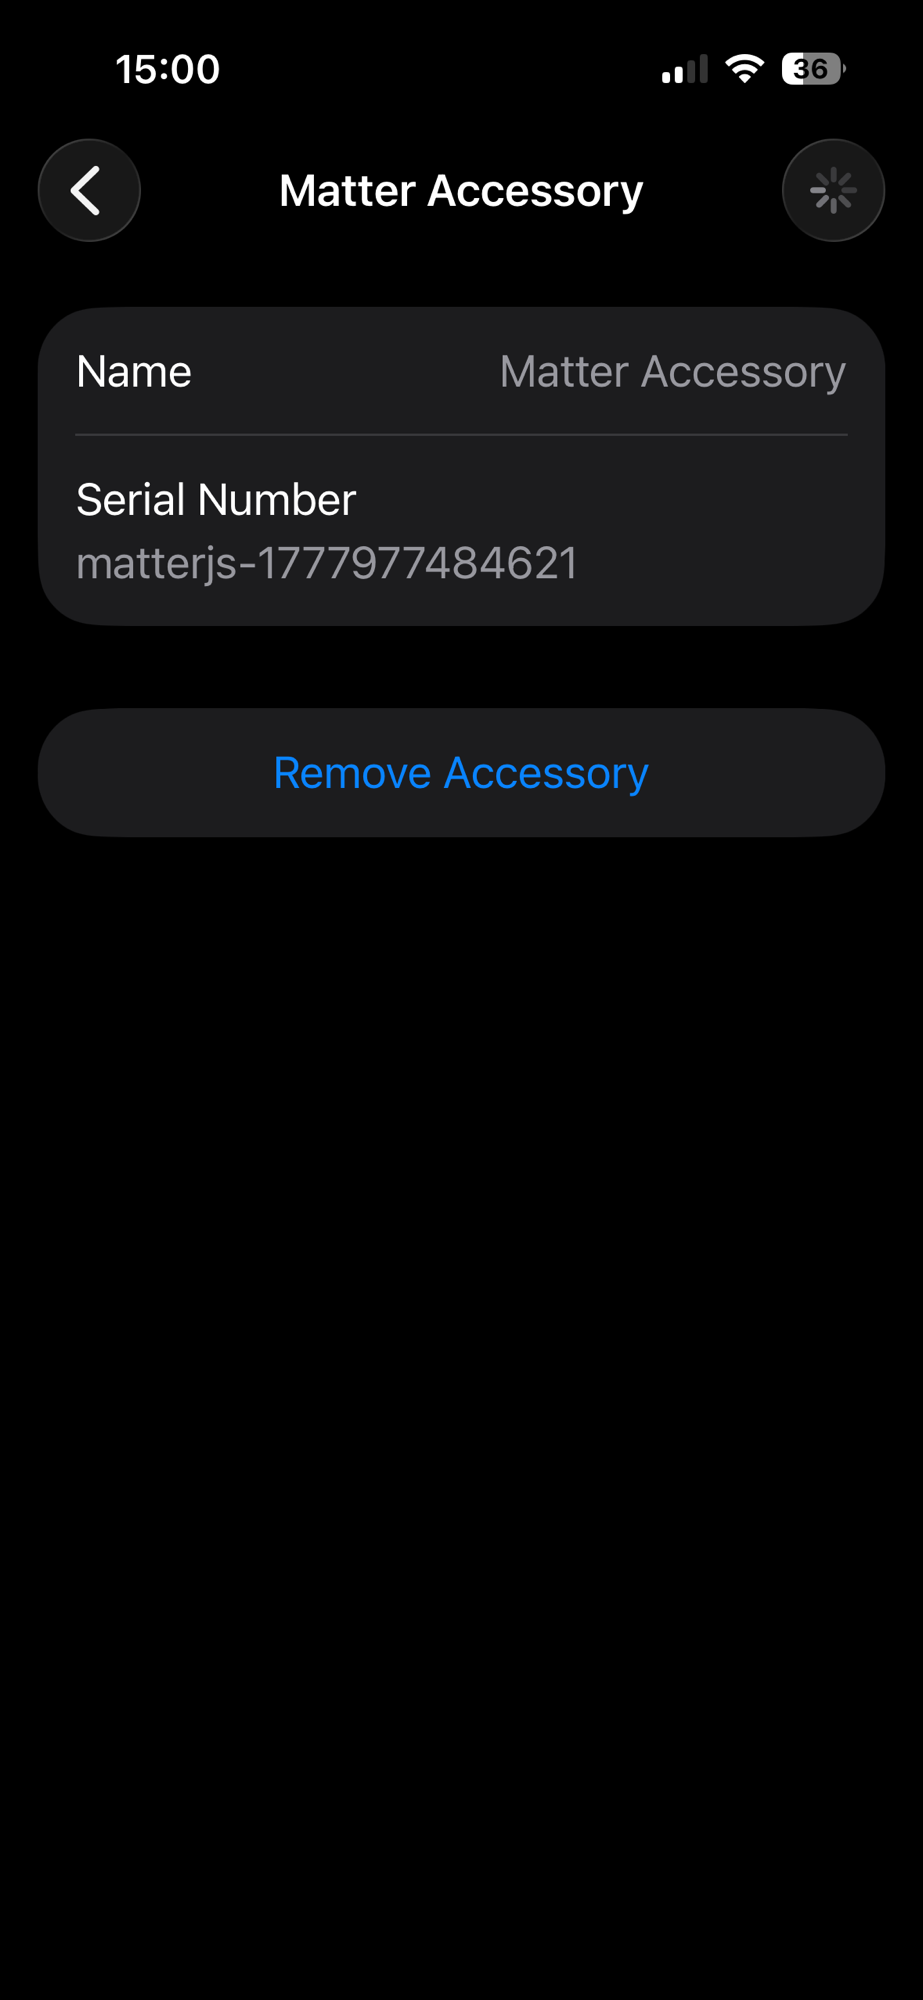
From here, you can remove the accessory from iOS but retain control from the second fabric. This is useful to know.
Summary
Unfortunately, I’m not in a position to share the Github project for this just yet. It’s an absolute mess as I’m still building it out. Hopefully this is enough to get your started though!
Any questions, please use the comments.
If you want to follow along as I build out my Home Energy Manager, be sure to subscribe!
Did you enjoy this post?
If you found this blog post useful and want to say thanks, you’re welcome to buy me a coffee.
Be sure to check out my YouTube Channel too – https://youtube.com/tomasmcguinness
Thanks,
Tom!

Leave a comment