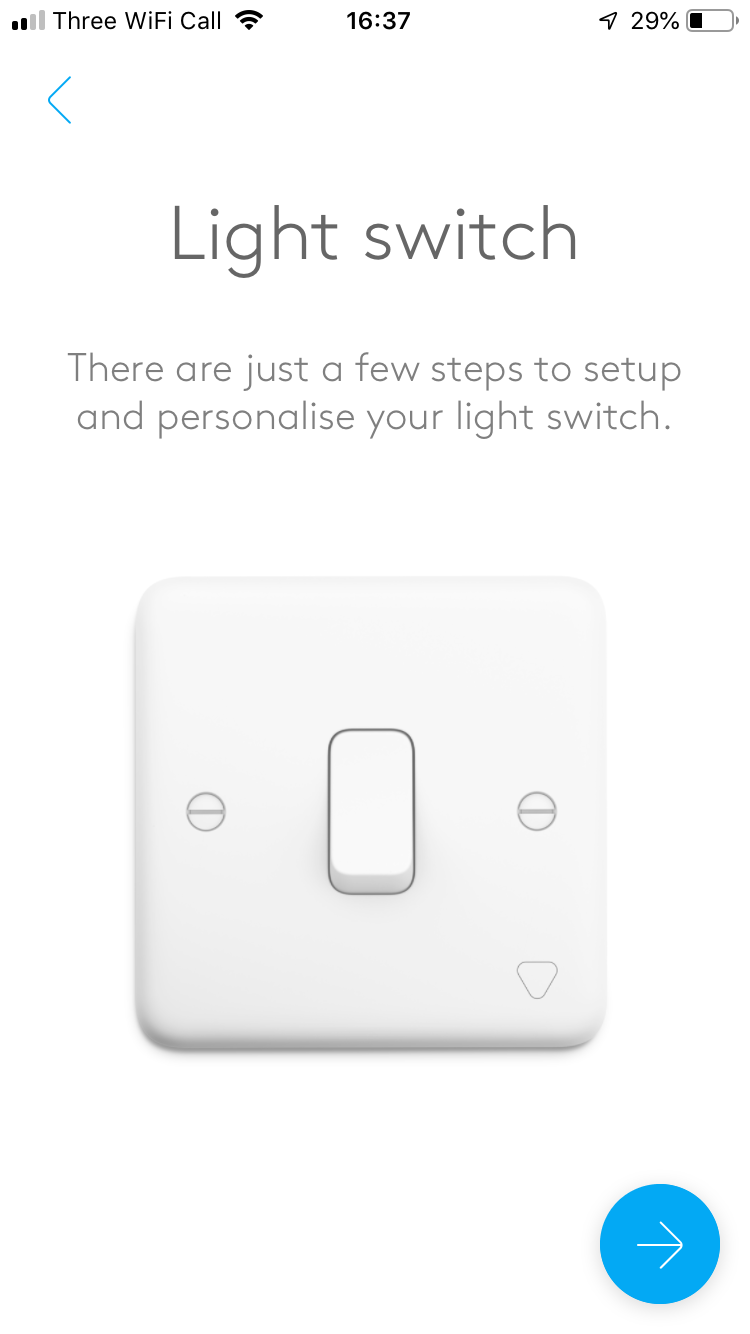
In a previous post, I covered the Den Automation Smart Hub setup. Next up, I’d like to cover the installation and setup of their 1 gang light switch.
I ordered four of these, to cover the rooms upstairs in my house. I’ll post the processing I went through to install one of the switches.
WARNING – CHANGING THESE SWITCHES REQUIRES EXPOSE TO MAINS VOLTAGE, WHICH IS EXTREMELY DANGEROUS. TAKE THE NECESSARY PRECAUTIONS. I AM NOT RESPONSIBLE FOR ANY INJURY THAT MAY RESULT. REMEMBER TO ISOLATE YOUR SWITCHES AT THE FUSE BOARD. IF IN DOUBT, GET AN ELECTRICIAN!
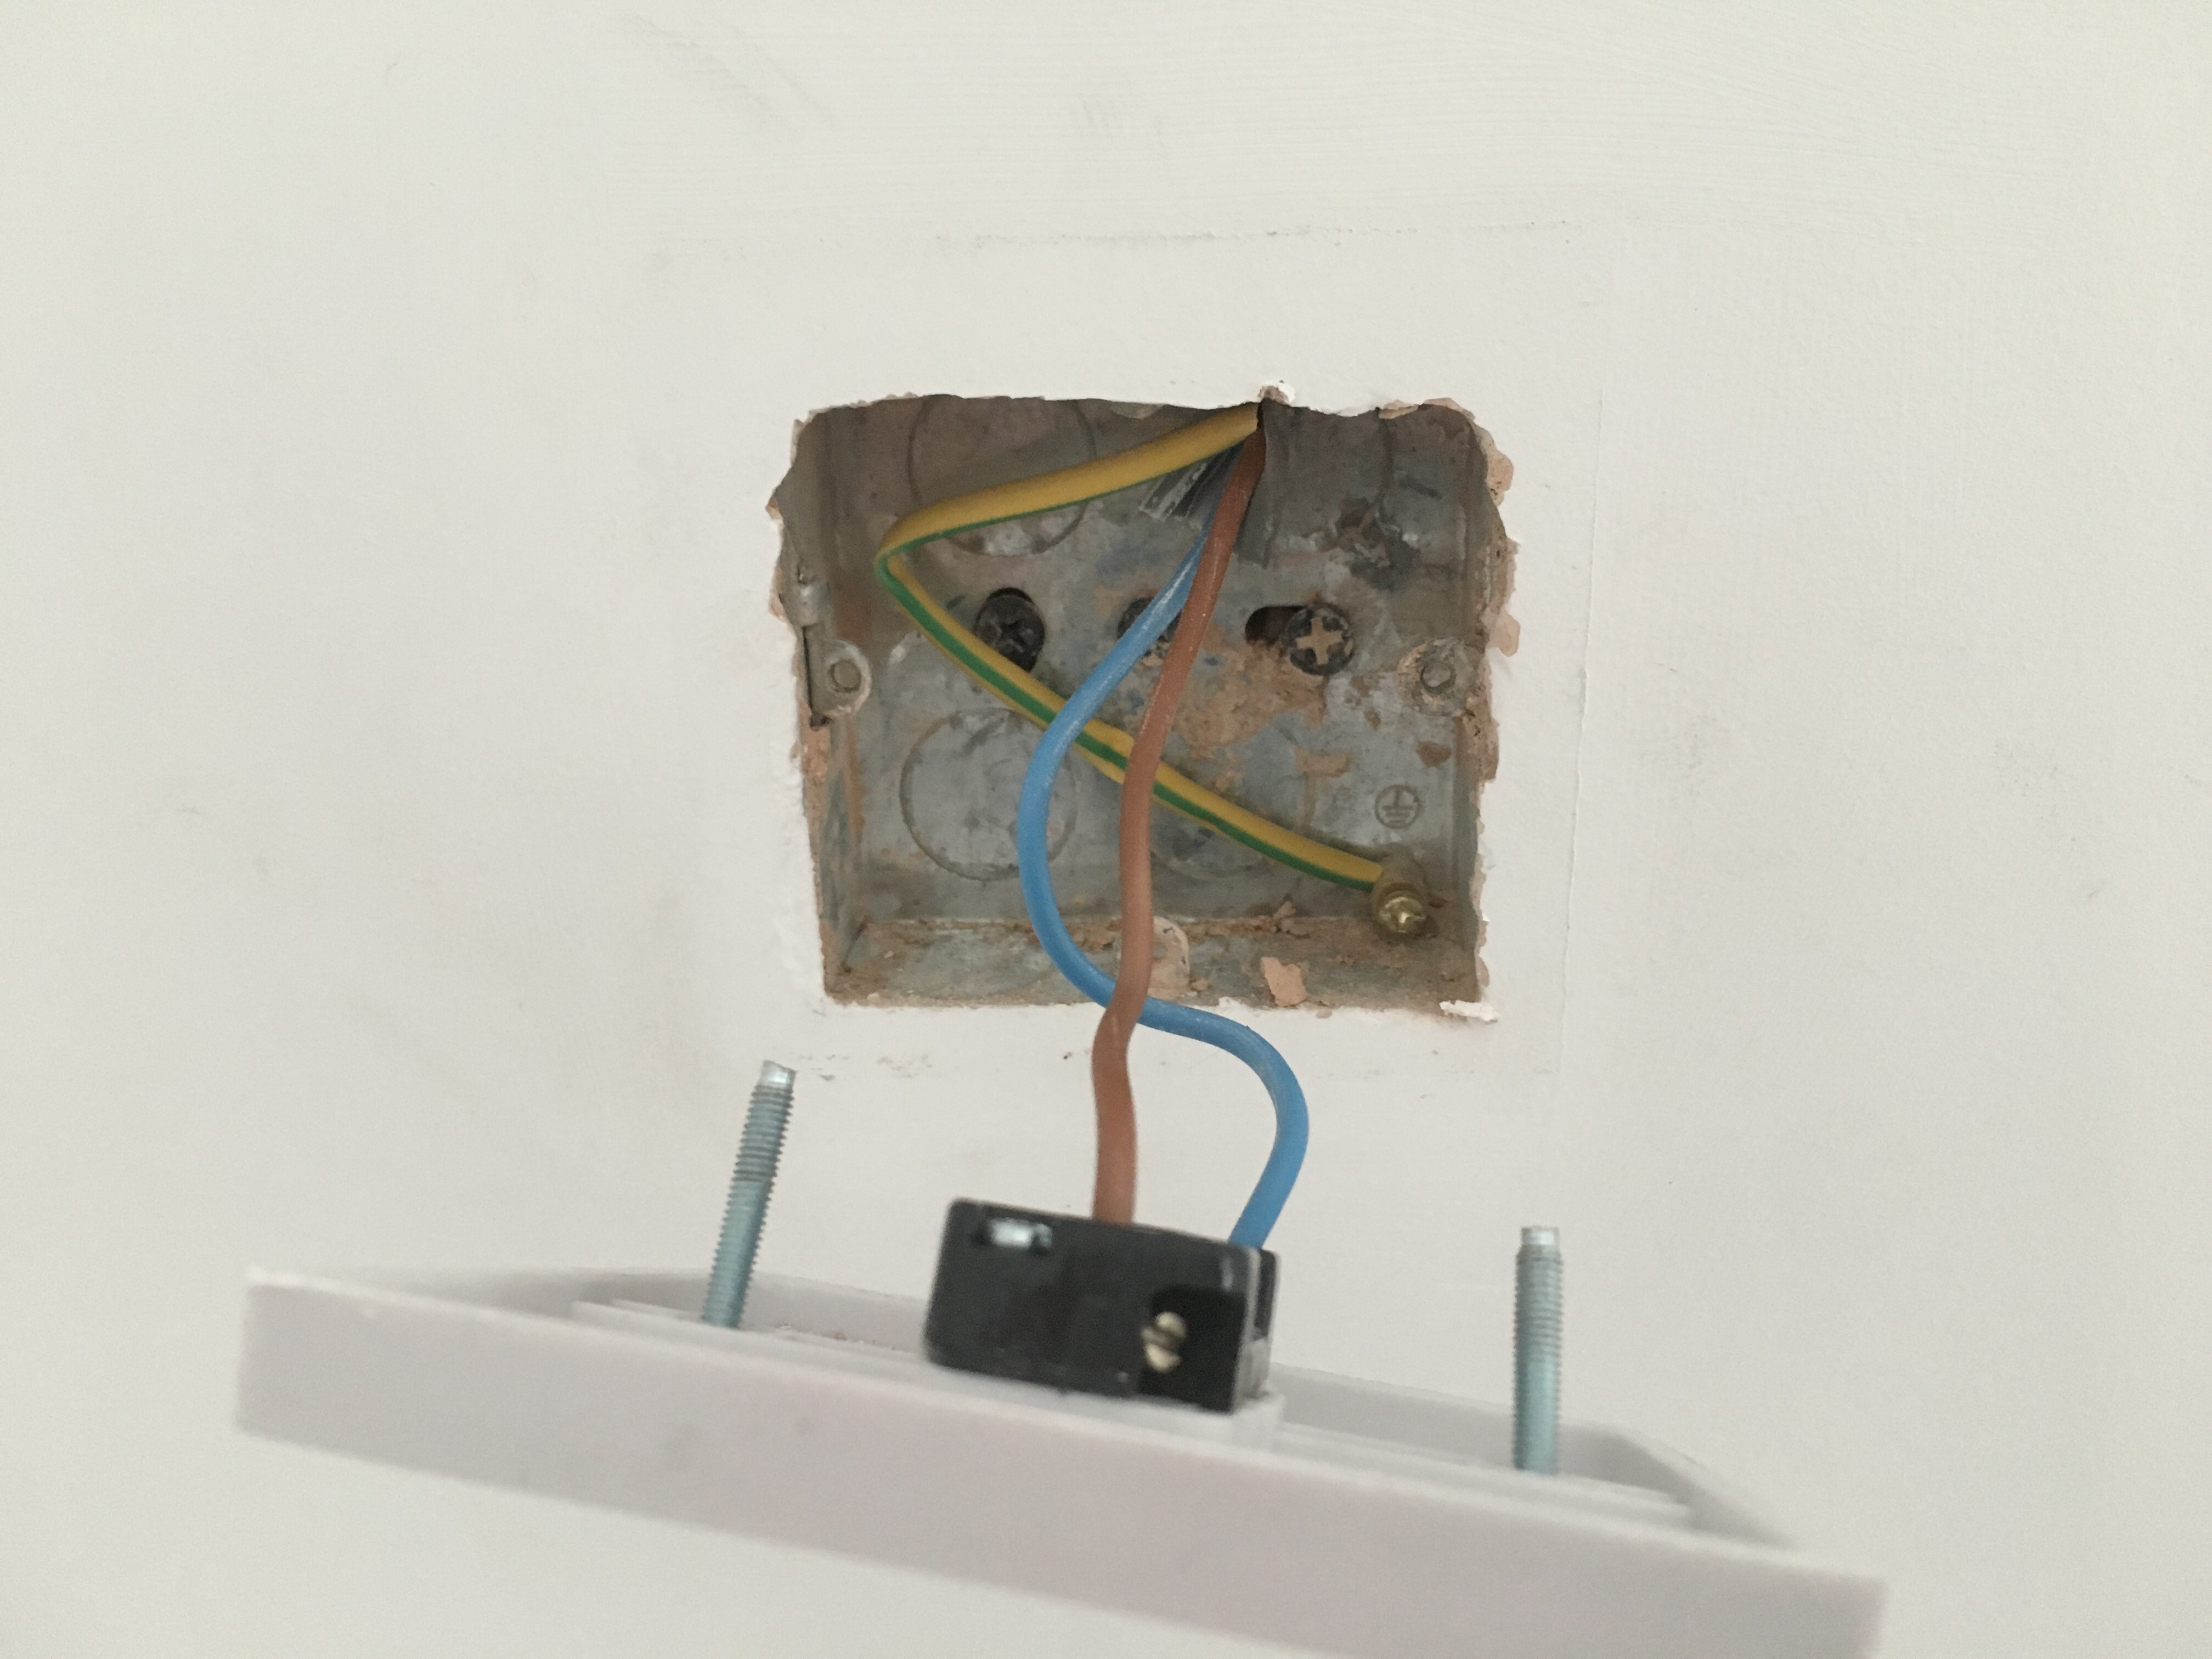
Having turned off the lights at the fuse board (see my stern warning above) I removed the face plate.
Den Switches require an earth connection to function (I’m guessing they use the voltage across live and earth to charge their capacitor, keeping the leaked current so low it doesn’t trip the RCD – clever sods!)
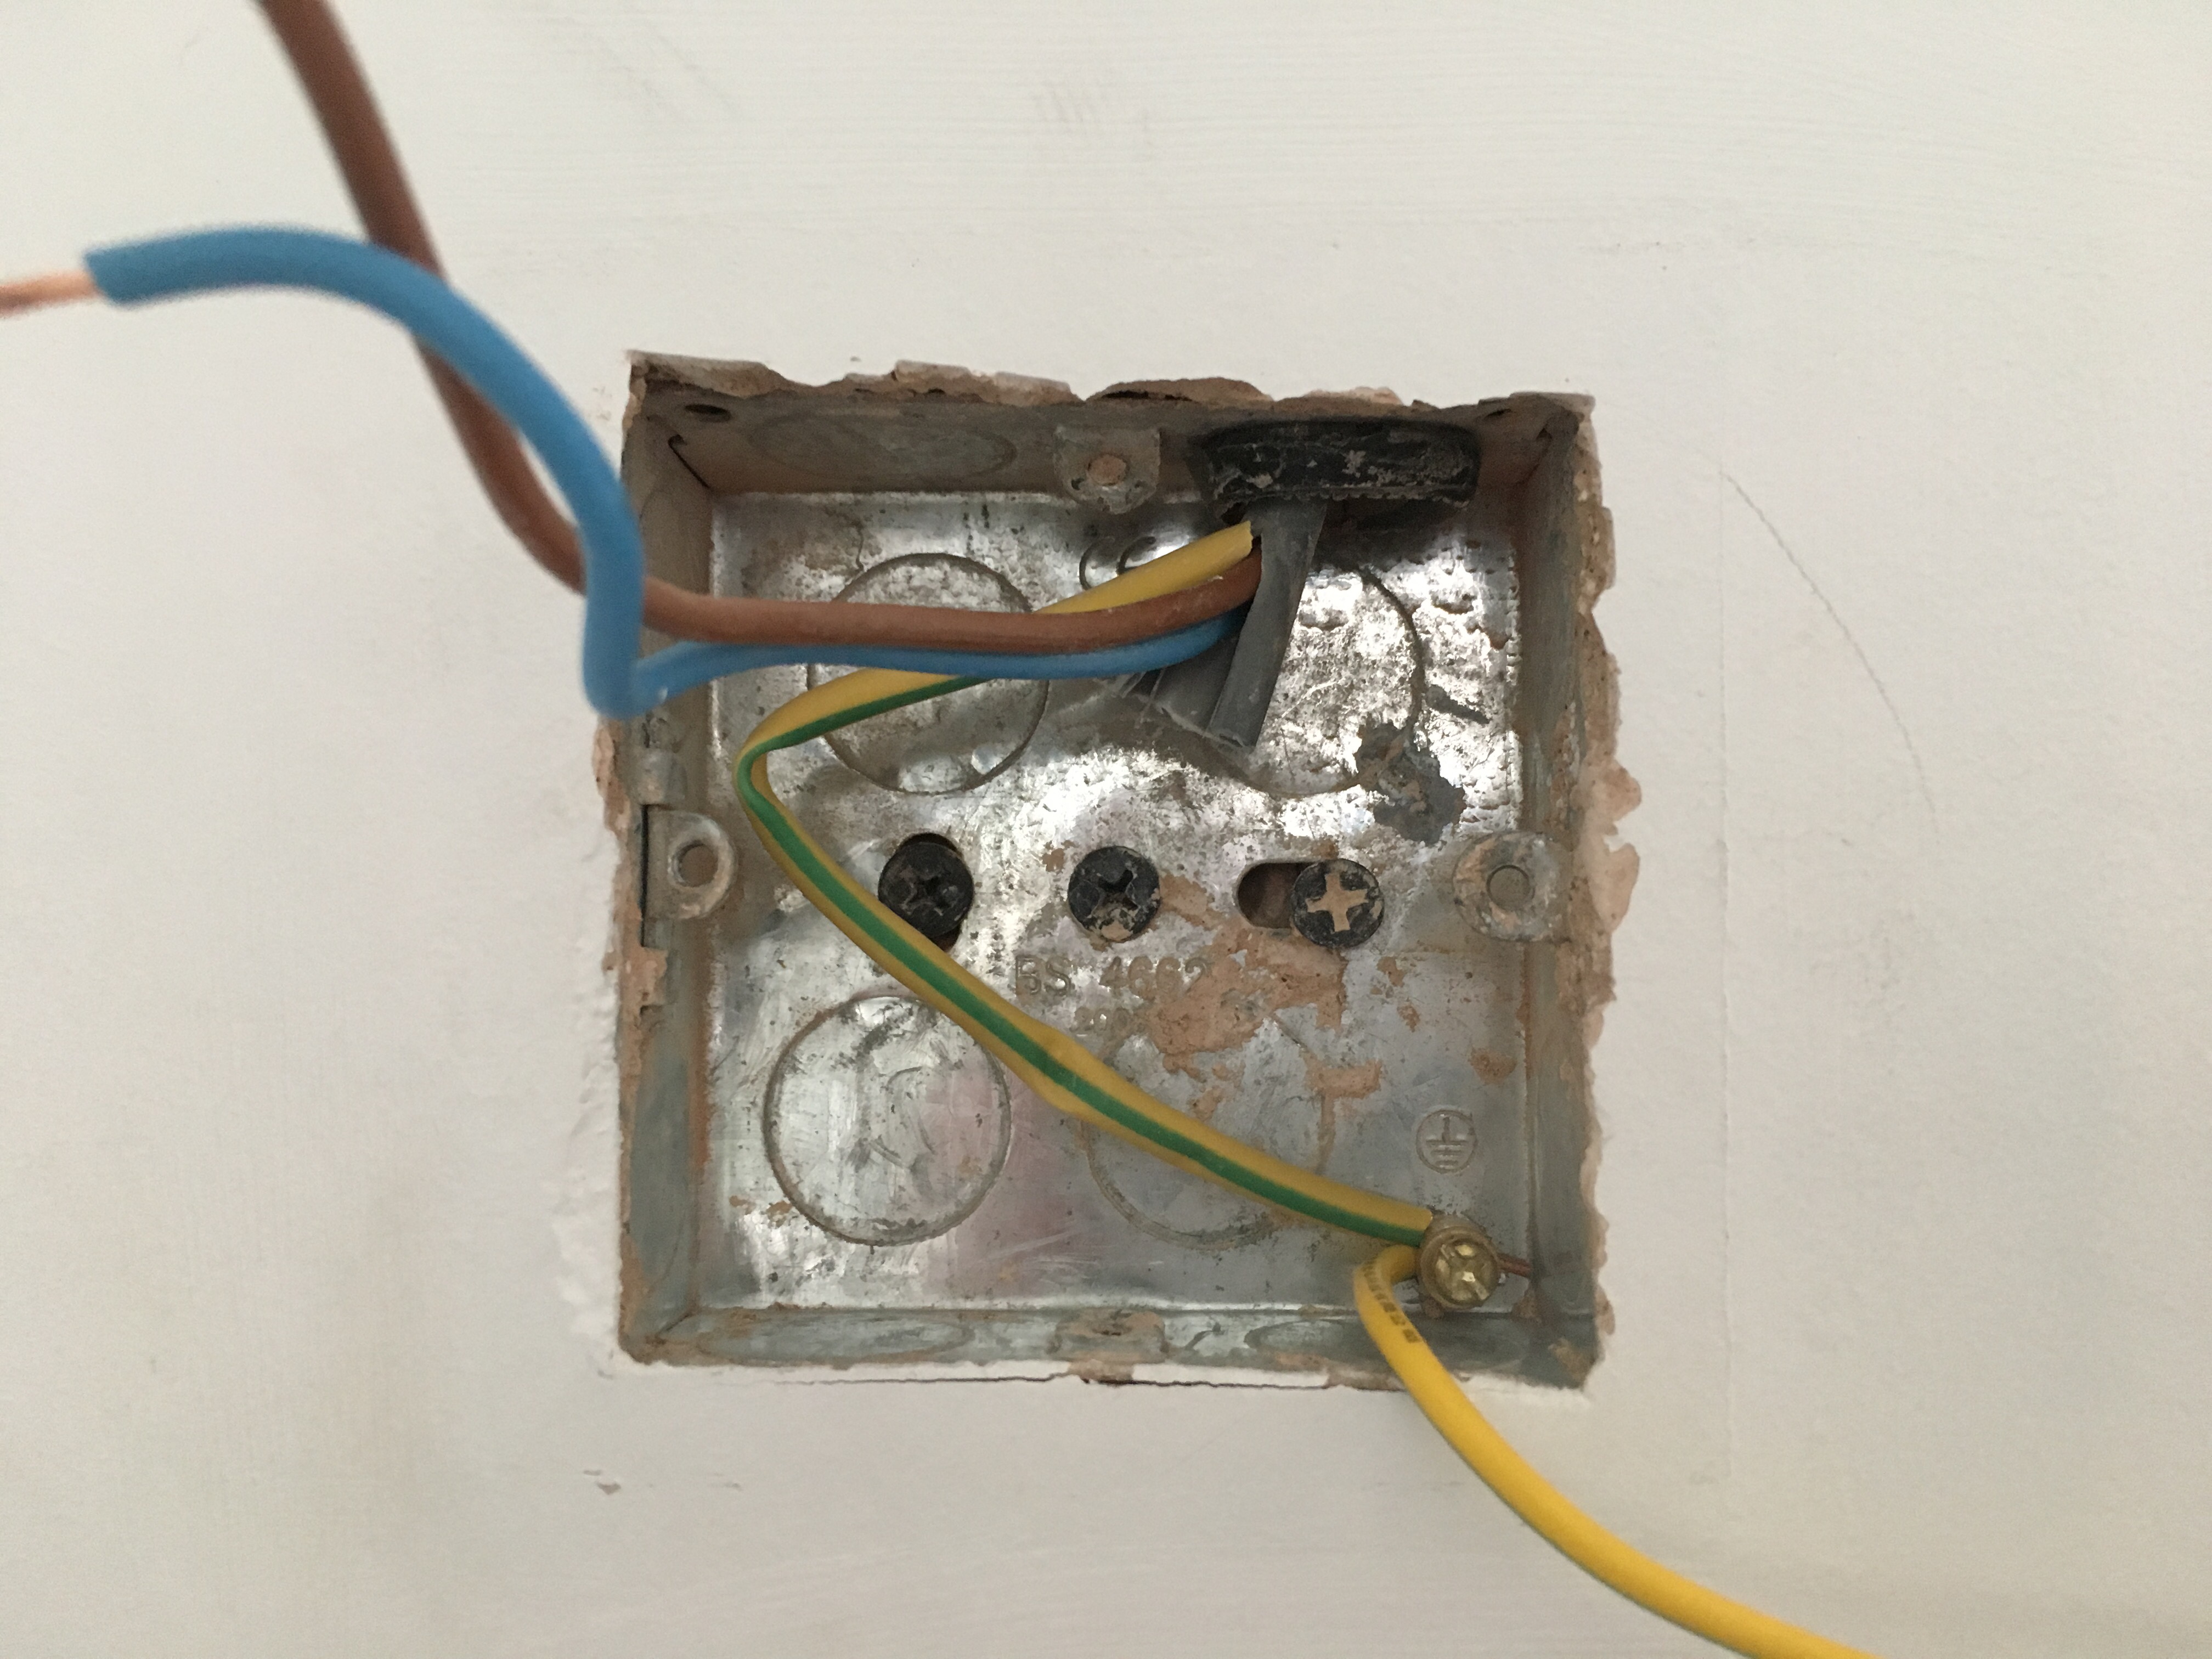
The Den switch has four inputs, Earth, Live, Switched Live 1 and Switched Live 2.
Den provide a small Earth cable that acts as an extensions, so I wired that into the backing box.
The backing box on my switches isn’t deep enough to accommodate the Den switch, so I had to use the provided spacer. I hung that over the wires.
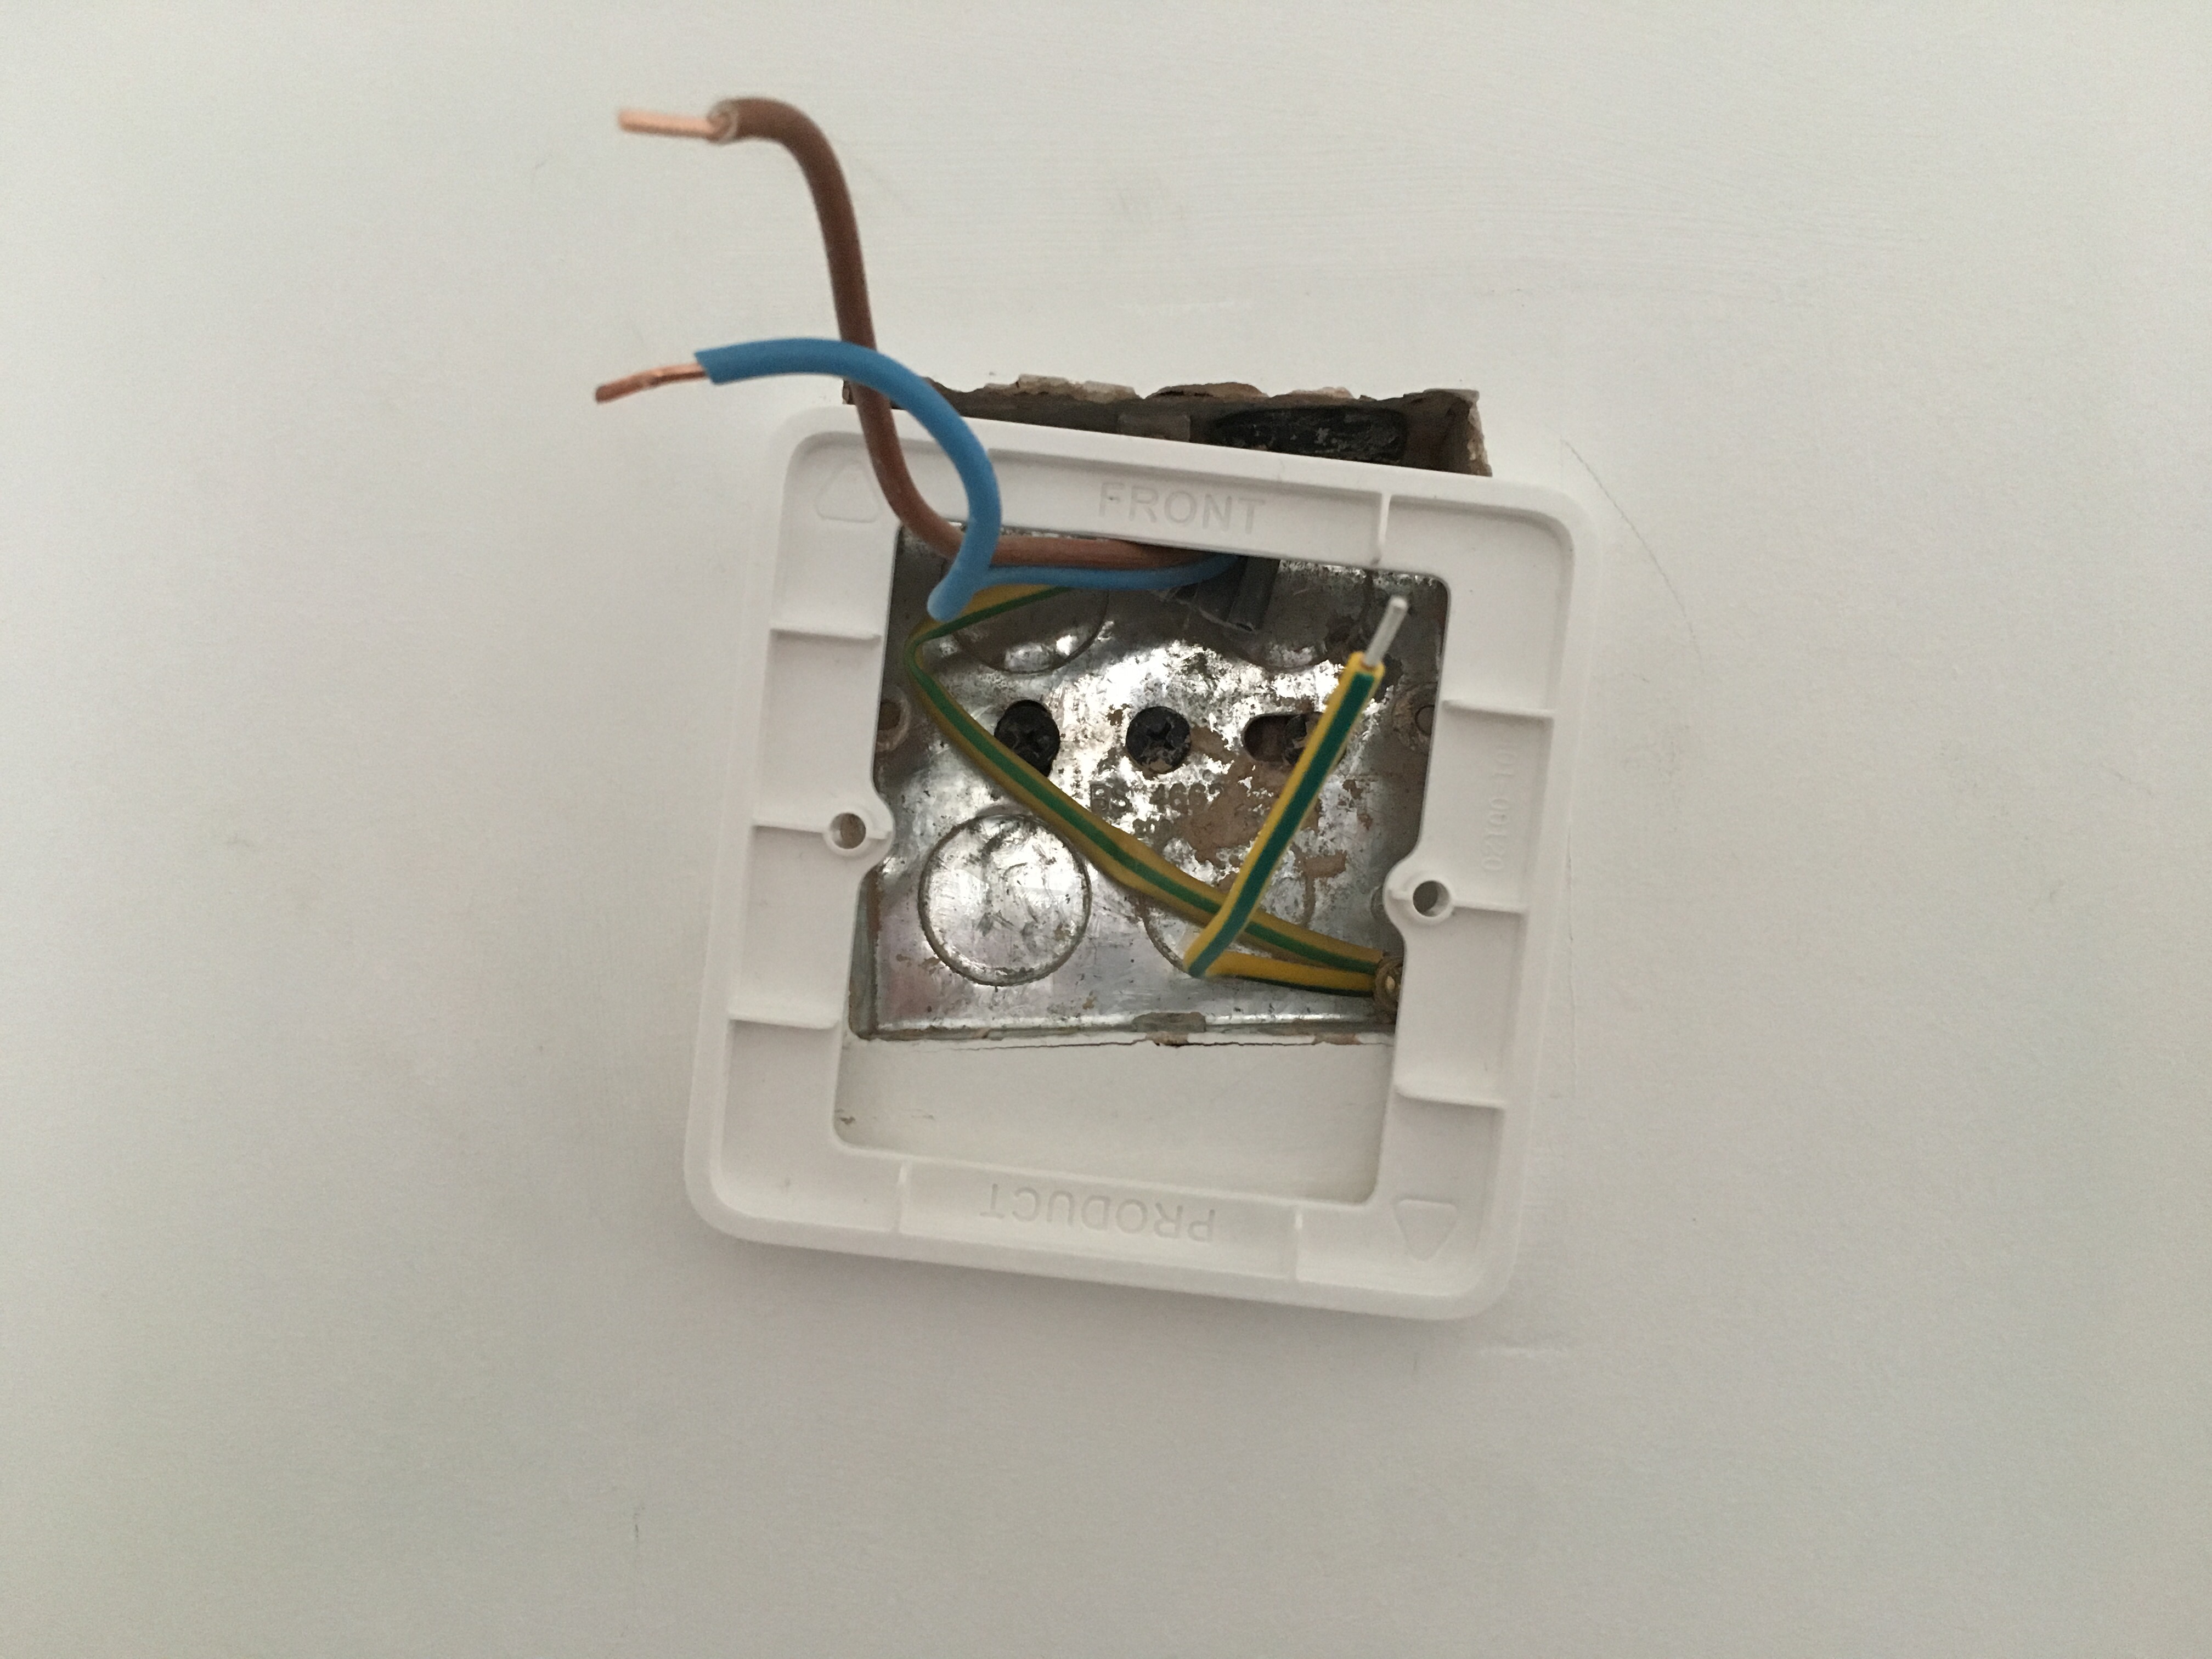
I then connected it up and screwed it in place (using the longer screws provided by Den)

After restoring the power at the fuse board, I was able to turn the light on and off. Pretty useful to know that still worked 🙂
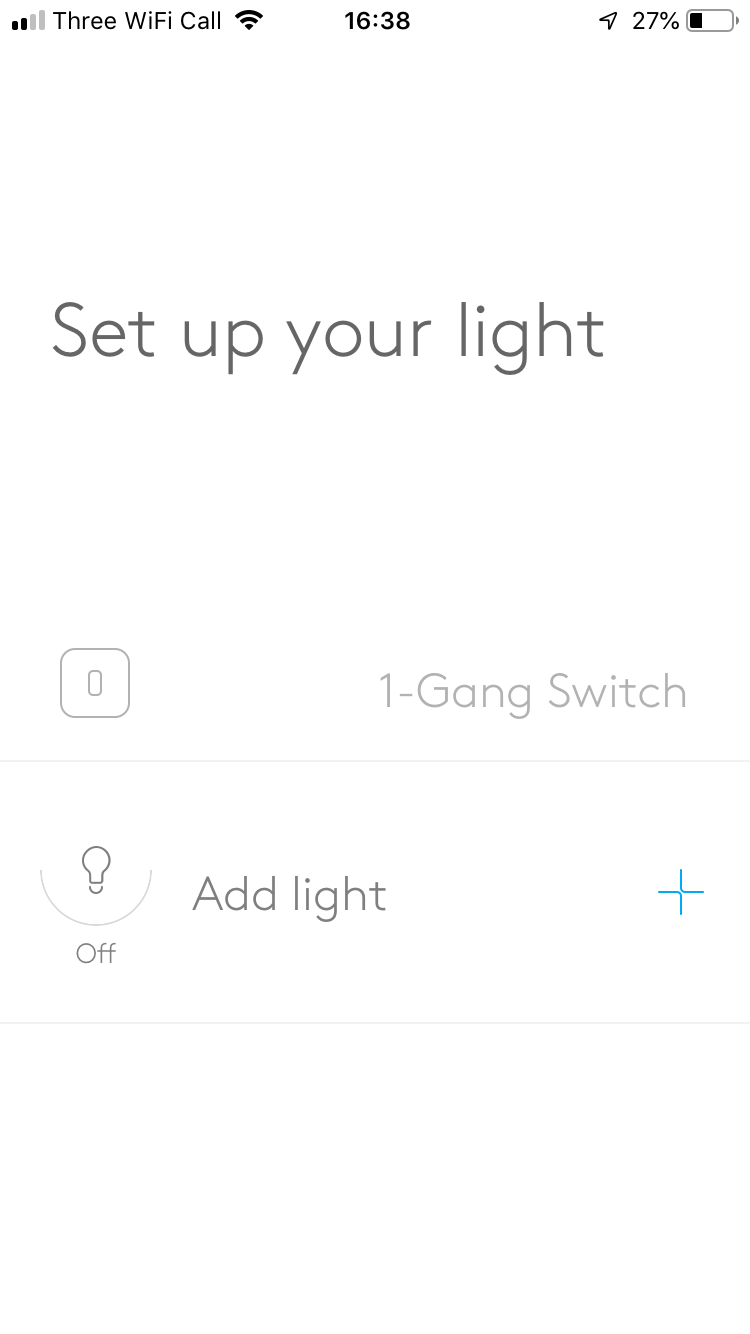
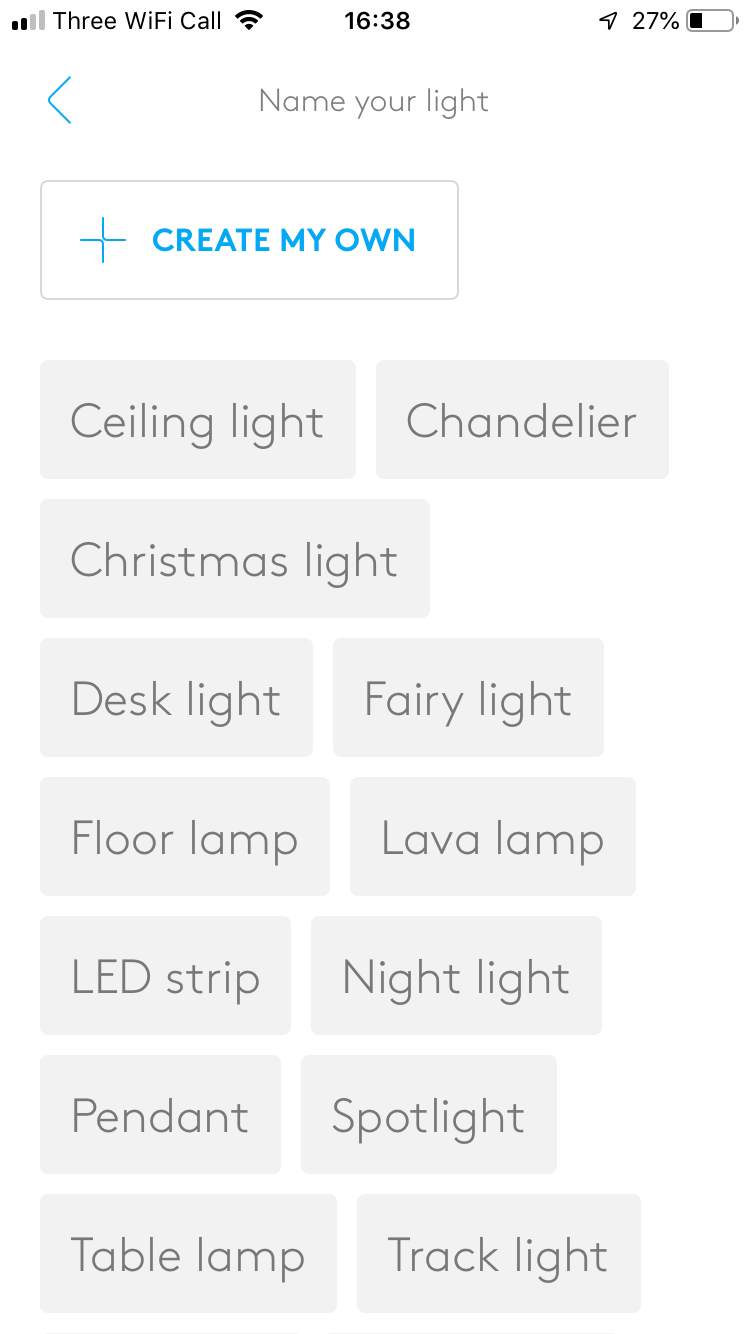
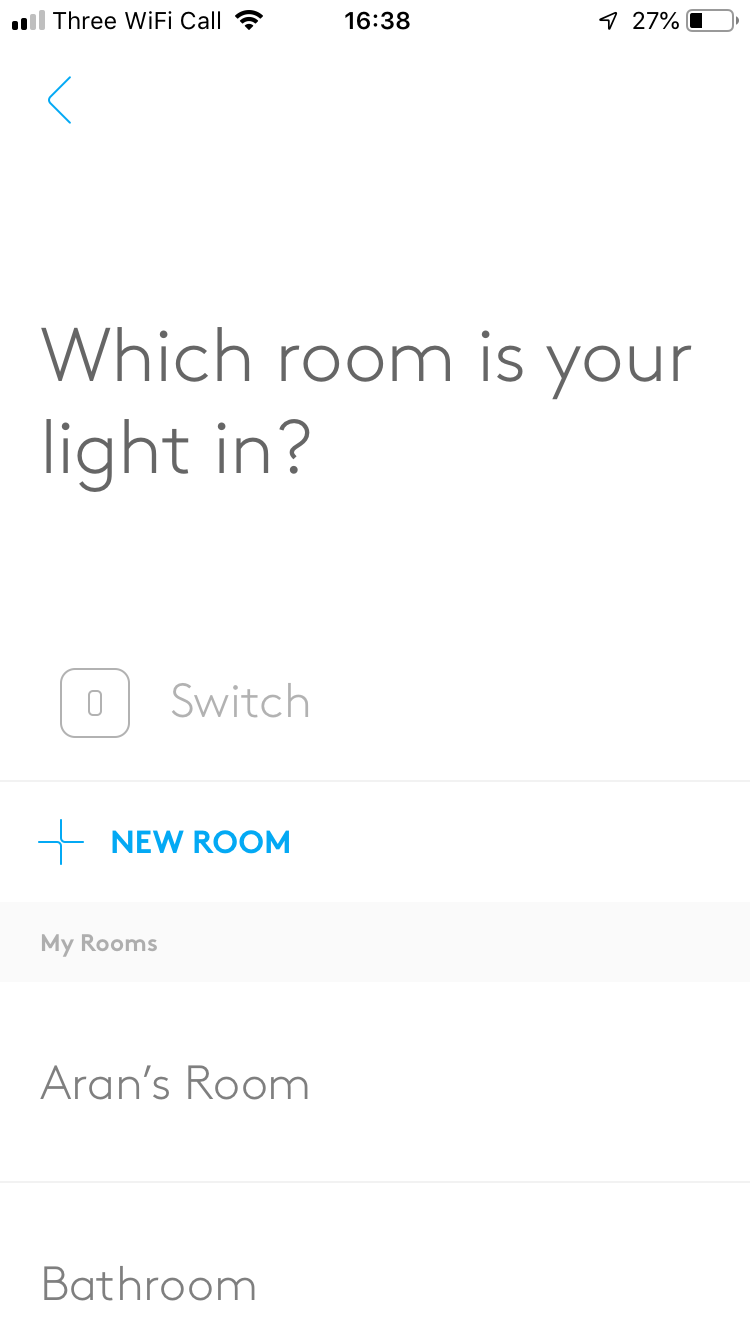
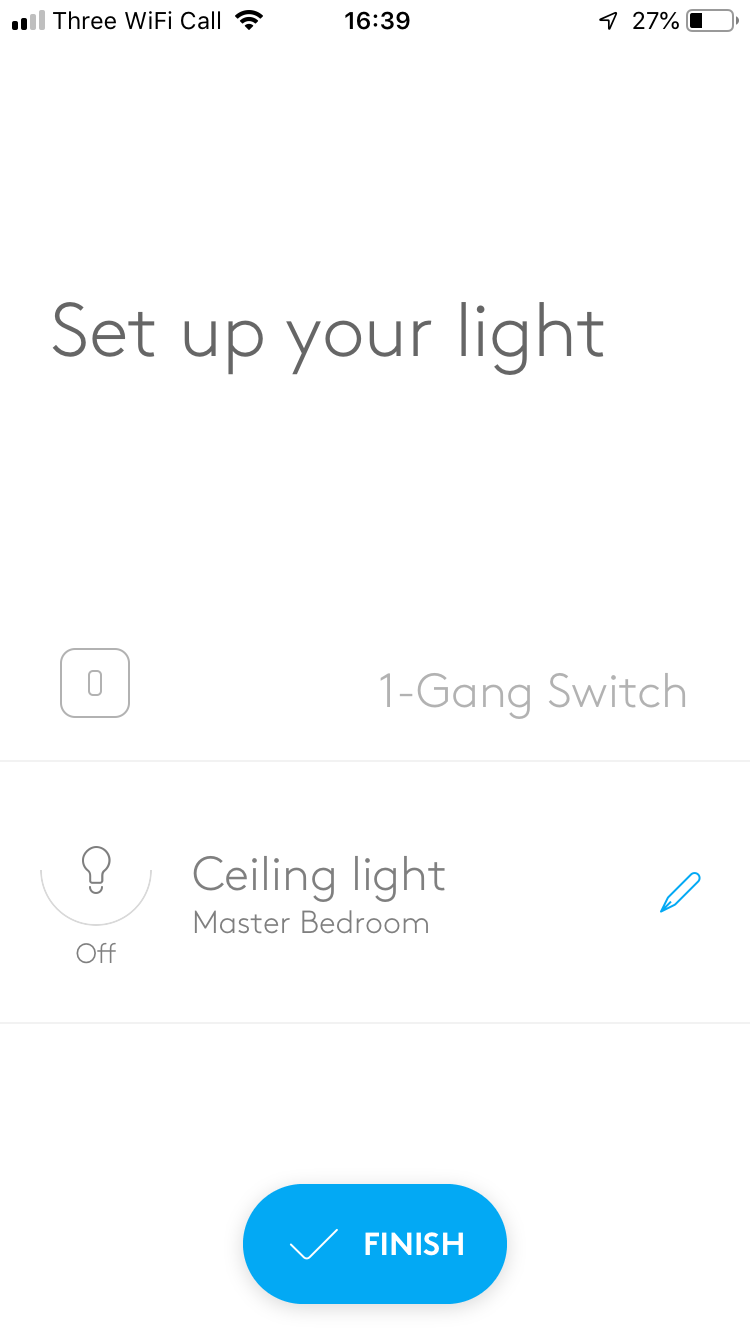
To pair the switch with the Hub, I launched the Den App and, under the settings part, opted to add a new light switch.

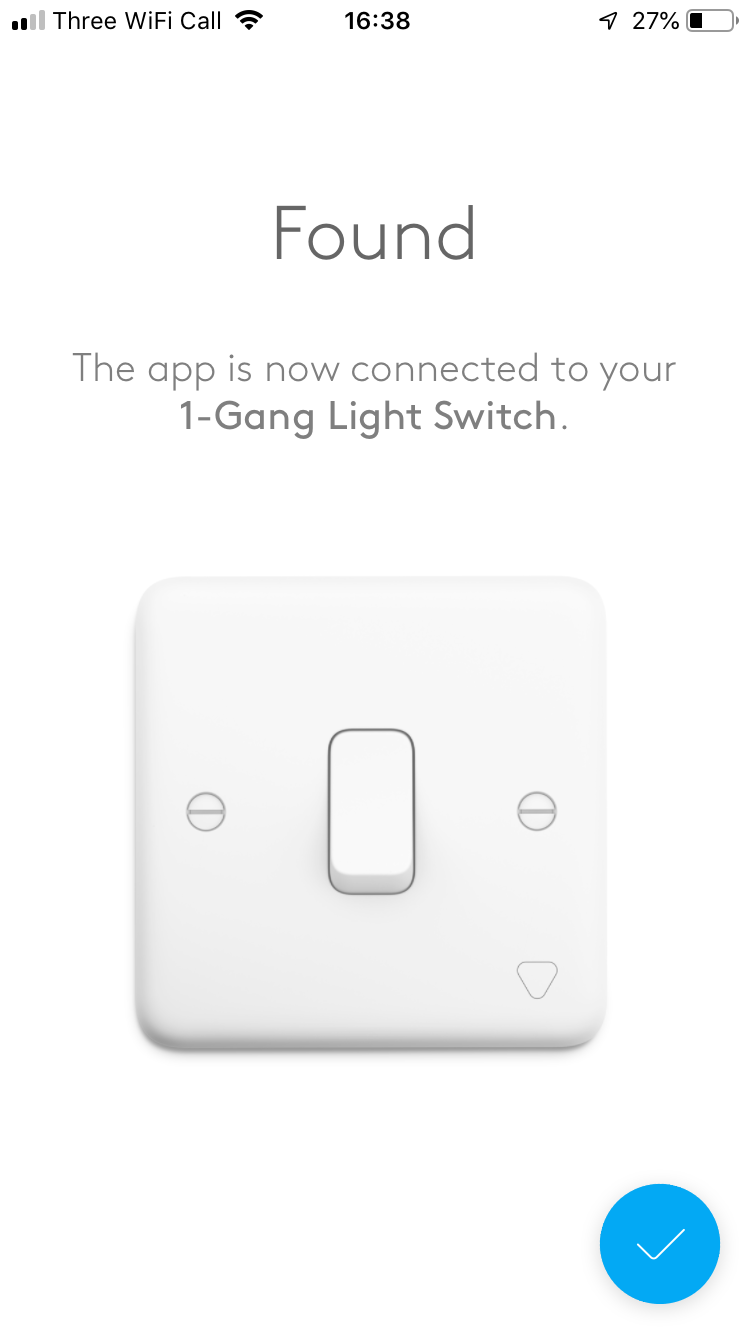
The pairing process took about fifteen seconds.

The installation process was quick and painless.
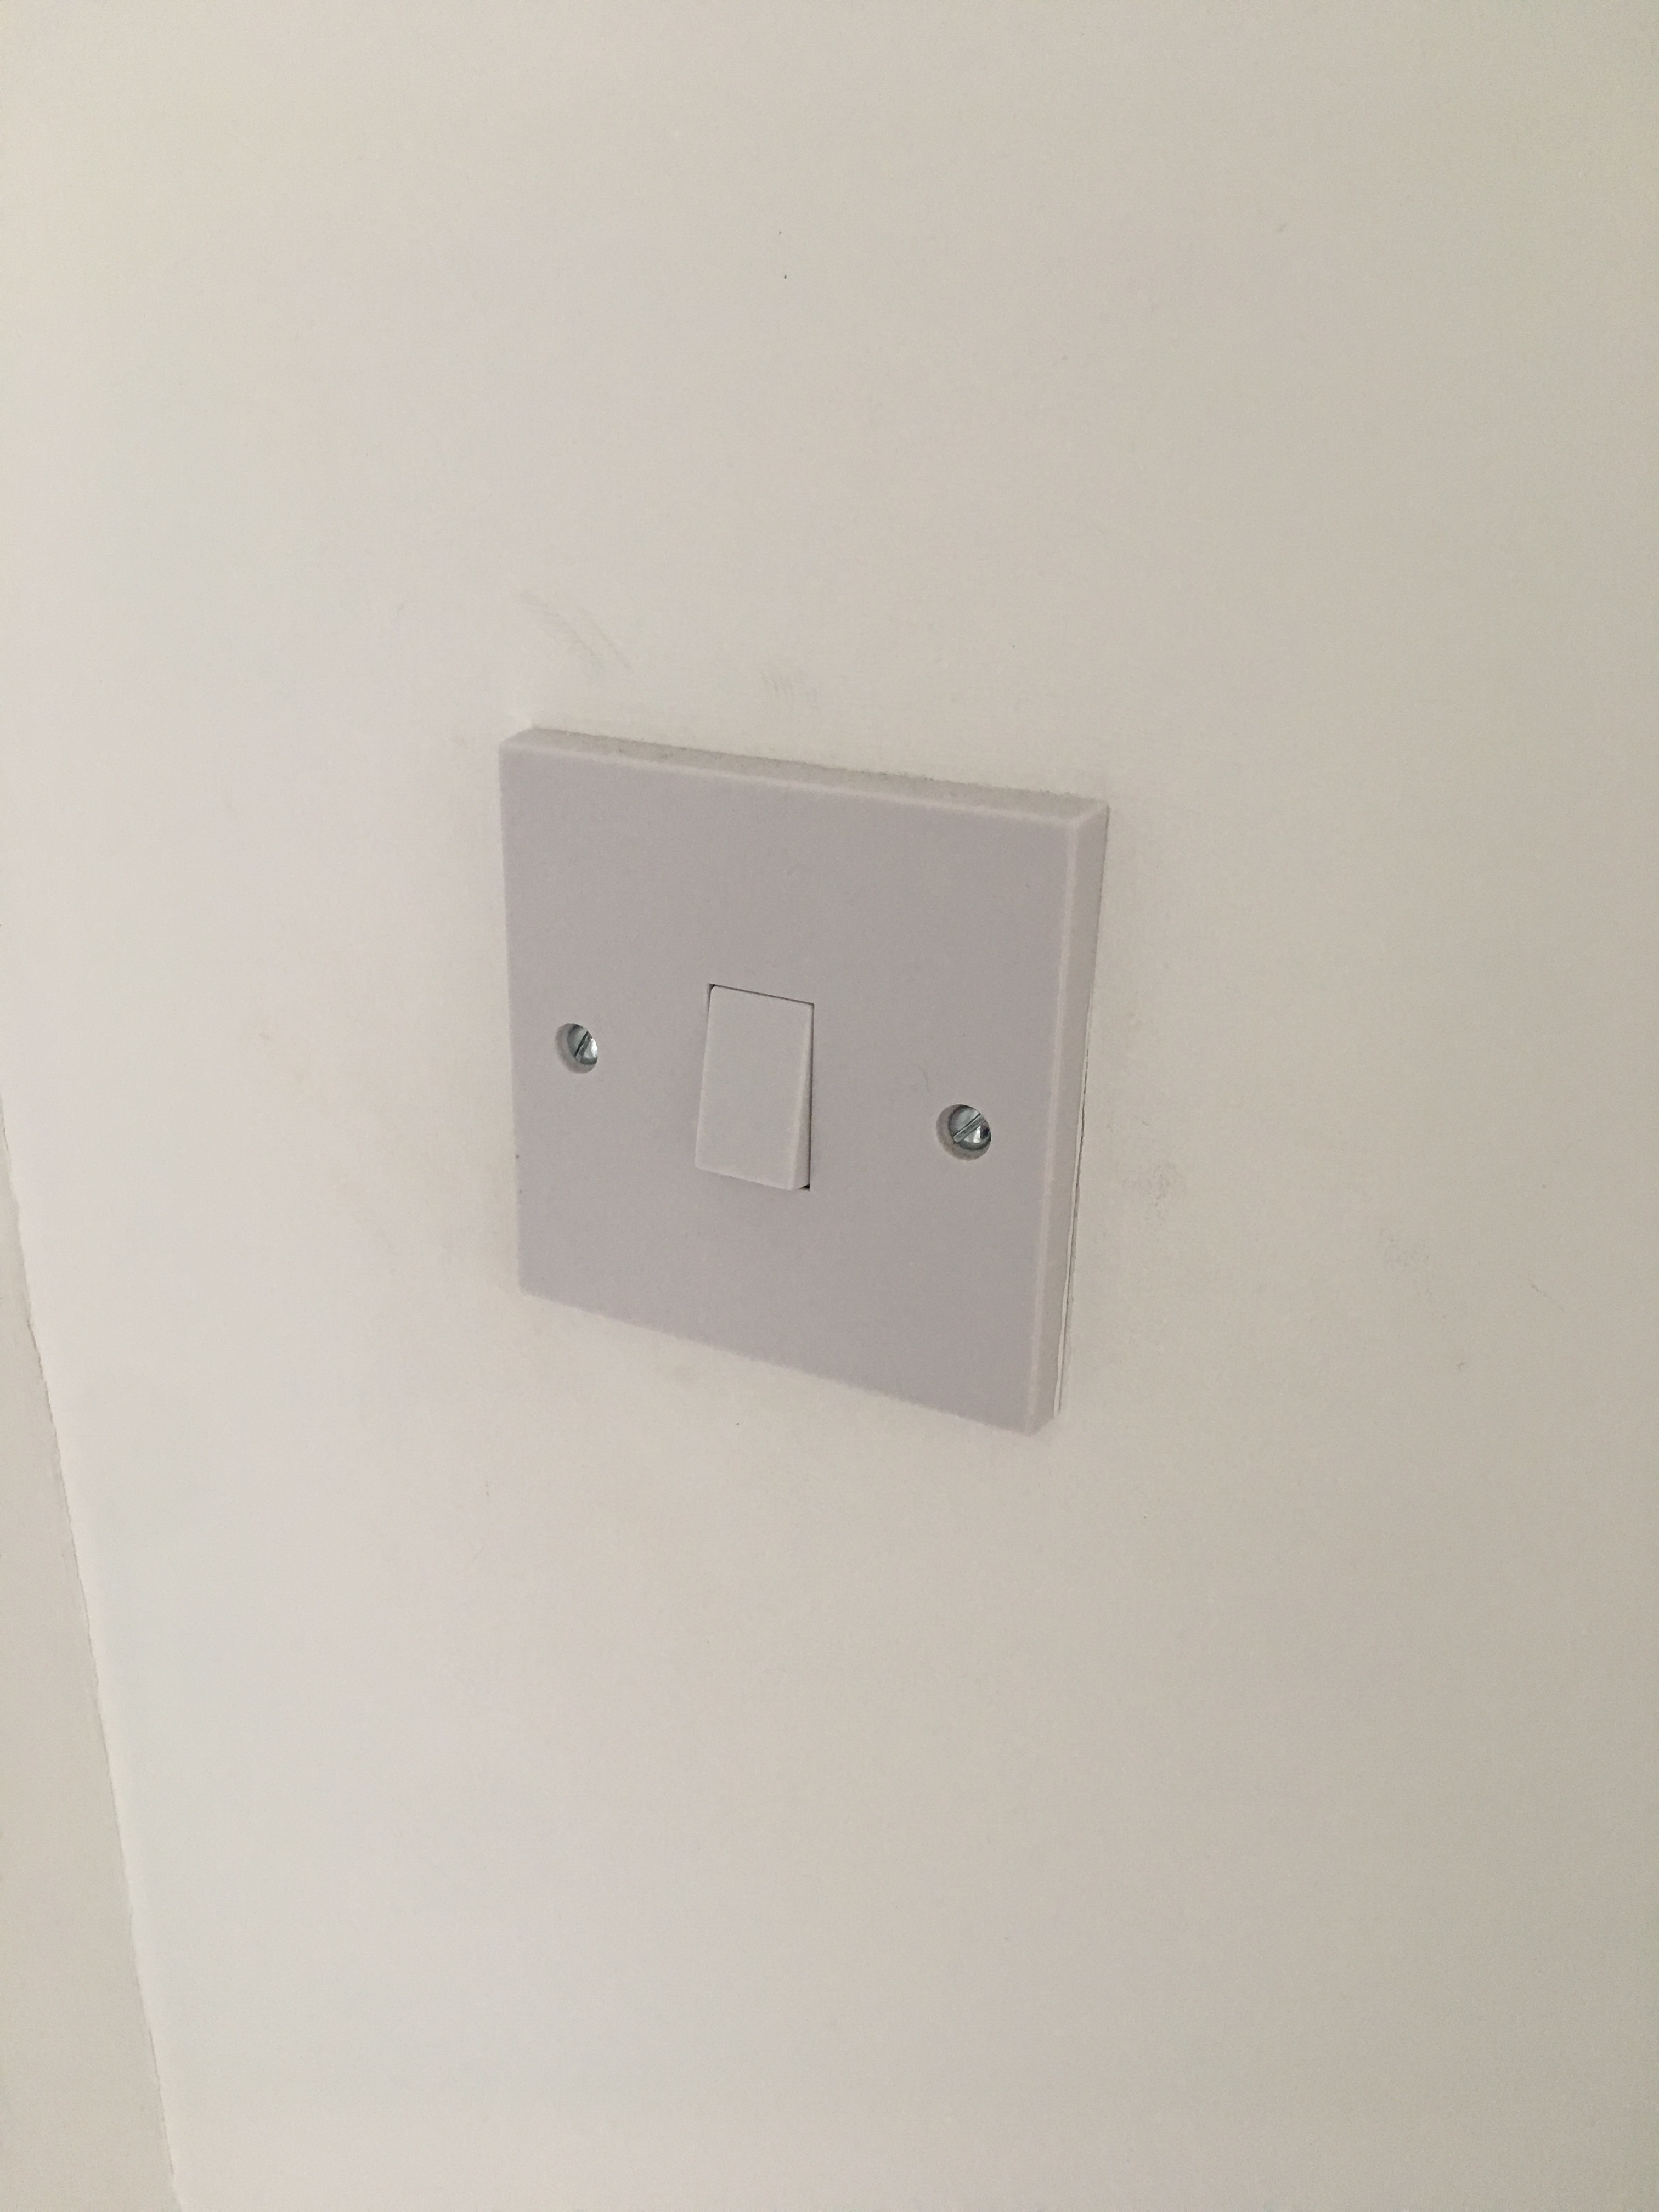
Unfortunately, after I’d installed mine and I was cleaning it down, I noticed it didn’t quite fit correctly:
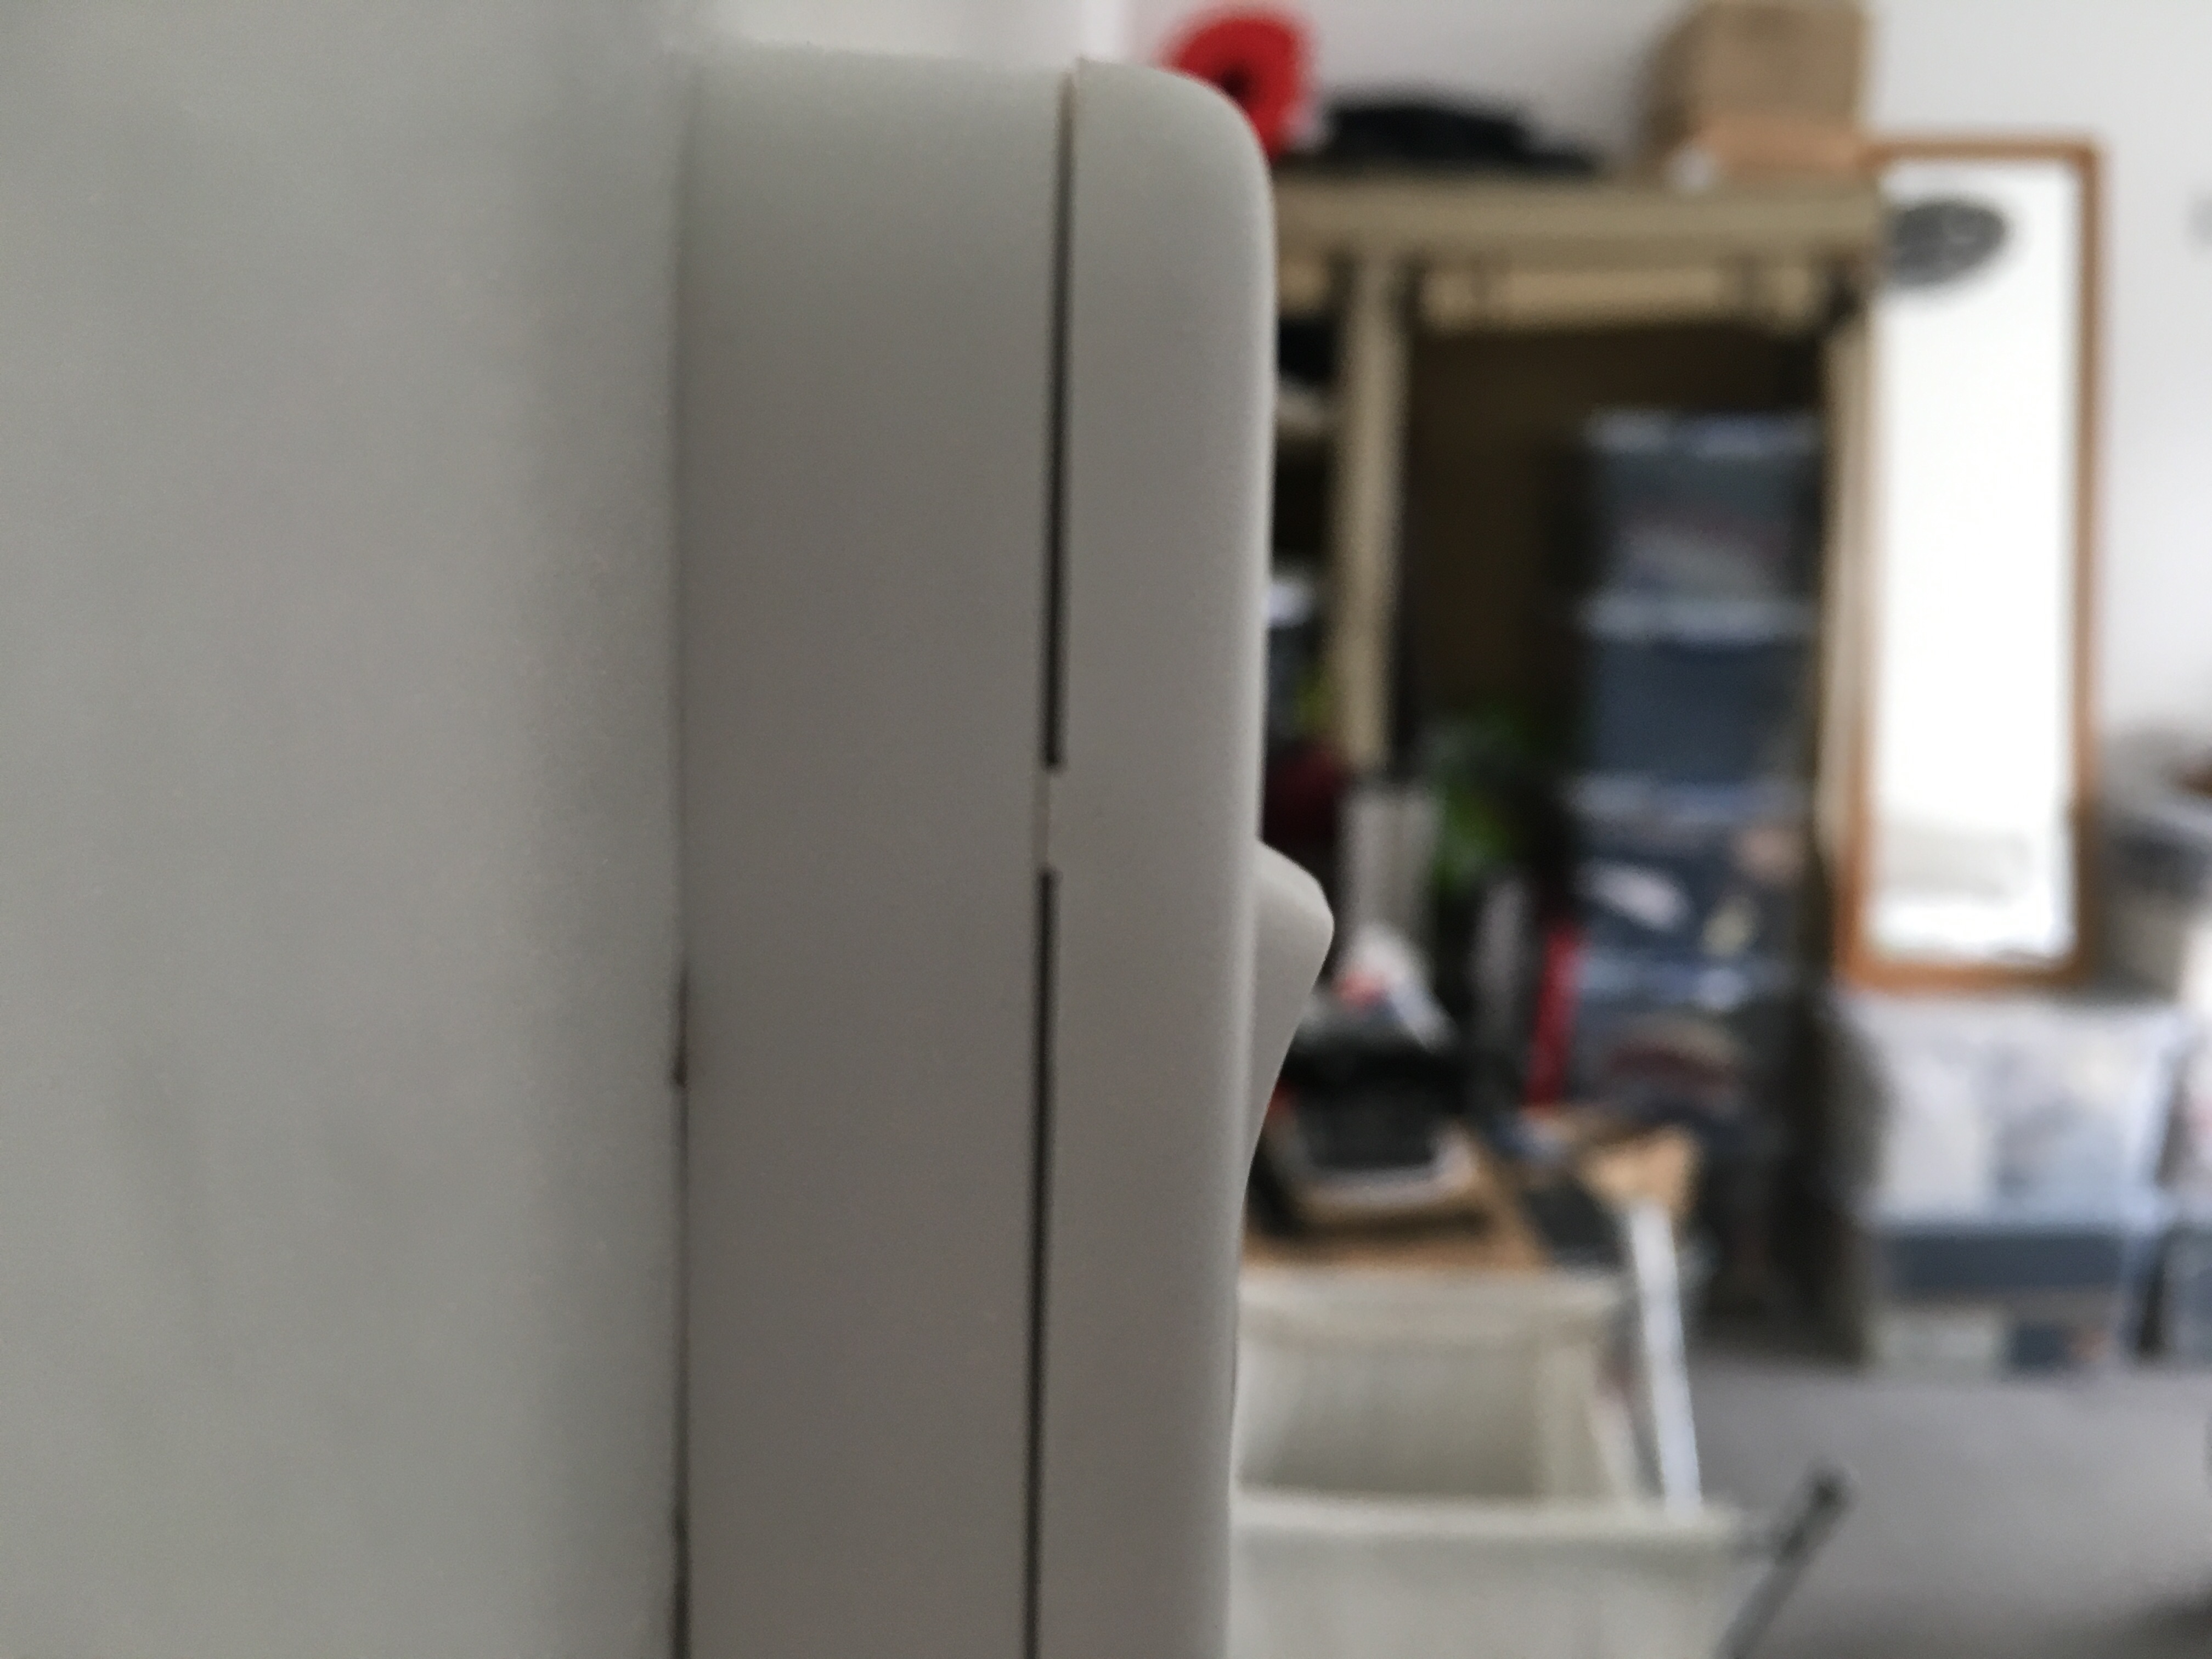
I wrote to Den’s support email and, whilst it took two days to get an actual response, they dispatched a replacement which I received the next day. I swapped them out and the replacement was perfectly fine. I would have liked a faster reply from support, but they did resolve the issue without any question (I just included the above picture).
I swapped out four light switches upstairs, so I can now control all the bedroom lights.

One point of complaint that I still has is that one of the switches hasn’t updated its firmware yet. Three updated to the 1.3 firmware without any issues, but the forth is still stuck on the 1.1 firmware. I need to contact support about this.

Leave a comment