In Part I, I covered the basics of controlling the LEDs. This covered the hands of the clock.
The second part of my investigation covers time and how to make the clock tick. The ESP 8266 I am using for this prototyping work doesn’t include a Real Time Clock, so I was required to add an external one.
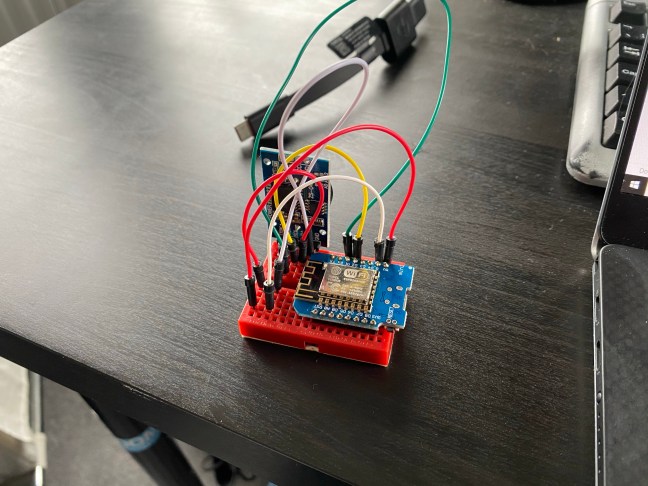
With the module connected, I turned to the code. I’m using Arduino for this as it’s easy to prototype and there are lots of libraries!
#include <Wire.h>      //I2C library
#include <RtcDS3231.h> //RTC library
Setup is achieved in a couple of steps. To get me started, I just set the time.
RtcDS3231<TwoWire> rtcObject(Wire);

void setup()
{
  Serial.begin(9600);

  rtcObject.Begin();

  RtcDateTime currentTime = RtcDateTime(20, 04, 22, 0, 0, 0);

  rtcObject.SetDateTime(currentTime);
}
This starts the clock. In reality, as the module I’m using is battery backed, this step should only be performed once, but I found that having a fixed “time” would make debugging the lights a little easier.
I plan to revisit this code to ensure that I grab the current time from the internet when required.
Using the time is achieved by reading it.
void loop()
{
  Serial.println("Loop()");

 //get the time from the RTC
  RtcDateTime currentTime = rtcObject.GetDateTime();

  char str[20]; //declare a string as an array of chars

  //print the time for debugging.
  sprintf(str, "%d/%d/%d %d:%d:%d",
          currentTime.Year(),       //get year method
          currentTime.Month(),      //get month method
          currentTime.Day(),        //get day method
          currentTime.Hour(),       //get hour method
          currentTime.Minute(),     //get minute method
          currentTime.Second()      //get second method
  );
Each part of the time is available in a named method, so to get an idea of where my LEDs should be, I grabbed the hour, minute and second.
// Fetch the current time
//
hour = currentTime.Hour();
minute = currentTime.Minute() * 2;
second = currentTime.Second() * 2;
I multiply them as I’m using a strip with 120 LEDs on it.
Building on my LED control code, I make the clock tick by turning off LEDs in the right place.
fill_solid(leds, NUM_LEDS, CRGB::DarkGreen);

// Fetch the current time
//
hour = currentTime.Hour();
minute = currentTime.Minute() * 2;
second = currentTime.Second() * 2;

// Hour
leds[hour - 1] = CRGB::Black;
leds[hour] = CRGB::Black;
leds[hour + 1] = CRGB::Black;
leds[hour + 2] = CRGB::Black;

// Minute
leds[minute] = CRGB::Black;
leds[minute + 1] = CRGB::Black;

// Seconds
//
leds[second] = CRGB::Black;
leds[second + 1] = CRGB::Black;

FastLED.show();
I use multiple lights to make it more visible. With it now ticking, I hastily assembled the LED strip into a circle using cardboard and sellotape. I ran a length of alarm cable from the strip to the breadboard. To see it in action, I sellotaped it to the wall!

After letting it run for quite a while, I was surprised the hour “hand” hadn’t moved. It took my wife to point out that there aren’t 60 hours on a clock face 🤣
I’m pleased with these initial results.
As for my next steps, I’m not 100% sure. I’ve got to refine the “hands” code. I also need to think about how to mount it on the wall. I suspect it won’t be self contained and I’ll probably have a control box somewhere.
I’ve ordered another strip from the excellent Pimoroni and this will, I hope, let me add another 36 LEDs to the strip, taking it up to 180, which I think will give me a nice resolution.
I’ve got to think about power too. My estimate is that I’ll need around 3.5A to power the whole affair.
Expect another blog post soon!

Leave a comment