
As we’re renovating our new house, one of the things I wanted to do was to insulate the floors of the downstairs rooms. When we renovated our old house, not doing something about the floors was something I regretted. At the time we were expecting our first child’s arrival, so speed was of the essence. Once the engineered floor went down, the insulating ship had sailed.
This time around, I decided it would be something worth doing.
The insulation and materials
I spent quite a few hours researching the insulation of suspended floors and settled on the use of PIR. This is a solid foam insulation that has foil backing. It’s more efficient than rock wool, meaning you need less of it for the same level of insulation.
I used a few insulation calculators and came to the consultation that 60mm of PIR would be enough to meet building regulations. I set myself a budget of £500 and after shopping around, I found some 75mm PIR. I reckoned I would use around 12 sheets, so I purchased 14, for any wastage etc. In terms of brand, I went for the cheapest one that had the desired U-value. This happened to be Ecotherm.
I ordered 25×38 tanalised timber lengths from Wickes. These would be cut into 6″ lengths to serve as batons for the insulation.
For screwing down the floorboards, I went for No.8 (4mm) x 50mm screws. I estimated 1400 screws (I was short) so I end up with nine boxes and used seven and a half.
Tools
I got some expanding foam, for sealing any gaps and rolls of foil tape for sealing up all the joints. I already own a proper foam gun, so I just needed some canisters of foam.
For cutting the insulation, I ordered an Insulation saw. This doesn’t teeth like a normal timber saw and the results were nice clean cuts (albeit not straight!) with no dust.
I purchased this floorboard lifting tool to try and make the job a little easier.

I used a DeWALT Cordless drill and Cordless Impact Driver for pilot hole drilling and for driving in the many, many screws.
To speed up the pilot holes, I picked up some special drill bits. These include a special countersink head, so you get two for one in terms of the pilot holes. I didn’t have this when doing my deck and that involved switching from drill bit to countersink bit over 1000 times!!!

I treated myself to an Evolution mitre saw. I’ve wanted to add a mitre saw to my inventory for quite some time and this seemed like the perfect excuse. This saw was recommended as best value for money on several websites and it offered a large 80 x 300mm cutting size, which would be perfect for all my DIY needs.

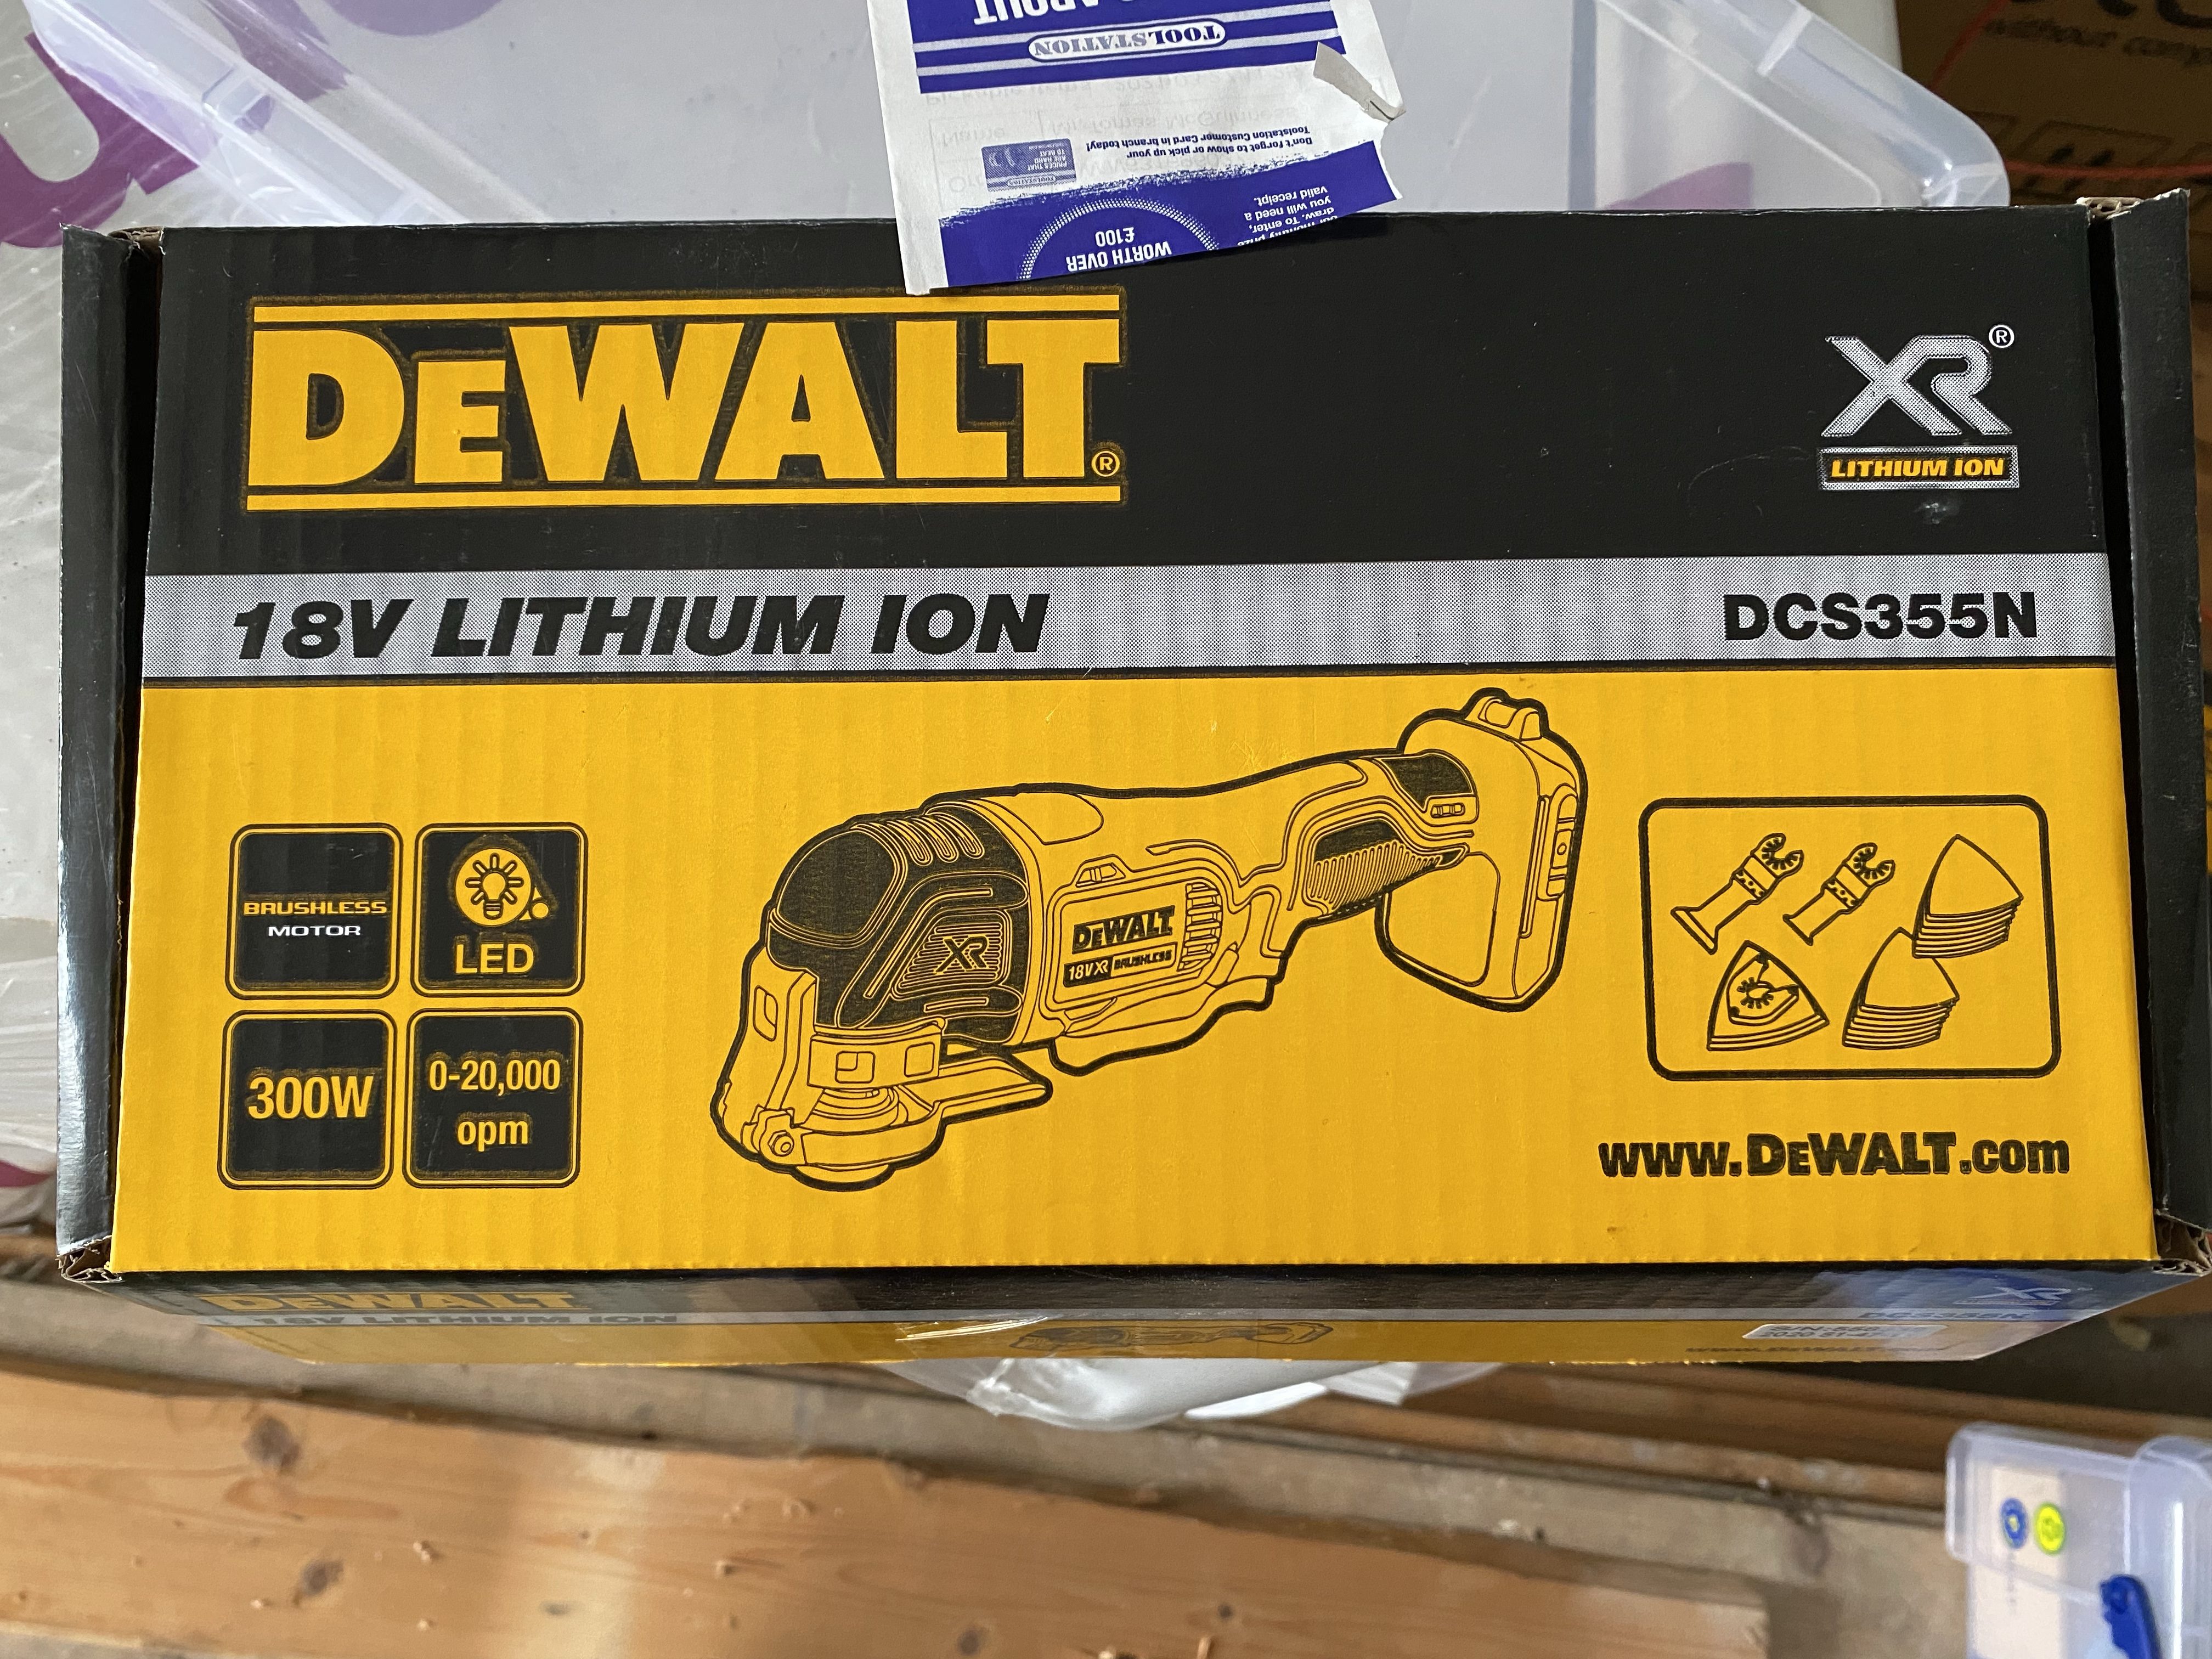
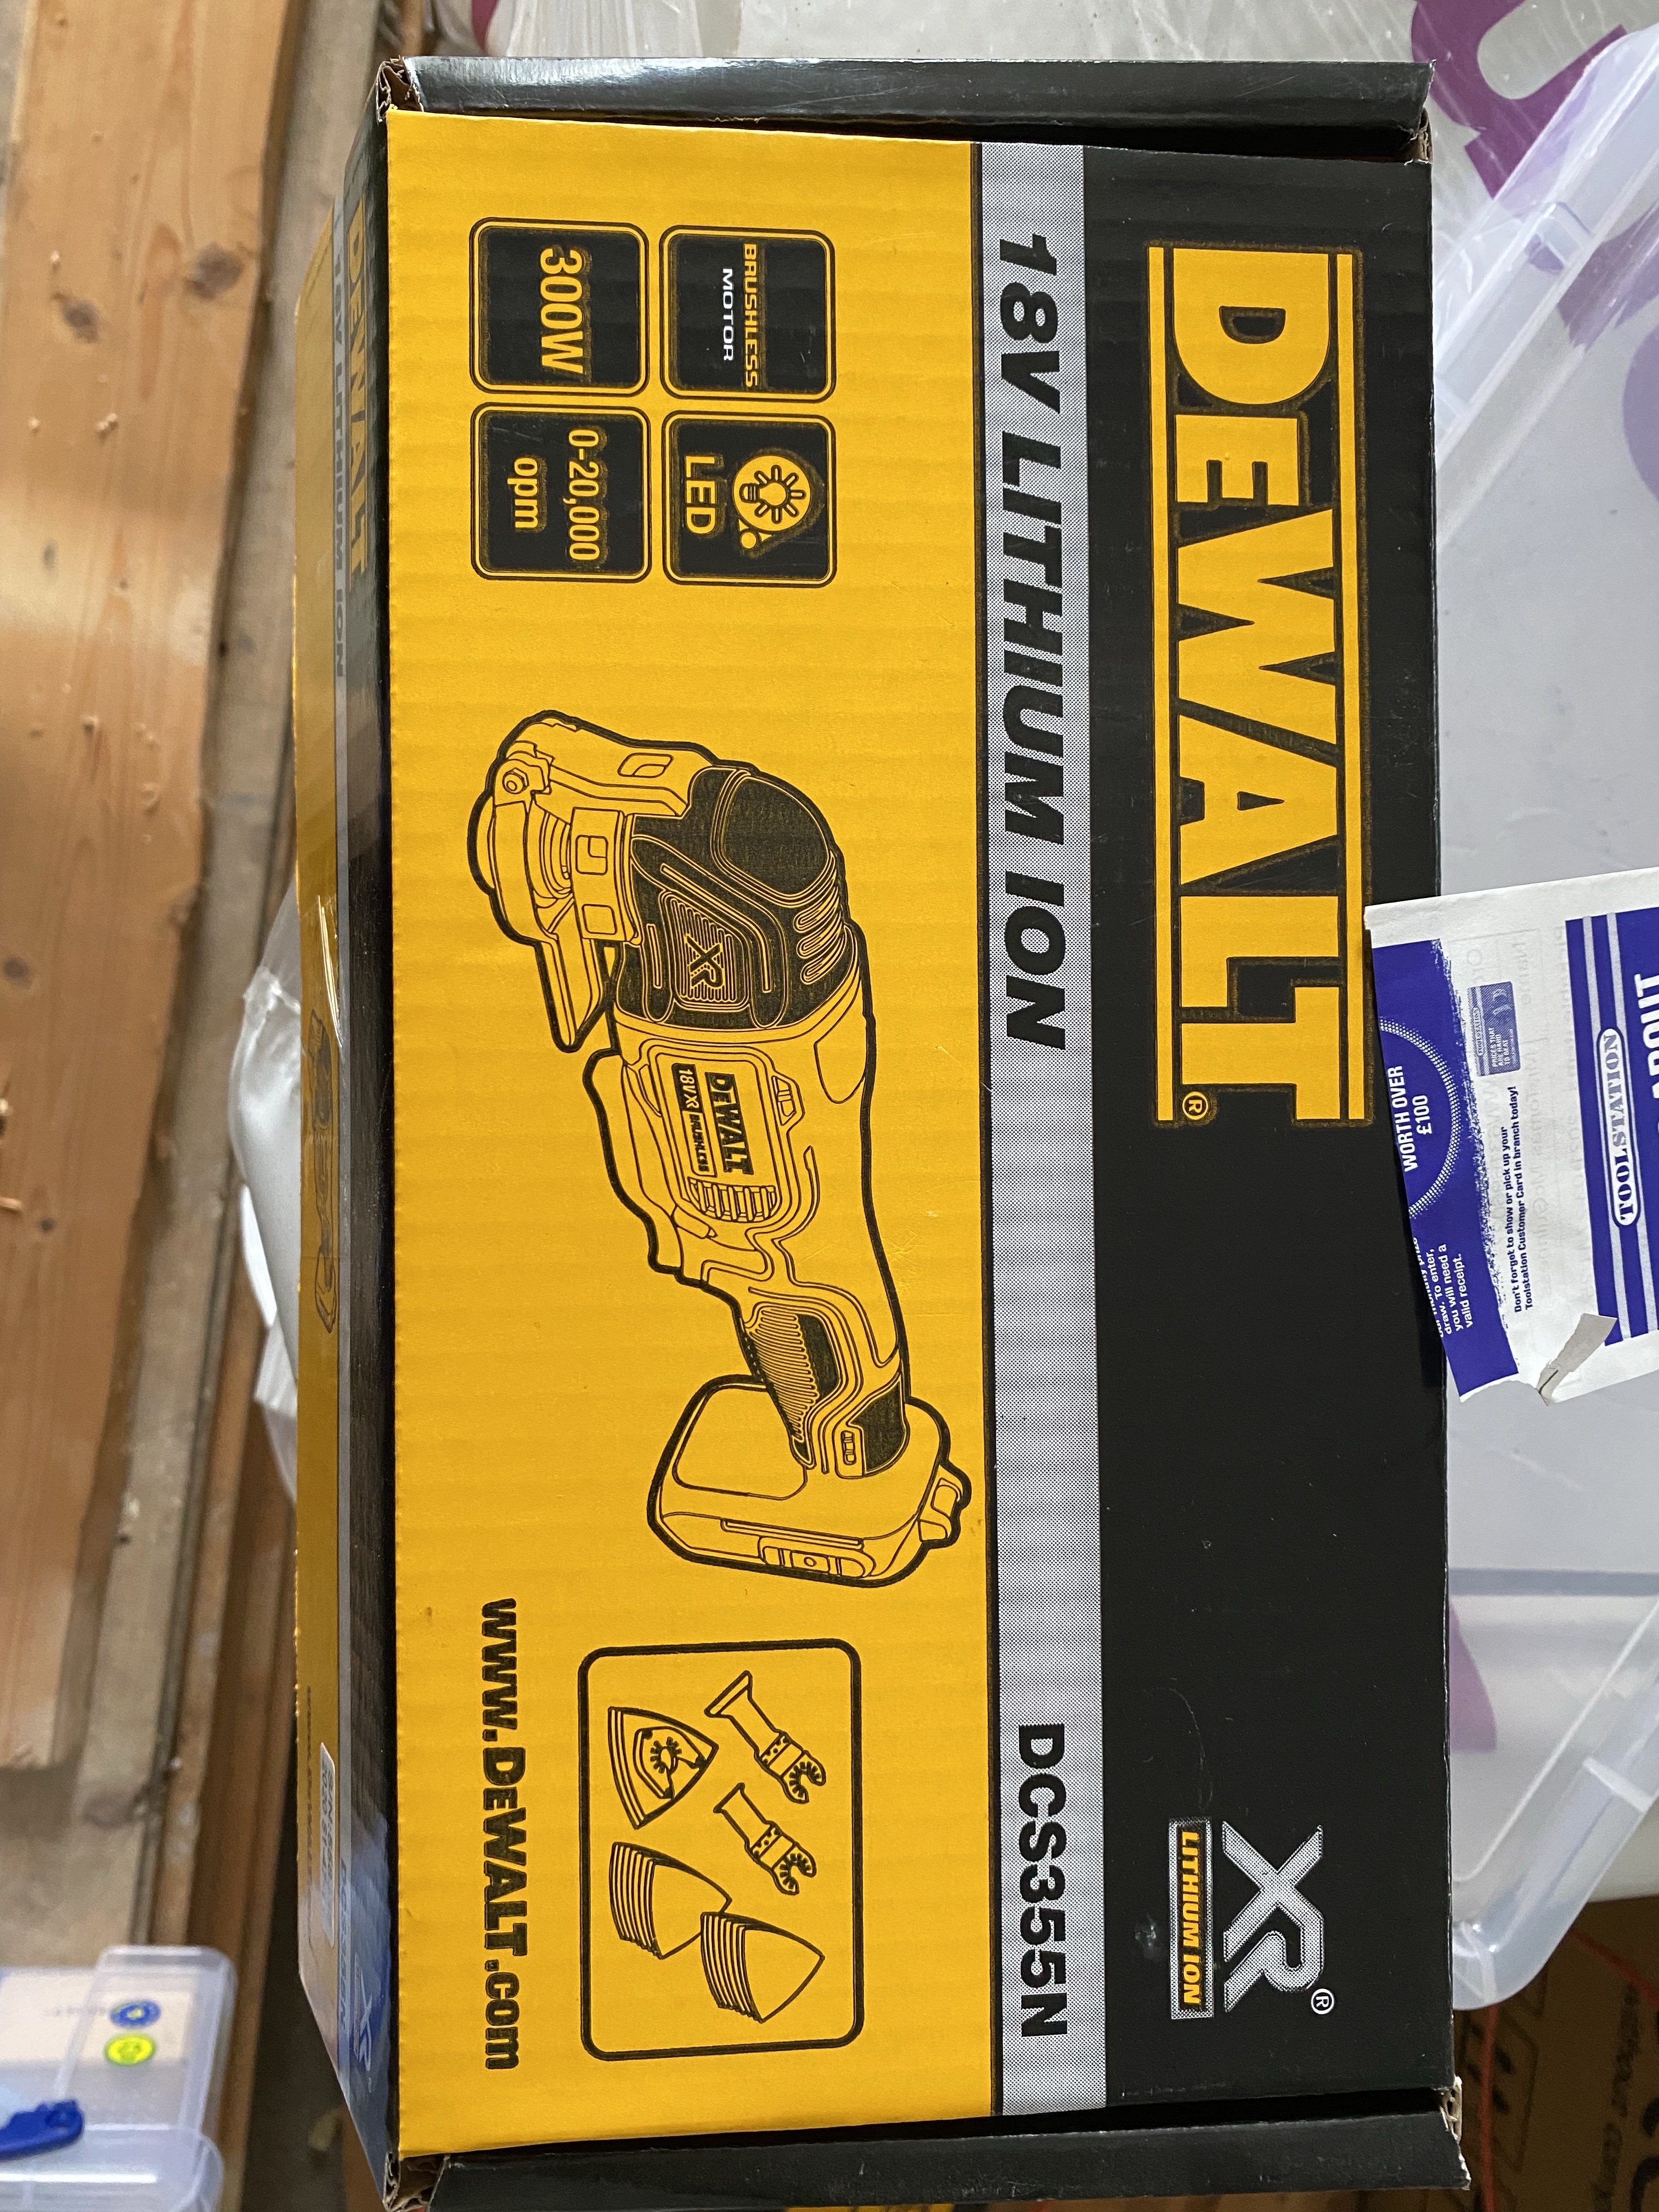
During the course of the work, I also treated myself to a DeWALT Multitool as well. I opted for a battery powered one to provide me with future flexibility.
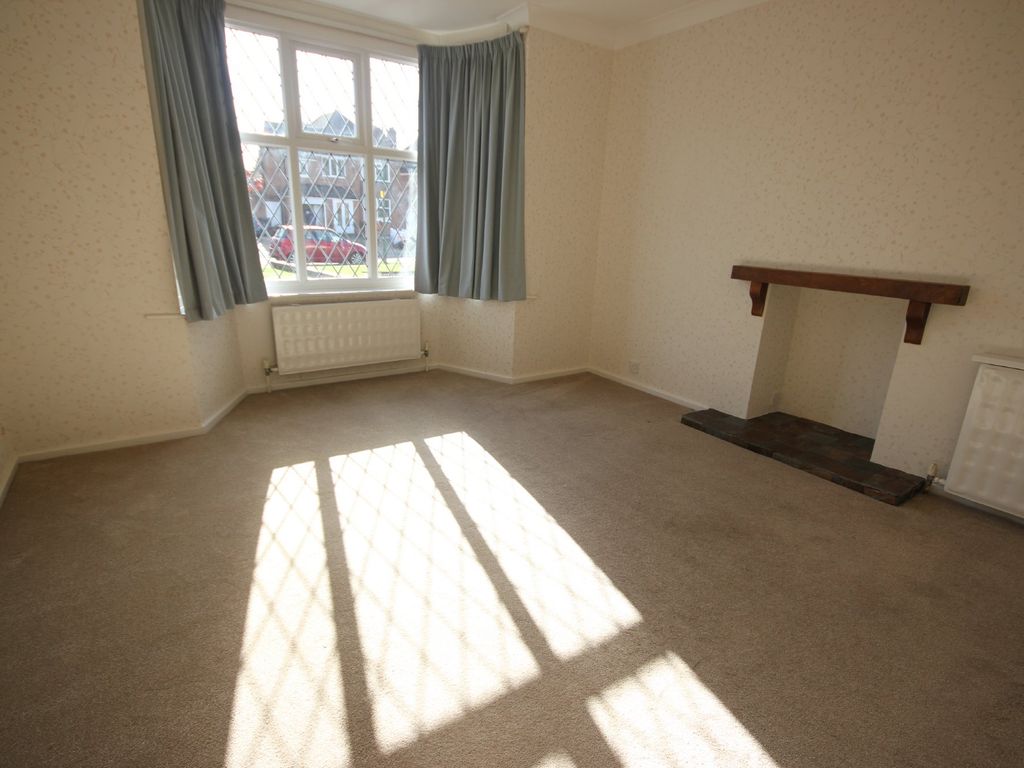
The front room aka the practice room
The room itself was 3.6m x 3.6m with 10 floor joists and 26 floorboards. It had a small bay window. My plan was to give this room a go and see how difficult it would be. If it turned out to be too difficult, I could abandon the project without too much damage. If all went well, I would tackle the large back room too.
The floor boards in the house dated back to around 1960, but were in excellent condition.
The electrician and plumber had already lifting some of the boards during their first fix, so we had some space to work with.
I made a time lapse of the job lifting the boards. I roped my father-in-law into help.
It was really difficult work. The boards themselves were tongue and groove and this made it really hard to cleanly lift them.
We used a mixture of hammers, crowbars and the lifting tool. After more than four hours, we had them all lifted.

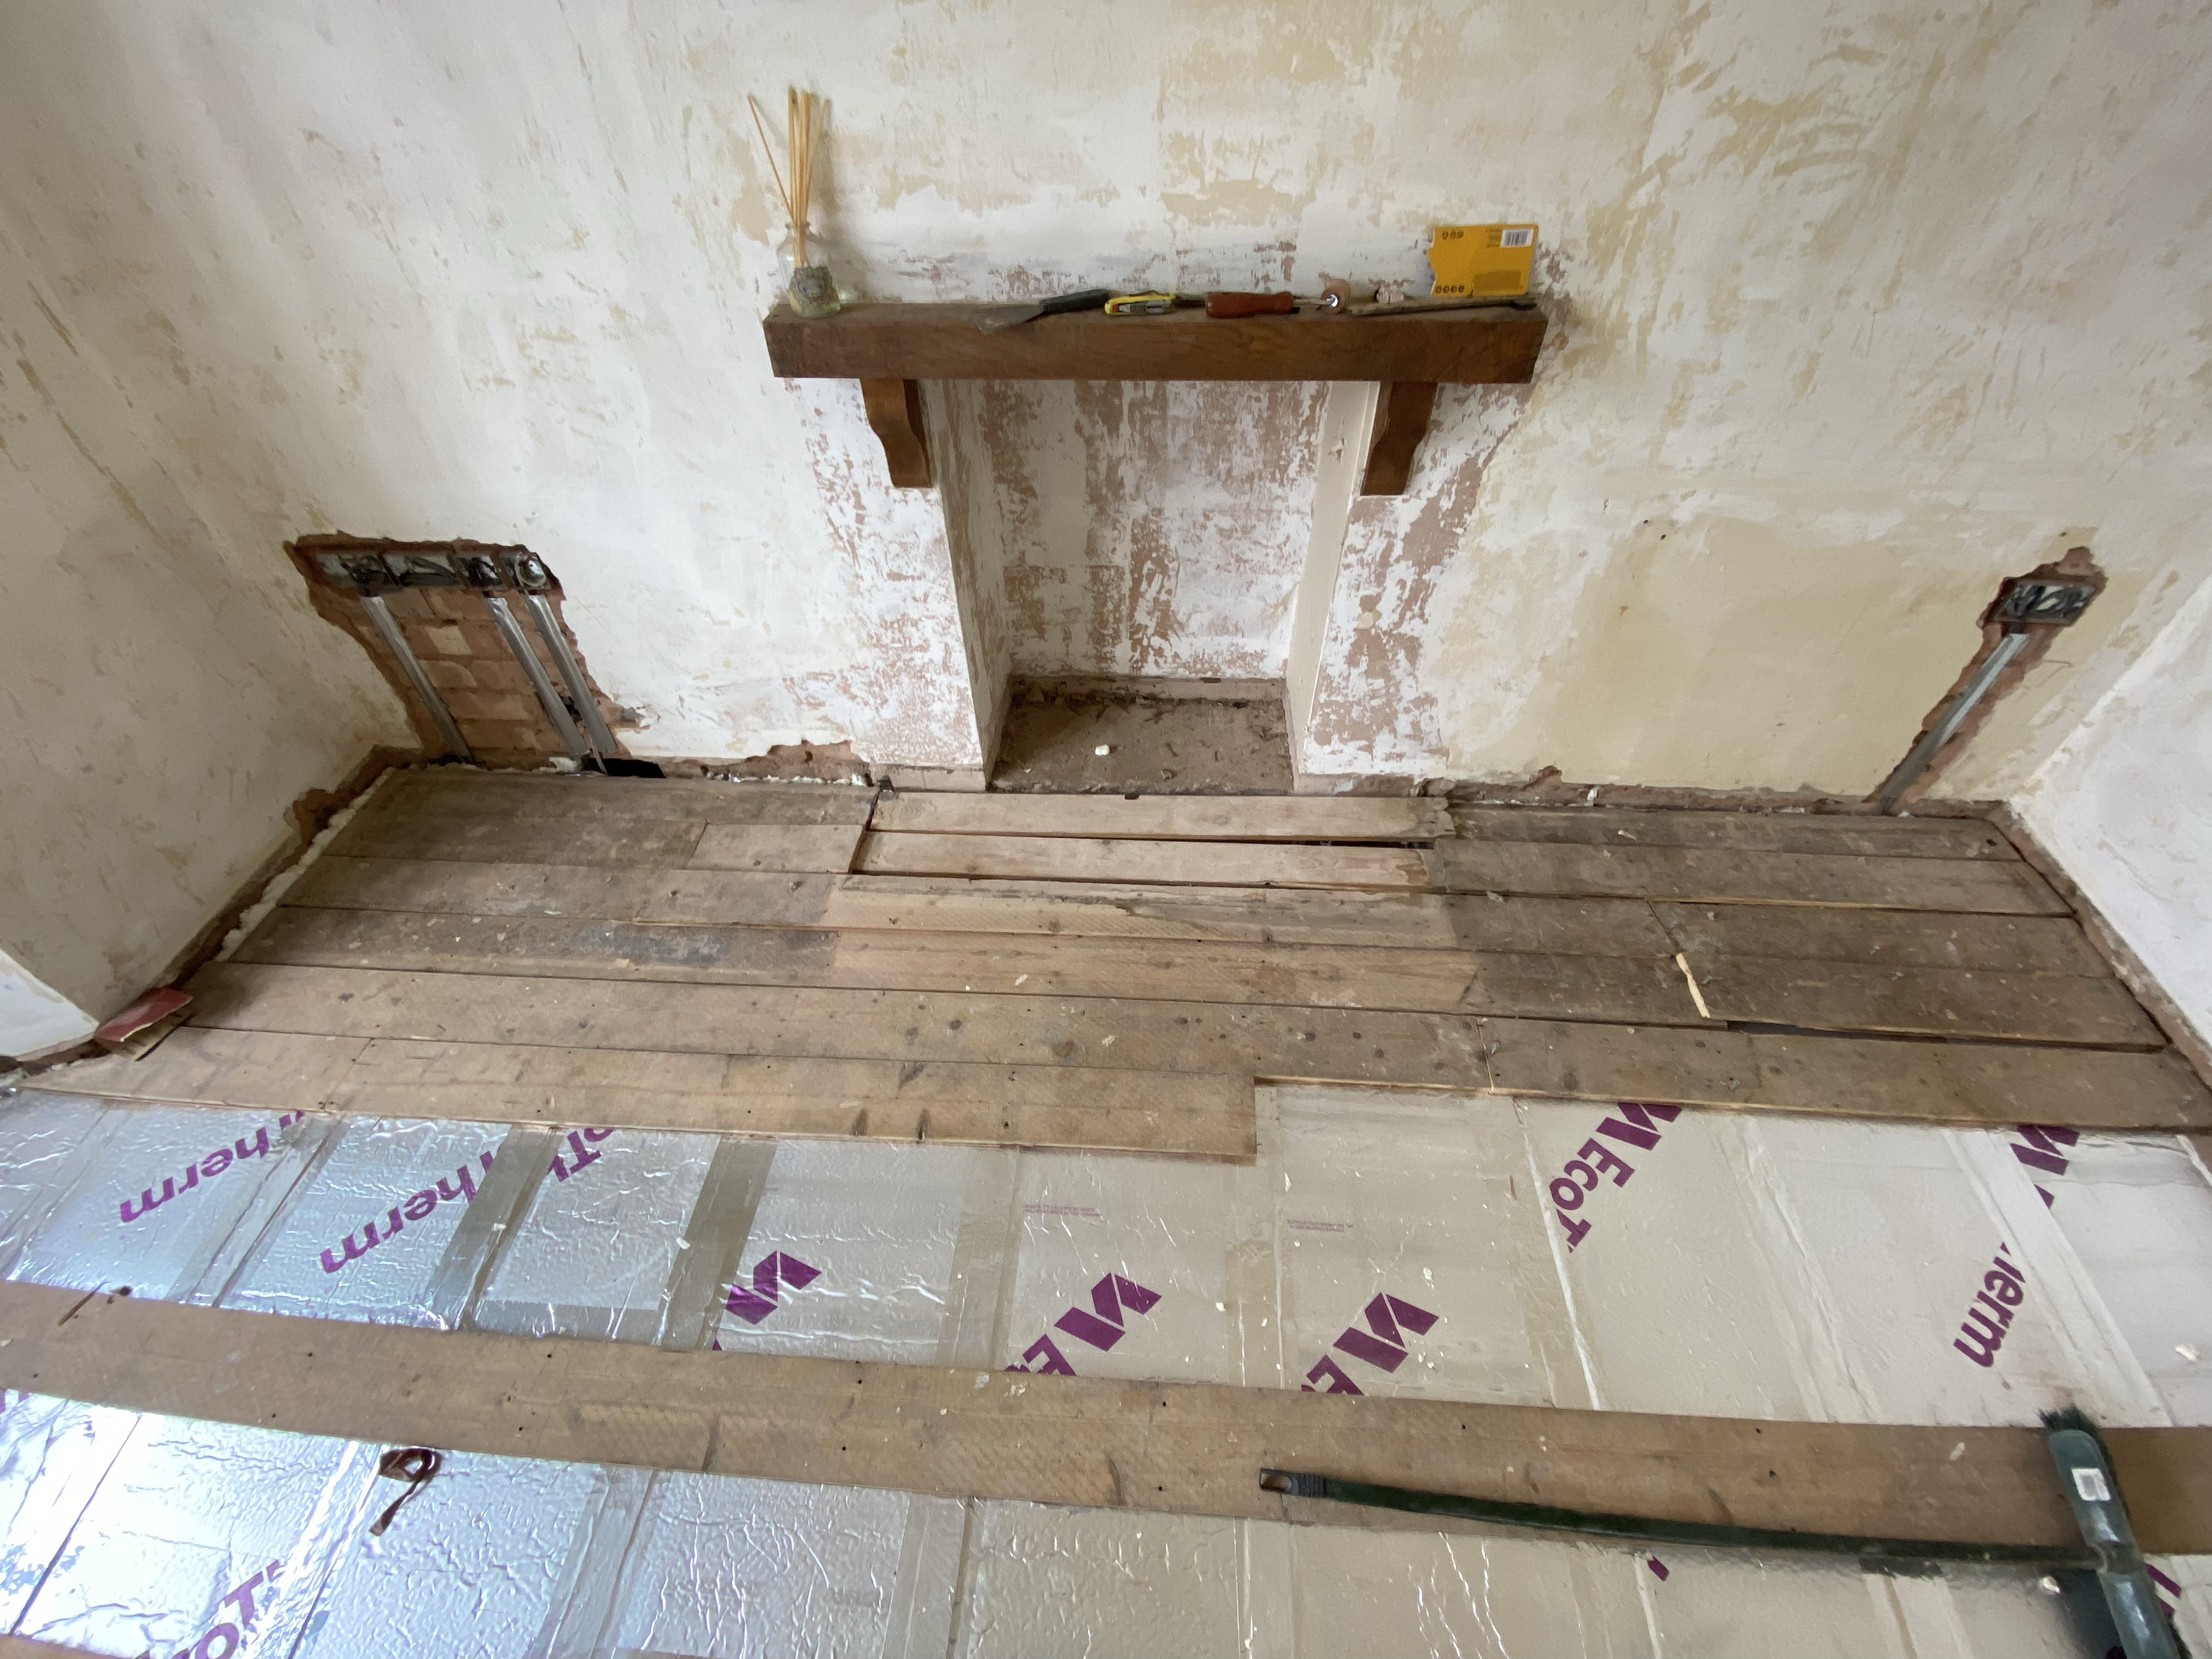
The joists were in amazingly good condition, which was nice. A part of the shadow wall had collapsed, so we made a note to fix that. You can just make it out in the picture. One of the joists was also resting in the airbrick’s space, so we made a note to fix that up too.
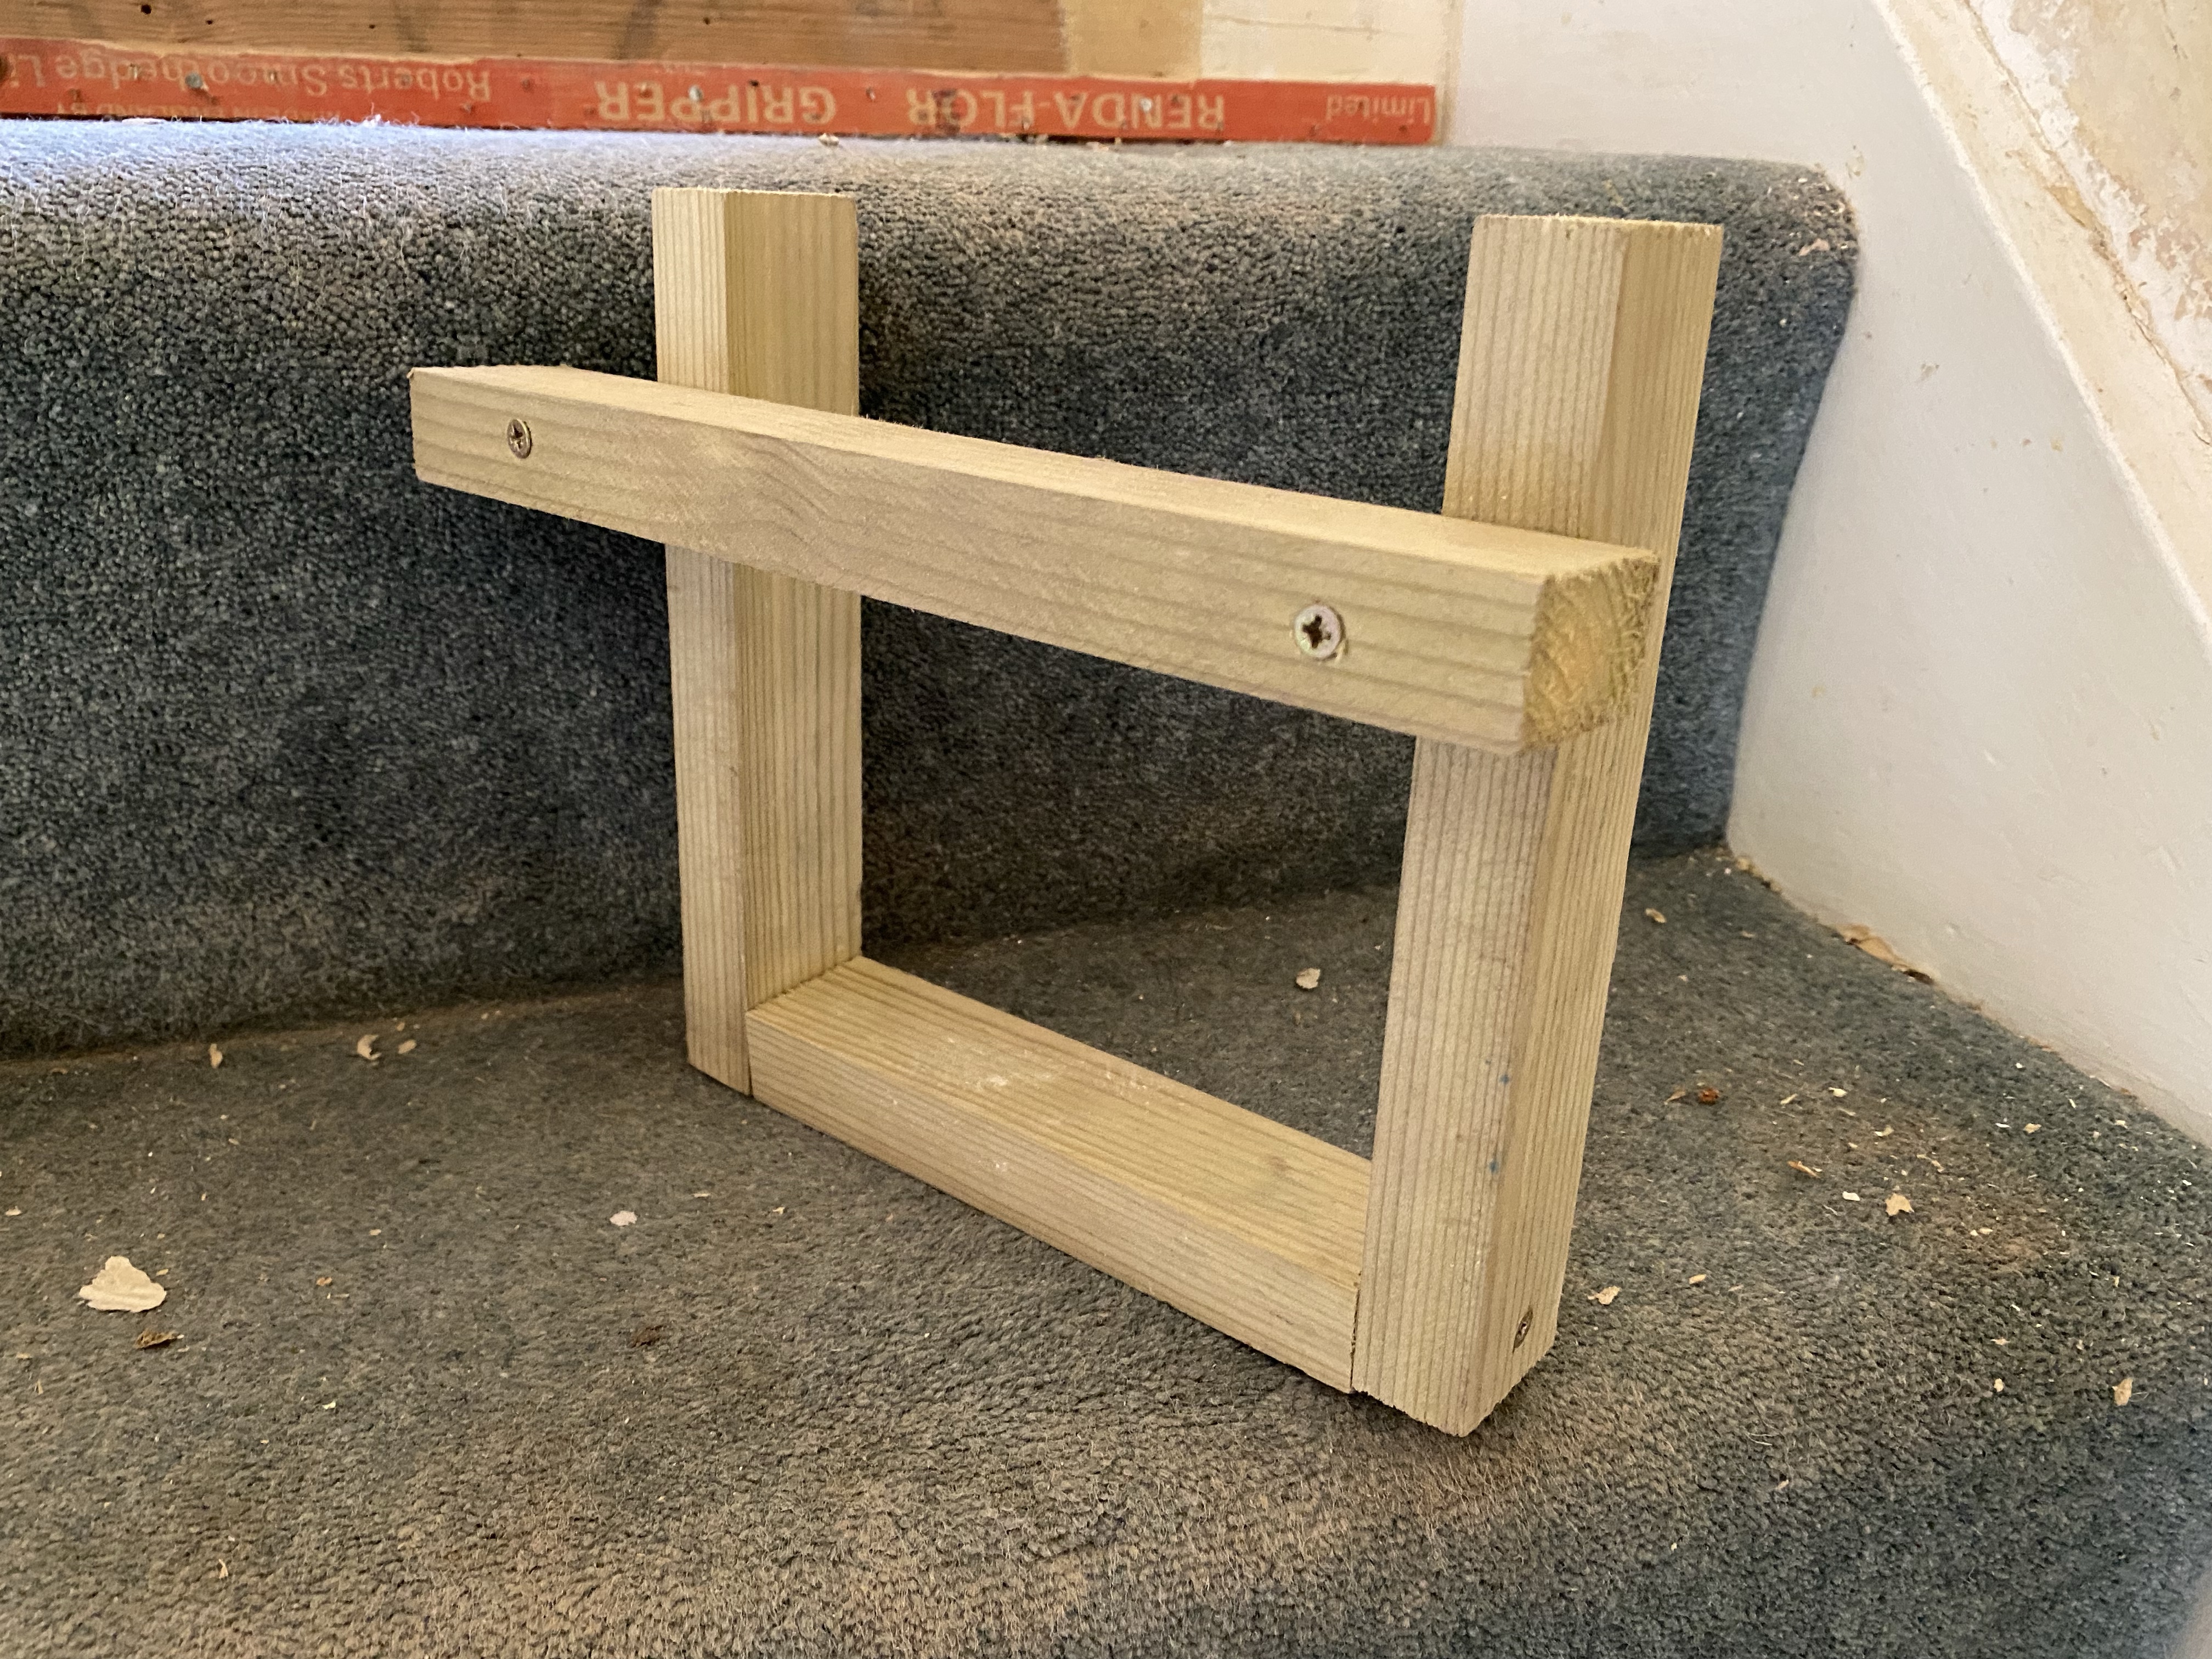
First step was fixing the batons. These were 6″ long, with two screws, one at either end.
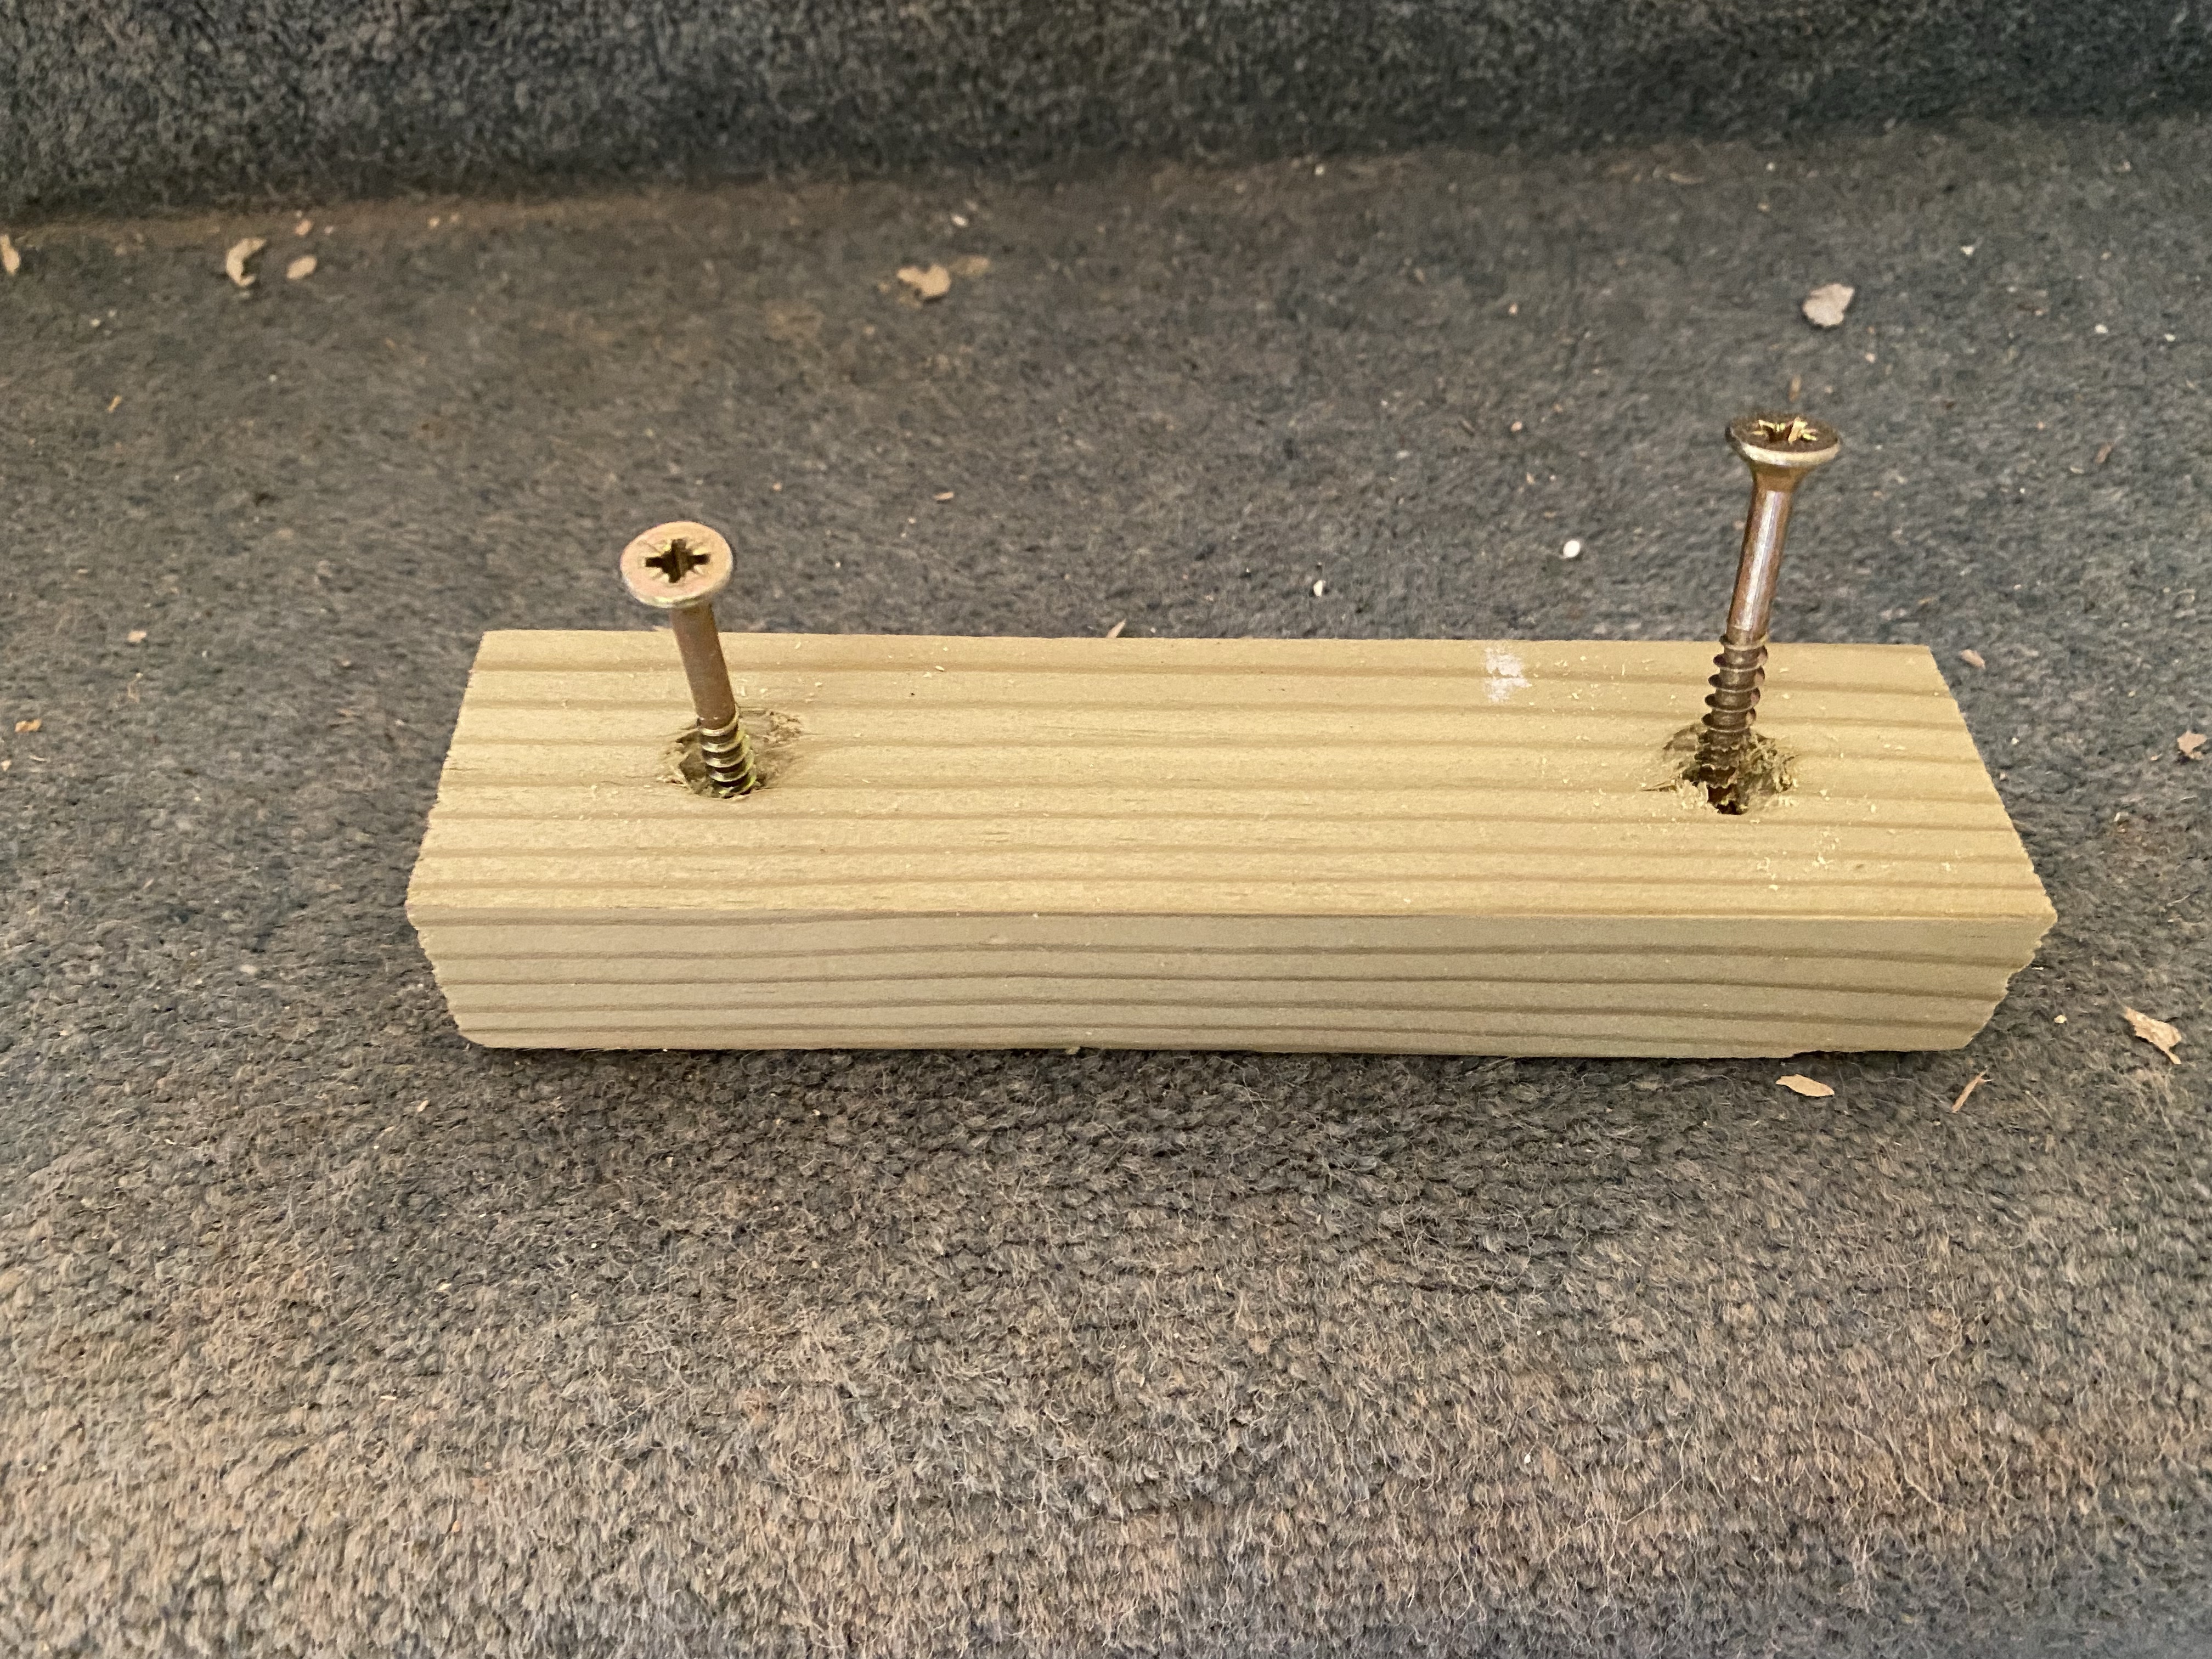
My father in law always created a little jig to help with the batons.
I invested in a special insulation saw, which minimised the dust generated (basically none)
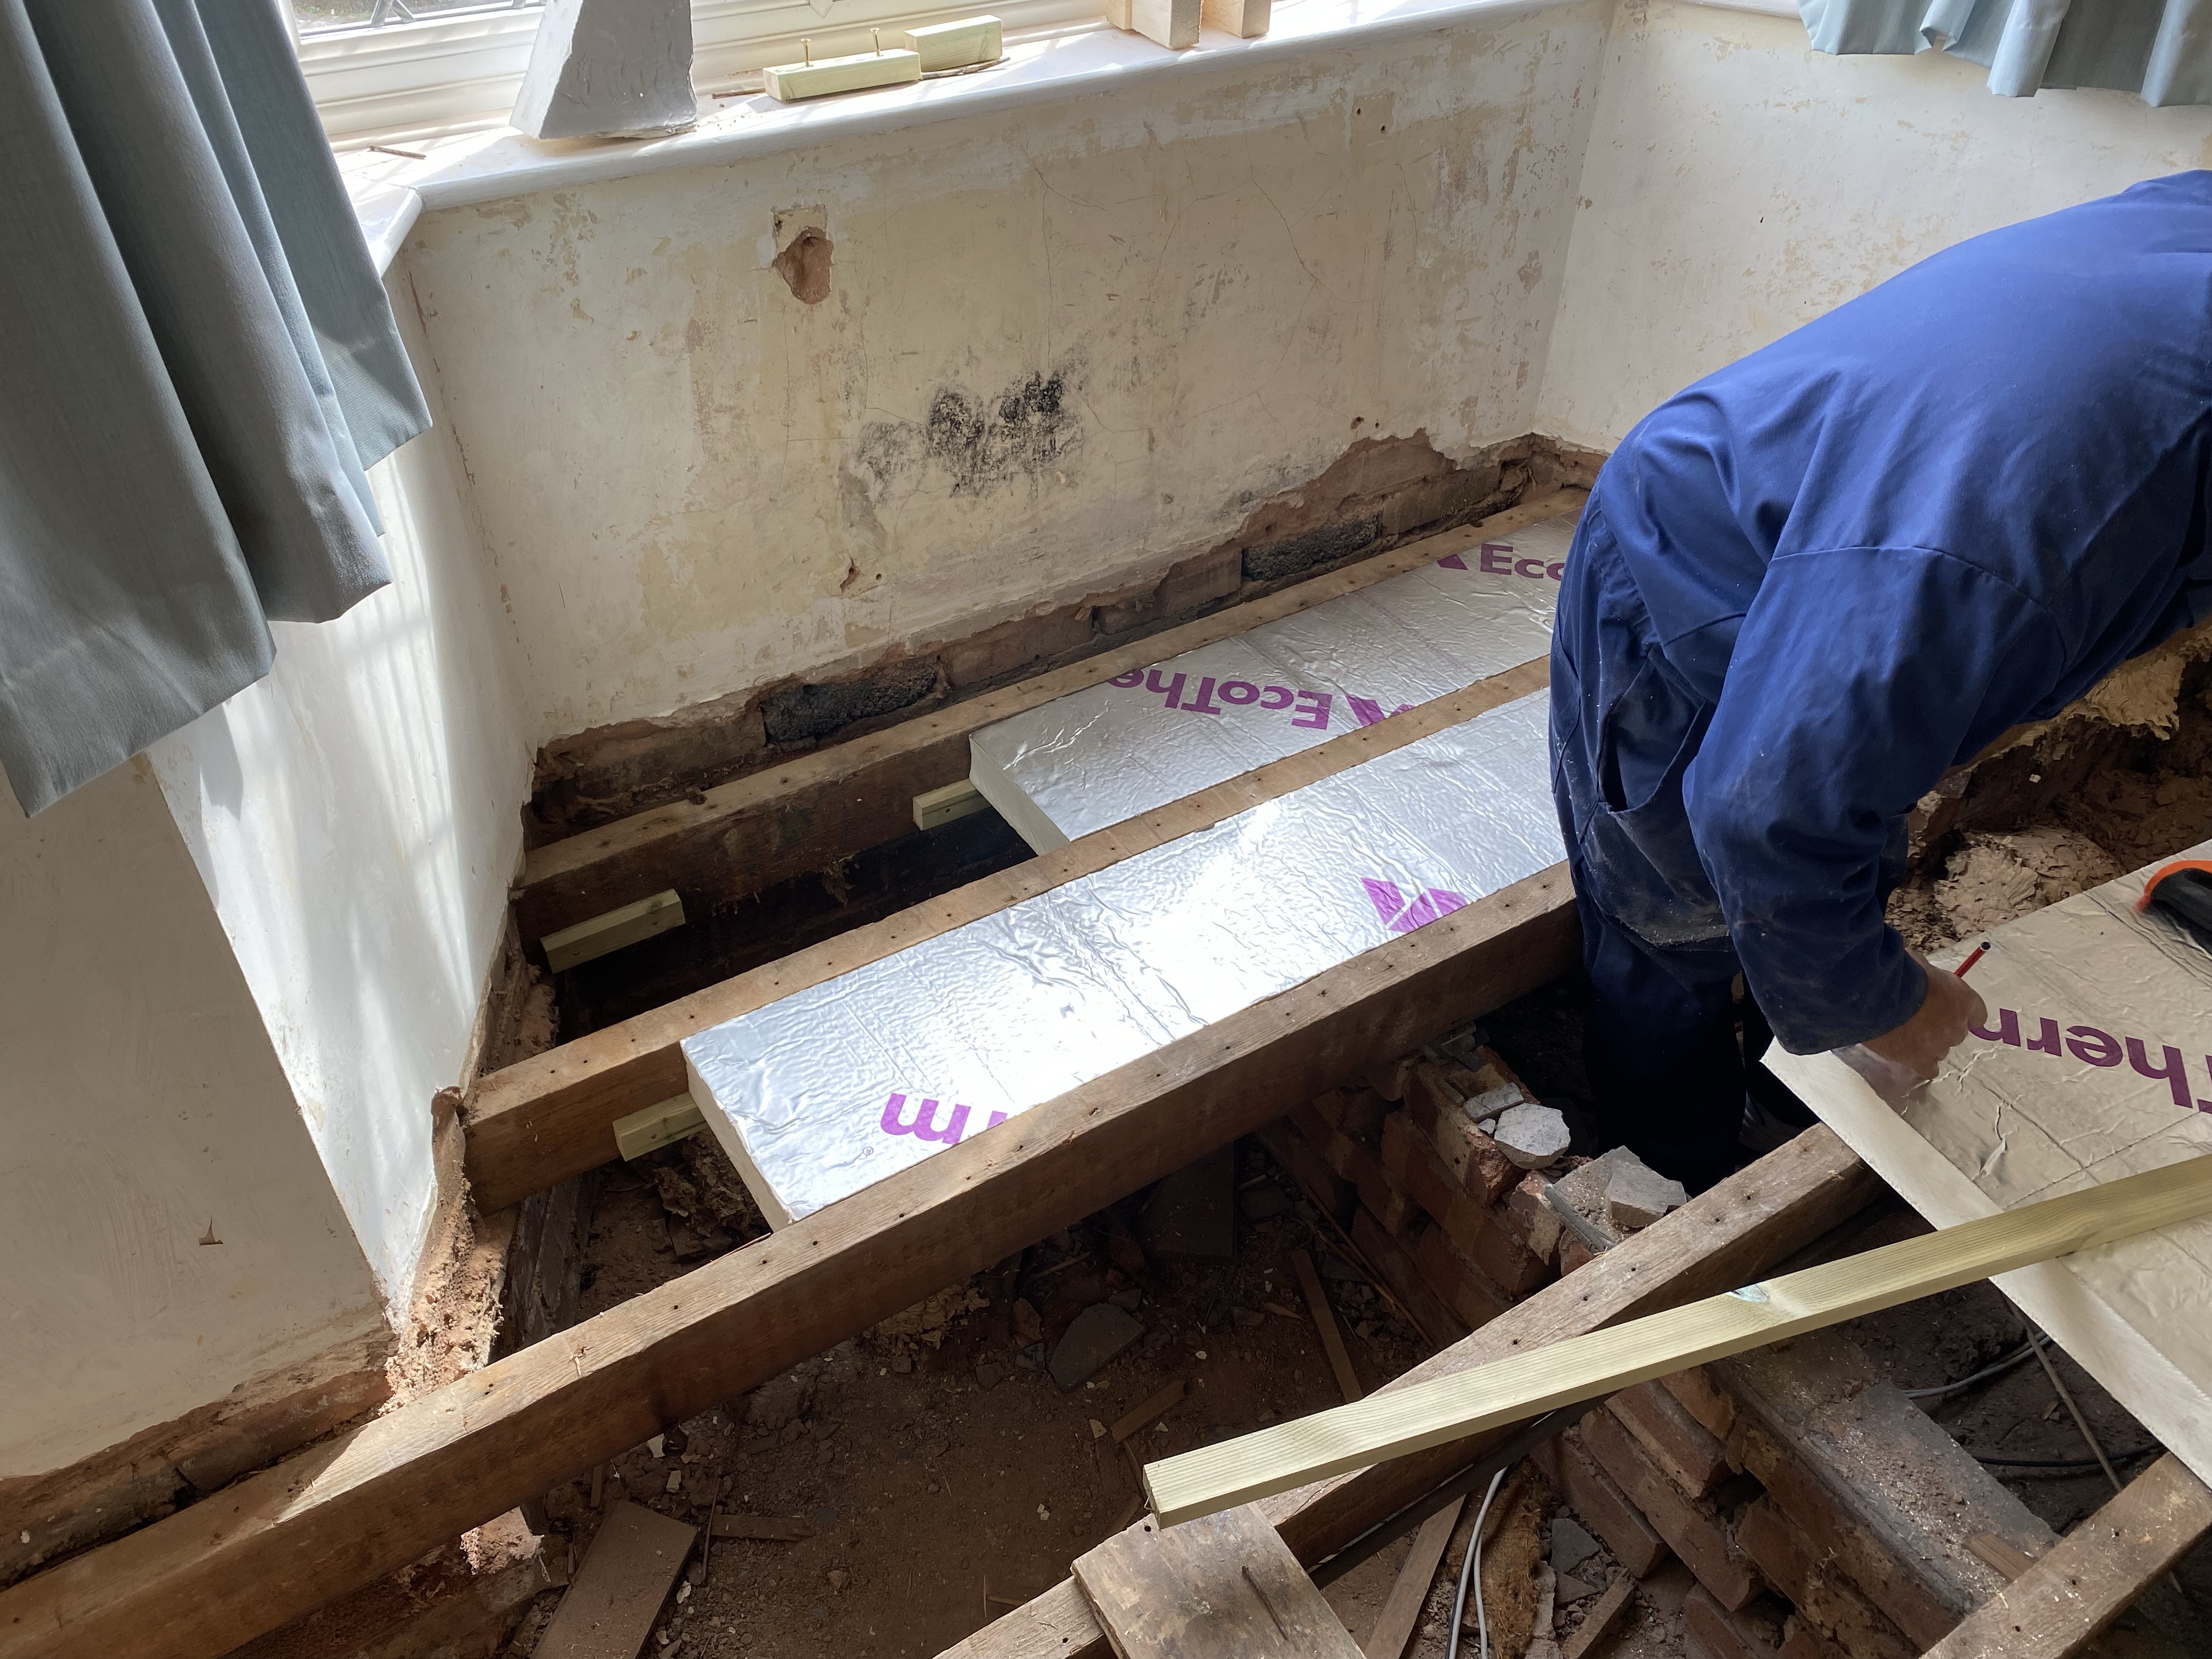
By working in short lengths of 1.2m (cutting the boards width ways) we achieved a very tight fit. Some of the edges weren’t straight and sometimes the manufactured edge bowed inwards, but overall they fit very snugly. We also made sure to fix up the fallen shadow wall using some loose bricks. I mixed up a small batch of mortar to help ensure our repairs didn’t fall down again!

Once we had installed all the PIR, the next step was taping up the filling any gaps with expanding foam. Along the edges, where the spaces were wide, we cut and inserted thin strips of PIR, before filling the remaining spaces with foam. I also made sure to fill any of the larger gaps between the joists and PIR and in some of the large seams where PIR met each other.
Once the foam had set, we then we about taping up all the joints. I had 100mm wide foil tape which we covered the joists with, sealing up each seem. I got a cheap seam roller to help with this as I wanted to make it as airtight as possible.

WIth all the joints taped, I then laid them out to ensure every fitted and was spaced out. Then starting at the end, I worked backwards. My process was this:
With all the boards laid out I started work on the three boards to at the far end of the room. These were boards, 26, 25 and 24. I lifted them out, hoovered up any dust, taped up any marks or mistakes in the foil tape and then laid them back down. I then lifted boards 23 and 22. This showed me where the joists where, and using my square, I drew a pencil line onto the boards. I then drilled pilot holes and screwed the boards down. I wasn’t very particular where I drilled the holes, but I made sure to put two on either side, avoiding any existing nail holes.
I was complicated in places by the fact the electricians and plumbers had cut some of the boards for access, but I did as good a job as I could.
I continued this process all the way back along the floor until the final three boards, where I worked the other way. I did this because the board right along the wall wasn’t cut very well and was difficult to adjust. The tails for the radiator also came up through this board and I wan’t sure of their eventual position (radiators were removed for painting) so I needed to leave myself access so I can make good any gaps once the tails are reconnected.

All told, I think it probably took me five or six hours to screw them all down. I had plenty of practice when this as I installed a cedar deck at the back of my old house. I didn’t have the benefit of the countersink bit back then, so the 1200 screws took a long time with a lot of bit switching.
It took 600 screws to put down this floor.
The back room aka I’ve enough confidence to do this again
I was happy with the outcome on the front room, so I moved onto the bigger back room. This room is the same width, but about 1.5m longer.
This time around, I decided for a different approach when lifting the floorboards. The big problem was the tongue and groove boards. We knew they’d be difficult, but I underestimated how difficult. We broke so many of the groove and tongues that I figured, why not just cut the tongues first? This should make lifting the boards much easier.
I considered using a circular saw for cutting the tongues, but decided against it (blade thickness and cost of mistakes). Instead, I opted for a multitool.
With lots of help from my brother in law, we cut the tongues and lifted the boards. It was *mush* easier this time around. Using the big rough tool, we would just work up and down the board popping it up. We still needed the hammer along the sides, where we couldn’t fit the tool.
Progress was very swift compared to the front room.

I numbered the boards in the same way, this time I wrong on the top of the board, rather than the underside. There were less small boards and no funny angles to contend with. The only problem was that the length of the boards made them a little unwieldy.
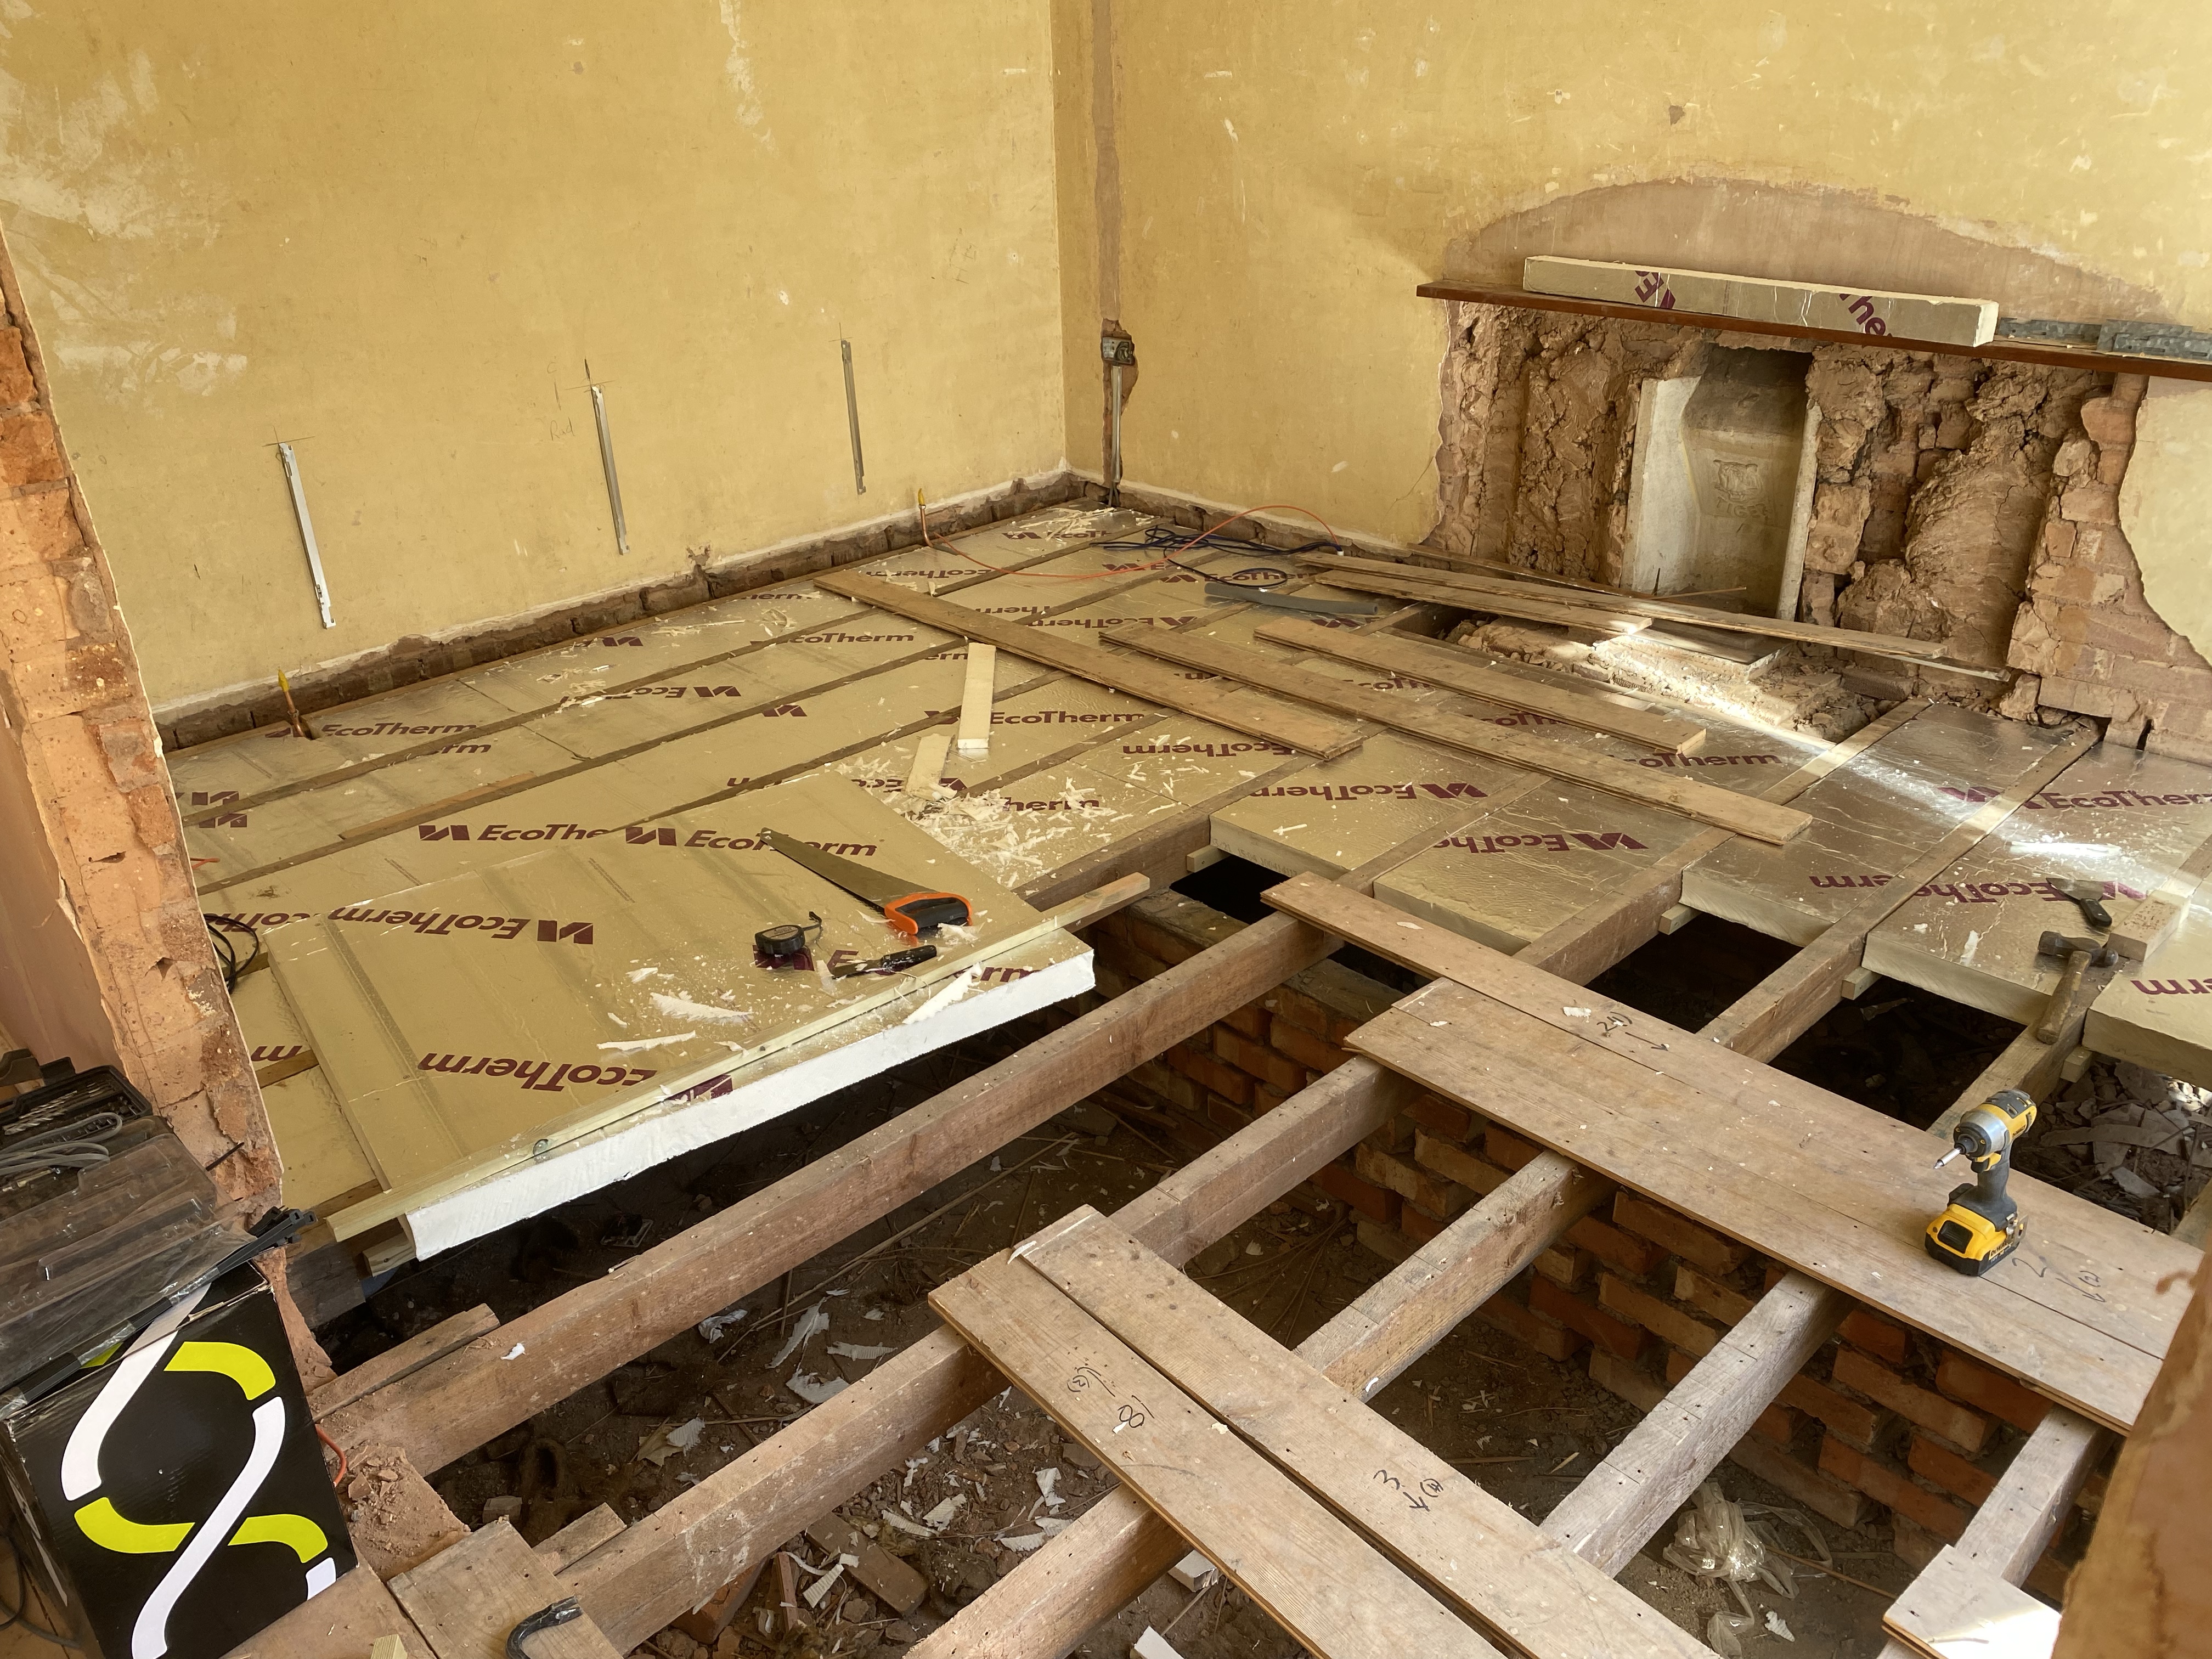
It went really well, until we hit the fireplace. Marble and fixed into the brick work.

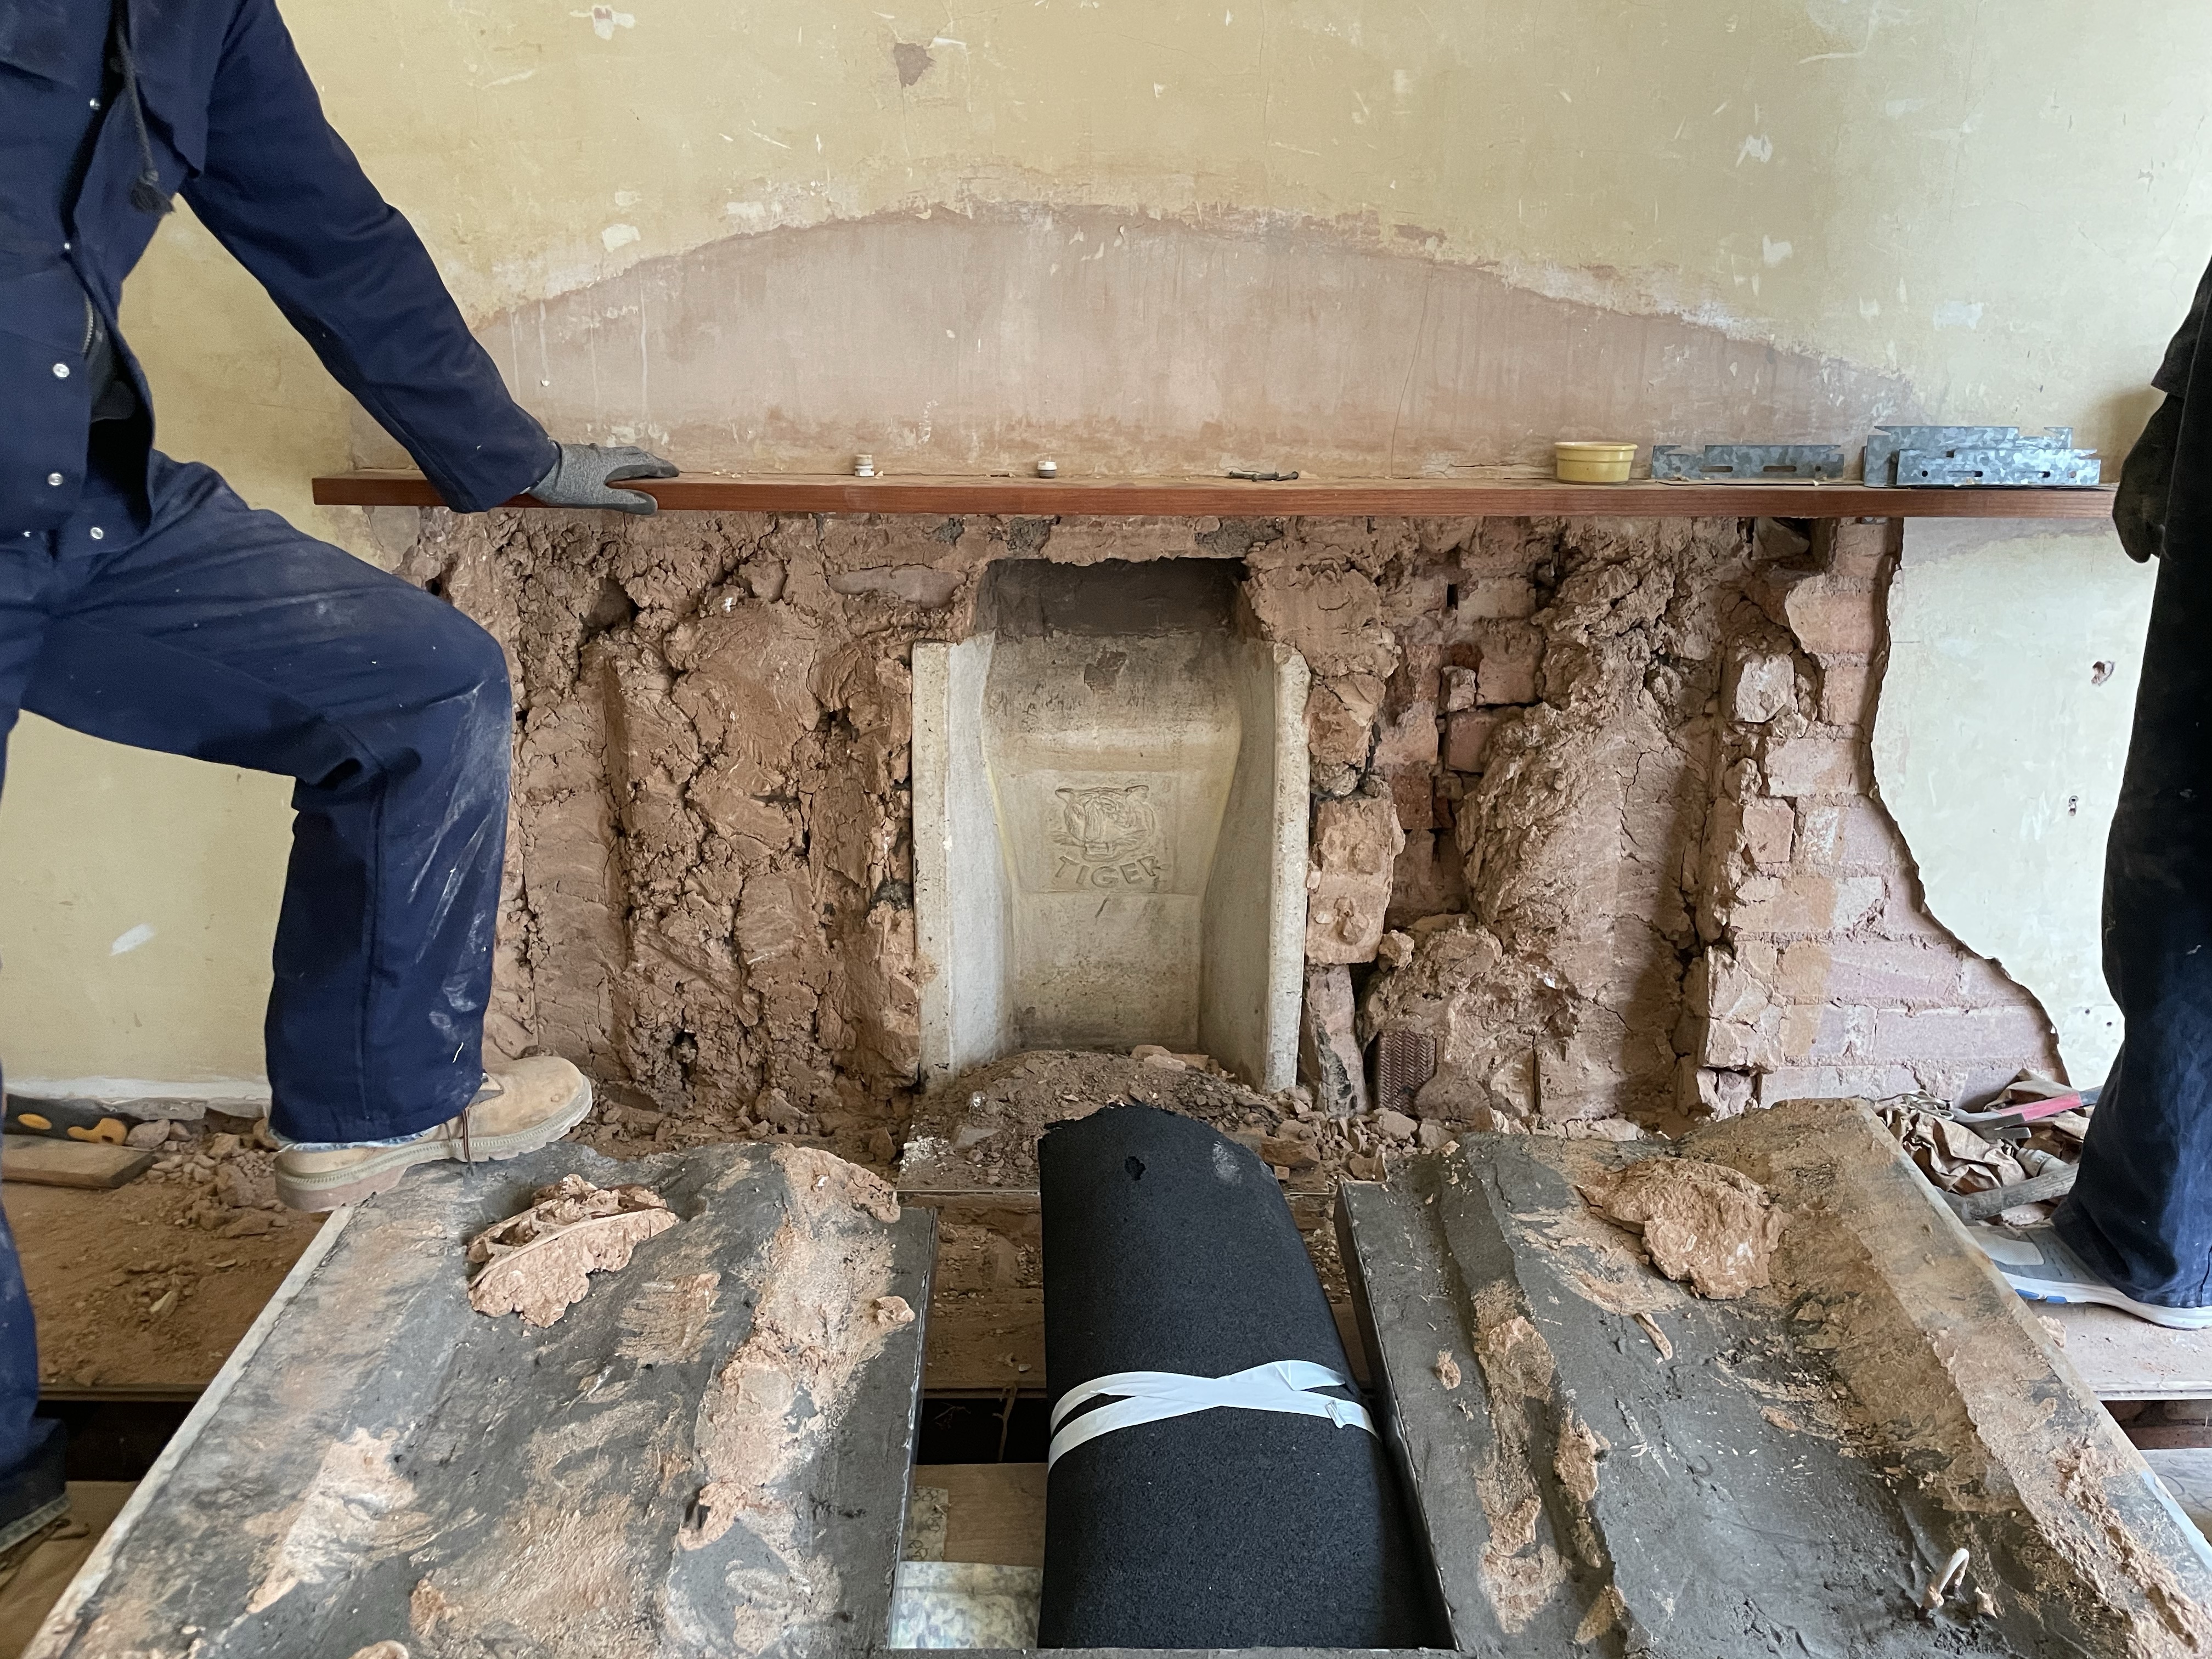

Once the fireplace was out, we removed the last few floorboards.
With the floorboards up, I checked the pipe work was all insulated, taped the joints and added some support to the pipes by using wires fixed to the joints. The shadow wall was in good condition and I just fixed some of the slate spacers where there was movement.
It was then I realised that I should have ran speaker wire from the TV location to the the opposite wall! I’d completely forgotten to do this in the front room, much to my annoyance.
In addition to an ethernet cable (who knows!) I pulled four speaker wires and fed them through some conduit. If I ever add surround sound to this room, I’ve got four speakers covered.
Then it was a case of following the same process as before, attaching the little noggins and cutting the insulation to size.

With it all foamed, next came the tape. I got a different brother-in-law to help with this. I made a little time-lapse of this too.
As with the front room, I moved all the floorboards back in and laid them out to ensure even spacing. Having the number on the top of the board was much better as I could easily see any mistakes.
This time, with the help of my wife, I worked four boards at a time, piloting and screwing down. It took about six hours to get them all screwed down. For this floor, we used around 900 screws. I had estimated 1400 for both floors, so the wife had to make an emergency trip to Screwfix!
We had the same issues with the radiator tails, so those boards remain uncut. I’ll sort that out once the walls are painted and the radiators are back on the wall.

Conclusions and lessons learned
I consider this project to be a success. Sure, it took longer than expected, but I think we’ll reap the benefits of this during the winter months.
In terms of materials, I ended up only using 10 sheets of insulation. I think that’s because of the joist thicknesses and the area occupied by the fireplaces in both rooms. I will probably try and sell the four sheets as they are in pristine condition.
Could I have used thicker insulation? The argument is that more is always better, and whilst I agree with that, cost has to be factored in. I could have spent £700 or £800 on 100mm boards, but the extra thickness probably wouldn’t have made much difference. The house is old with cavity walls, so the money might be better spent elsewhere.
In terms of the actual work involved, cutting the insulation was probably the part I got least right. It was very tricky to make straight cuts and, more often than not, we had to trim the sections to make them fit. No matter what approach we tried, we always almost always had a wonky cut.
When it came to lifting the boards, the second approach of cutting the tongues worked much better than just trying to force the boards up. I wish I’d done that in the front room too. Not only did it make lifting the boards much easier, it made it easier when laying them back down. Cutting the tongues was an option since we weren’t planning on exposing the floor, so any marks and gaps will be hidden by carpet or floating floor. I toyed with the idea of sanding and varnishing the floor, but as we have a beautiful hardwood floor in the hallway, we decided we’d probably carpet anyway. I
I’m worried about the central pipes freezing in the winter. They were lagged by the plumber, but I’m still a little nervous. I’m going to drop two temperature probes into the cavity underneath and use that to give me a reading of the temp. If I drops below zero, I can always have HomeAssistant turn on the heating for 15 minutes or something during the night to stave off the cold.
The other concern is any condensation. I took care when taping down all the joints and when foaming the gaps, so it should be unlikely, but I took the easier option, so if the joists do rot, I’ll naturally blame myself for taking the easy option 🙂
I’m also annoyed at myself that I didn’t run speaker cables in the front room. I’ve considered trying to fish cables under the floor, but the shadow wall would make it too. A job for another time.
Overall, we won’t feel the effects of the insulation until winter hits. We won’t know what exact effect it will have since we won’t have experienced the house in the winter. That said, I’m confident that the insulation will make the house much warmer!
Make a one-time donation
Make a monthly donation
Make a yearly donation
Choose an amount
Or enter a custom amount
Your contribution is appreciated.
Your contribution is appreciated.
Your contribution is appreciated.

Leave a comment