Whilst I was learning about Device Energy Management in Matter, I build a very simple energy manager.
It didn’t do much, beyond using peak and off-peak tariffs to delay a dishwasher’s cycle. For my experiments, I used a Dishwasher Emulator that I created, called Tiny Dishwasher.
In real life, I have a Neff Dishwasher, which has a nice companion app, but it doesn’t support Matter directly.
Companies like Bosch sell Matter Bridges, like the Bosch Smart Home Controller II, but they don’t seem to support Dishwashers. The almost certainly don’t support energy management either.
I thought it would be a nice if I had a real appliance that my Energy Manager could control. This would be a great demonstration of the technology.
And this got me thinking. If the official Matter bridges don’t do the job, when I could build my own?
My idea was this: I would build an ESP32 device that talked to my Dishwasher. That same device would also be a Matter node, which would pretend to be my Dishwasher. My Home Energy manager would then control that Matter device, which would control my real dishwasher. What could be easier than that? 🤣
First problem was how to control my dishwasher from an ESP32!
Home Connect
My Neff Dishwasher has something called Home Connect. This is an online (and local!) platform that Bosch, Neff and several other vendors support. Whilst Home Connect is starting to support Matter, it’s limited and my dishwasher isn’t supported.
The first step I took was understanding what I could do with Home Connect.
The API wasn’t great, but it did give me an insight into what the API allowed. I formed a plan around that.
- I would start the selected cycle from the device, which would use HomeConnect.
- The device energy manager would attempt to adjust the start time of the cycle.
- The device would use the HomeConnect to adjust the current program.
I had already explored the API to satisfy myself this was possible.
First challenge: Connecting to the HomeConnect API using an ESP32!
Hardware Choice
I had an Elecrow E-Paper unit sitting on my desk and it seemed ideal. Elecrow kindly sent me this unit to review, and it seemed like a good candidate. It had an E-Paper display for low power consumption, and it housed an ESP32-S3. It has 8Mb of flash, 8MB of RAM and an additional 8MB of PSRAM. It has a full set of GPIO headers and three physical buttons. Quite a lot in a small, slim, well-presented enclosure.

I’ve been building another project on the S3, so I knew that variant had plenty of memory and power.
You can find the display here – https://www.awin1.com/cread.php?awinmid=82721&awinaffid=2699766&ued=https%3A%2F%2Fwww.elecrow.com%2Fcrowpanel-esp32-4-2-e-paper-hmi-display-with-400-300-resolution-black-white-color-driven-by-spi-interface.html
That’s an affiliate link, so I think I get something should you make a purchase.
Connecting to Home Connect
In order to connect to my Dishwasher, I needed to connect to Home Connect. This would involve my device have an internet connection and performing some form of authentication.
Unfortunately, with Matter devices, performing this type of “non-Matter” configuration is tricky. The protocol didn’t really support it.
After mulling it over and reading the Home Connect documents, I settled on a plan.
OAuth supports something Device Flow. This is an OAuth mechanism for devices with no browser or devices with limited input. If you use Netflix on your TV you’ve probably seen it. When you first connect your TV to Netflix, it just shows you a code and/or QR code. You visit the particular URL from your phone or laptop and enter your credentials. The TV then automatically connects!
For my project, I felt this flow might work.
First, I would add the device to my Matter network so it got an internet connection. Then I would display the code and let the user scan it from their phone. This would then pick up the available Appliances and all the user to choose which one to proxy.
First Step was building a Matter Bridge that I could add to my Matter network.
Showing the QR code?
Building for a device with a display gave me a rare opportunity, displaying the Matter setup QR code!
I started with a basic Matter project and added the root note.
node::config_t node_config;node_t *node = node::create(&node_config, app_attribute_update_cb, app_identification_cb);ABORT_APP_ON_FAILURE(node != nullptr, ESP_LOGE(TAG, "Failed to create Matter node"));err = esp_matter::start(app_event_cb);ABORT_APP_ON_FAILURE(err == ESP_OK, ESP_LOGE(TAG, "Failed to start", err:%d", err));
With this working, I next needed to understand how to use the e-paper screen. Elecrow, thankfully, provide a lot of samples and schematics https://github.com/Elecrow-RD/ESP32_S3-Ink-Screen.
They also have YouTube tutorials, available here: https://www.youtube.com/watch?v=smDFHRxDYdw&list=PLwh4PlcPx2GdI_AT3WXtLRXiAxgFTiaJ-
Whilst their samples are provided as Arduino sketches, they do provide some code for their display driver. This was enough to get me started.
I began by setting up the SPI interface using the spi_master example to guide me. The Elecrow Schematic also helped me determine which pins I needed to use.
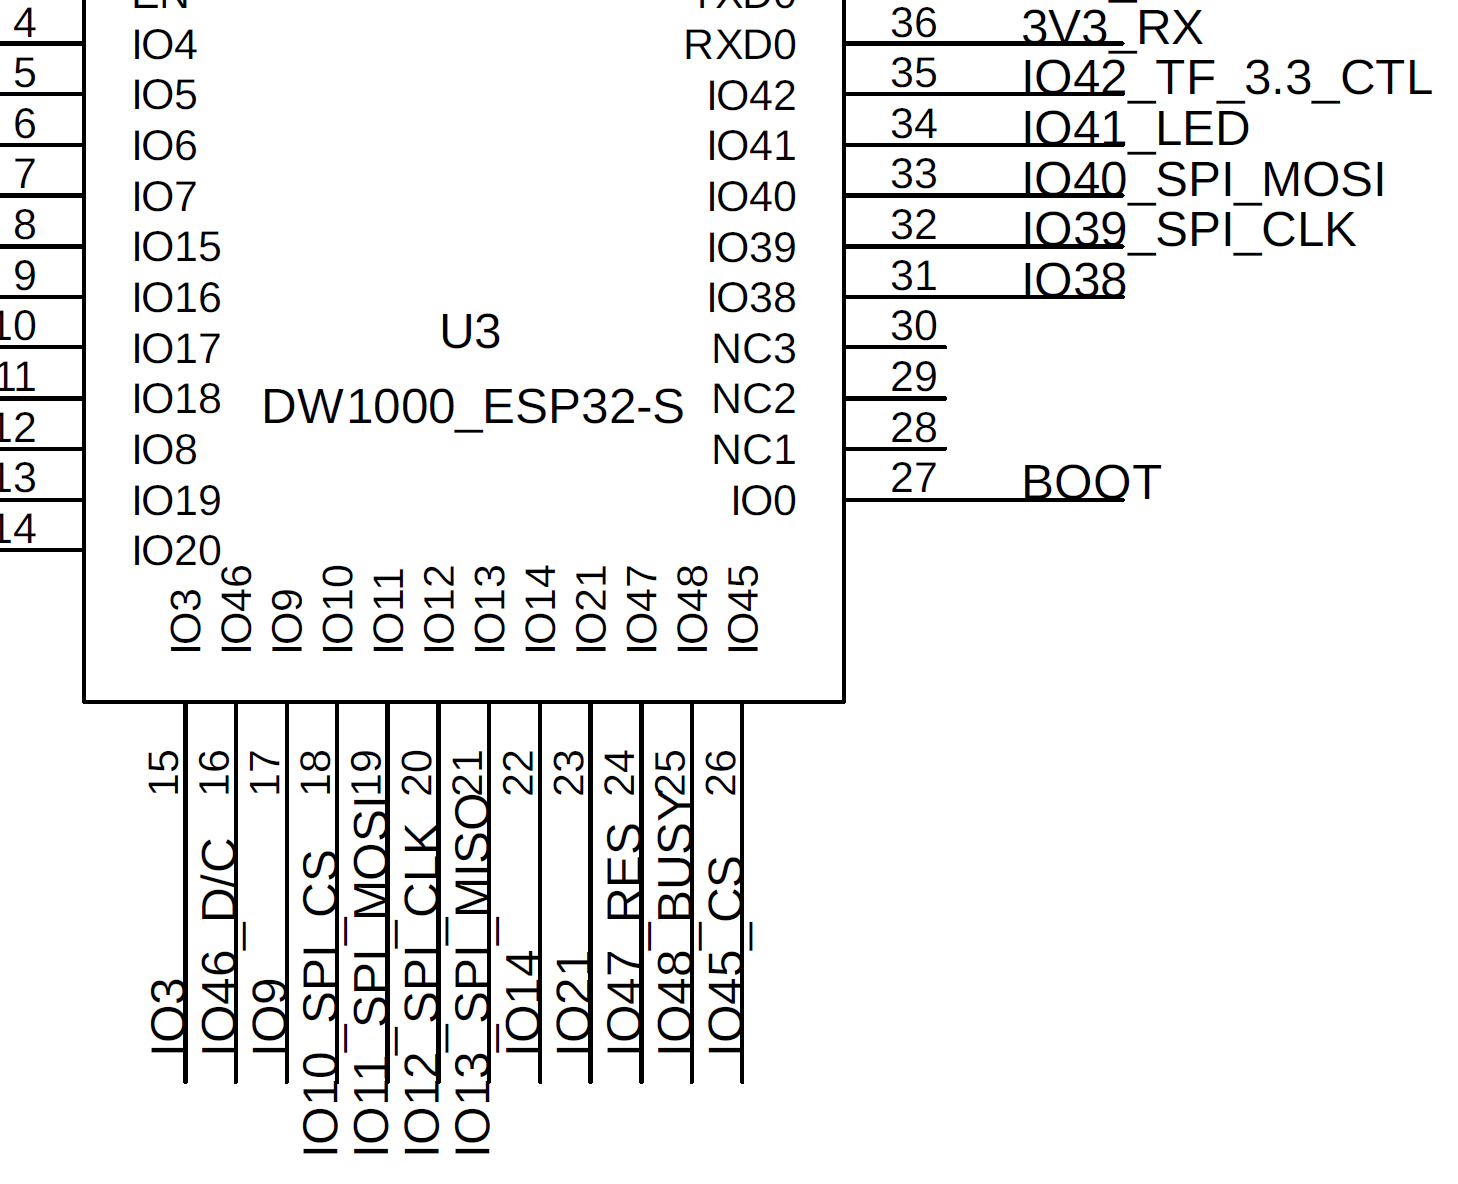
The ESP documentation also backs up these pis

Using some of the SPI_Master example code, I appeared to make contact with the display.

At this point, I went down the rabbit hole. The ST7789V message turned out to be a complete a red herring! I wasted *hours* trying to get the ST7789 drivers working using the LVGV library. To no avail. I then discovered that the Elecrow display used a SSD1683 driver. D’oh!
Unfortunately, the ESP ecosystem had *zero* support for this driver in its many components.
This left me one avenue – porting the Example Arduino code. To help me with this, I dug out the datasheet https://www.orientdisplay.com/wp-content/uploads/2022/09/SSD1683.pdf

I ended up using the SPI driver and writing my own functions, adapted from the Elecrow code. The init looked like this:
void lcd_init(spi_device_handle_t spi){ lcd_reset(); lcd_read_busy(); lcd_write_cmd(spi, 0x12); lcd_read_busy(); lcd_write_cmd(spi, 0x21); // Display update control lcd_write_data(spi, 0x40); lcd_write_data(spi, 0x00); lcd_write_cmd(spi, 0x3C); // BorderWavefrom lcd_write_data(spi, 0x05); lcd_write_cmd(spi, 0x11); // data entry mode lcd_write_data(spi, 0x03); // X-mode lcd_write_cmd(spi, 0x44); lcd_write_data(spi, (0 >> 3) & 0xFF); lcd_write_data(spi, ((IMAGE_W - 1) >> 3) & 0xFF); lcd_write_cmd(spi, 0x45); lcd_write_data(spi, 0 & 0xFF); lcd_write_data(spi, (0 >> 8) & 0xFF); lcd_write_data(spi, (IMAGE_H - 1) & 0xFF); lcd_write_data(spi, ((IMAGE_H - 1) >> 8) & 0xFF); // Cursor lcd_write_cmd(spi, 0x4E); // SET_RAM_X_ADDRESS_COUNTER lcd_write_data(spi, 0 & 0xFF); lcd_write_cmd(spi, 0x4F); // SET_RAM_Y_ADDRESS_COUNTER lcd_write_data(spi, 0 & 0xFF); lcd_write_data(spi, (0 >> 8) & 0xFF); lcd_read_busy();}
It wasn’t pretty, but it worked!
Creating QR code
After bit bashing my way to a fully black screen (massive progress), I now needed a QR code. Thankfully, ESP had a component for this.
esp_qrcode_config_t cfg = ESP_QRCODE_CONFIG_DEFAULT();cfg.display_func = esp_qrcode_print_display;esp_qrcode_generate(&cfg, "TEST");
I started with simple text, “TEST”. The API had a callback to “print” the QR code, so I defined my own, esp_qrcode_print_display
std::vector<uint8_t> buffer = {};void esp_qrcode_print_display(esp_qrcode_handle_t qrcode){ ESP_LOGI(TAG, "Displaying the QR Code"); int size = esp_qrcode_get_size(qrcode); bool black_pixel = 0; ESP_LOGI(TAG, "Size: %d", size); for (int y = 0; y < IMAGE_H; y++) { for (int x = 0; x < IMAGE_W; x++) { black_pixel = esp_qrcode_get_module(qrcode, x, y); uint16_t addr = x / 8 + y * 3; uint8_t current = buffer[addr]; ESP_LOGI(TAG, "%d,%d %d", x, y, black_pixel); if (black_pixel) // Set the bit to 1 { buffer[addr] = current & ~(0x80 >> (x % 8)); } else { buffer[addr] = current | (0x80 >> (x % 8)); } } } lcd_draw(spi, buffer);}
This function used esp_qrcode_get_module to determine if each pixel of the QR code should be filled or empty.
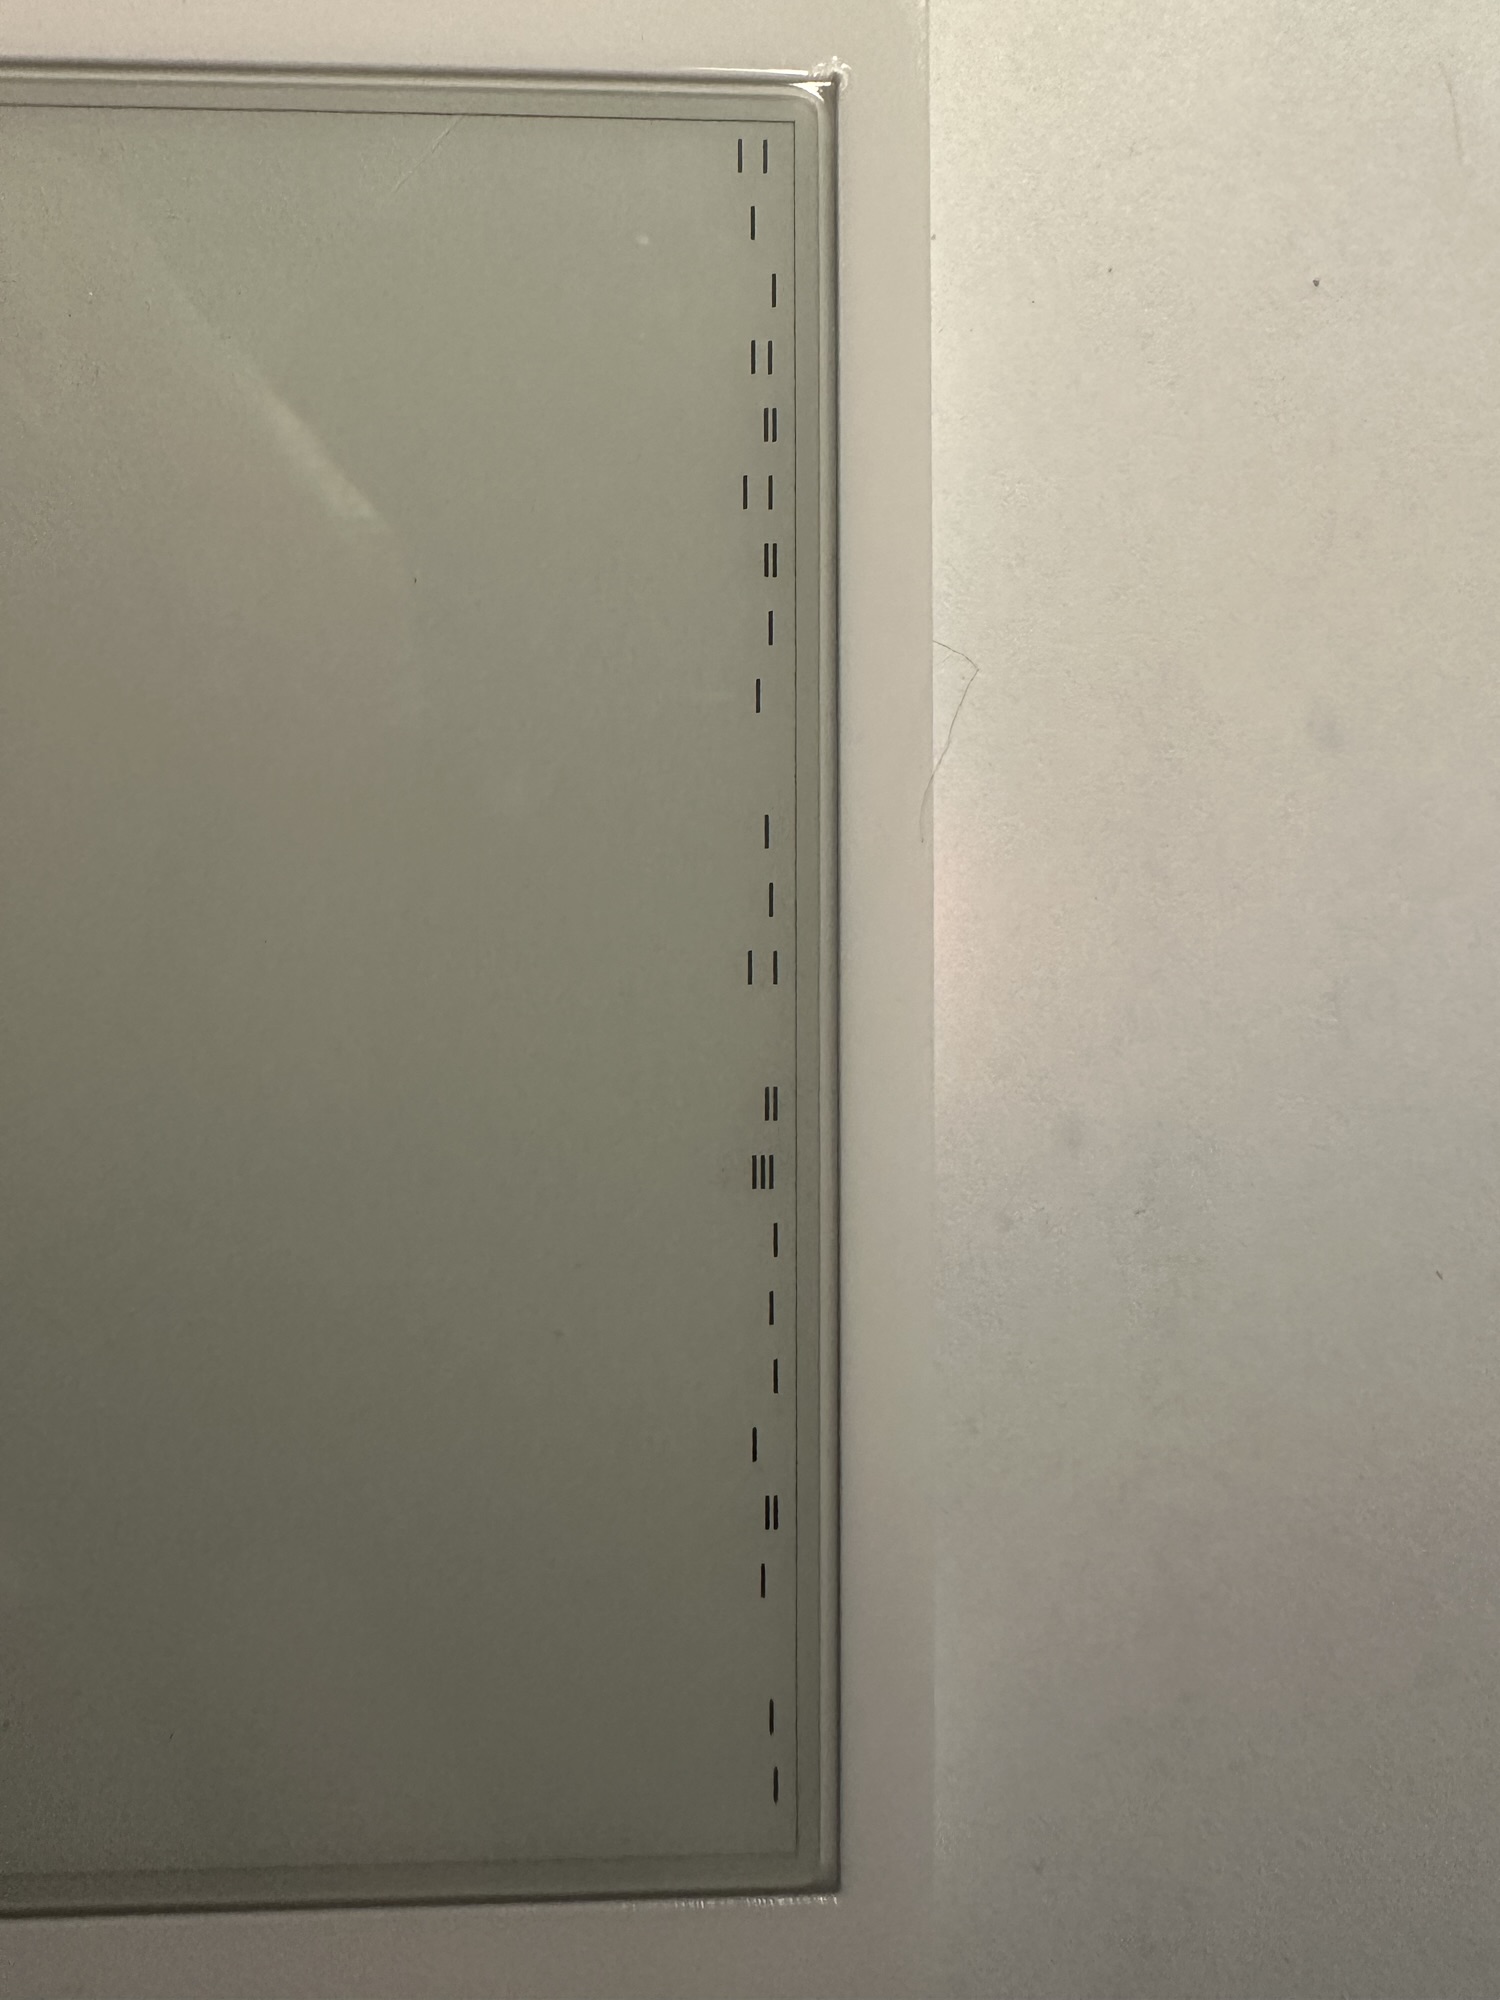
If it was filled, I would display a black pixel on my screen otherwise it would be white. It took a few attempts:
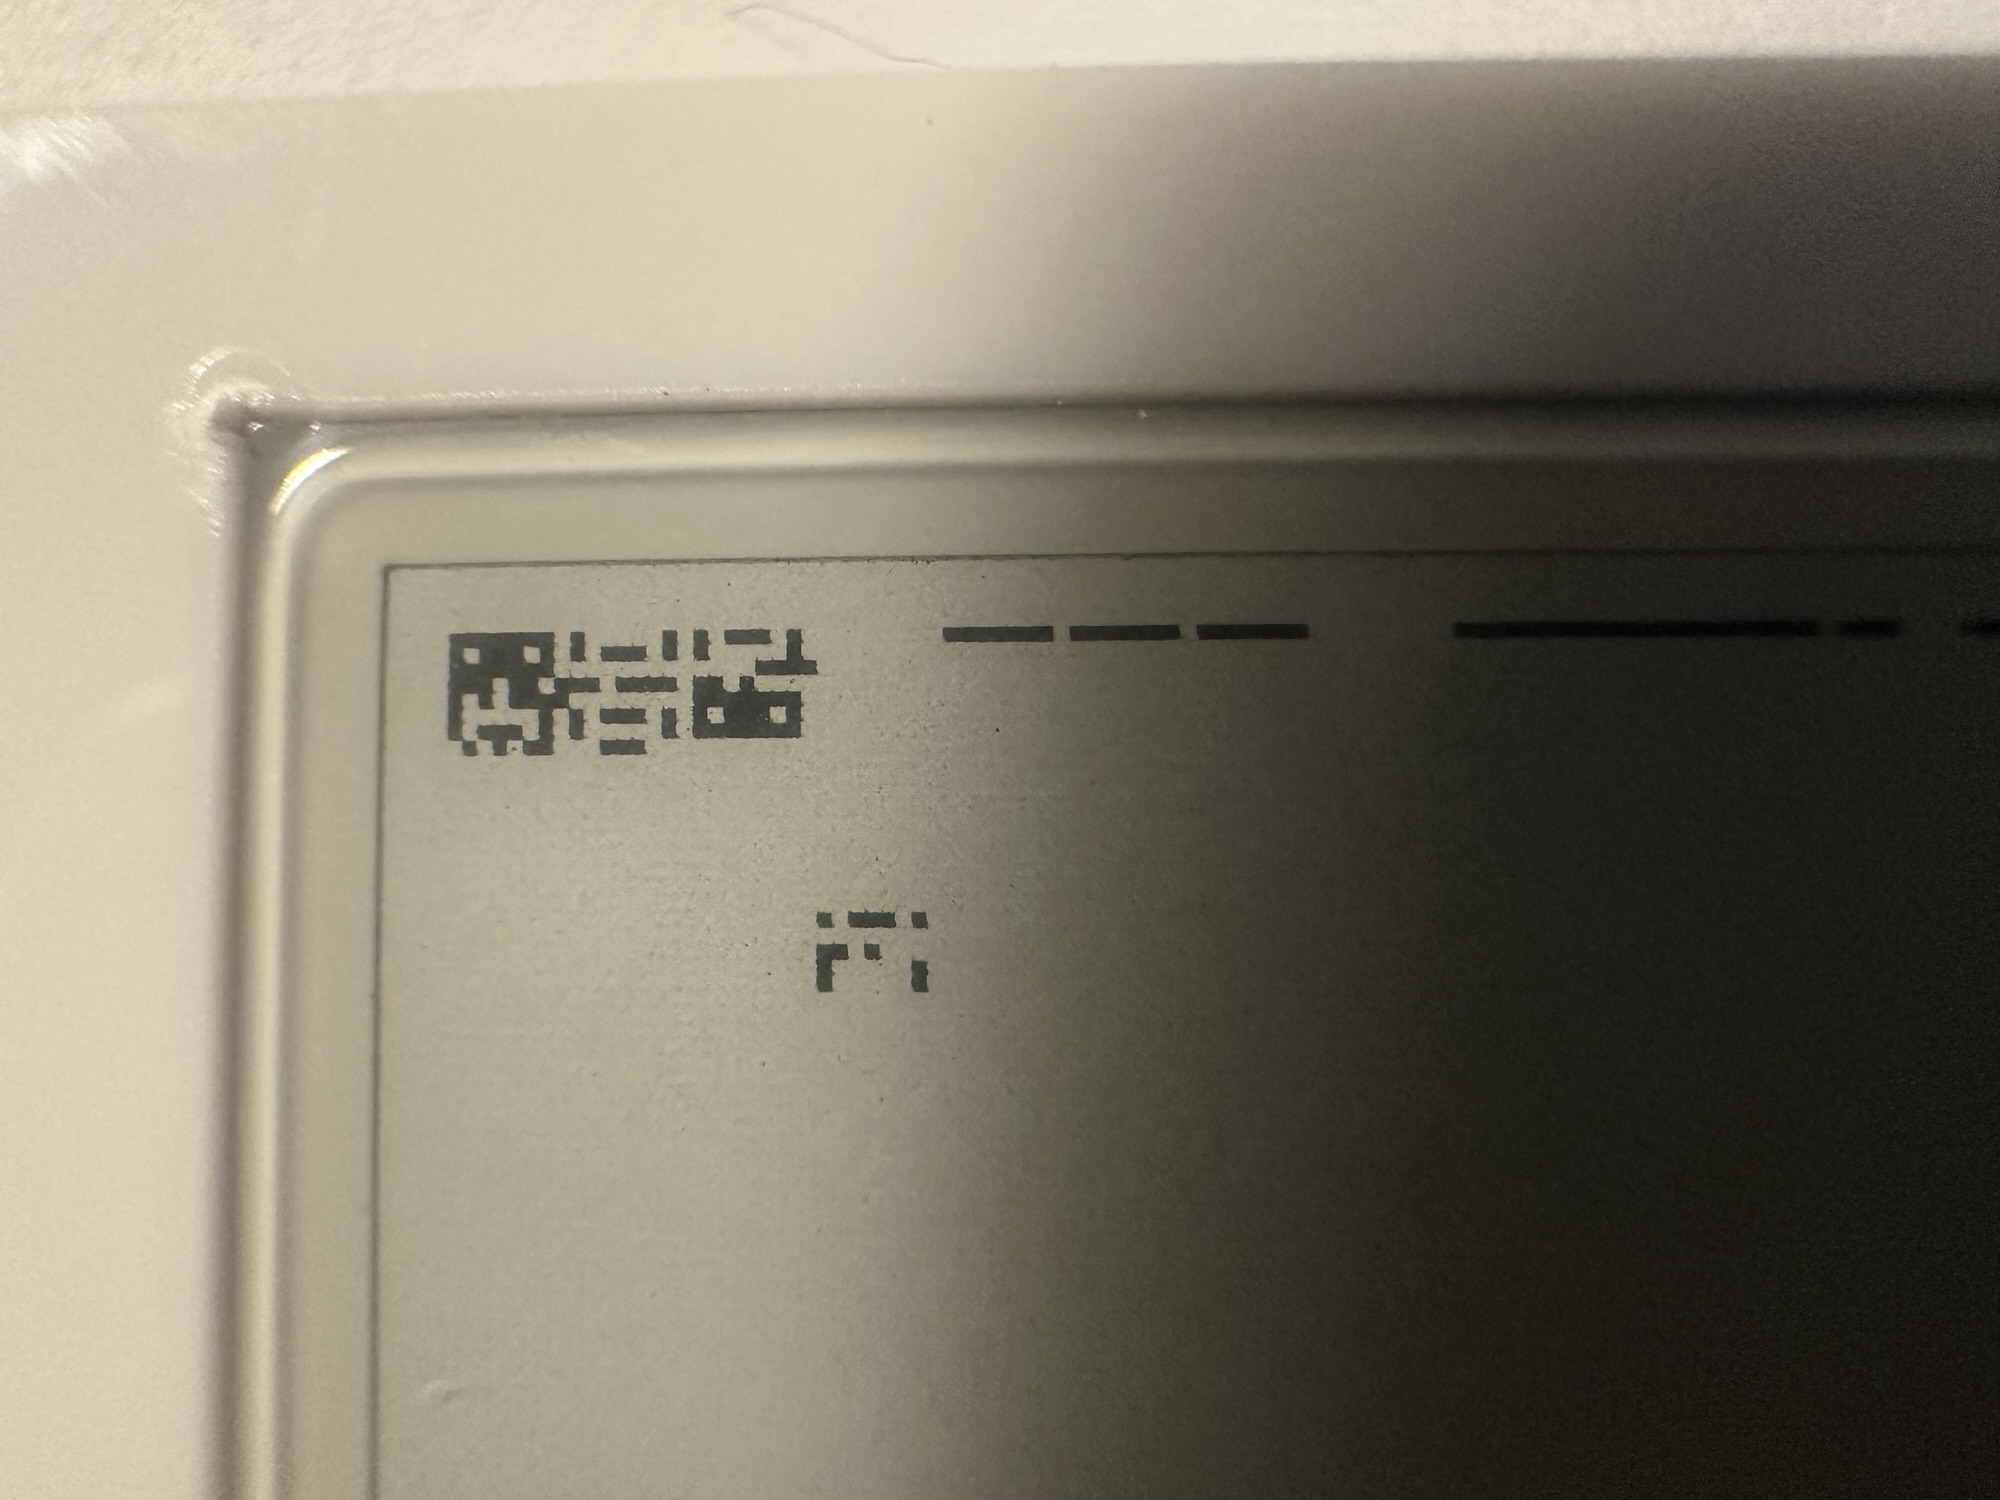
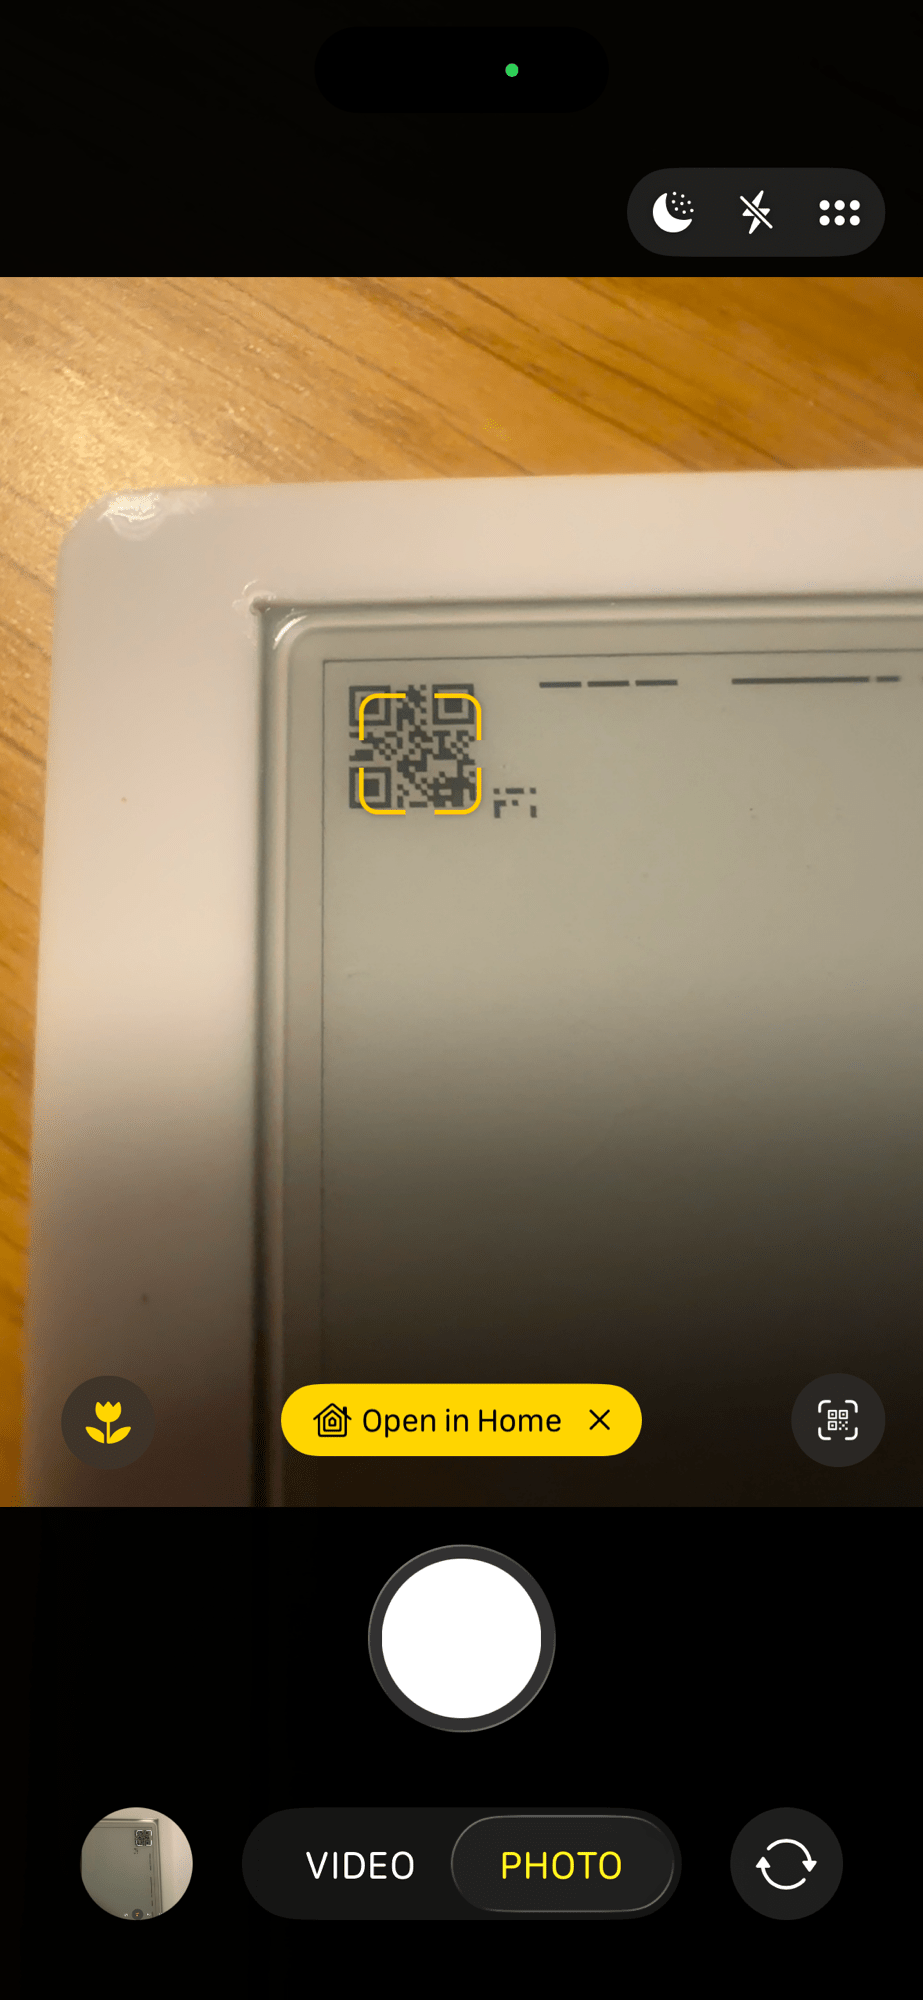
Eventually I got there and confirmed the code’s validity using my iPhone camera. The code was tiny at 21×21, but it was valid!
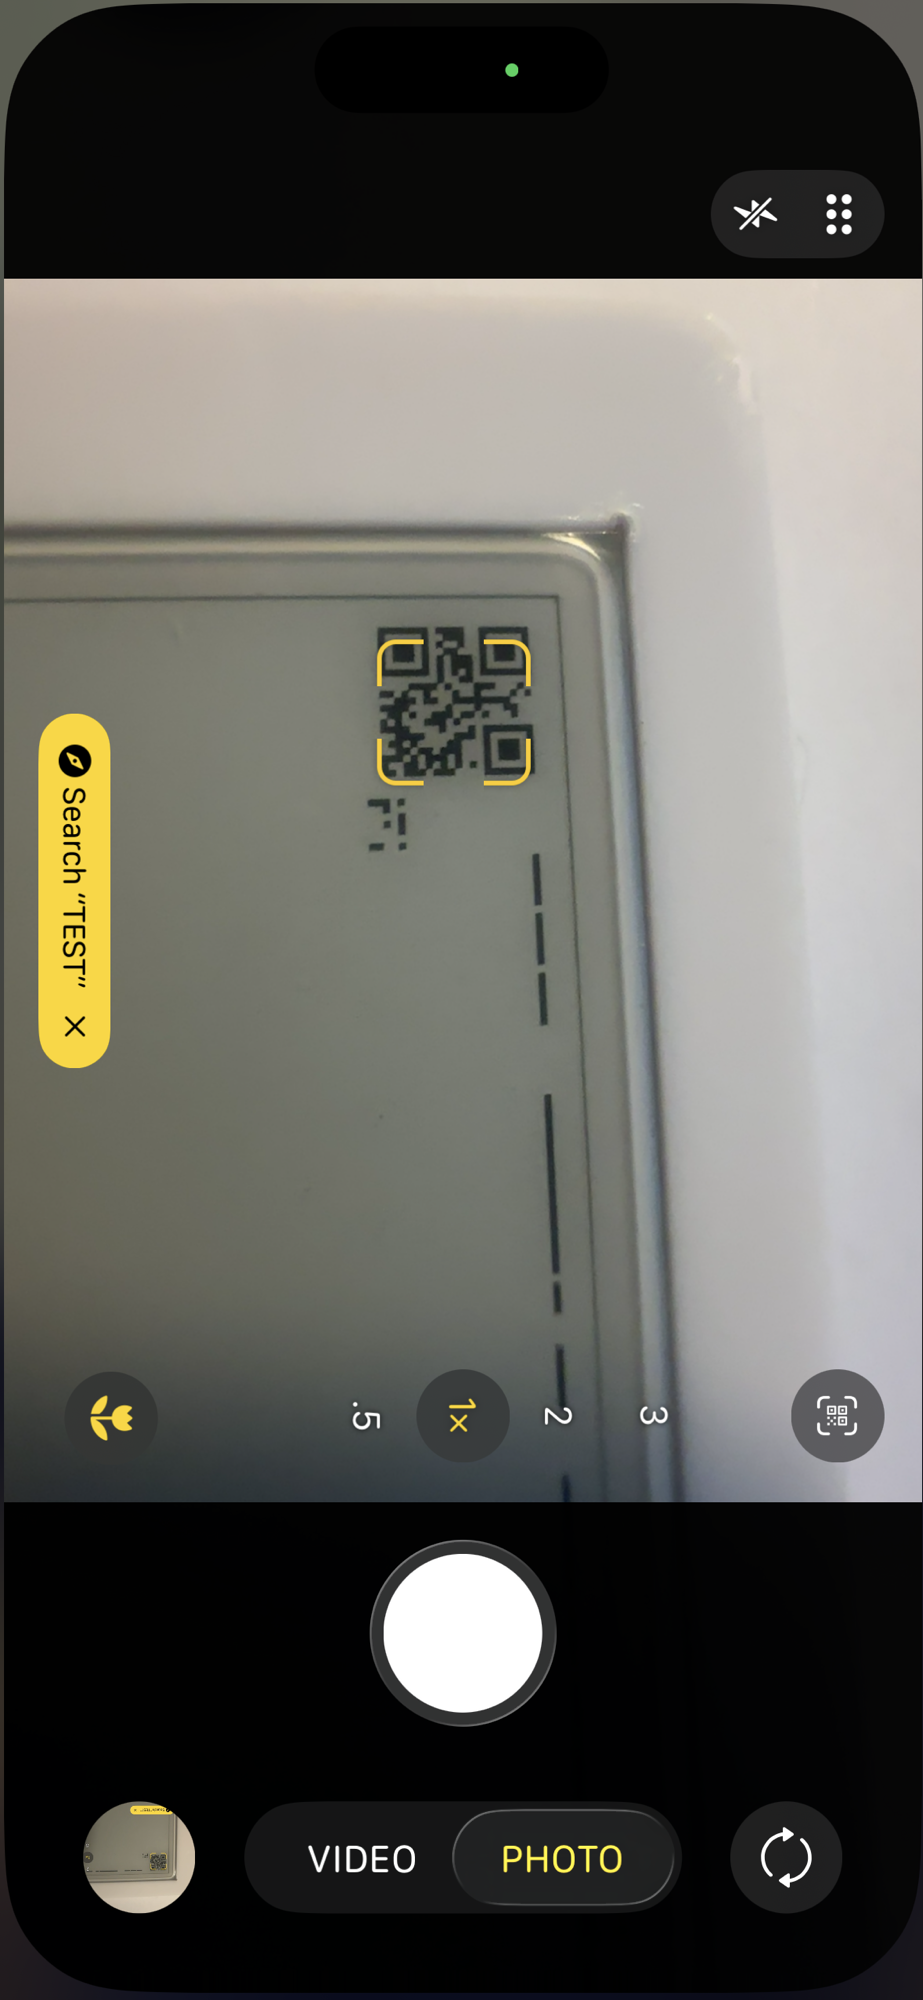
The screen had some artifacts from previous attempts. This was because I was using a smaller canvas. The benefits/dangers of ePaper I guess.
I also had a Watchdog error to contend with, since I was doing all this on the main thread.

Nevertheless, I had a QR code on my screen!
Commissioning QR Code
With my tiny QR code working, I needed a proper Matter Commissioning code! This is gotten from the RendezvousParameters.
chip::RendezvousInformationFlags rendezvoudFlags = chip::RendezvousInformationFlags(chip::RendezvousInformationFlag::kBLE);chip::PayloadContents payload;GetPayloadContents(payload, rendezvoudFlags);char payloadBuffer[chip::QRCodeBasicSetupPayloadGenerator::kMaxQRCodeBase38RepresentationLength + 1];chip::MutableCharSpan qrCode(payloadBuffer);
I then take the qrCode and feed that into the generator
if (GetQRCode(qrCode, payload) == CHIP_NO_ERROR){ esp_qrcode_generate(&cfg, qrCode.data());}
And, amazingly, iOS detected this was a device!

Authenticating with Home Connect
With commissioning in the bag and a QR code displayed, I turned my attention to the Home Connect Authentication.
As I mentioned above, my plan was to use the Device Flow. Here is the diagram from the Home Connect documentation.
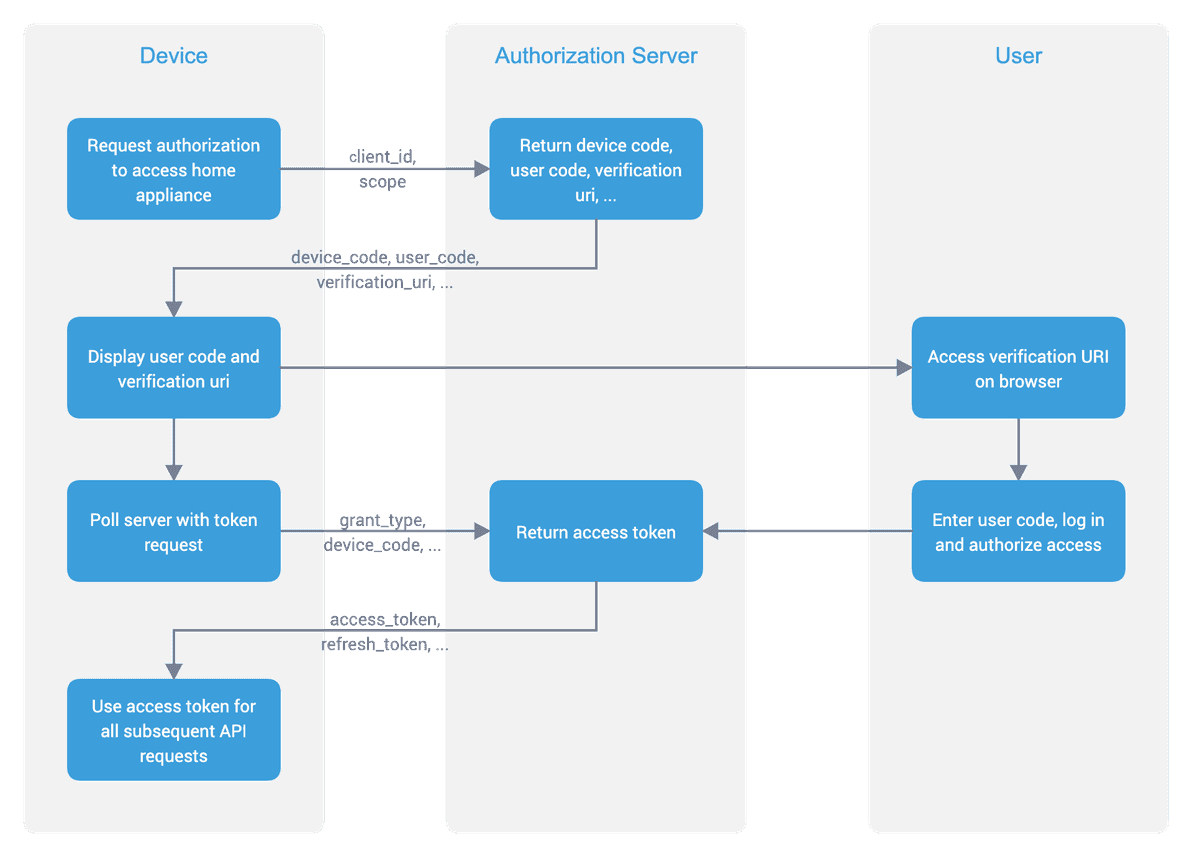
The flow here is broken into a few API calls. The first one will generate a User Code, which is usually an 8-digit string like A7C2-B922. I will need to display this code to the user alongside a URL. The user will then visit the URL, enter the code and sign in. The user will then give my device permission to access their account.
Whilst the device waits for the user to confirm access, it will poll another URL. This second URL will eventually return the access_token, which the device will use for access.
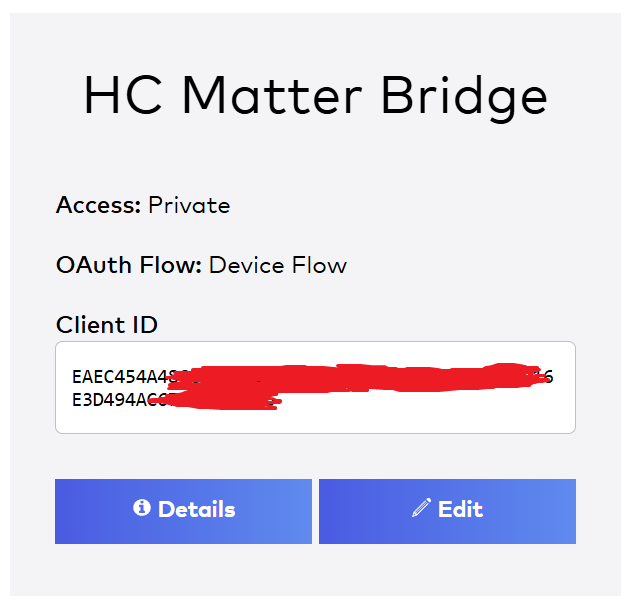
To get started, I created an Application within the Home Connect Developer Portal. This is important as the user authenticates against this.
I now started building up the ESP side of things. The ESP framework has an HTTP Client API that is perfect for this. I started by defining the client
esp_http_client_config_t config = { .url = "https://api.home-connect.com/security/oauth/device_authorization", .method = HTTP_METHOD_POST, .event_handler = _http_event_handler, .user_data = local_response_buffer, .crt_bundle_attach = esp_crt_bundle_attach,};esp_http_client_handle_t client = esp_http_client_init(&config);
I chose the initial authorization endpoint.
I then executed a POST, sending the client_id value from my Application.
esp_http_client_set_header(client, "Content-Type", "application/x-www-form-urlencoded");const char *post_data = "client_id=EAE..E6";esp_http_client_set_post_field(client, post_data, strlen(post_data));esp_err_t err = esp_http_client_perform(client);
The _http_event_handler callback handles various things, especially the saving of any data returned into the local_repsonse_buffer
On a successful response, I parse the payload and read some of the important variables.
cJSON *root = cJSON_Parse(local_response_buffer);if (root == NULL){ ESP_LOGE(TAG, "Failed to parse JSON"); return;}const cJSON *deviceCodeJSON = cJSON_GetObjectItemCaseSensitive(root, "device_code");ESP_LOGI(TAG, "device_code: %s", deviceCodeJSON->valuestring);const cJSON *userCodeJSON = cJSON_GetObjectItemCaseSensitive(root, "user_code");ESP_LOGI(TAG, "user_code: %s", userCodeJSON ->valuestring);const cJSON *verificationUriJSON = cJSON_GetObjectItemCaseSensitive(root, "verification_uri");ESP_LOGI(TAG, "verification_uri: %s", verificationUriJSON->valuestring);const cJSON *completeVerificationUriJSON = cJSON_GetObjectItemCaseSensitive(root, "verification_uri_complete");ESP_LOGI(TAG, "verification_uri_complete: %s", completeVerificationUriJSON->valuestring);
The user_code is the value that should be shown to the user. The verification_uri is where the user needs to visit to input the code. The verification_uri_complete is a combination of both of these values.
A combination that is perfectly suited to show in a QR code!
esp_qrcode_config_t cfg = ESP_QRCODE_CONFIG_DEFAULT();cfg.display_func = esp_qrcode_print_display;esp_qrcode_generate(&cfg, completeVerificationUriJSON->valuestring);

With the QR code shown, the code now starts the polling process, checking if the user has authenticated.
As I’m using a different url, I update the client.
esp_http_client_set_url(client, "https://api.home-connect.com/security/oauth/token");
The payload is also different and includes both the client_id, as before, and the device_code, which came from the previous response.
char post_data[200];snprintf(post_data, sizeof(post_data), "grant_type=device_code&device_code=%s&client_id=E...6", deviceCodeJSON->valuestring);esp_http_client_set_post_field(client, post_data, strlen(post_data));
If I get a HTTP 200 response, I parse out the two most important details; the access_token and the refresh_token. I will use these to make requests to the API.
cJSON *root = cJSON_Parse(local_response_buffer);if (root == NULL){ ESP_LOGE(TAG, "Failed to parse JSON"); return;}const cJSON *accessTokenJSON = cJSON_GetObjectItemCaseSensitive(root, "access_token");ESP_LOGI(TAG, "access_token: %s", accessTokenJSON->valuestring);const cJSON *refreshTokenJSON = cJSON_GetObjectItemCaseSensitive(root, "refresh_token");ESP_LOGI(TAG, "refresh_token: %s", refreshTokenJSON->valuestring);
With my tokens in hand, I next make a request to get my appliances using GET https://api.home-connect.com/api/homeappliances. This is required since I need the appliance ID. I modify the client and then add the token. I’m ignoring expiration at this point.
char auth_header[1400];snprintf(auth_header, sizeof(auth_header), "Bearer %s", access_token);esp_http_client_set_header(client, "Authorization", auth_header);
The response looks like this as I only have one appliance
{ "data": { "homeappliances": [ { "brand": "Neff", "connected": true, "enumber": "...", "haId": "01...3", "name": "Dishwasher", "type": "Dishwasher", "vib": "S..." } ] }}
I then parse out the data from the response. This is important, since it gives me the haId, which is the ID of my dishwasher!
cJSON *iterator = NULL;cJSON *dataJSON = cJSON_GetObjectItemCaseSensitive(root, "data");cJSON *homeAppliancesJSON = cJSON_GetObjectItemCaseSensitive(dataJSON, "homeappliances");cJSON_ArrayForEach(iterator, homeAppliancesJSON){ cJSON *haIdJSON = cJSON_GetObjectItemCaseSensitive(iterator, "haId"); ESP_LOGI(TAG, "haId: %s", haIdJSON->valuestring); cJSON *typeJSON = cJSON_GetObjectItemCaseSensitive(iterator, "type"); ESP_LOGI(TAG, "type: %s", typeJSON->valuestring);}
Creating a dishwasher node
With a connection to Home Connect and my appliance Id, I now needed to create my Dishwasher.
I had already figured most of this out when I created my Tiny Dishwasher.
It involved adding a Dishwasher endpoint to my node.
node_t *node = node::get();static OperationalStateDelegate operational_state_delegate;dish_washer::config_t dish_washer_config;dish_washer_config.operational_state.delegate = &operational_state_delegate;endpoint_t *endpoint = dish_washer::create(node, &dish_washer_config, ENDPOINT_FLAG_NONE, NULL);ABORT_APP_ON_FAILURE(endpoint != nullptr, ESP_LOGE(TAG, "Failed to create dishwasher endpoint"));
That is the bare minimum to getting a dishwasher device working.
First Attempt!
I now had all the parts and I decided to try it out. After a few tweaks here and there, I got my dishwasher appearing in the Aqara app.
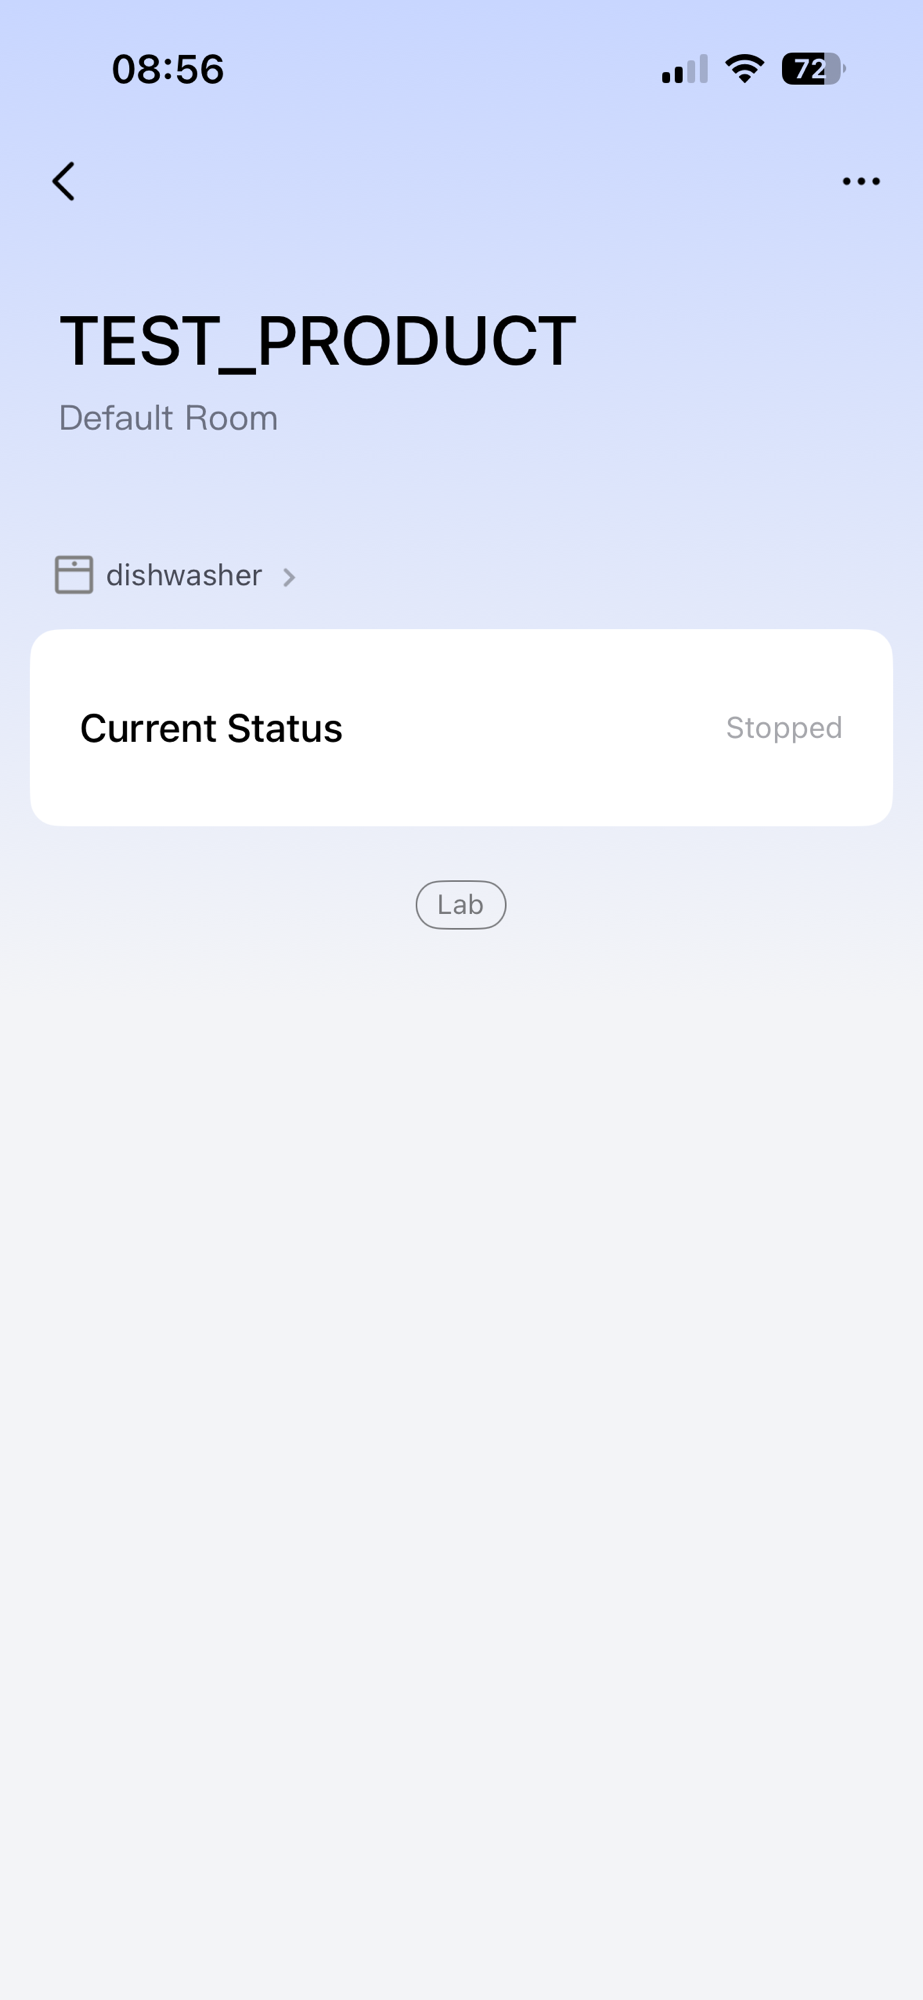
It had *zero* behaviour attached, since I didn’t configure any of the commands or modes, but it worked.
I could now try and refine it.
Next Steps
The next logic step is being able to *Start* the dishwasher. I’ll need to list the available programs, allow the user to choose one and then send a start command.
All the code, as it is, it up at https://github.com/tomasmcguinness/matter-esp32-home-connect-bridge
Be warned, at the time of writing this post, it’s a mess.
If you’re interested in this project, you can read the next part here!
Did you like reading this post?
If you found this blog post useful and want to say thanks, you’re welcome to buy me a coffee. Better yet, why not subscribe to my Patreon so I can continue making tinkering and sharing.
Be sure to check out my YouTube Channel too – https://youtube.com/tomasmcguinness
Thanks, Tom!

Leave a comment