

Whenever we talk about heat pumps, the first question people ask is “how much did it cost?”
In this post, I give a breakdown of what my heat pump cost me.
As you read this, please remember that every installation is different, so every quote will be different. I’ve also tried to account for every penny spent, but I’m sure there are small items I’ve forgotten.

If you want to read about the installation journey, I’ve written a series of posts outlining it in detail. You might want to read some of these to better understand the work done.
- My Heat Pump Installation – Part 1
- My Heat Pump Installation – Part 2
- My Heat Pump Installation – Part 3
The scope of the work
First off, let’s walk through the scope of the changes that were needed to install the heat pump.
There were three main considerations:
- Was the existing pipework sufficient for the high flow rates required.
- Were the existing radiators sufficient for the lower flow temperature.
- How would the heat pump do hot water.
Before we look at the pipework, some context about my house will help. To start, it’s a four bedroom detached house in the West Midlands.
I bought my current home in 2021. The house was built in 1958, so when we took ownership, it was in need of complete renovation. Part of that renovation was a new heating system. Pipes, radiators and a new boiler. At the time I didn’t particularly want a gas boiler, but I didn’t have the luxury of time to find a heat pump installer. The plumber that did the work even told me heat pumps don’t work in old houses 🤣
At the time, I knew that heat pumps needed oversized radiators. At the time, I didn’t even understand what that really meant! My installer didn’t see the point, but he obliged. To a degree at least, but that’s a story for another day.
In 2023, we had our kitchen extended and it included UFH. This involved the addition of a new manifold with three loops. When I was getting this done, I knew a lot more about heating and low temperature heating, so I instructed the installer to use tight spacing in the pipework.
Thankfully, the original plumber used 22mm pipes for most of the long runs. After doing some maths, I knew the existing pipework was adequate for a heat pump. If you want to see what I did, there is a video on my YouTube channel. I also had the option to upgrade some of the pipework in the garage without any disruption, so I was very confident.
For radiators, my oversizing request at the start meant I was in good shape. Aside from the bathroom towel radiator. It was wholly inadequate for the bathroom, so I figured it would be wise to upgrade that too. I made a video about my cold bathroom if you want to watch.
This brings me to hot water. During the original renovation, I opted for a hot water tank instead of a combi boiler. I made that choice because I had visions of solar thermal and solar PV. After some research, I chose a Mixergy hot water tank. Designed to work with a boiler, it was advertised as being heat pump ready too, so I went with it.
The last thing required was the removal of the existing gas boiler. At only five years old, it didn’t feel all that good as sending it for scrap, but I did hate that boiler. Once the boiler was removed, we wouldn’t need gas anymore, so the meter could go too. This would save us paying the ~£100 standing charge, which was nice.
So, all in all, a few good decisions during the early renovation meant the heat pump could be installed with minimal disruption to the living space of the house, with the exception of a new bathroom radiator.
Choosing the installer
My choice of heat pump and installer was somewhat co-incidental and serendipitous. When I started the process of selecting a heat pump, my then boss, Alex Butcher, suggested the Kronoterm Adapt as one that might meet both my aesthetic requirements and my heat demand.

The UK supplier for Kronoterm was a company called Solaris Energy, based in Canterbury. I was introduced to Dan Large, one of the directors. I had a call with Dan, and we chatted through my project. I outlined my desire to do as much of the work as possible, whilst still getting the BUS grant. Dan really knew what he was talking about and after two chats, I was happy to proceed. As the premier installer of Kronoterm heat pumps, I knew they’d be best placed too to ensure success!
The Mixergy Heat Pump Kit
Despite being “heat pump ready”, my Mixergy required additional hardware in order to work with a heat pump. This kit included a control unit, a pump and a plate exchange.
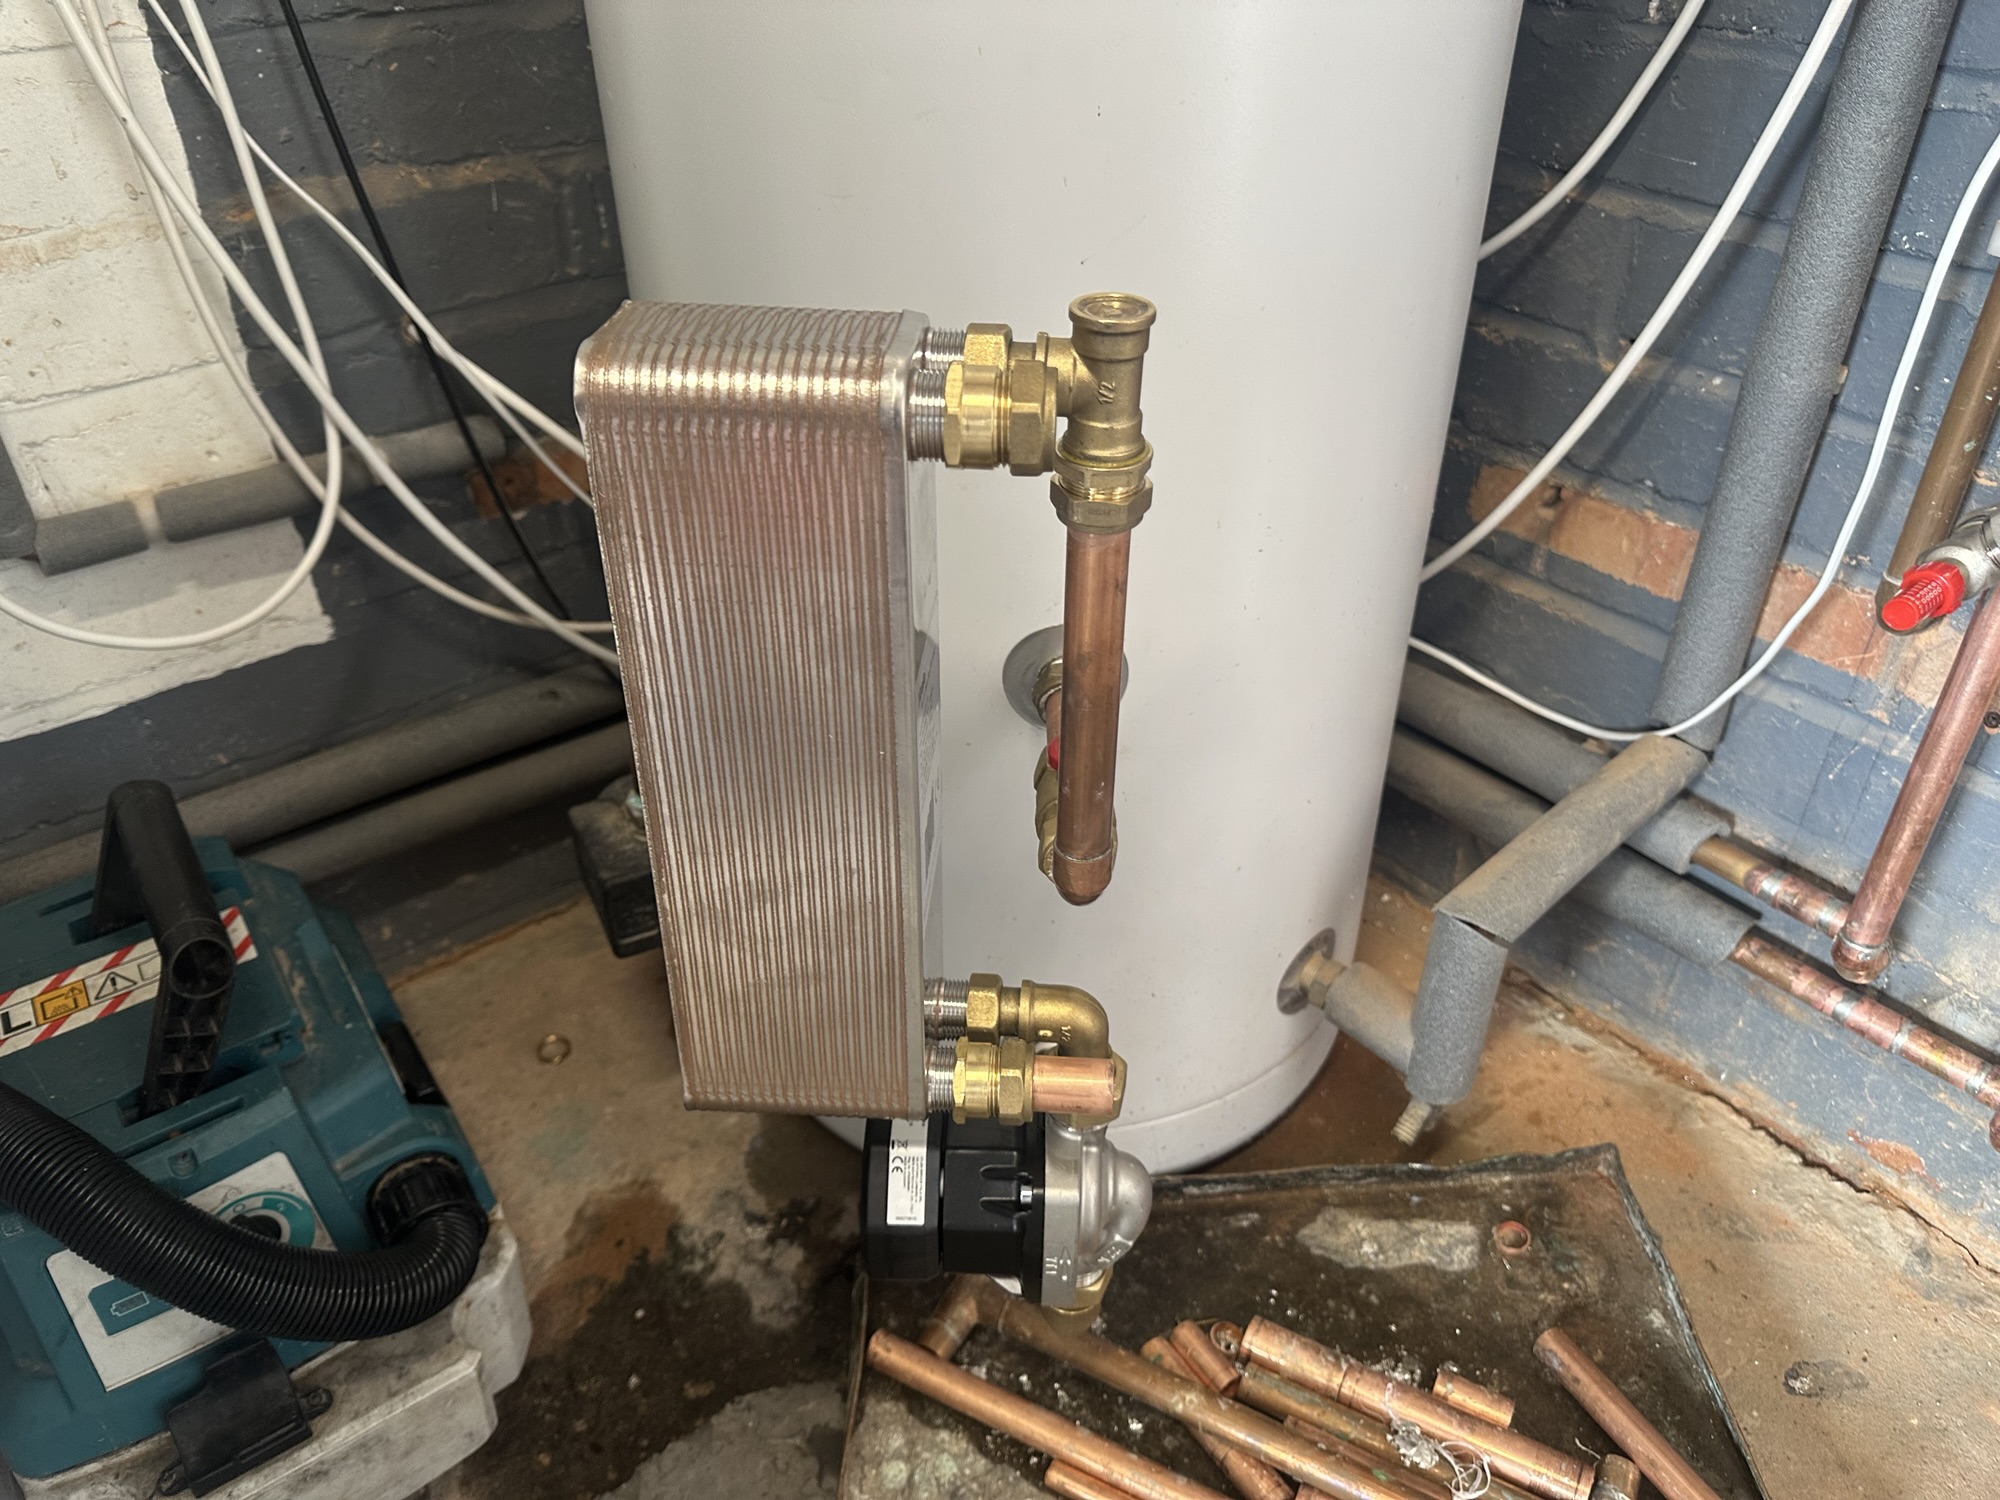
The cost for the kit is around £500. I knew from chatting to fellow Mixergy owner Mick Wall that I’d need this kit. I just didn’t realise how expensive it was!
The quote
Because I was doing some of the work myself (and I’m not swimming in free time or money), I wanted to pay in phased payments to give me some flexibility. I could do some work, pay a chunk, take a delivery of some equipment, pay a chunk, etc. Solaris were very accommodating! The initial quote they sent was ~£16,200. It covered:
- Design and project management
- Insulated pipes
- Plant room equipment (heat pump etc)
- Installation
- Commissioning
This was based on the assumption that all ground works and electrics would be done on arrival. These would be done with a mix of DIY and professional work.
These prices also excluded VAT, a benefit of renewables at the moment.
Thankfully, Solaris are MCS registered, so I would be eligible for the Boiler Upgrade Scheme (BUS) grant of £7,500.
With the grant, the heat pump installation would cost me £8,700 + electrician + groundworks.
This quote made me raise an eyebrow. It was more than I expected. My back of the envelope calculations had me spending around £5000. After discussing the quote with the Dan, he suggested getting somebody local to do the plumbing work. My quote was high because getting a team from Kent to the West Midlands required a lot of travel and overnight accommodation. There is also opportunity cost to consider too!
To ensure I remained eligible for the grant, the 3rd party installer would act as a sub-contractor to Solaris. This also had the upshot of their work being VAT exempt too!
The local installers
Luckily, one of the school dads is a plumber and he came over to quote the job. I explained how they would work as a sub-contractor to my main installer and he agreed. They provided me a quote which was just under ~£2000. Because of how the work would be carried out, their quote included the Mixergy adapter kit, expansion vessel *and* the removal of the boiler!
Once everything was arranged, Solaris updated their quote, bringing it down to ~£13,800!!
The other local tradesperson I needed was an electrician. I phoned around and got a few quotes. In addition to the connection of the heat pump supply, I wanted a new connection for garden sockets and a new heat alarm for the garage. In the end, this cost me £640 inc. VAT.
I should have arranged to have the electrician act as an MCS sub-contractor in order to save around £100. I didn’t and I put that down to laziness. I didn’t want to be chasing them for forms. £100 would have paid for sand and electrical bits.
The electrics
Aside from the connection to the garden, I had arranged for an electrician to come and wire in the control unit too. Unfortunately, they let me down at the last minute, so I had to step in finish the job myself.
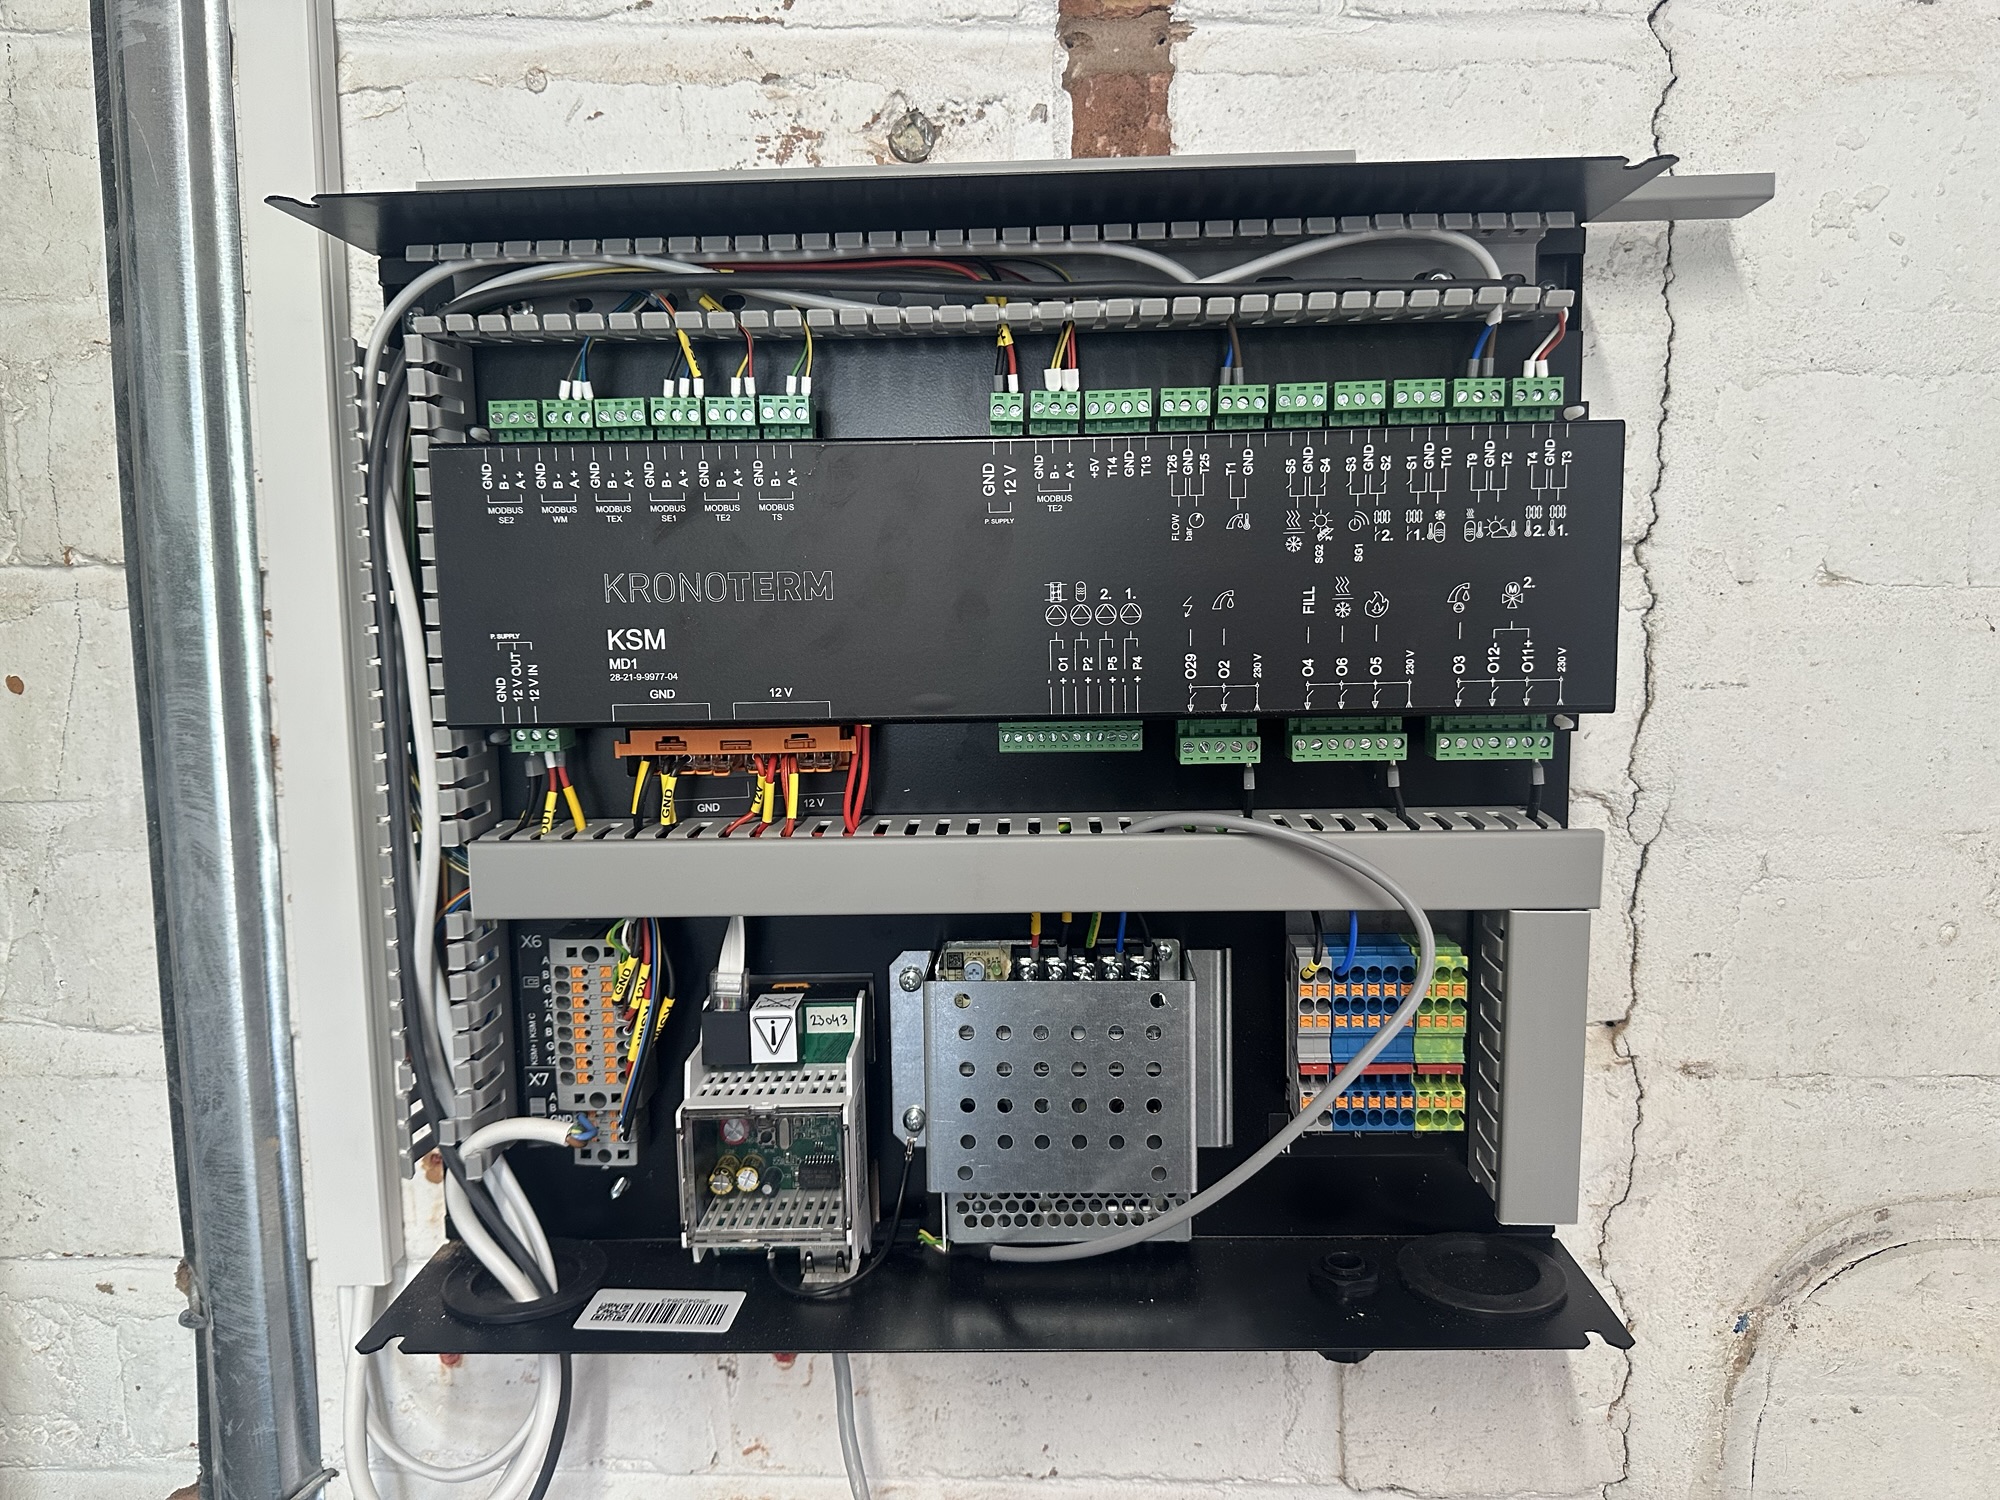
This was mostly just power, sensors and ethernet. I took my time, triple checking everything as I went.
I’m not sure how much I saved doing this, but the electrician who did the fuseboard wiring charged £90 an hour, so I might have saved a few hundred quid! We’ll never know.
Other odds and ends
Beyond the contractors, I had a few more expenses.
I needed to buy the two SWA cables, power and control, for the heat pump. This was about £120 (inc. VAT). I bought a *nice* isolator for the heat pump. That was £54.
For the heat pump base, I needed 22 bags of ready-mix concrete, a damp proof liner and 6 bags of type 1 MOT. I also spent £20 on “concrete and screed fibres”. This came £304.20 (inc. VAT). I was lucky to be able to borrow a cement mixer (saving me £100). Thanks, Pritesh!
I also spent around ~£40 buying bags of sand for the buried pipes and cables.
The electrical bits, a fused switch and various two and three core cables for the control unit, sensors and Mixergy HP interface ran me another ~£50 and two trips to Screwfix.
I also upgraded the radiator in the bathroom. The pitiful towel radiator was too weak to heat the room with a high flow temperature, never mind a low one! A replacement radiator cost another £263 (including valves). It was more expensive as I needed quite a powerful one for the available space. You can watch a video all about my cold bathroom if you want to know more.

It will output ~600W at 45 flow°, which is almost enough. I could have gotten something to meet the full demand of the room, but the cost just got very high. I had to be pragmatic.
The last thing to account for isn’t directly heat pump related, but it is trench related
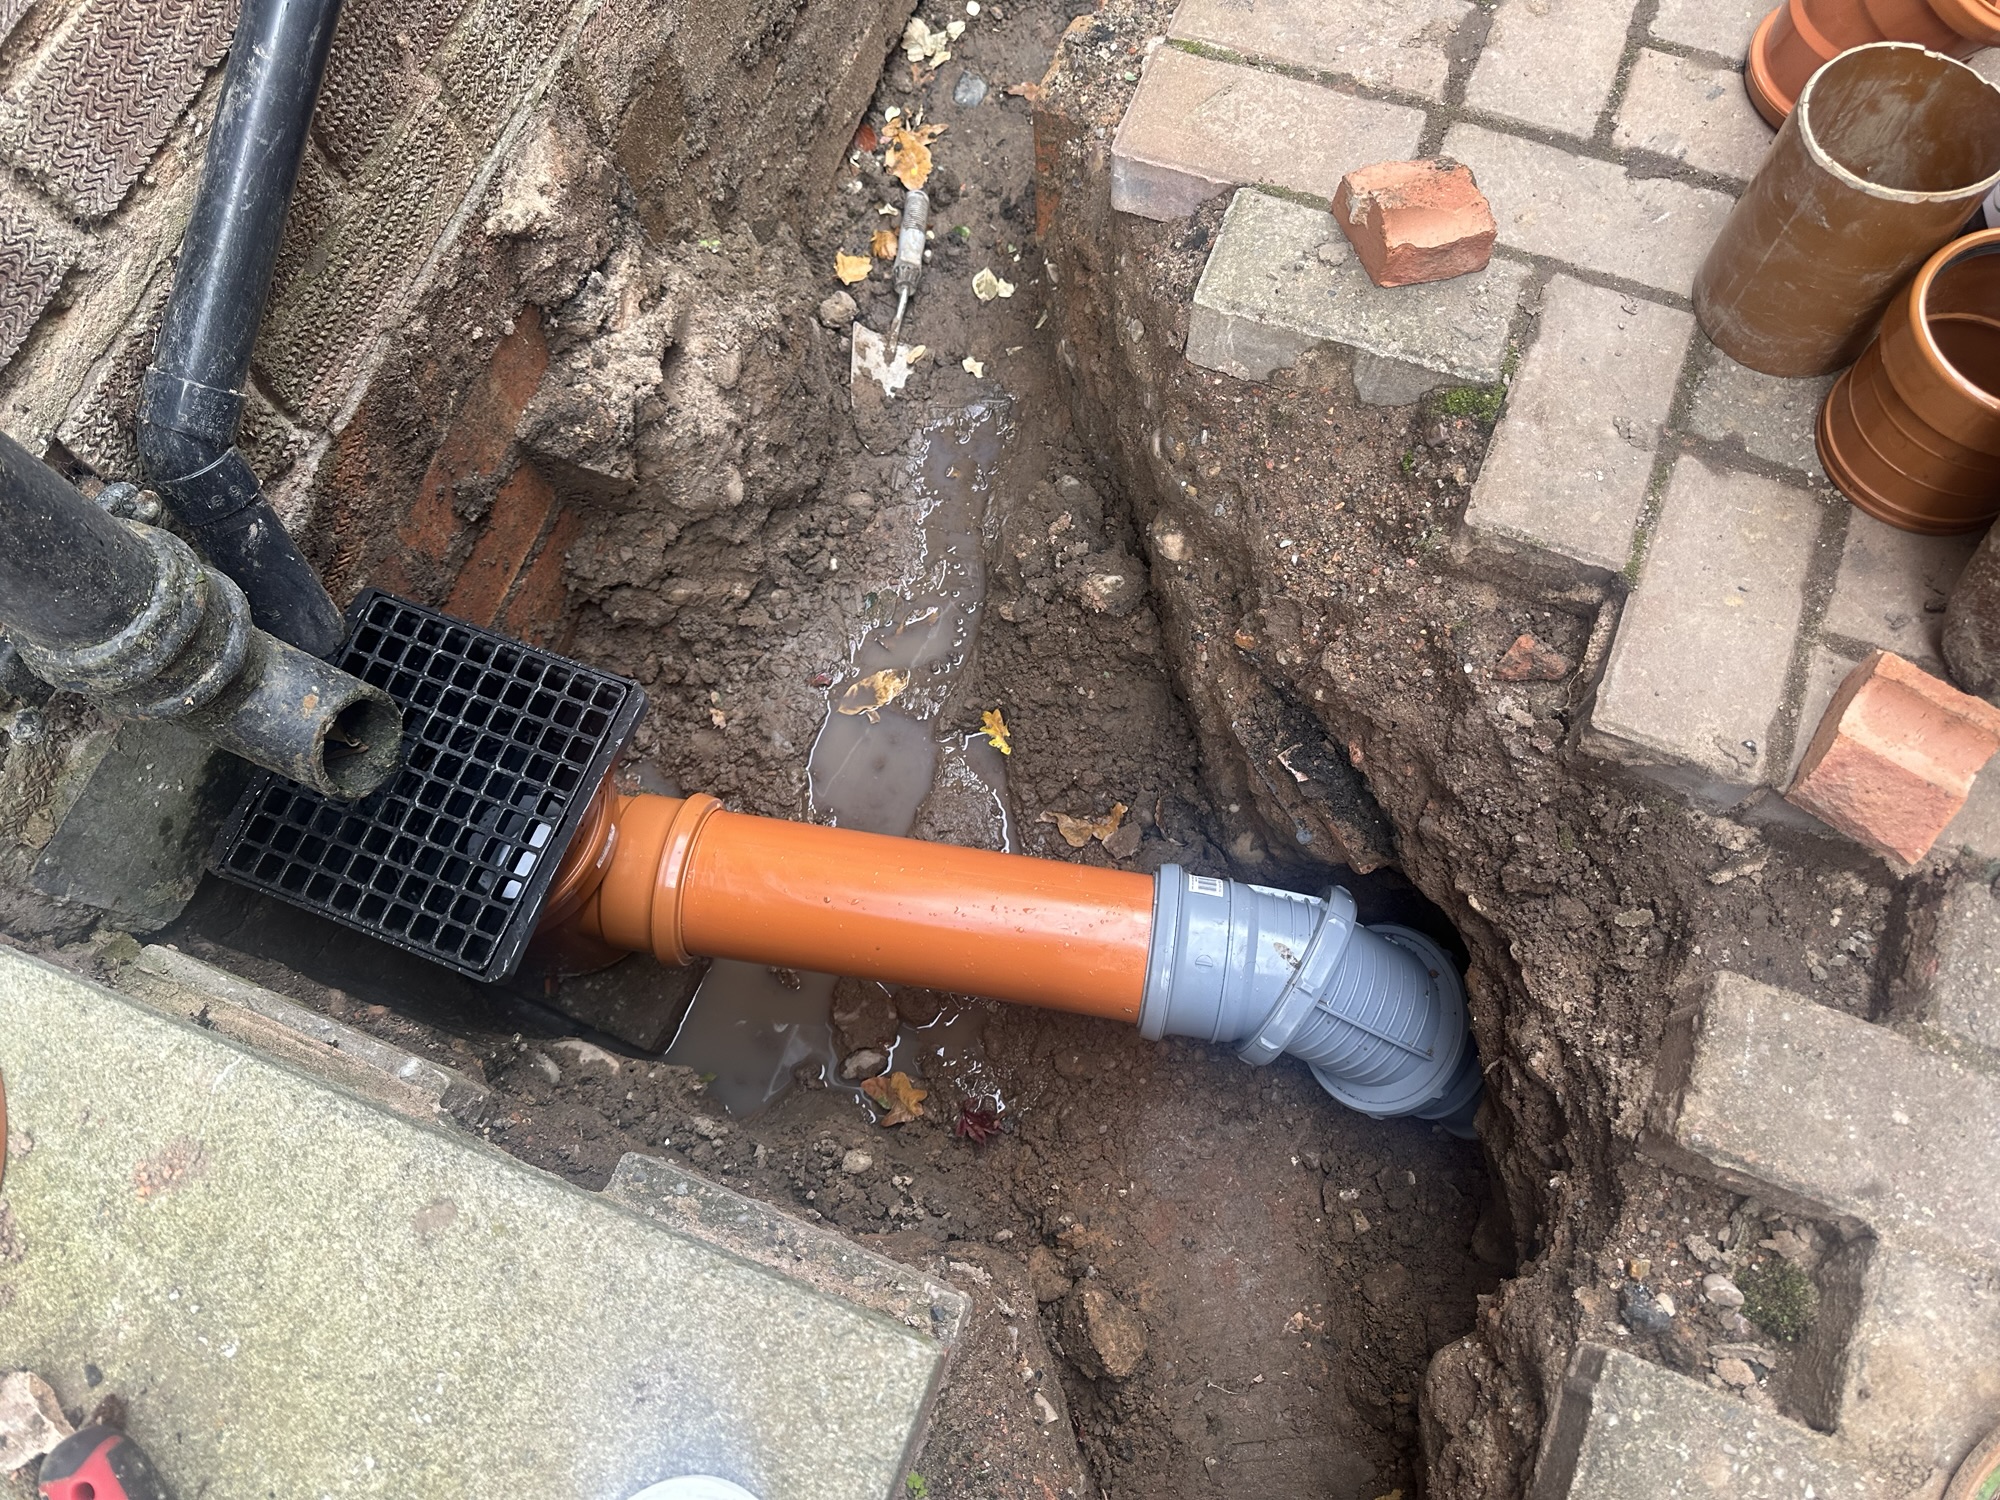
During the course of digging the trench I broke not one, but two pipes! This involved a trip to Selco to get some bits. A new drain, a length of 110mm pipe, some bends, some silicone grease and a set of new hacksaw blades set me back £110.
A juicy refund!
Once I received the initial design, I paid the first instalment. Next, the insulated pipes were delivered, and I expected to pay the 2nd instalment. Unfortunately, due to a misunderstanding, the third payment was invoiced! This was unexpected, and a little annoying as it was the largest amount. That said, the upside was that my heat pump was secured.
Shortly after I made the 2nd payment, the BUS grant rules changed.
Before the change, the homeowner was expected to pay the full amount and, once the heat pump was installed, the grant money would be paid to the homeowner. As this put more financial pressure on the homeowner (they needed the additional £7,500 on hand), the rules were changed in April 2026.
With the change, the grant amount was assumed and the burden taken by the installer. Good for the homeowner. In some cases, they wouldn’t need to spend anything if the grant covered all the work. I feel this was a sensible move by the government as it meant those without £7,500 to hand could still benefit.
For me, it meant I was entitled to a refund of the difference from Solaris, which was very welcome as that money was used to pay the electrician!
The final cost
The electrician and materials came to about £1,360. Adding that to the Solaris quote meant the total was £15,000.
So, accounting for the grant, I paid a little over £7,500 for my heat pump.
Let’s also compare it to the original quote of £16,200. Adding on the £1,360 for the electrician and materials. gives us a total of £17,500.
That means using my local plumber saved me around £2,400, which is a large chunk of change!
If I had been more careful with that pickaxe, it would have been an even £2,400!
DIY and the time cost
Whilst we always talk about money saved due to DIY, we never talk about the time and effort involved.
Digging that trench was one of the hardest things I’ve ever done, both physically and mentally. Mud, rain, sweat, broken pipes and exhausted muscles. Fixing those broken pipes nearly broke me!
I spent 6 weekends across September and October digging the trench before putting it on hold and then another 6 weekends across March, April and May finishing the trench, burying the pipe and getting the paving back down.
Another two weekends were spent finishing the base and casting the concrete.
I then spent almost 2 days getting all the electrics mounted and wired in. That work is slow when you don’t have all the materials to hand. I was on a first-name basis with the staff in Screwfix by this time 🤣
I have no idea how much money I saved by doing all this DIY. A professional manual labourer
Worth it?
I felt a great sense of accomplishment when Alex switched on the heat pump for the first time and everything just *worked*. He complimented my electrics, which I really took to heart.
The ground works were enormously difficult, but I always feel better for doing physical labour. I have the privilege of it being a choice and it’s good to remind myself what *actual* work feels like.
I’m also off gas, which is a big milestone. That was the last fossil fuel we use directly, not counting the BBQ. As the climate situation worsens, I can look my kids in the eye and say I did what I could.
Economically, which is the next question people ask, it’s too early to tell 🤣 The weather is still too warm for the heat pump to be running.
Once I have done a winter with the heat pump, I’ll be able to do a direct comparison against my gas boiler. This is down to the fact I’ve been monitoring my boiler using Open Energy Monitor. The bathroom radiator is the only change to the house that I’ll have to account for.
I’ll do a full write up on the pump’s performance in March or April 2027.
Let me start wrapping up by saying thank you to Dan Large and his team. From Billy answering all my questions about the design to Fran and Colleen sorting invoices, deliveries and dealing with my plumber. Finally, Alex, who came to commission the heat pump, patiently answered all my questions and showed me all the working of the Kronoterm. I would recommend Solaris Energy in a heartbeat.
Finally, a big thanks to my wife, who’s now an expert concrete mixer! She helped me dig the trench and she mixed all the concrete for the base. Honestly, without her calm head and support, I probably would have thrown in the towel when I couldn’t get that stupid coupler onto the new storm pipe!
If you’re thinking of getting a heat pump, I’m happy to answer any questions. Just use the comments below.
Did you enjoy this post?
If you found this blog post useful and want to say thanks, you’re welcome to buy me a coffee.
Be sure to check out my YouTube Channel too – https://youtube.com/tomasmcguinness
Thanks,
Tom!


Leave a Reply