
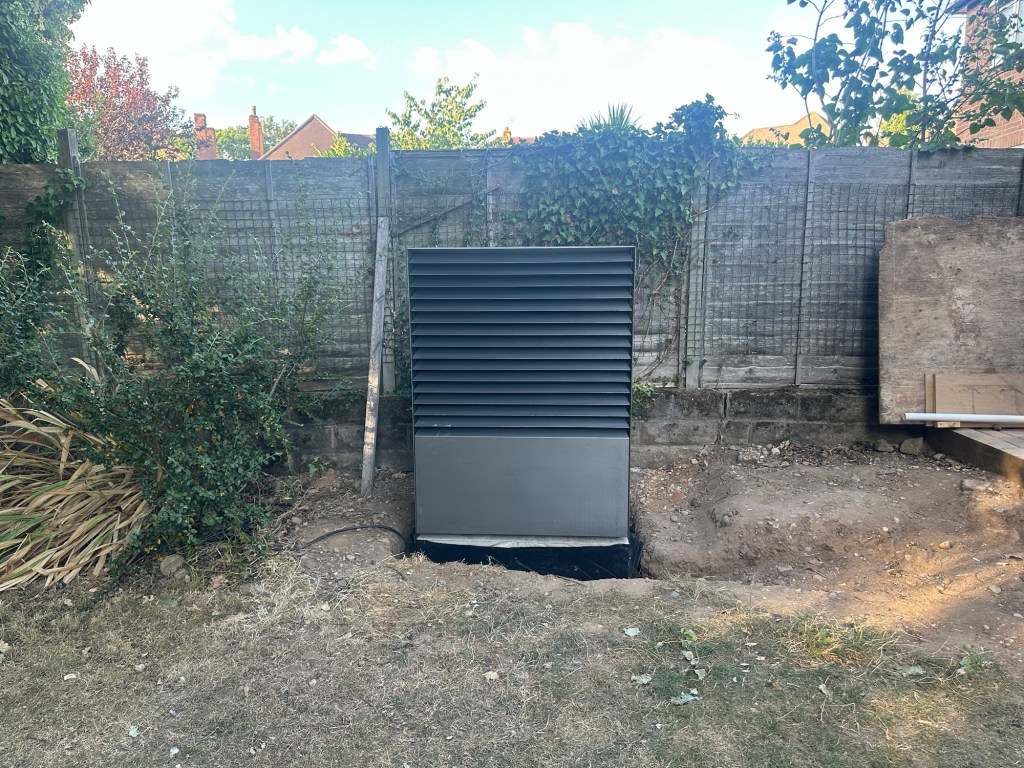
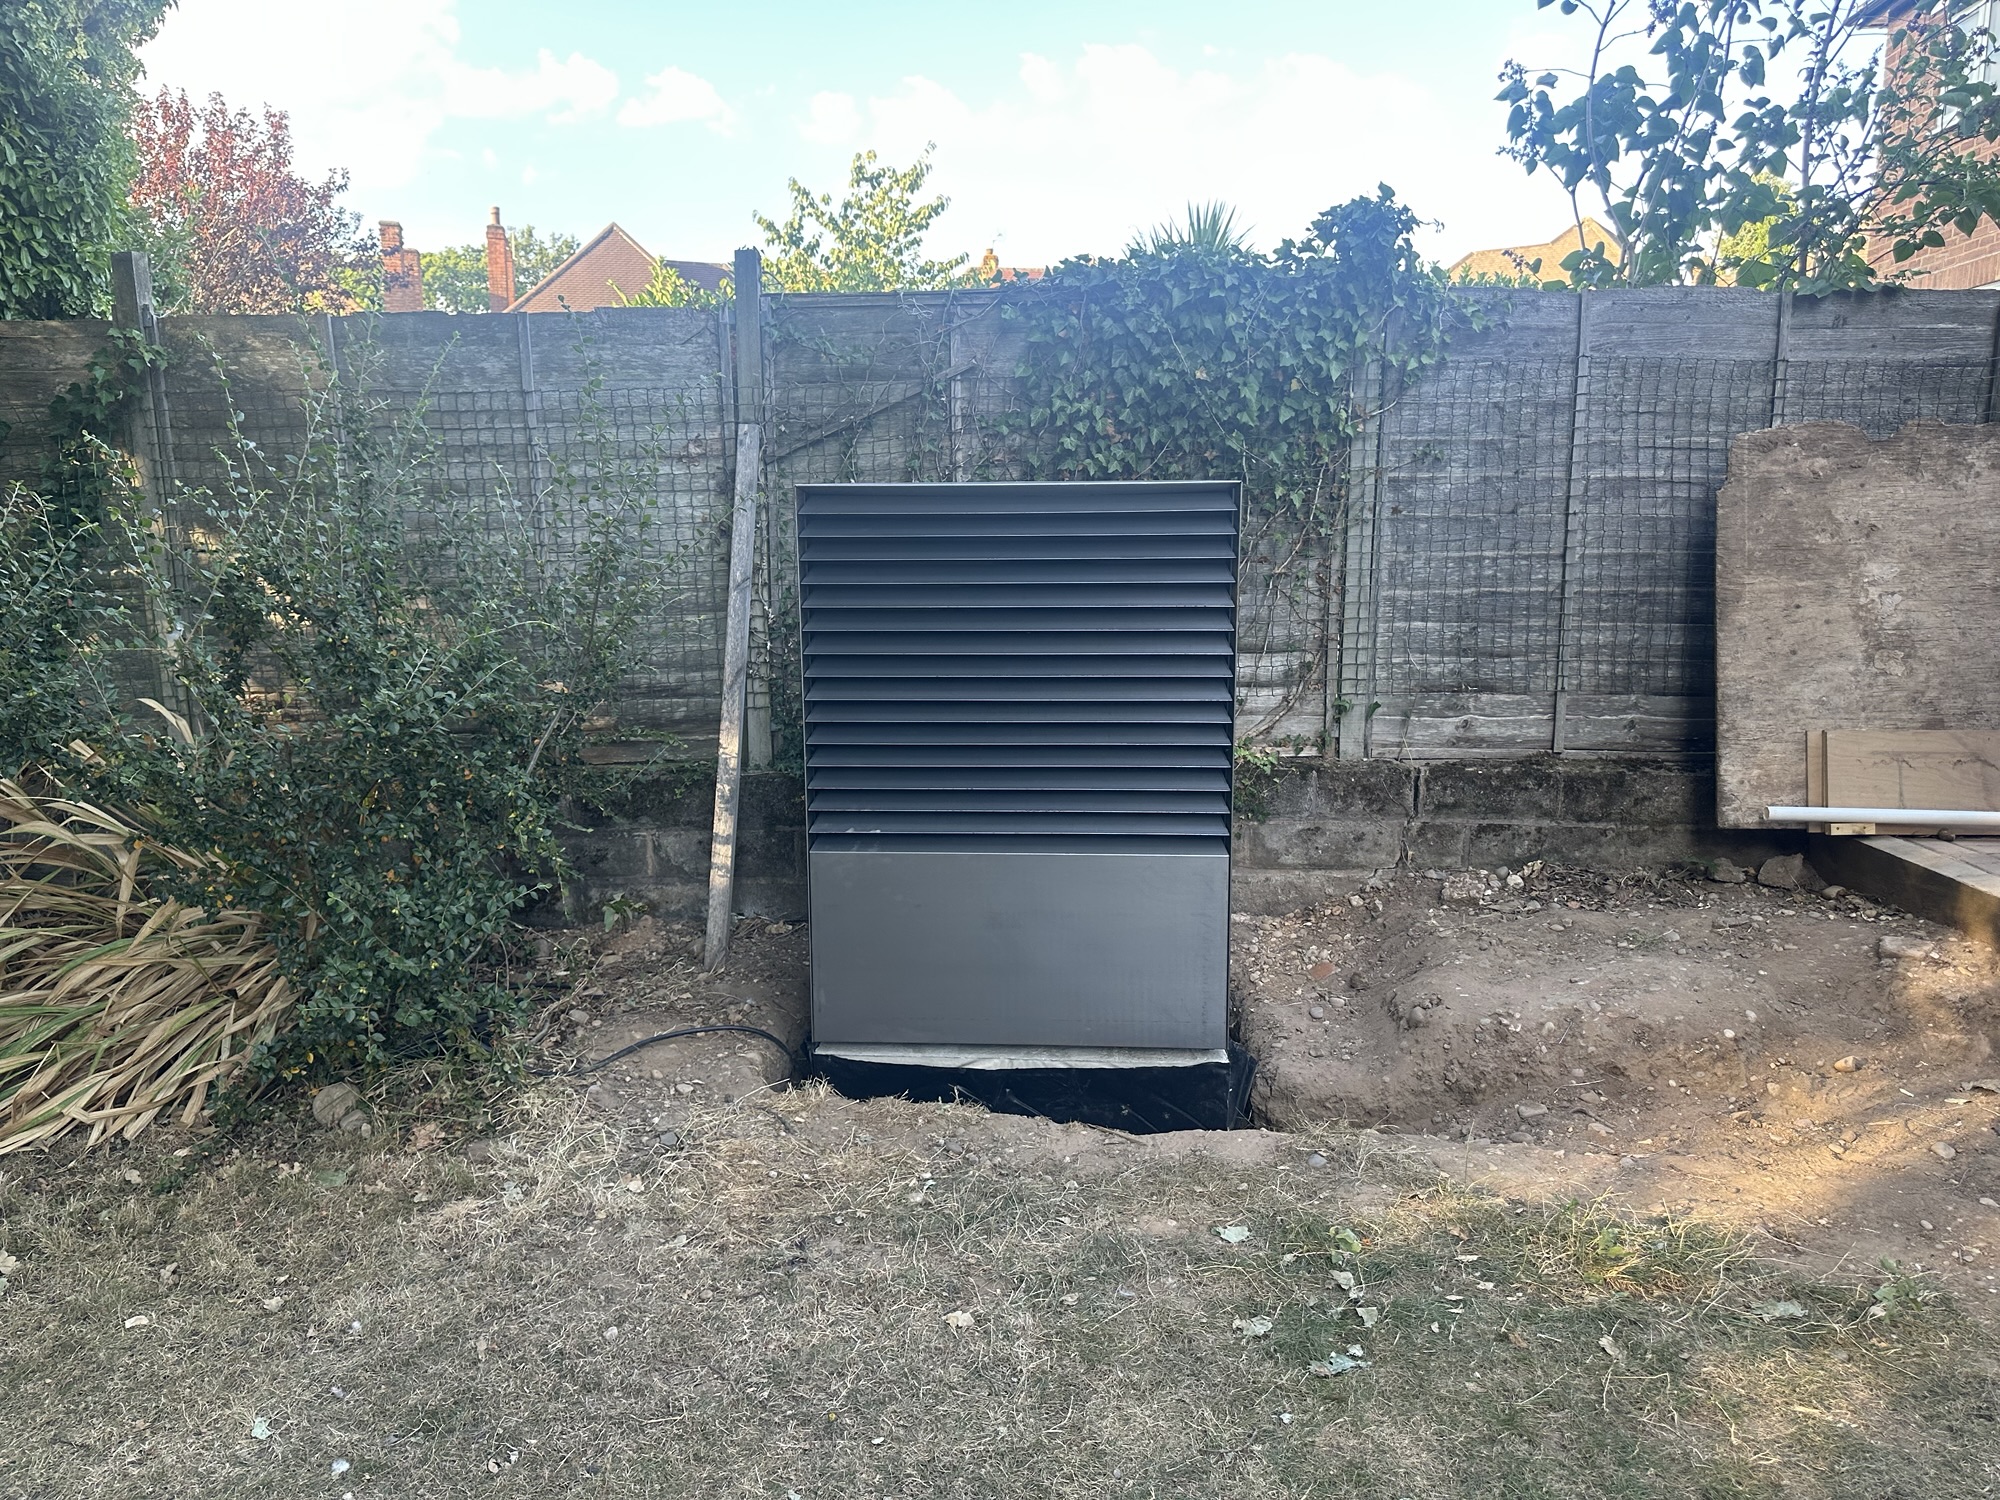
My Kronoterm Adapt ASHP is almost installed. In this post, I run through the (long) journey of getting to this point.
This post is part of a series. You can read the other posts here:
- My Heat Pump Installation – Part 2
- My Heat Pump Installation – Part 3
- My Heat Pump Installation – The Costs
Planning
I knew for a long time that I wanted to get an ASHP installed. When I move to the West Midlands back in 2021, I discussed the idea with my heating installer. We were renovating the house we had just bought, which was an ideal time. Unfortunately, I got the classic “this house is too old for a heat pump” excuse. I was under pressure to get the house ready for the family, so I settled for a gas boiler and some over sized radiators.
As it turned out, a heat pump would have been very difficult to install at the time, due to the boundary requirements. We couldn’t have situated it along our boundary, because that would have required planning permissions. We couldn’t have installed it along the back of the house as we were planning an extension. It was possible to get planning permission, but it required a lot of effort, including sound assessments, which aren’t cheap.
That all changed in 2025, when the rules changed. A heat pump could now be installed along the boundary. The sound limits remained, but they could be self assessed!
Choosing a Heat Pump
The choice of the Kronoterm Adapt came from a combination of things. I knew I didn’t want a white box sitting in the garden. Neither did my wife. This meant our choice would need to be something with some aesthetic flair. Most heat pumps were white, but black and grey versions were on the rise.
At the time I was working for Warmur and we were looking at the Kronoterm range as our Premium heat pump. My boss, Alex, suggested that their Corten steel finish might be ideal. It looked great and I knew it would blend into our garden better than something black or grey.
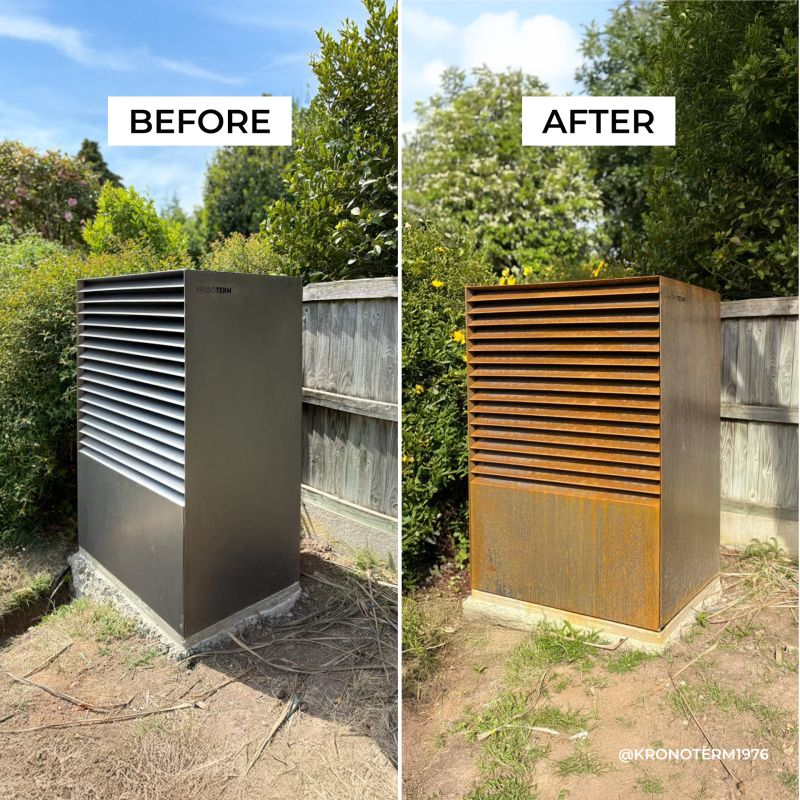
I had done my own heat loss calculations (both empirical and theoretical), so the Adapt 0312 would provide the power I required. The Adapt range also had another feature: no visible wiring or pipework. Most heat pumps have the hoses and electrical connections outside the unit, so they are visible. It’s usually tidy, but the stuff is visible.
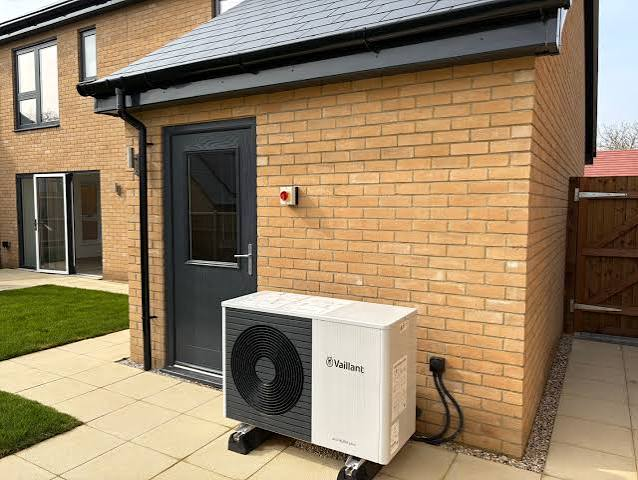
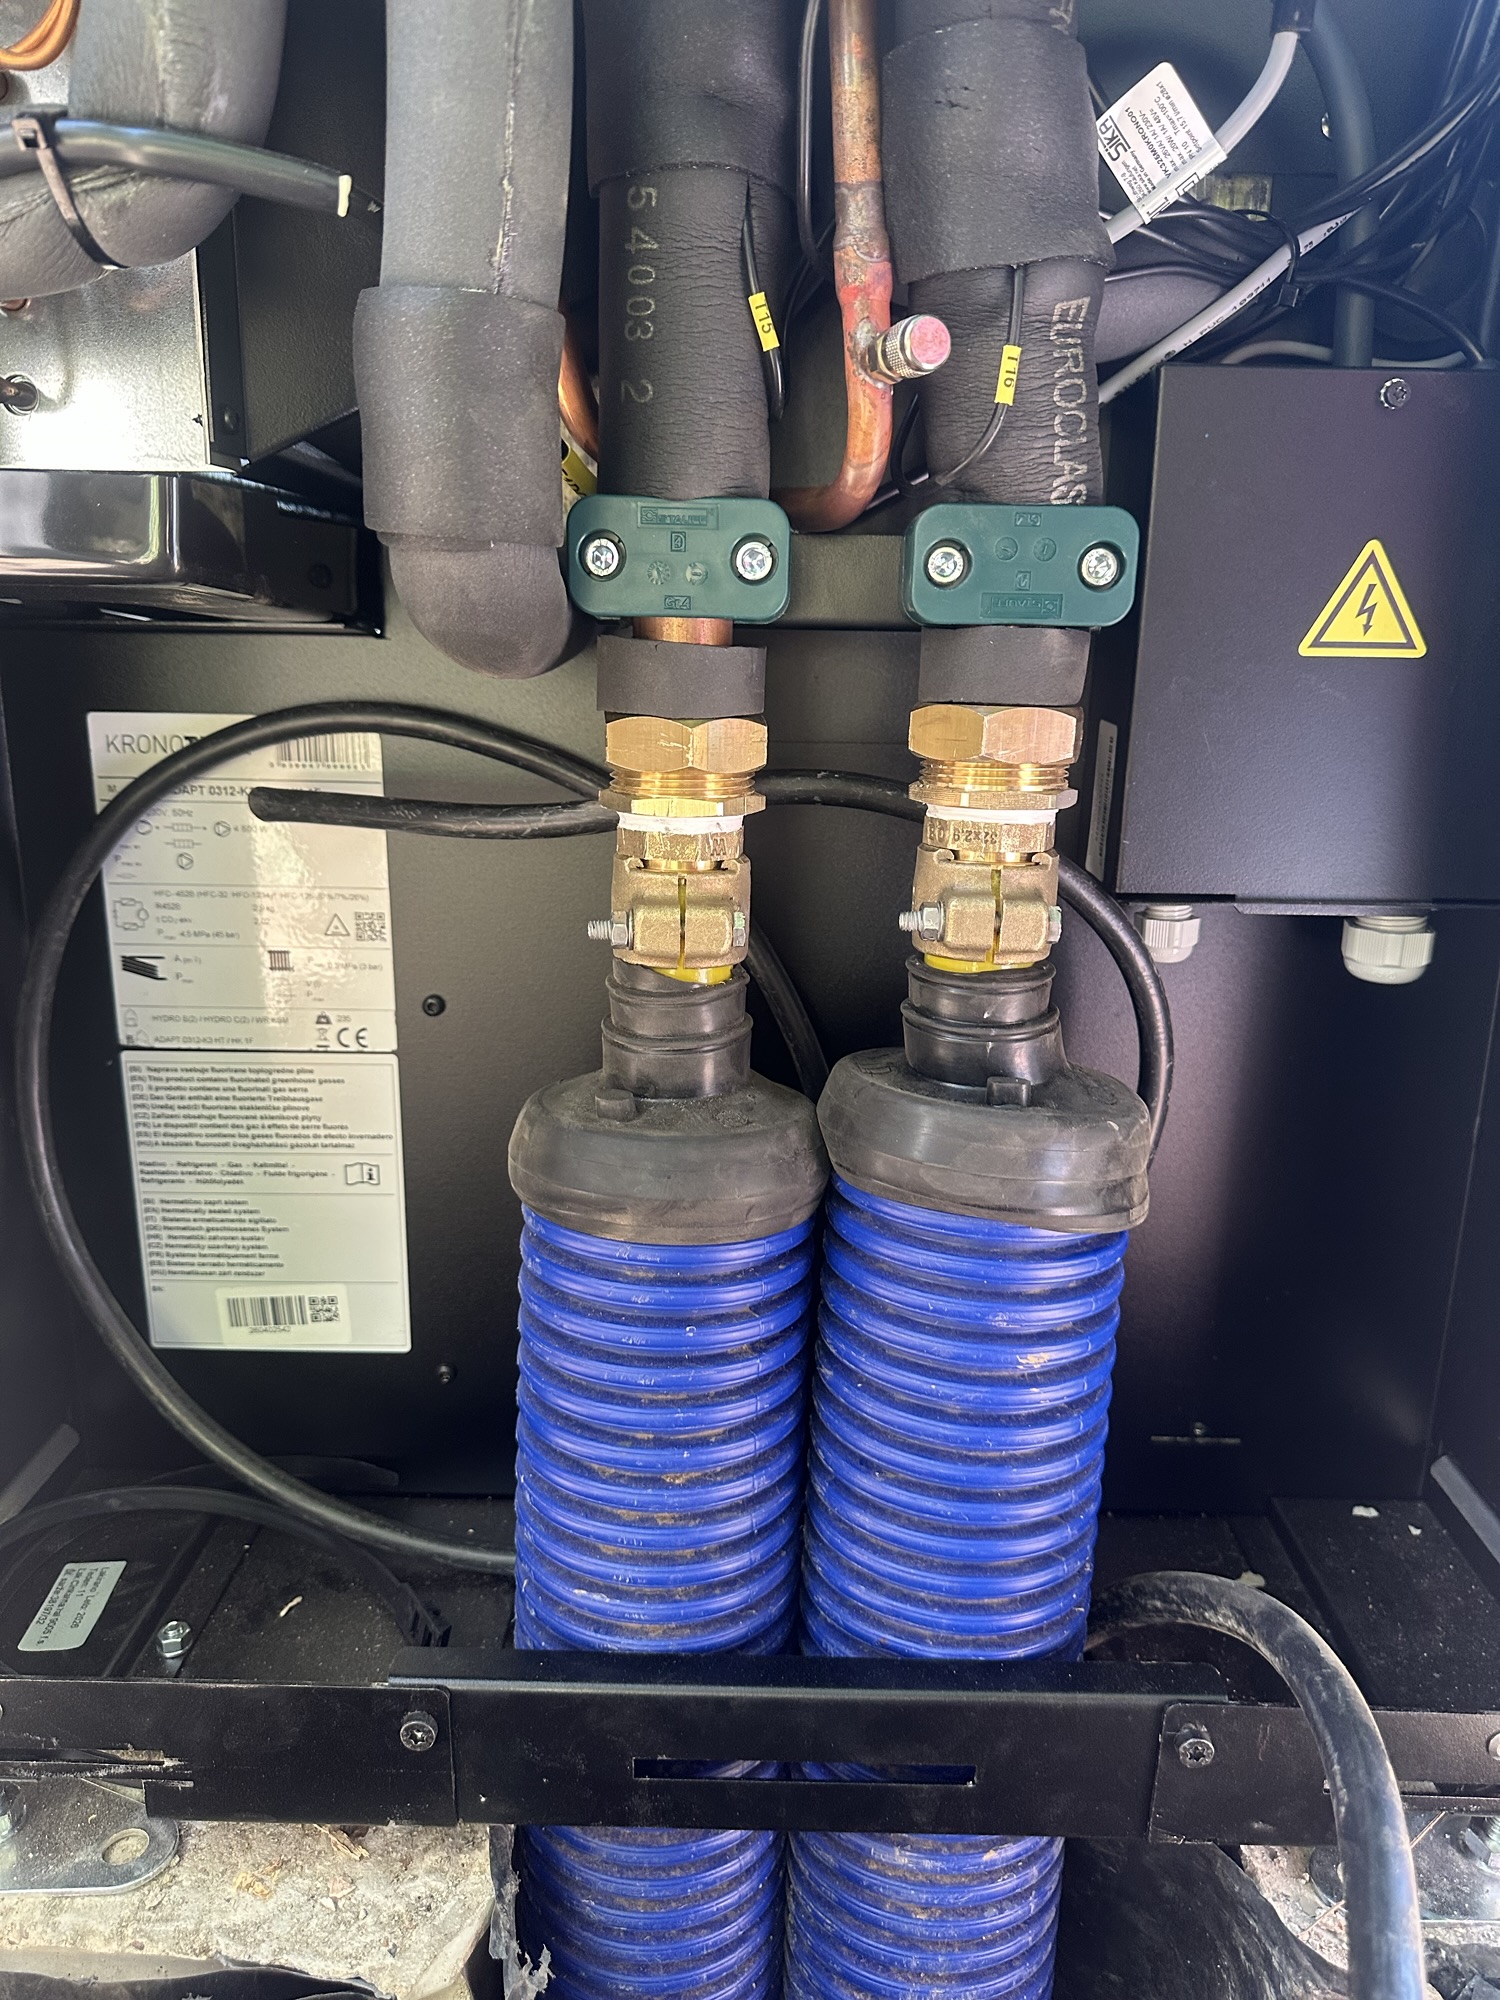
The Kronoterm range hides everything in the base, so it’s very neat and tidy.
Choosing the location
With the boundary restriction out of the way and the heat pump picked, I needed to choose the location. This decision was pretty easy, since the space requirements made it impossible to put it anywhere but the garden. Heat pumps need space in front and behind, so the side access alleys were too narrow.
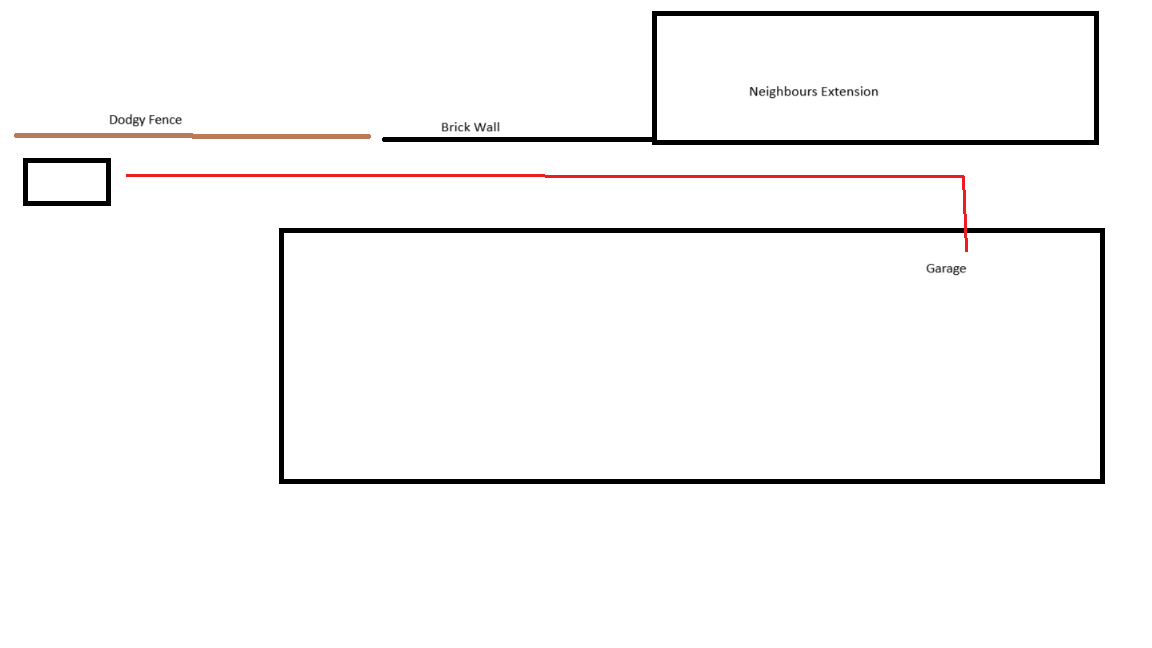
To get the water from the heat pump into the garage. I had two choices:
- Surface mount the pipes and run them along the outside wall
- Bury the pipes
Surface mounting just seemed impossible. Between the heat pump and the garage there were doors and steps and downpipes. There just didn’t seem to be a practical route. This left burying the pipes.
I knew from the recent renovation that the ground beneath our side access was a horrific mess of waste and water pipes, so it was going to be difficult. I was worried about getting down to the right depth, but I would have to make the best of the situation.
Plumbing changes
Whilst I had oversized some of the radiators, my installation needed some changes to accommodate the heat pump. Thankfully, this was pretty limited. Only 7 metres of pipe needed to replaced, going from 22mm to 28mm. The hot water tank needed a new plate heat exchanger and the pump from the UFH manifold needed ripping out.
That was it. All the existing pipework was sufficient!
Finances
No home improvement project is complete without some financial planning. I knew I wanted to do as much of the work as I could to save money. This included all the manual labour. With all the major components figured out, I got a quote from the Kronoterm distributor, down in Kent. They gave me a breakdown, and it was much higher than I had expected. The problem was distance. Installers coming from Kent to the West Midlands comes with overnight stays.
They suggested getting somebody local to do the *actual* plumbing work. I chatted it over with one of the school dads (who is a plumber) and we came to an arrangement. They would act as an MCS subcontractor and do the work. This was almost 50% cheaper! I probably could have done some of the plumbing myself, but I also needed my boiler to be removed, so getting the pros in made sense.
I was also eligible for the £7,500 heat pump grant. That’s a pretty large chunk of change. I knew that would cover the heat pump, the controller and some over bits and bobs. The rest I would pay for myself.
A working plan
With the location, heat pump and finances worked out I came up with a workable plan.
- I would do all the ground works like digging the trench, burying the pipes and building the base.
- The main installer provided the design and handled all the grant paperwork.
- My local installer would connect the heat pump and upgrade the pipe work.
- A local electrician to wire in the new supply and the heat pump controls.
- The main installer would commission the heat pump once everything was done.
The primary installer agreed a staged payment plan, to account for the delivery of the equipment as I needed it.
September – November 2025
First step was the trench.
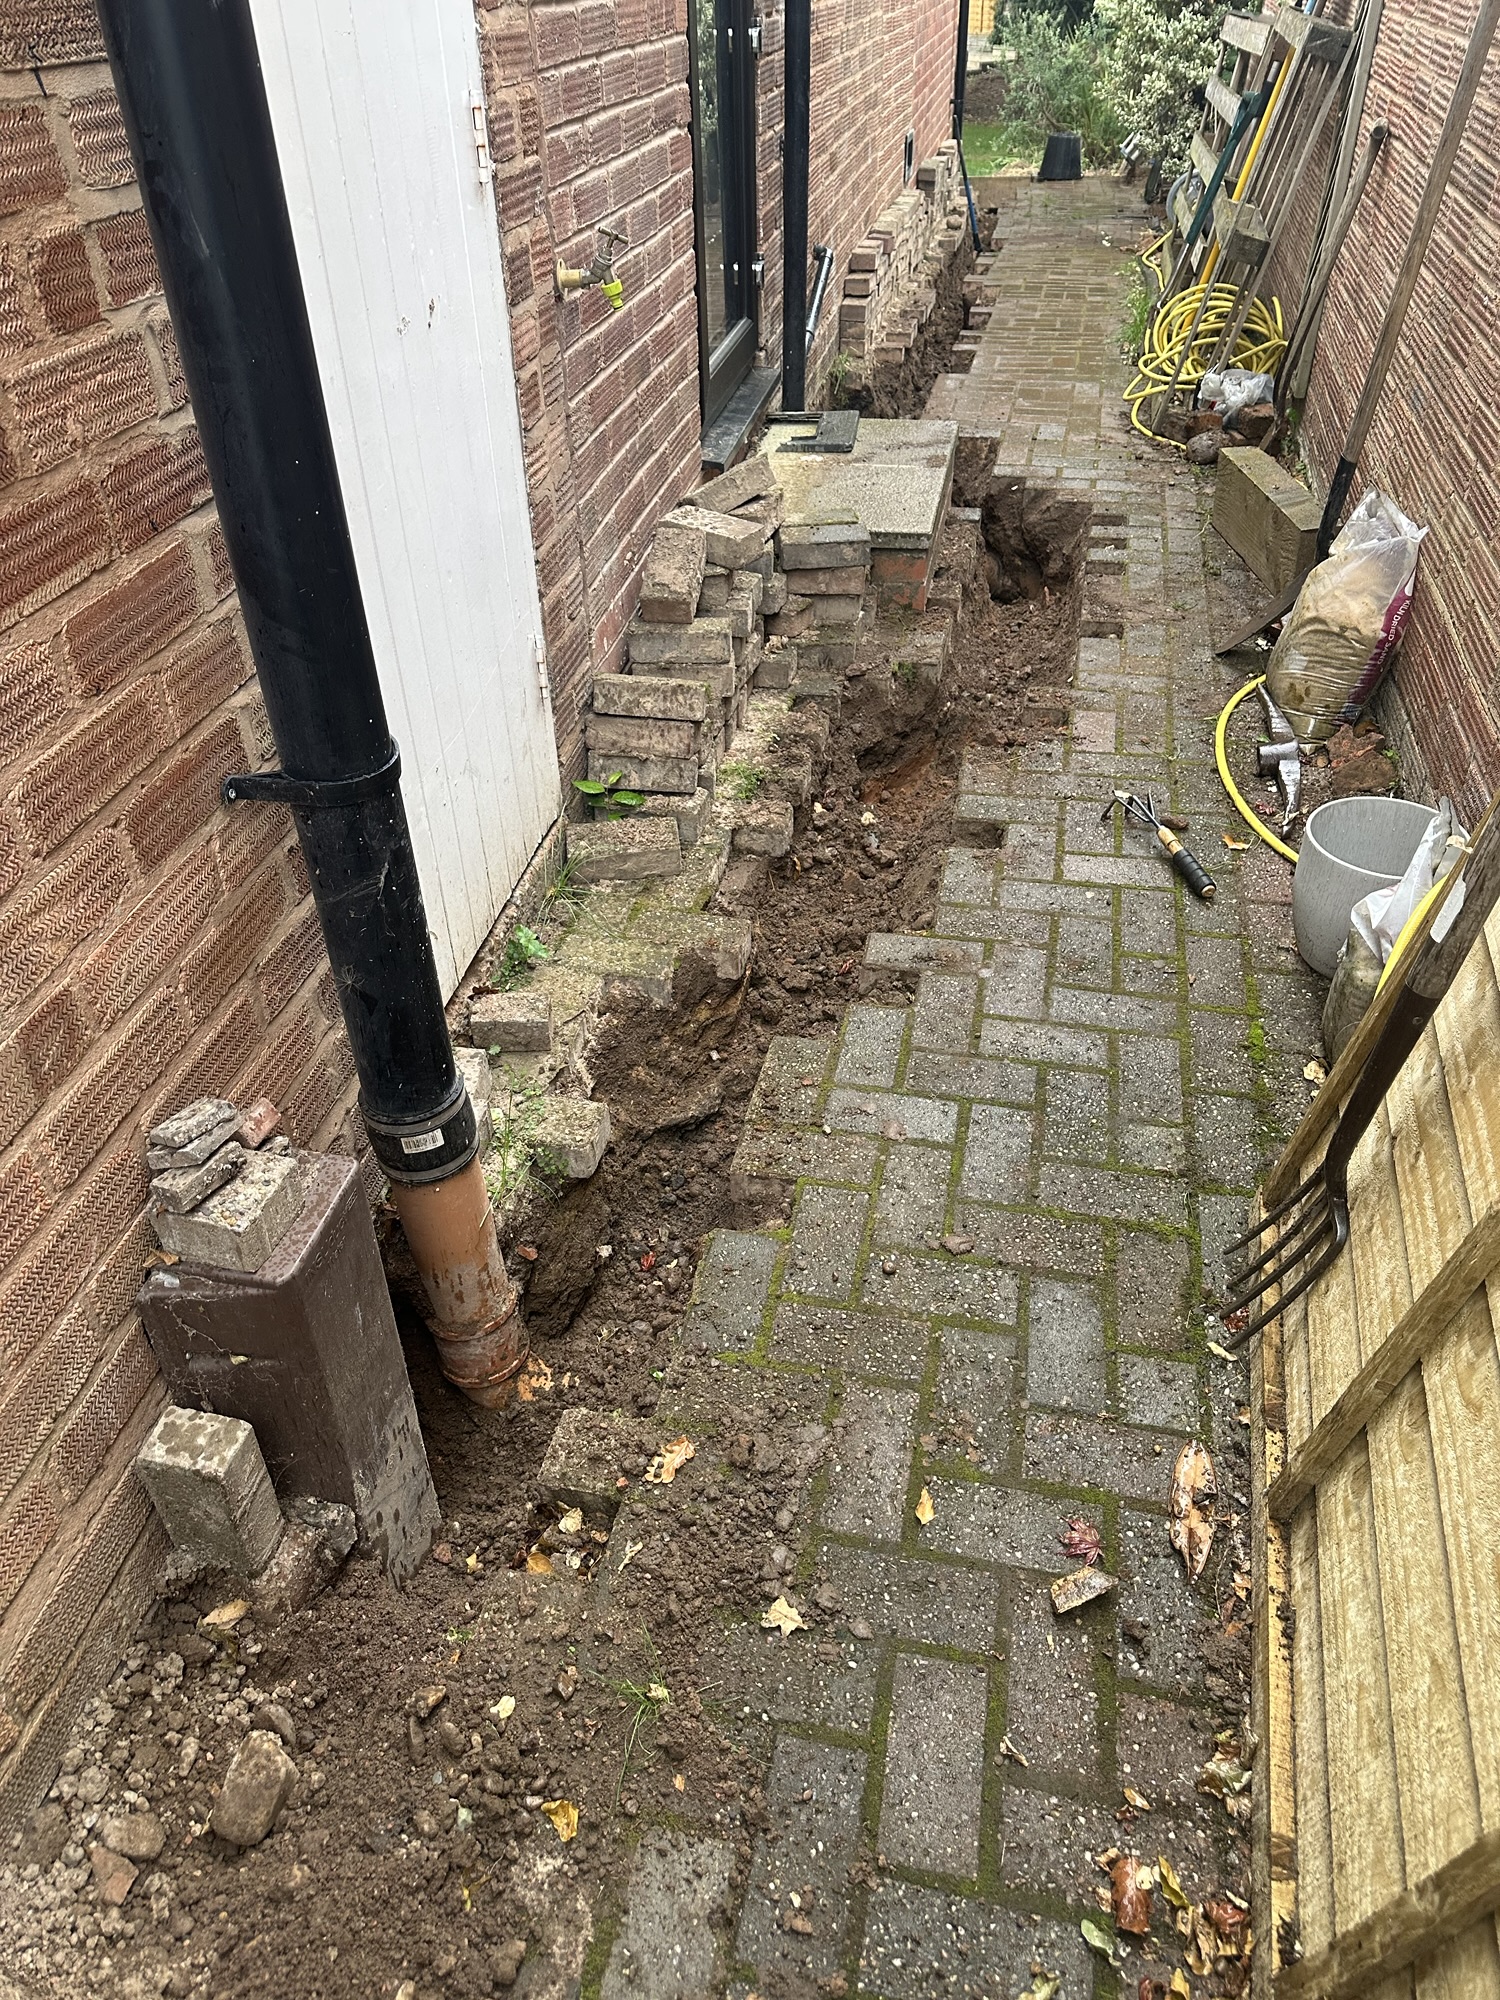
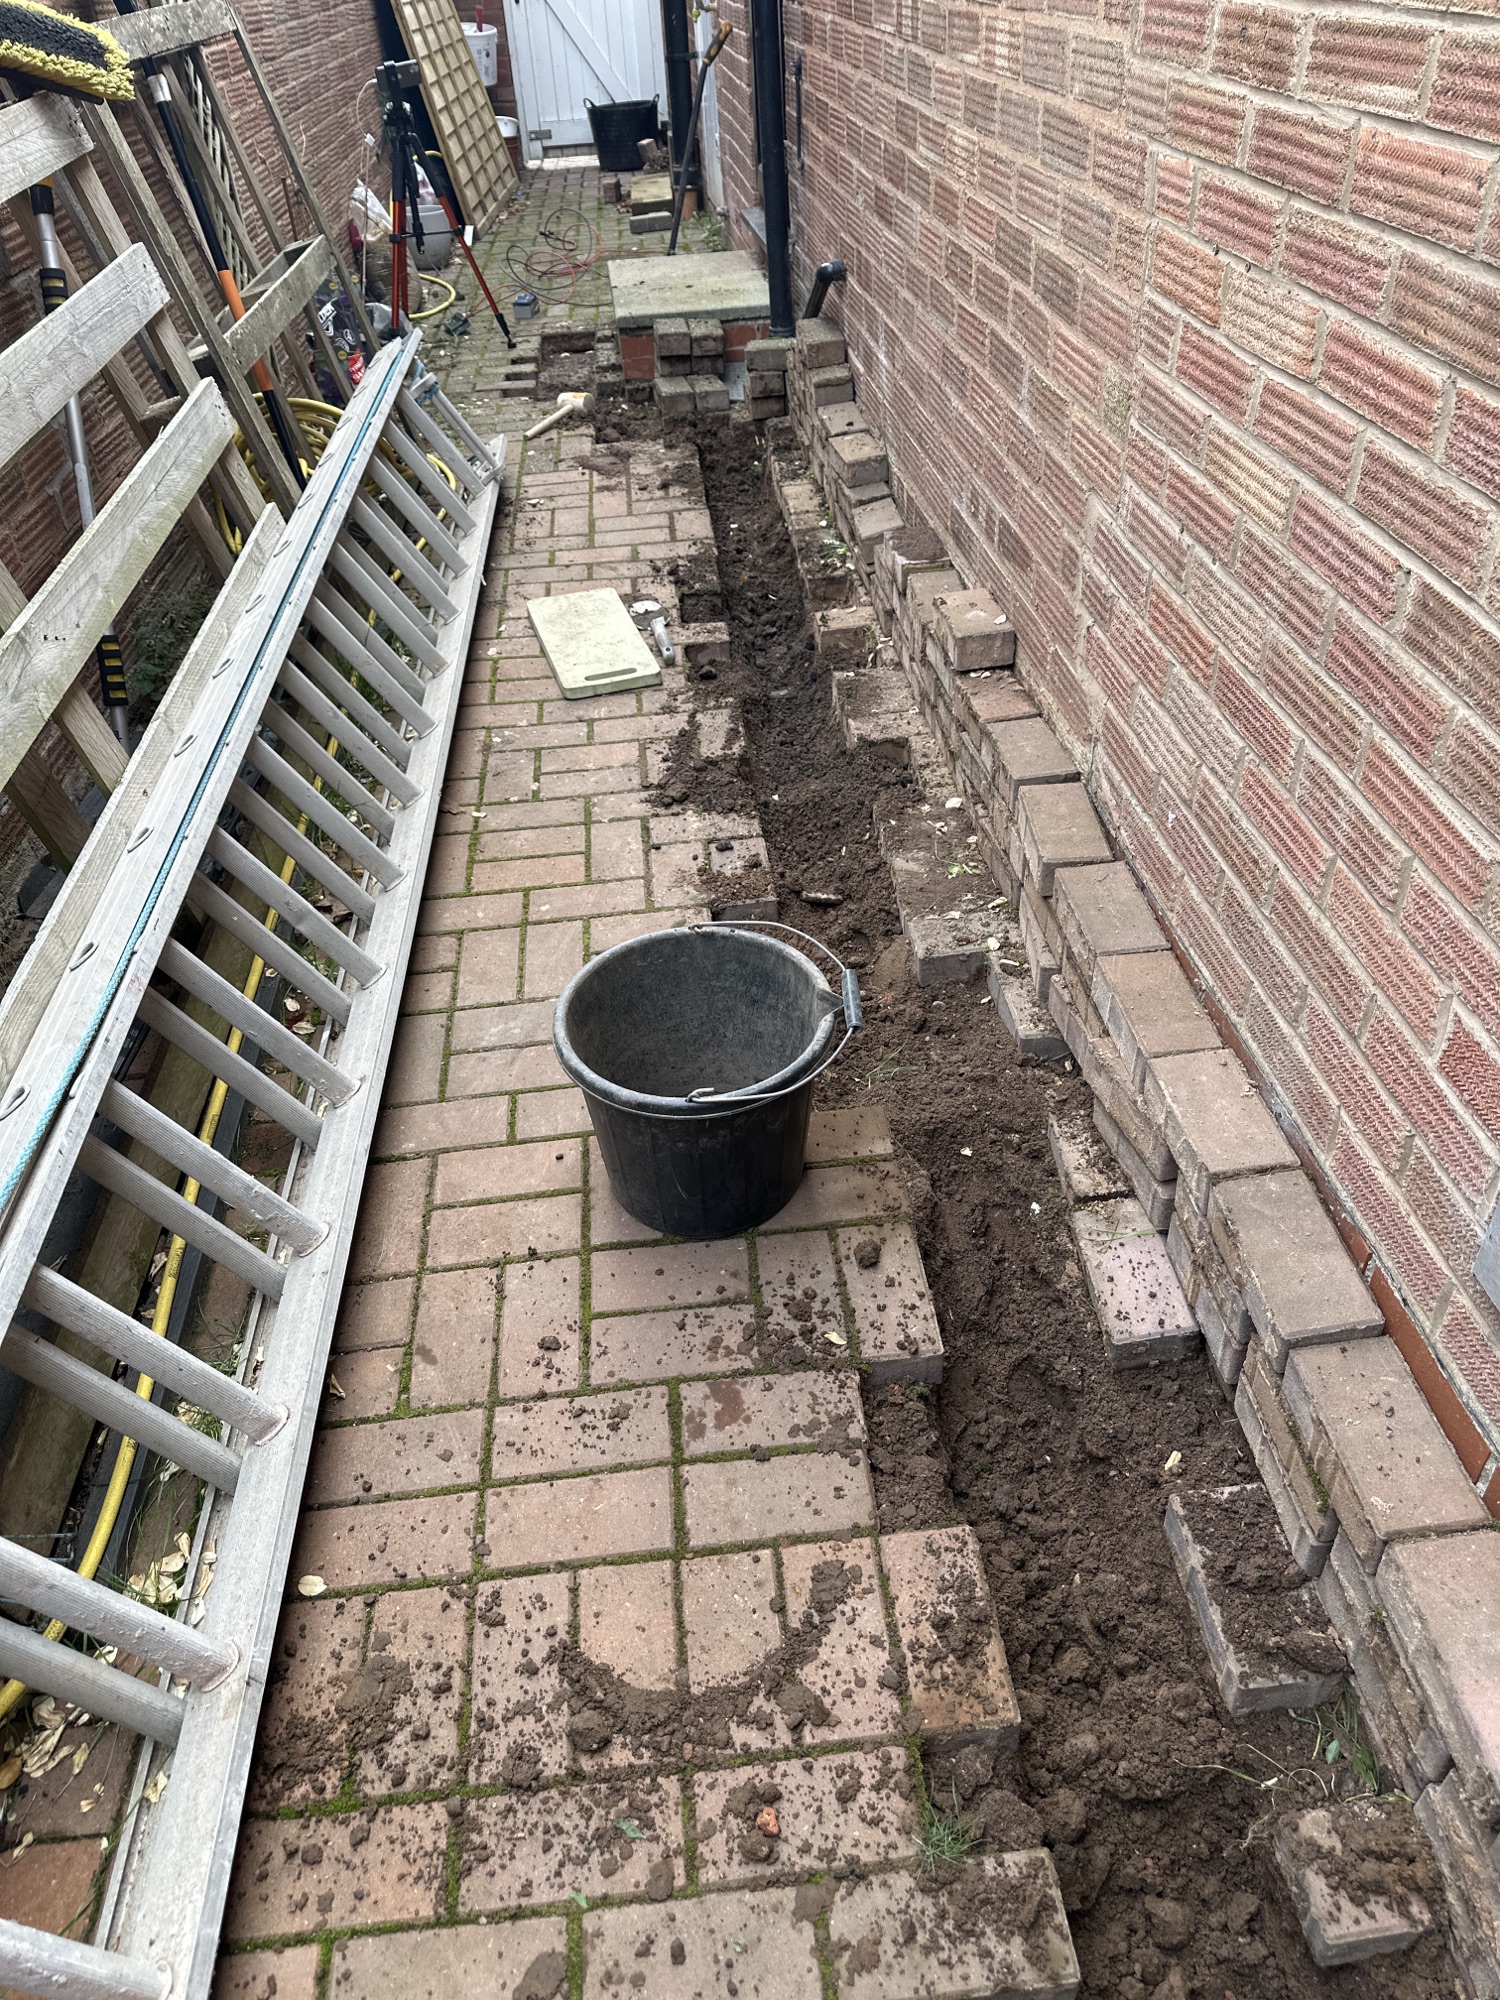
I lifted some of the block paving to get an idea of the path the pipes would take. The ground was pretty soft, which was a welcome discovery. Over a lot of weekends, I dug the trench. I got down to 500mm depth in places, but the existing waste pipes made life very difficult.
The first problem I encountered (caused??) was an old clay pipe. Even thought I knew it was there and I was careful, I still think I cracked it (it might have been cracked already). As I tried to work out a way to repair it, I discovered that the rubber collar was leaking anyway. The ground around the pipe was soaked, so I guessed this pipe had been leaking for a long time.
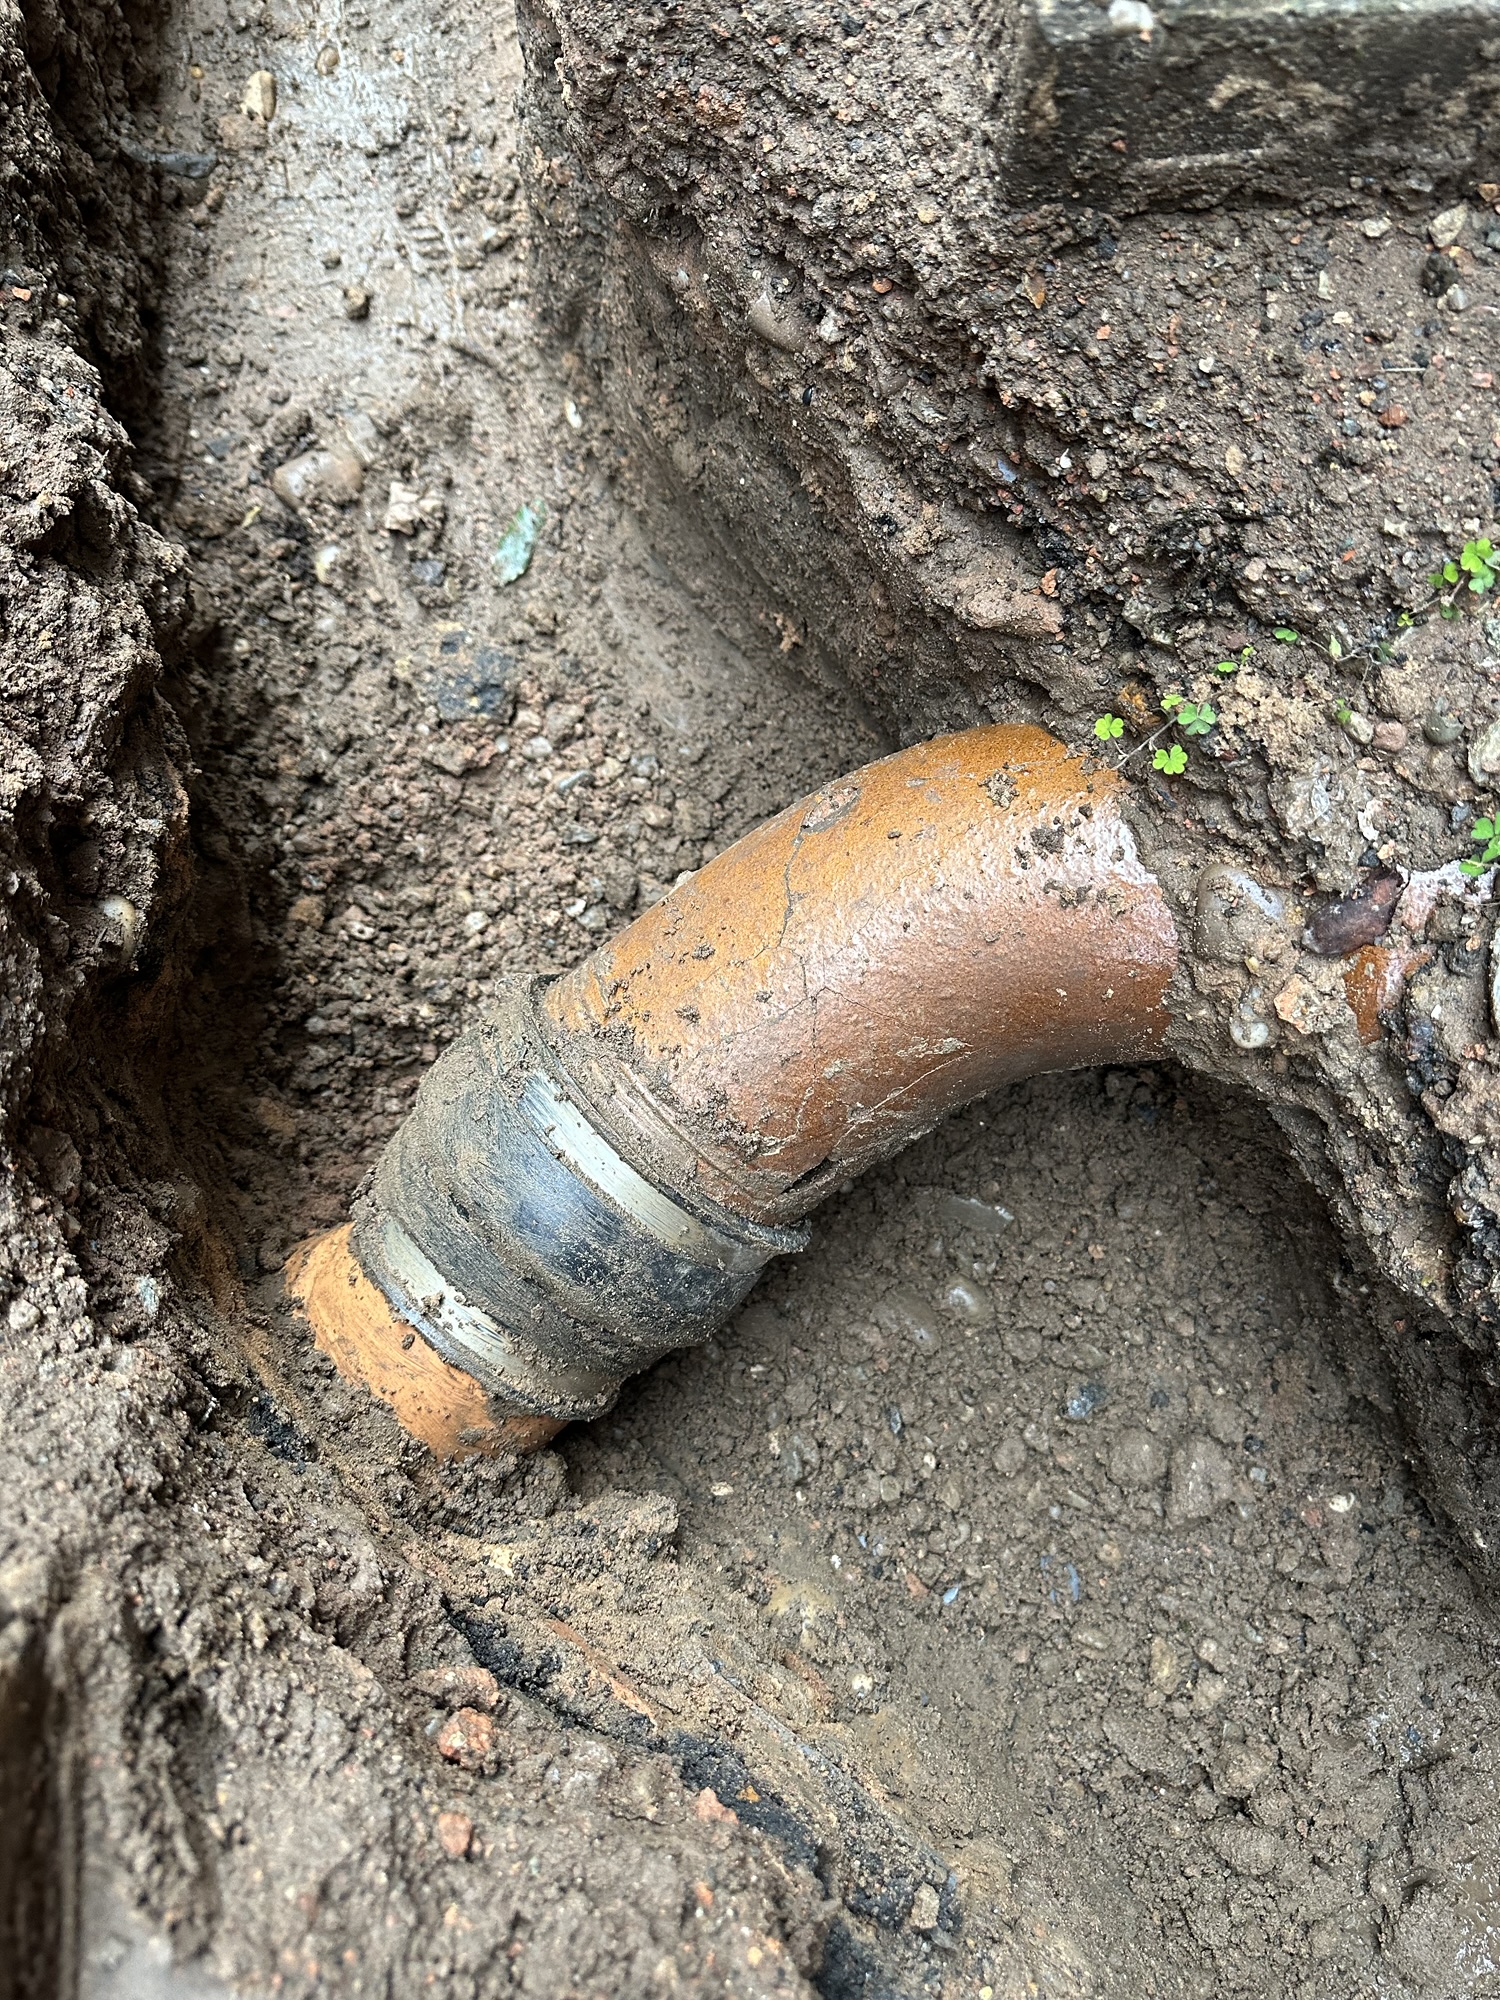
I decided to remove the old clay pipe and drain and put in a replacement. It cost me more money and time, but I knew this would be on my mind if I didn’t put it right.
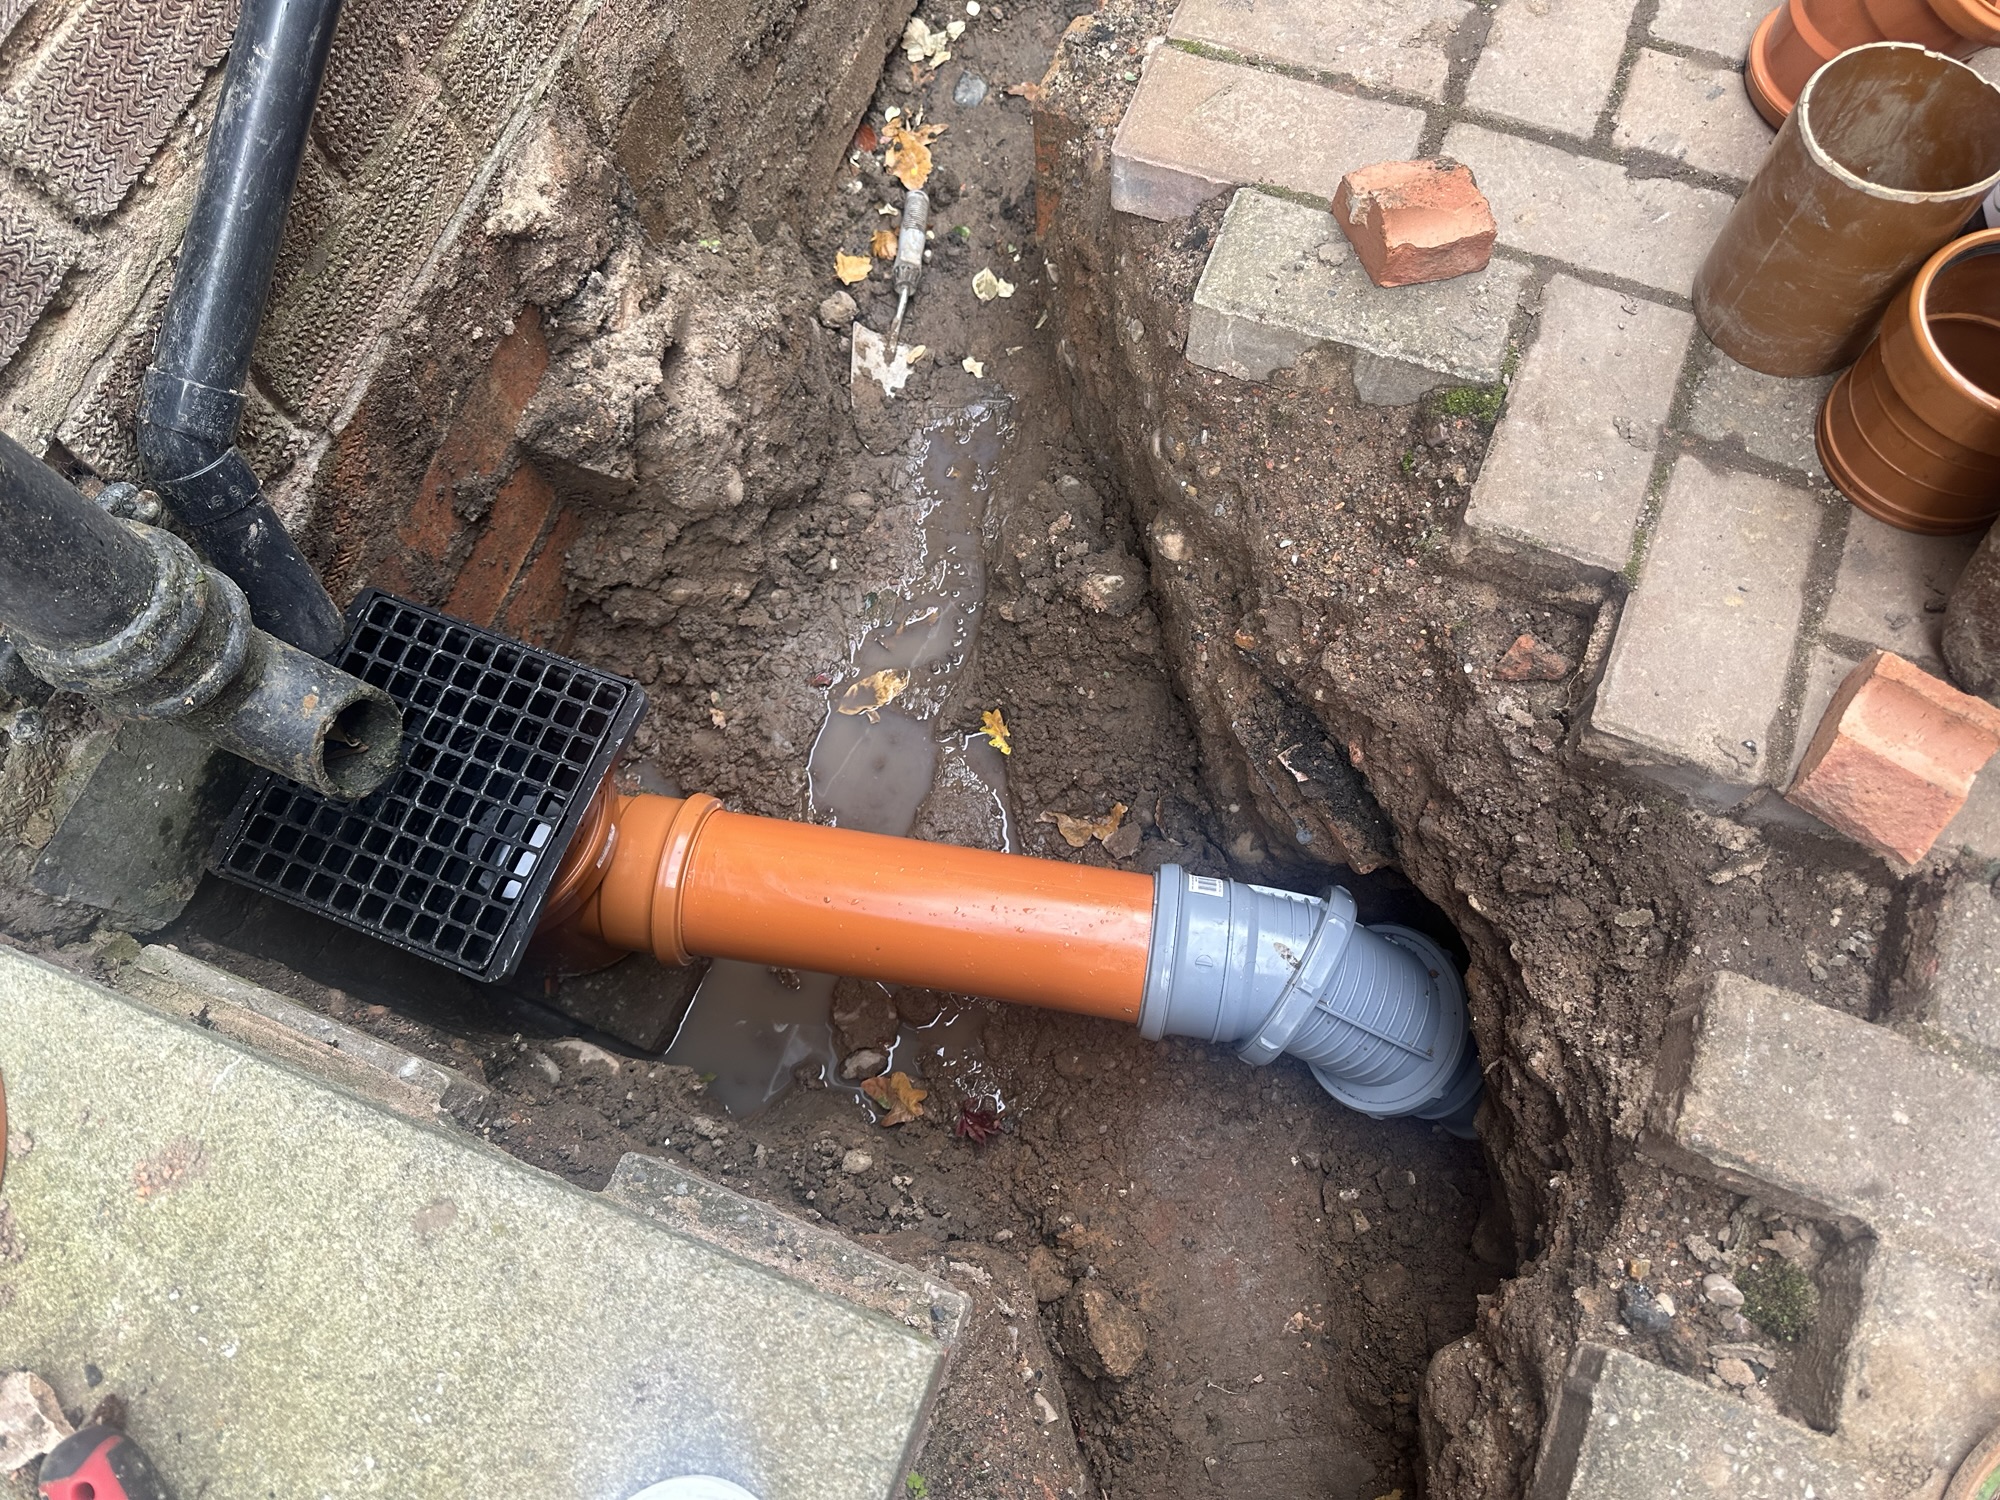
The next issue was much more problematic! This was a storm pipe that I had no idea about.

Fixing this took a lot more effort. After digging it out, I realised it was a bigger job.
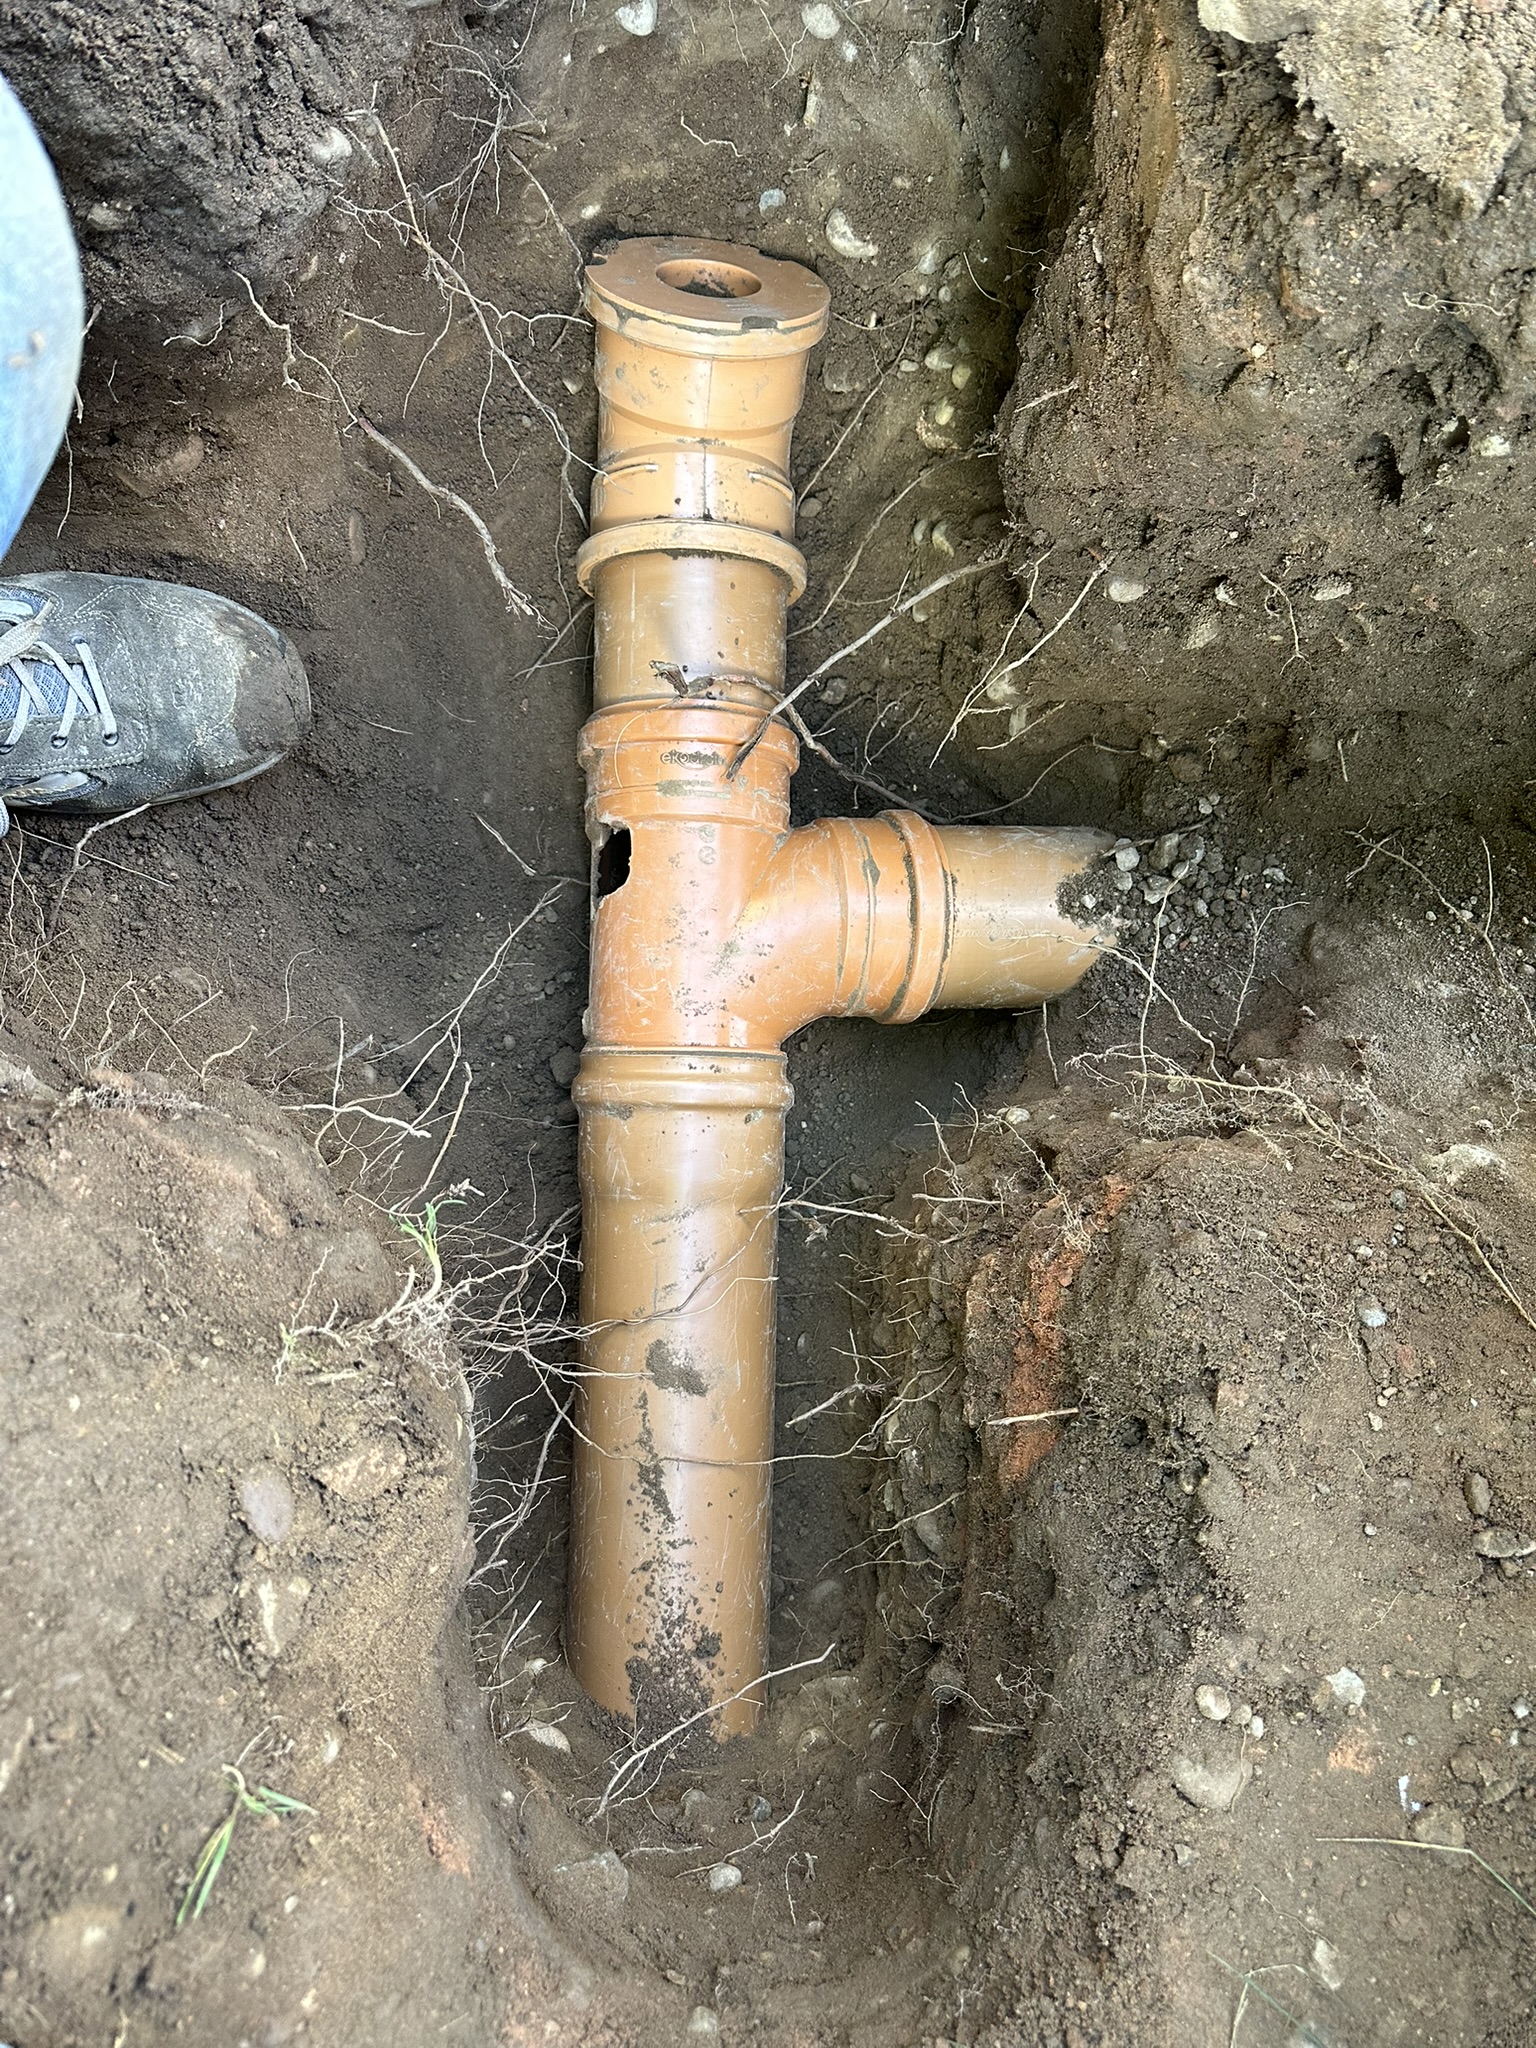
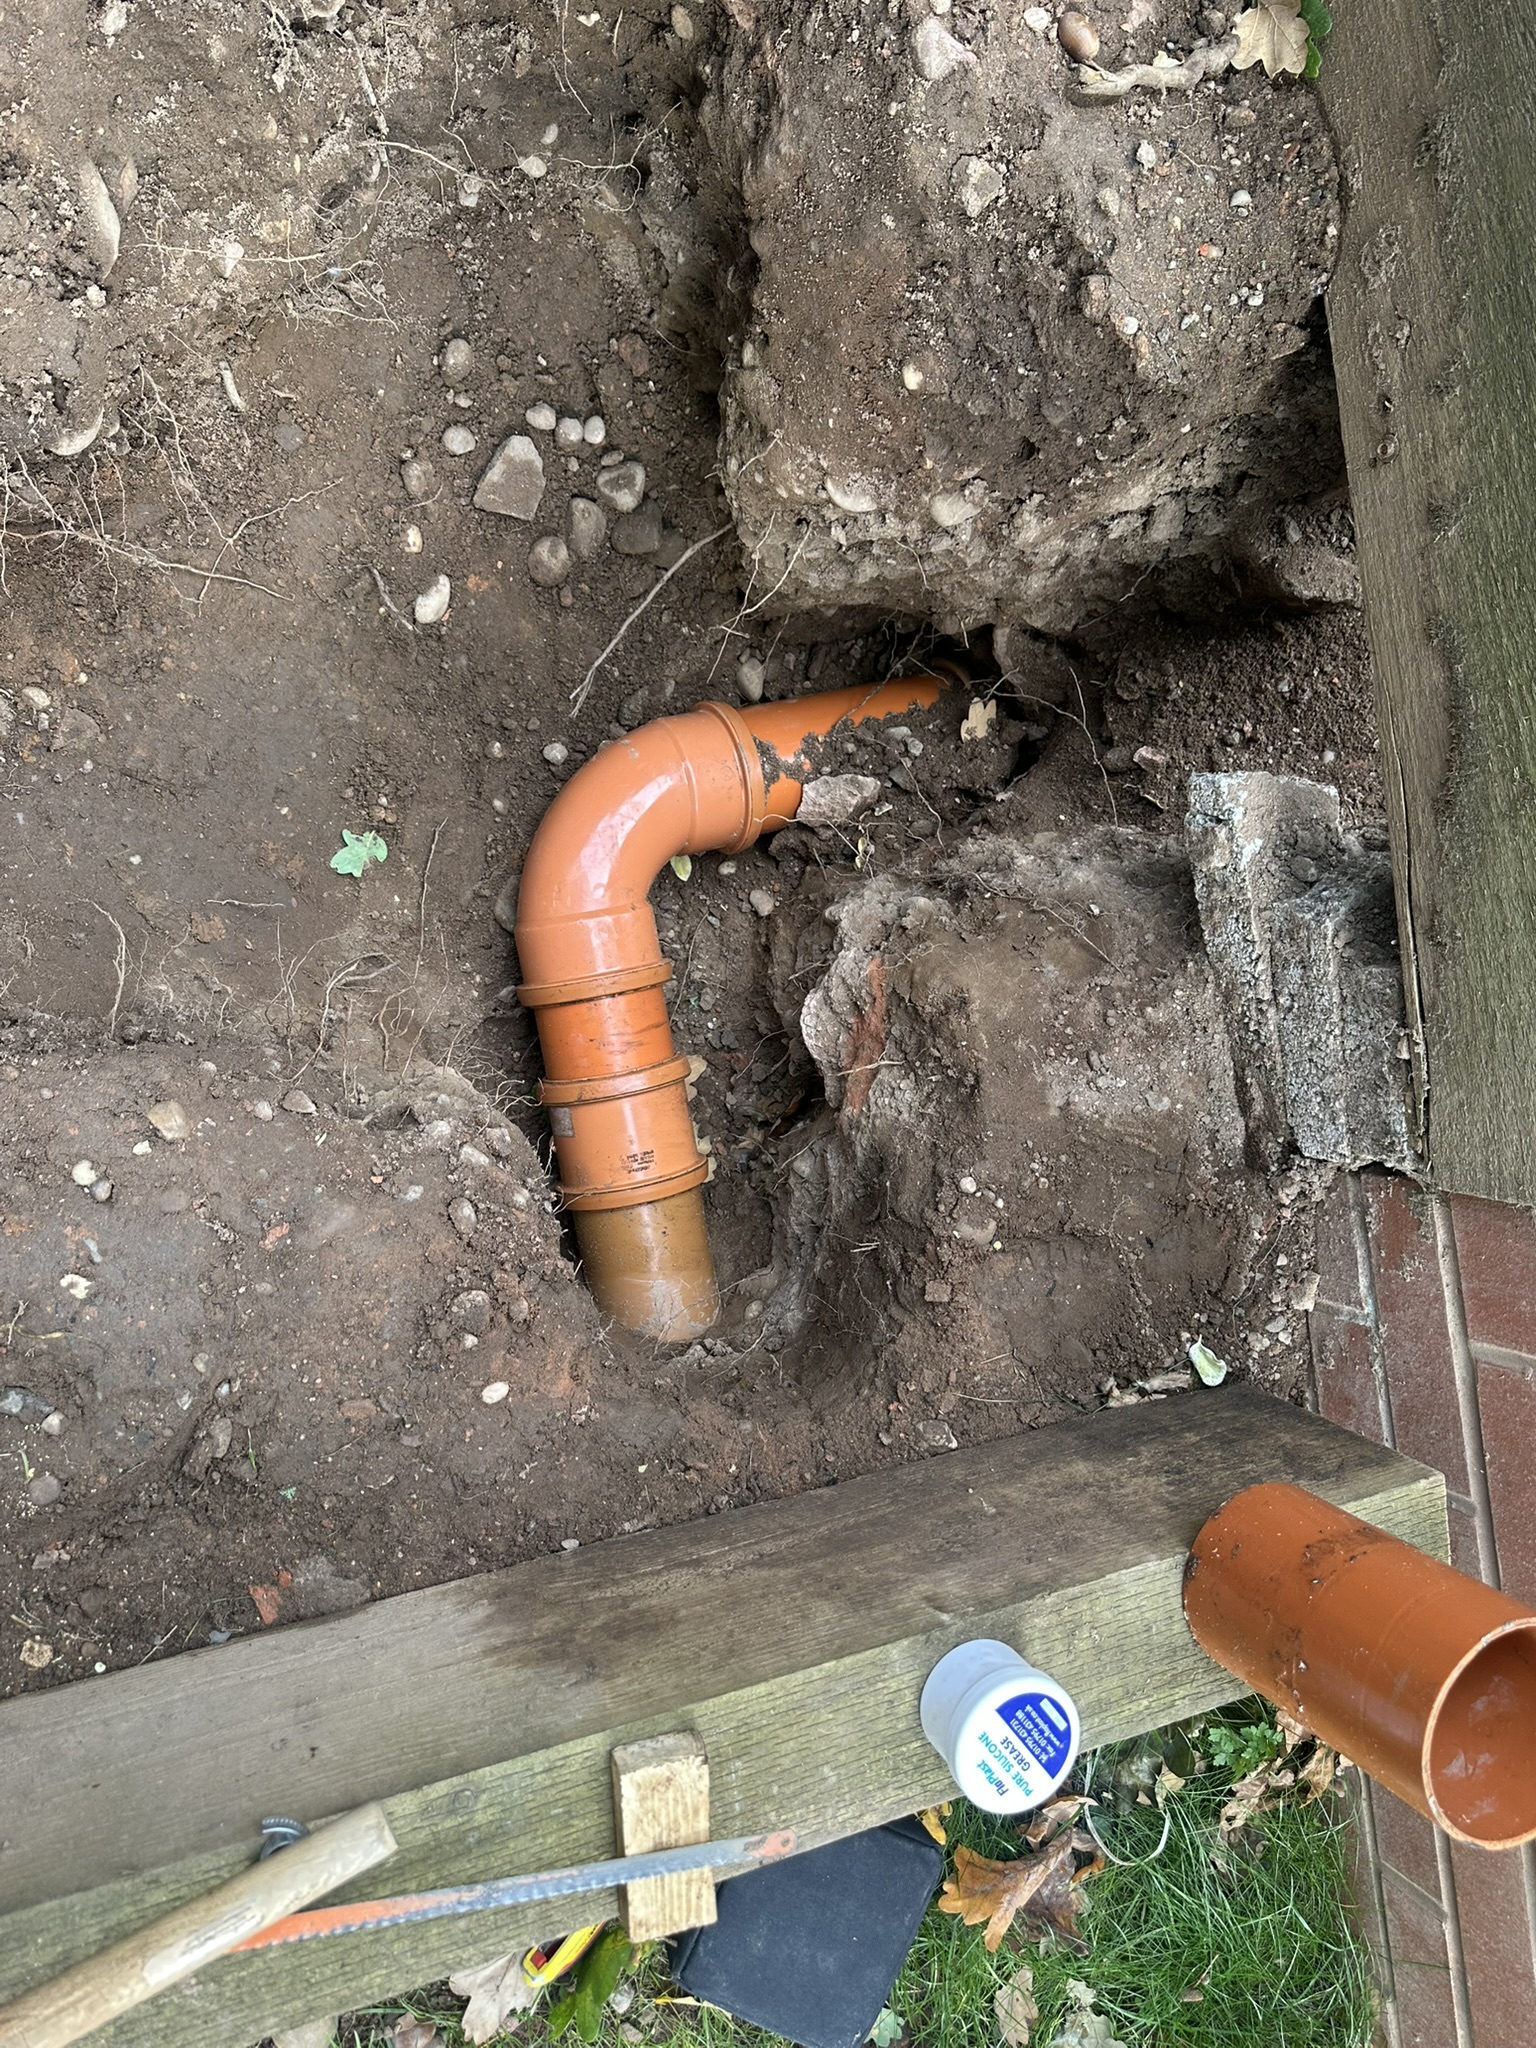
I had to dig out the connector, cut a pipe, replace with an elbow and join the pipes together. I’ll be honest, I had a cry. Getting the connectors on was really difficult. I got there in the end.
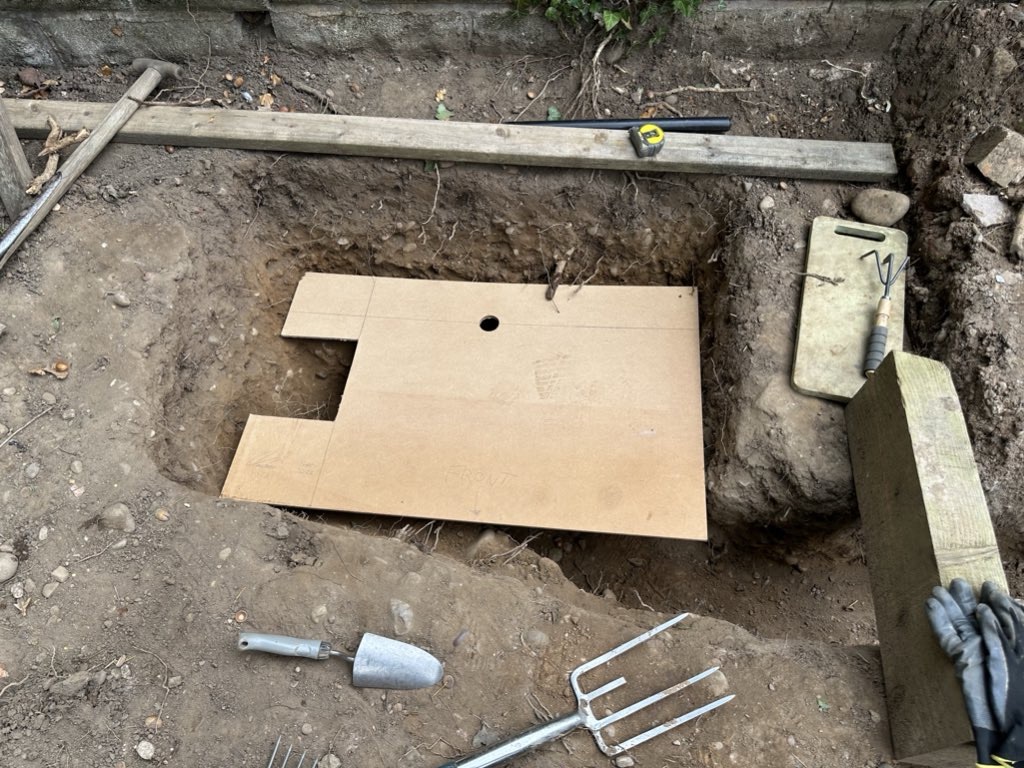
With the trench basically done, I started digging out the space for the concrete base. It needed to be 300mm thick, so I had a lot of ground to dig out.
At this point, the weather went to hell and I retreated inside to make a hole for the pipes in the garage. With a large hammer action drill and an angle grinder, I was able to get through the garage floor easily enough.
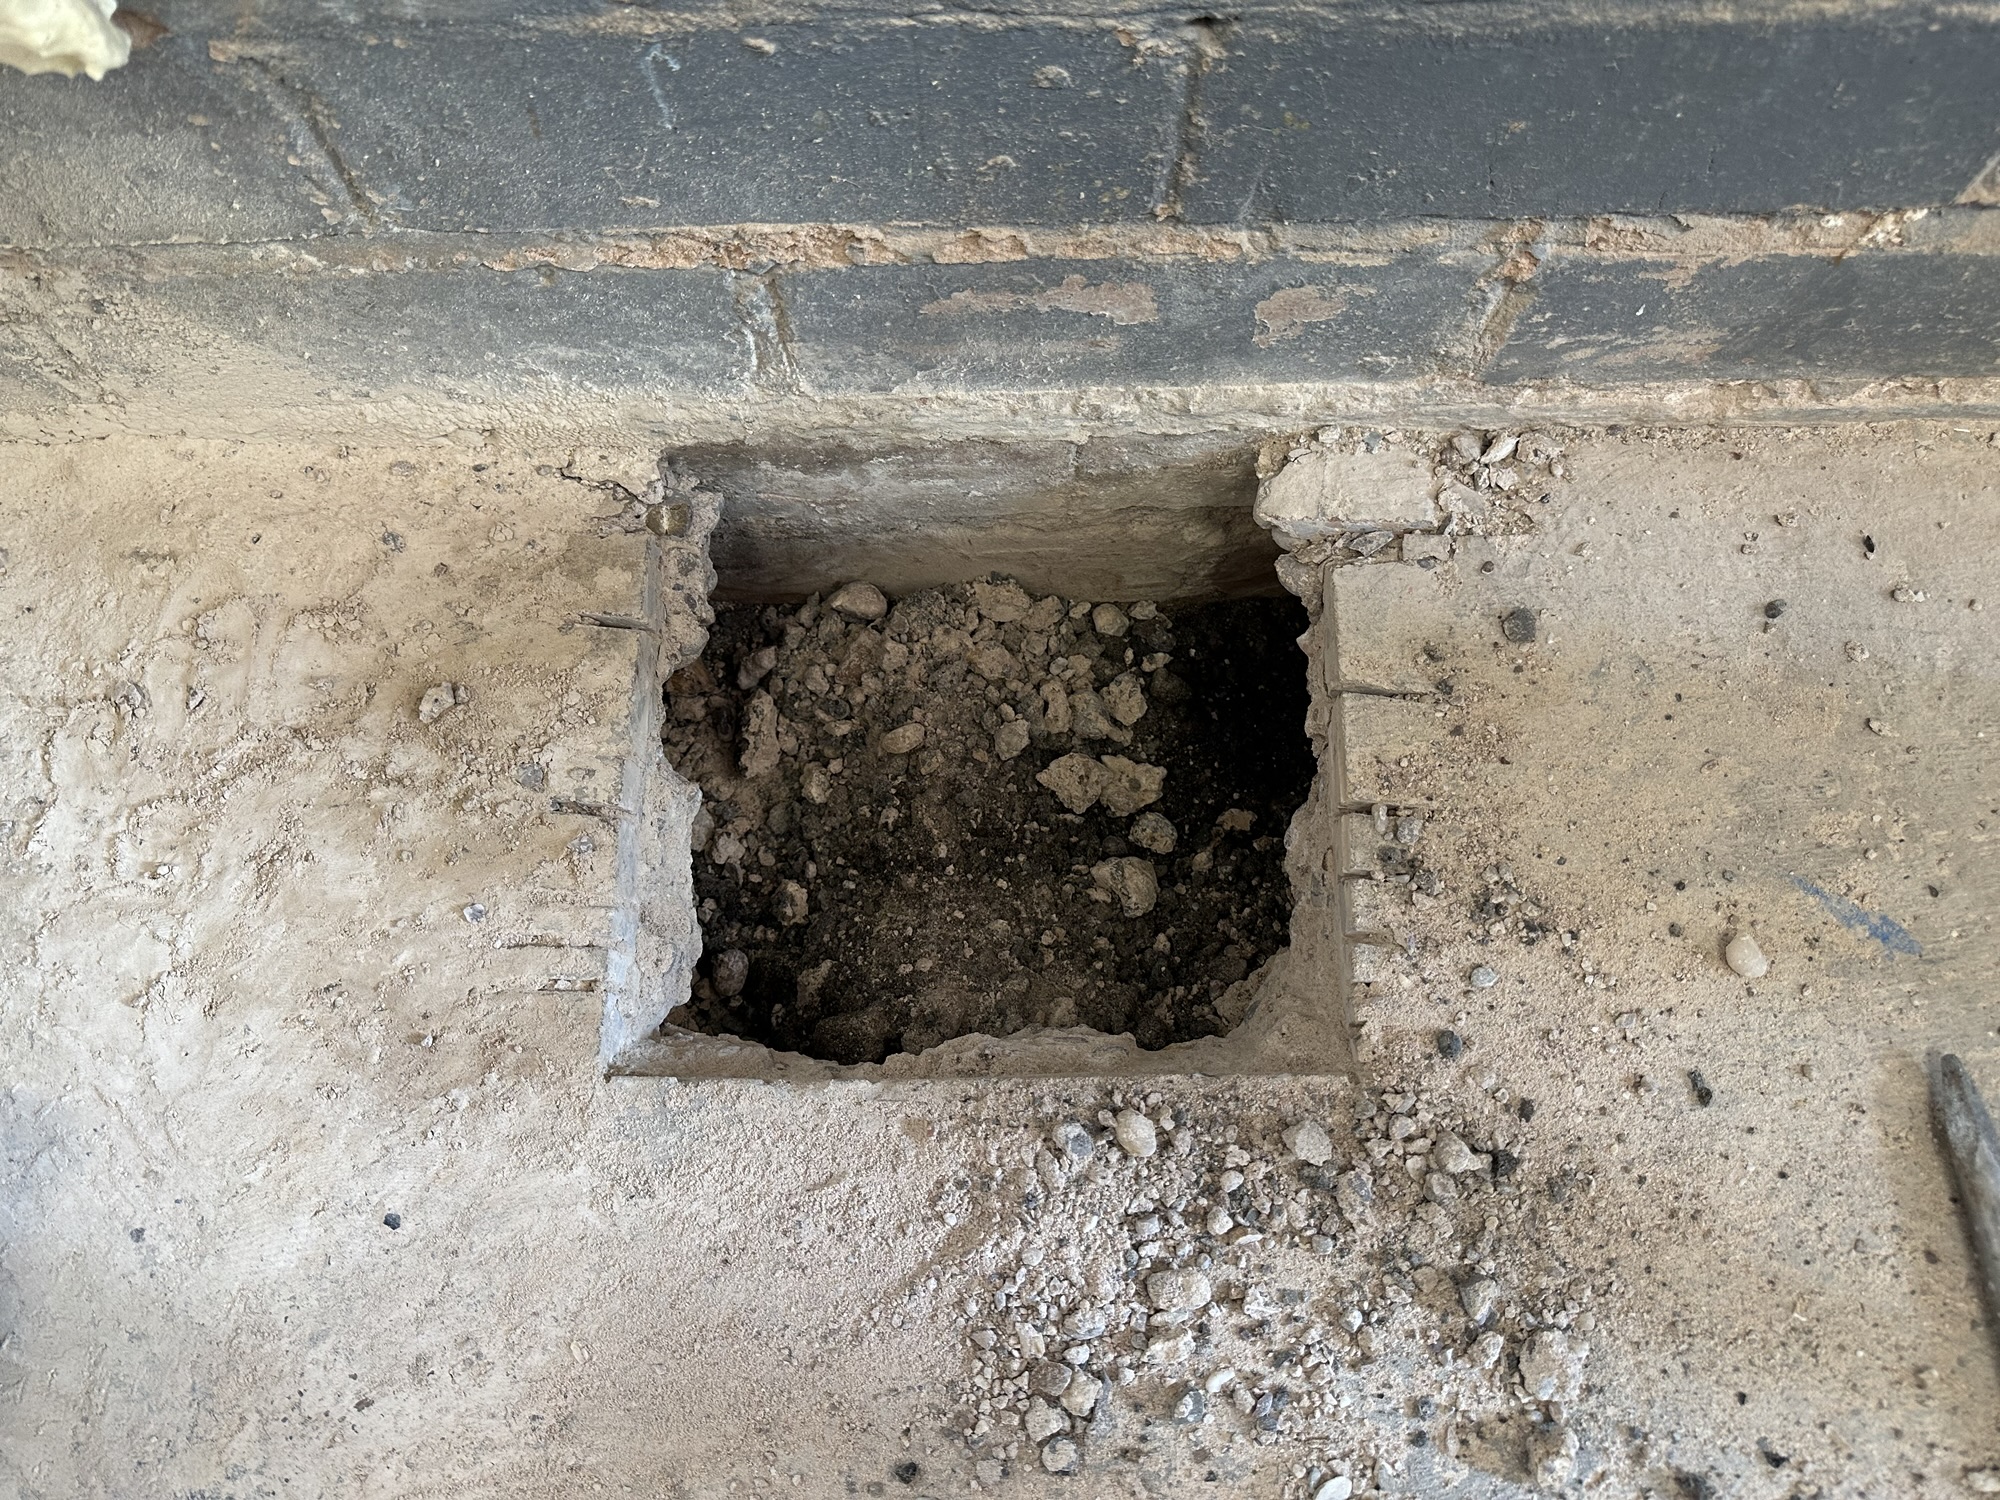
I decided that was enough and I began to hibernate for the Winter.
March to May 2026
Fast forward to March 2026. Work had stopped longer than I expected, but this was down to me losing my job with Warmur and some other personal stuff. I returned to the project in March.
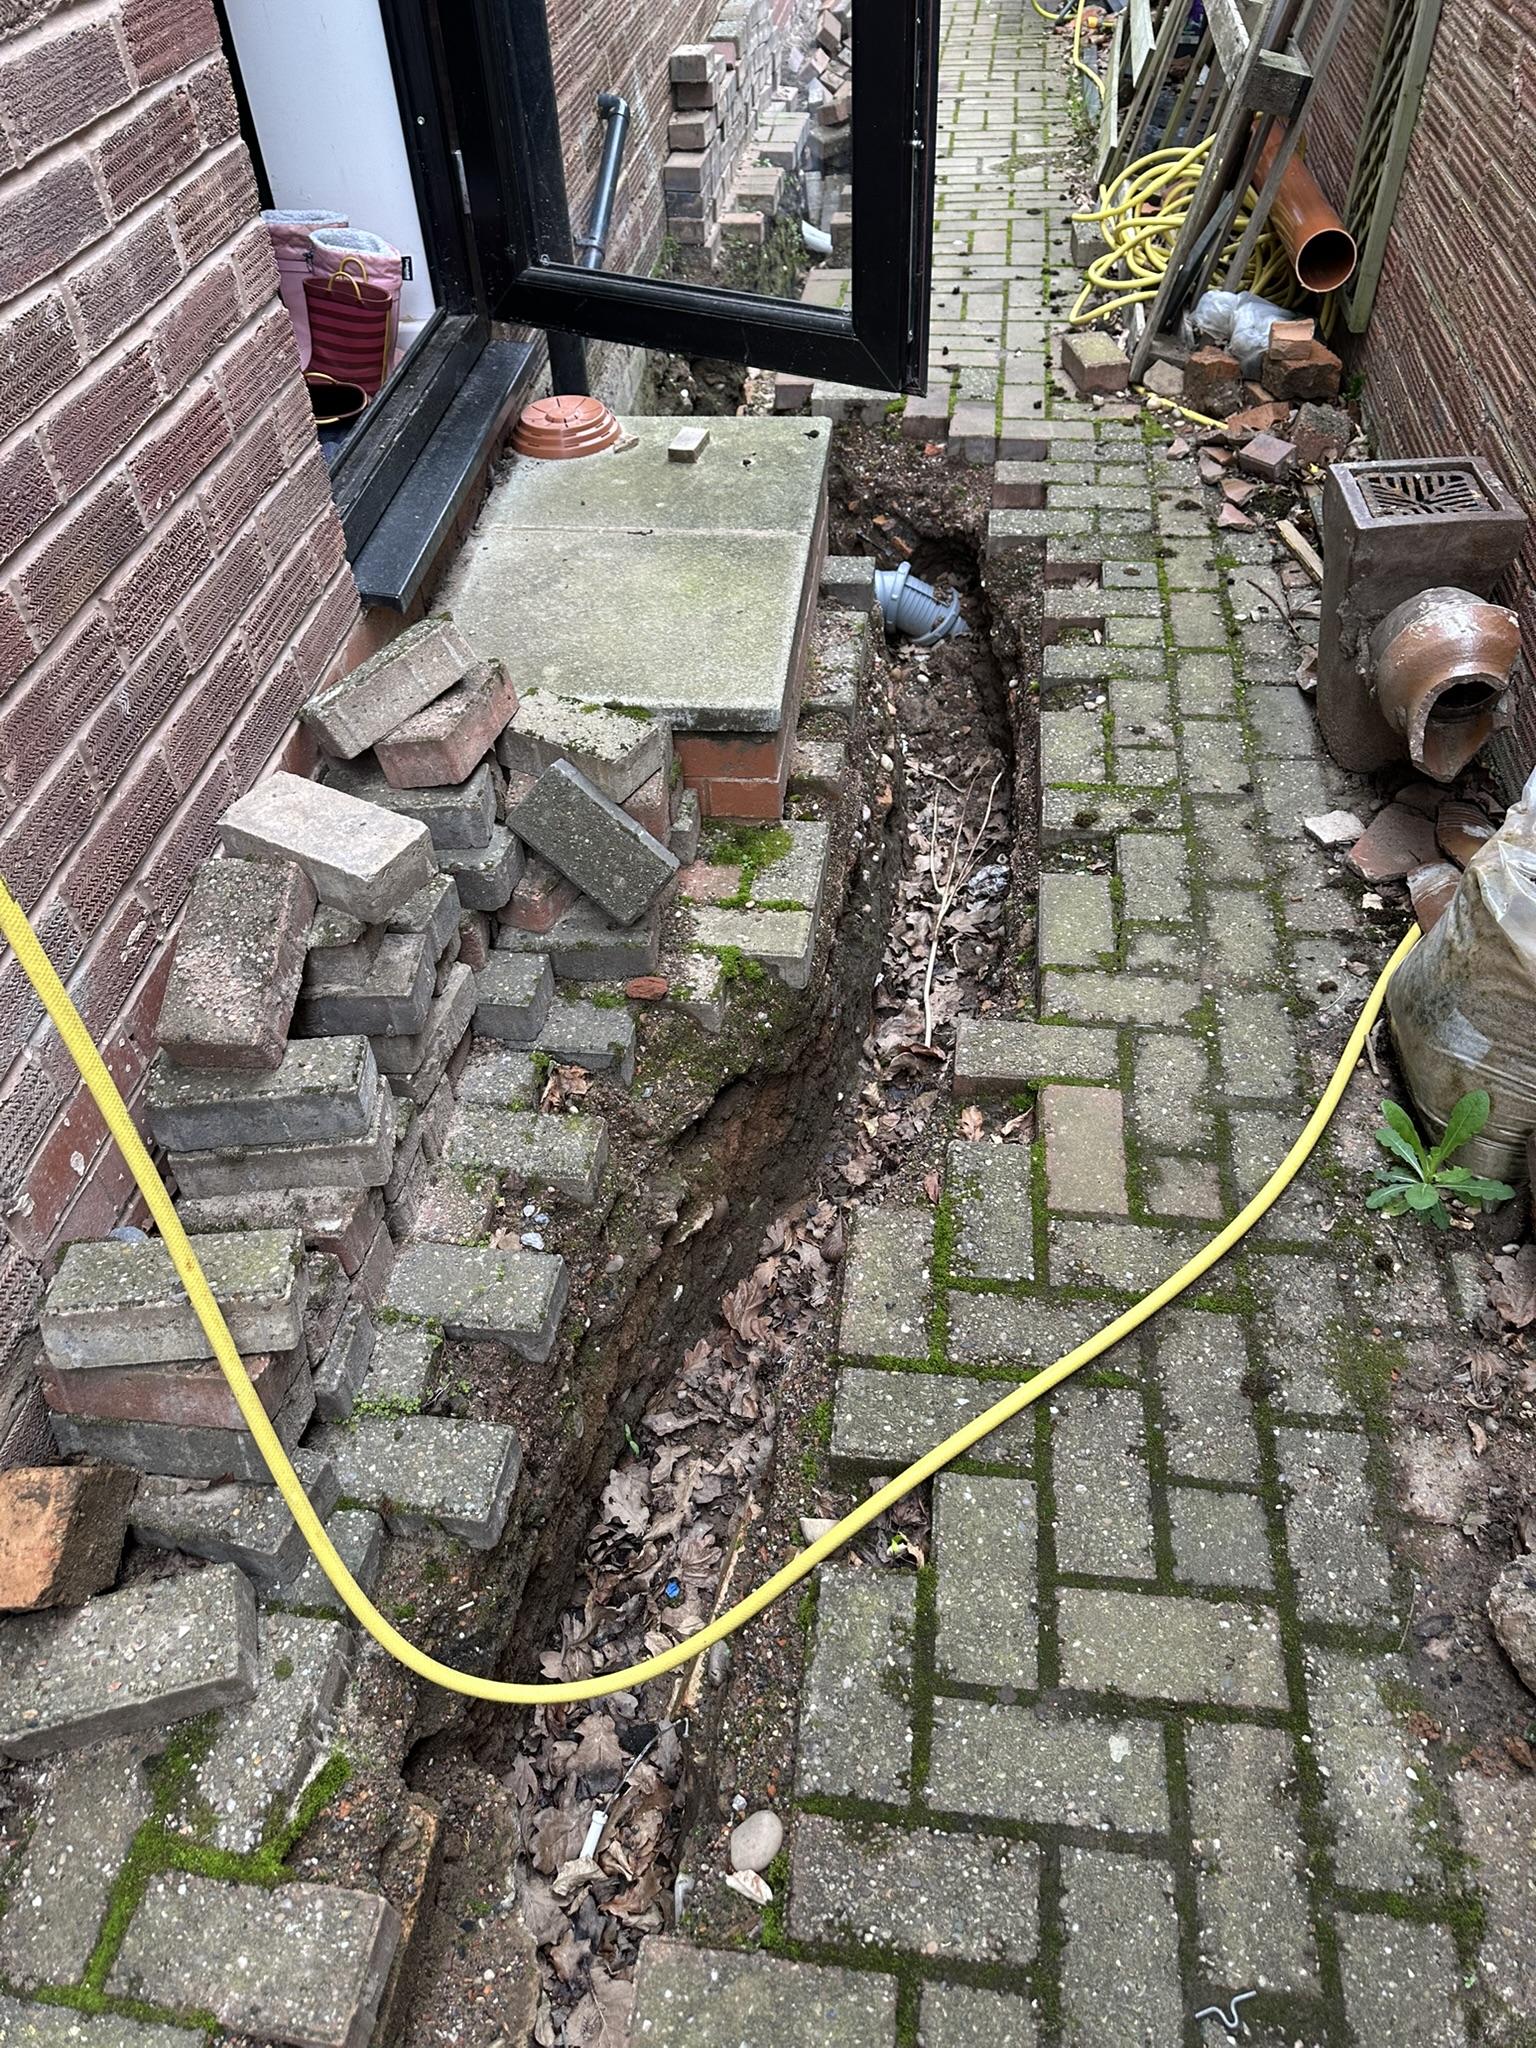
I tidied everything up and finished digging the base. I ensured everything was as deep as possible.
April 2026
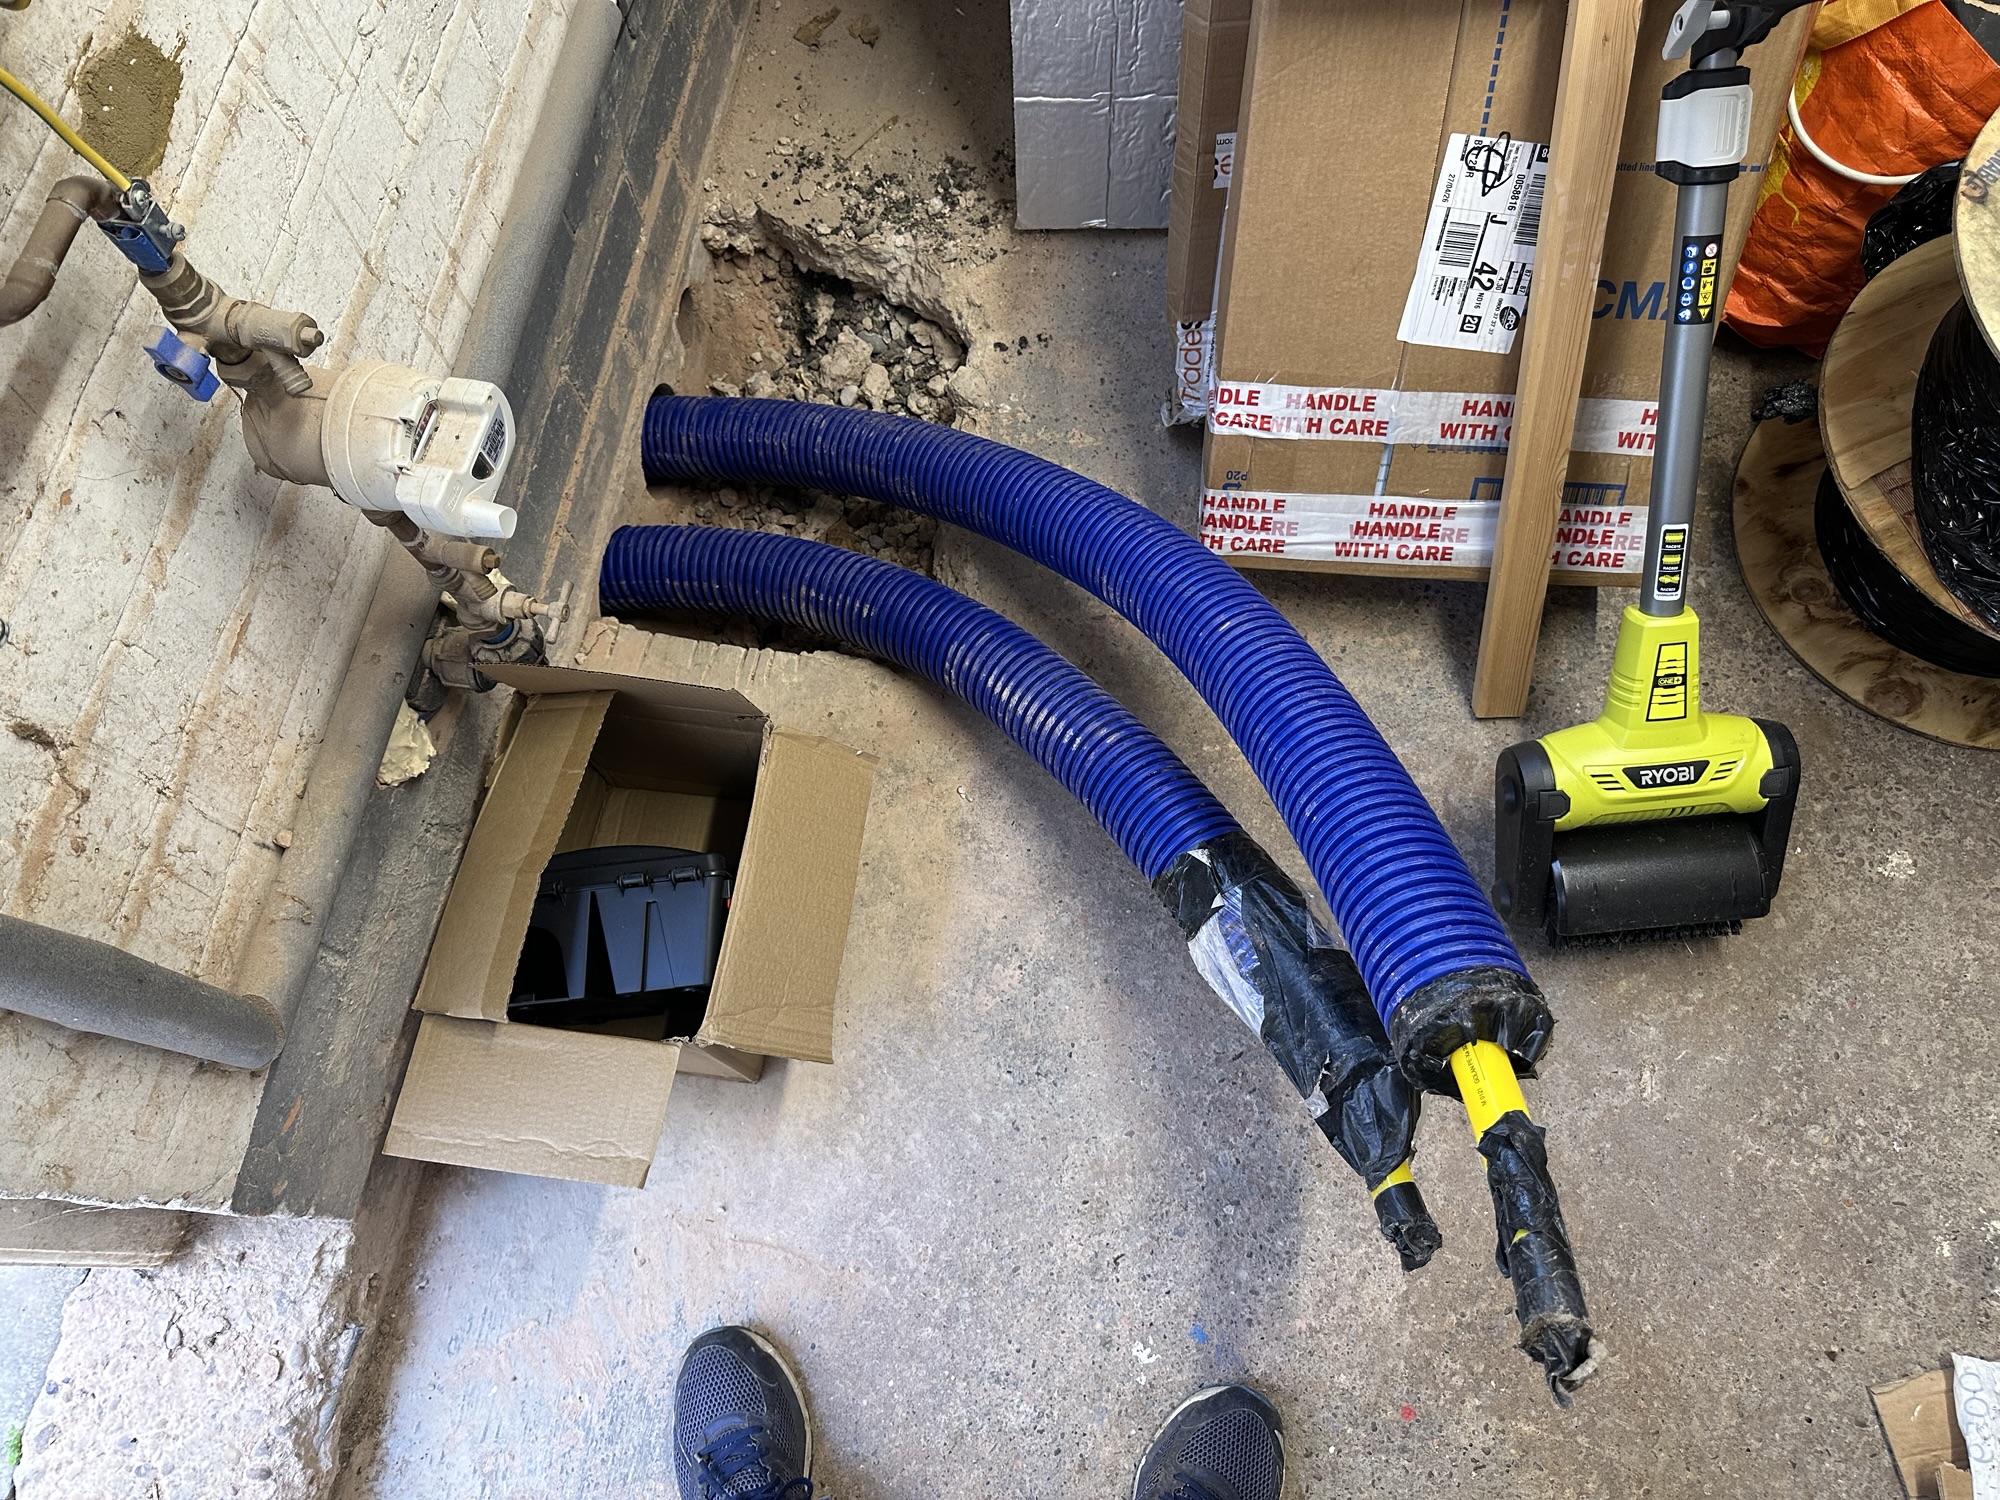
I decided to pull the trigger on the first delivery and 40meters of insulated pipe arrived on a pallet.
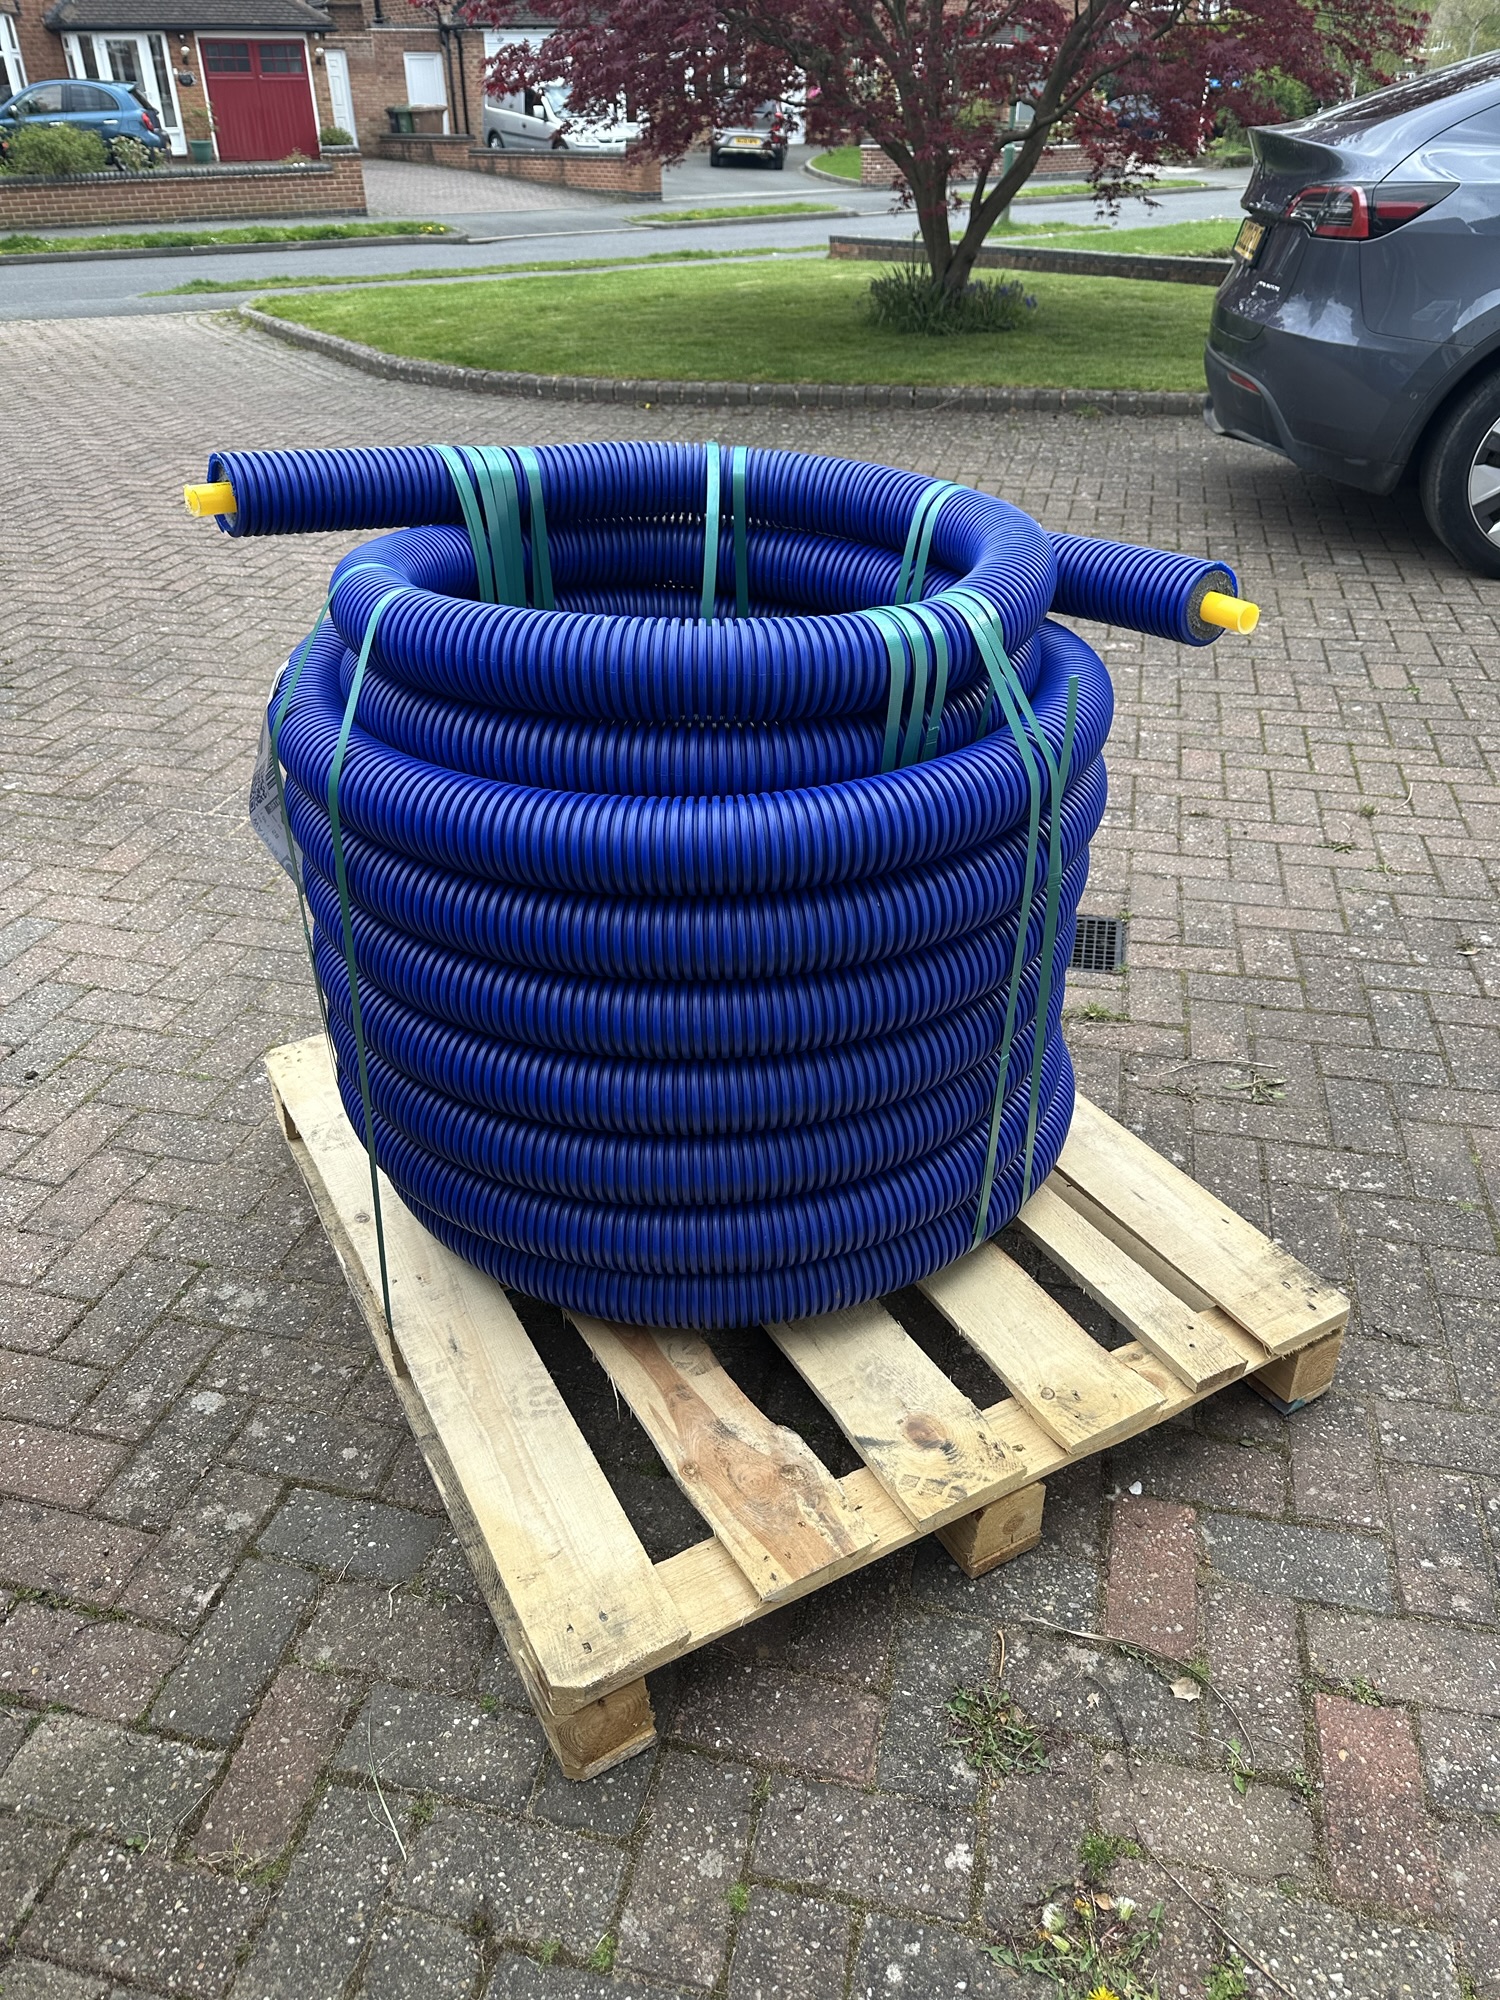
I took a trip to B&Q for sand and put down a layer before dropping the pipe into the trench.
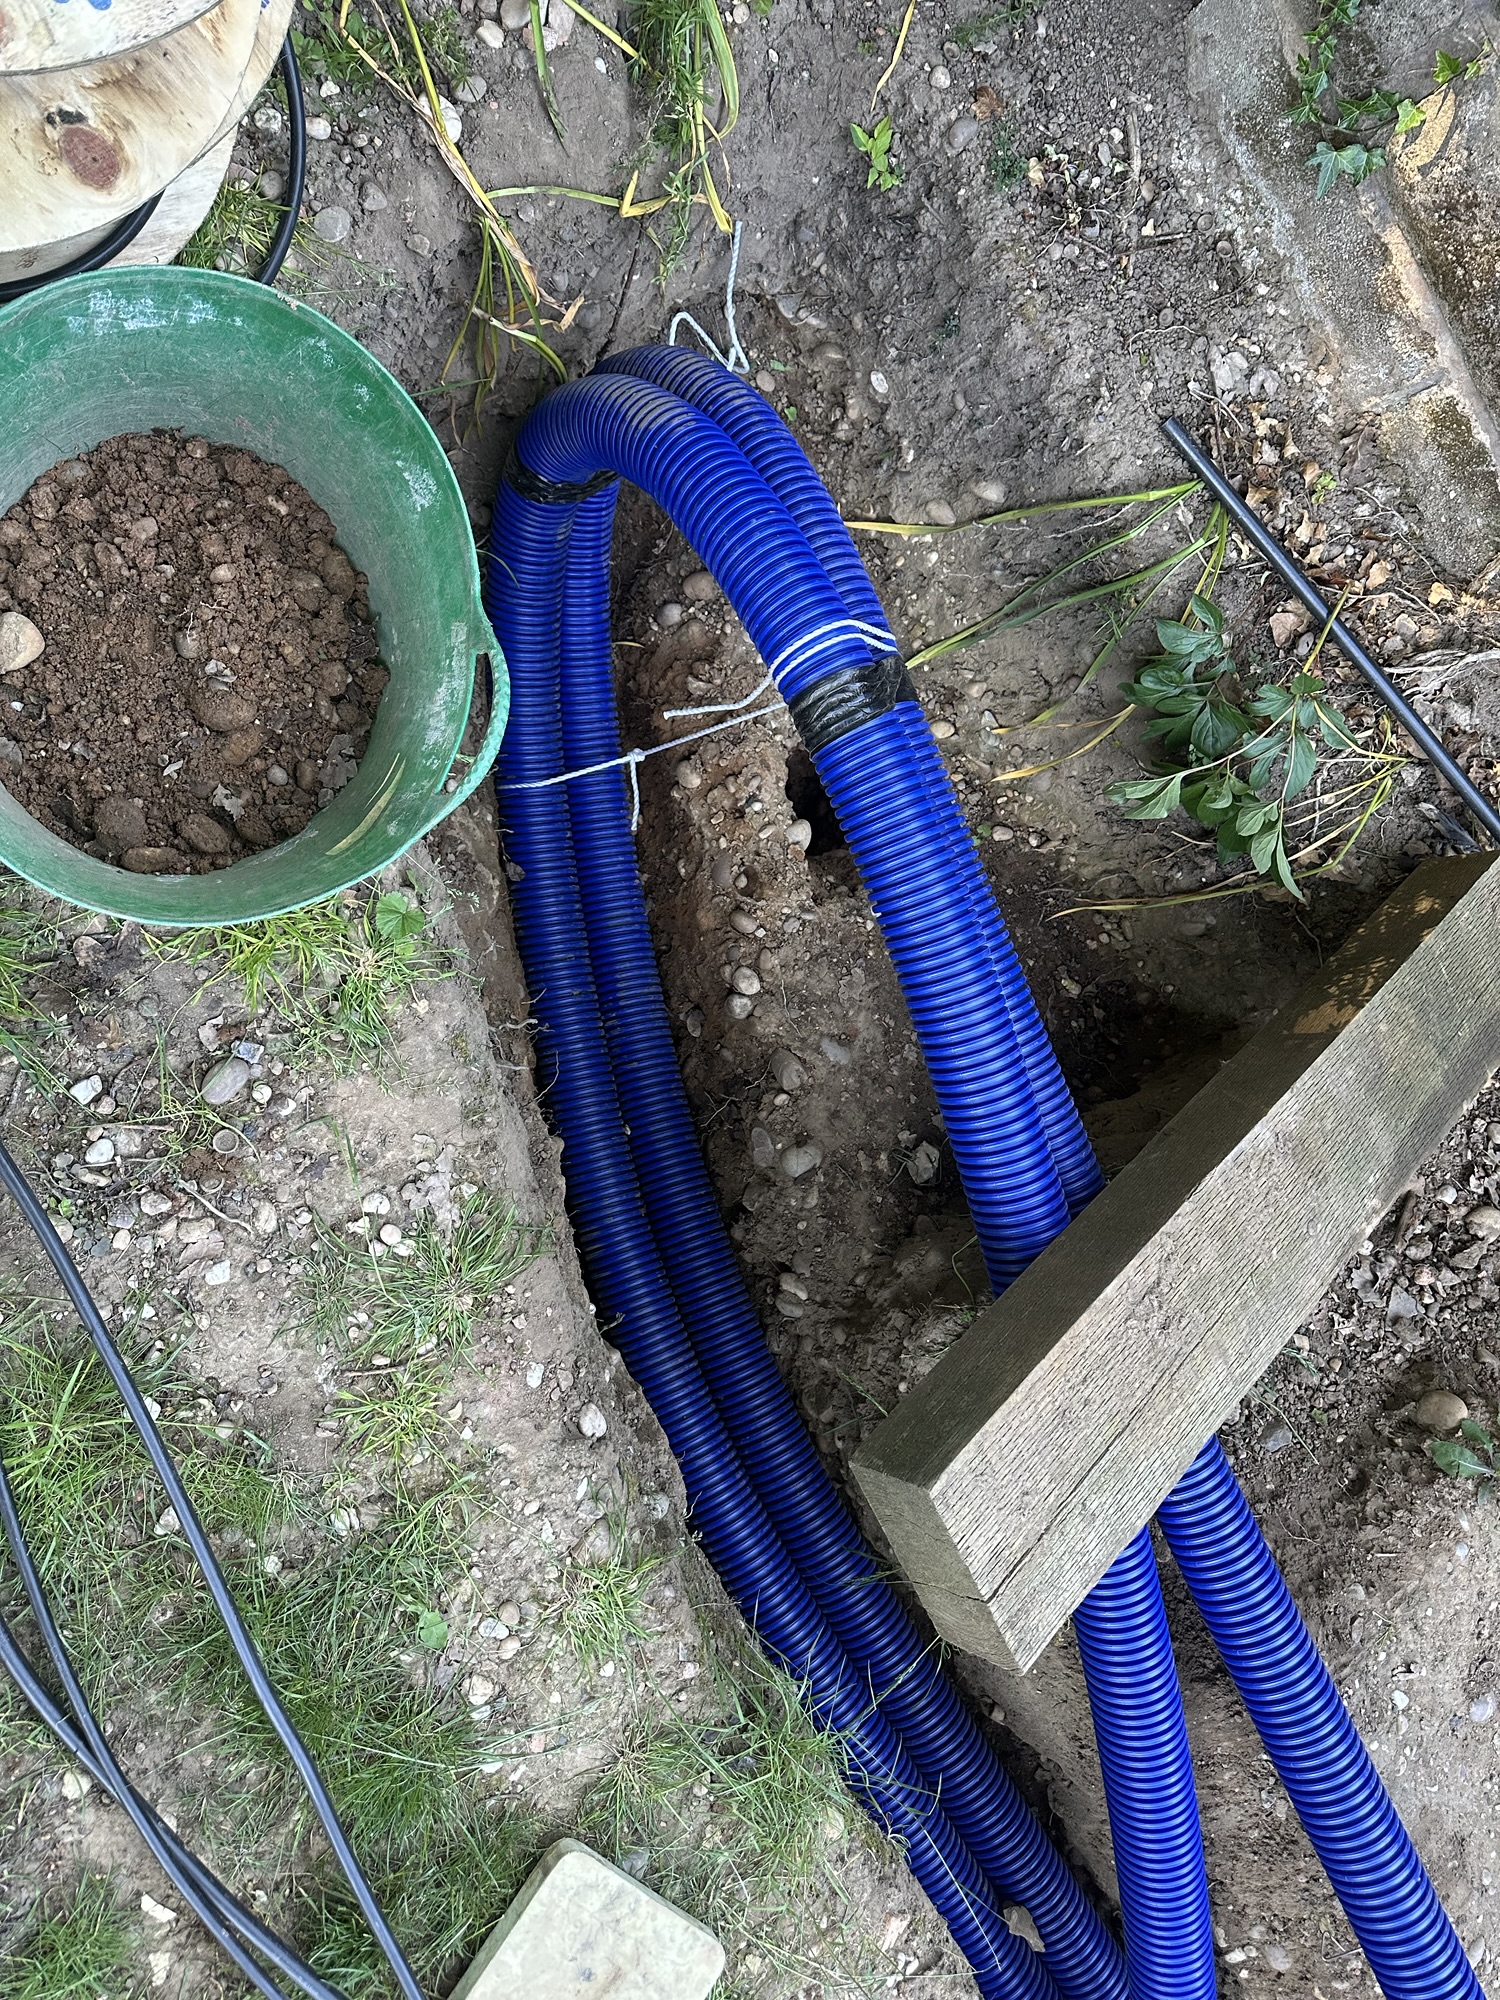
My local plumber, Joe, came over drilled two 5″ holes in the garage wall, allowing me to push in the pipe.
May 2026
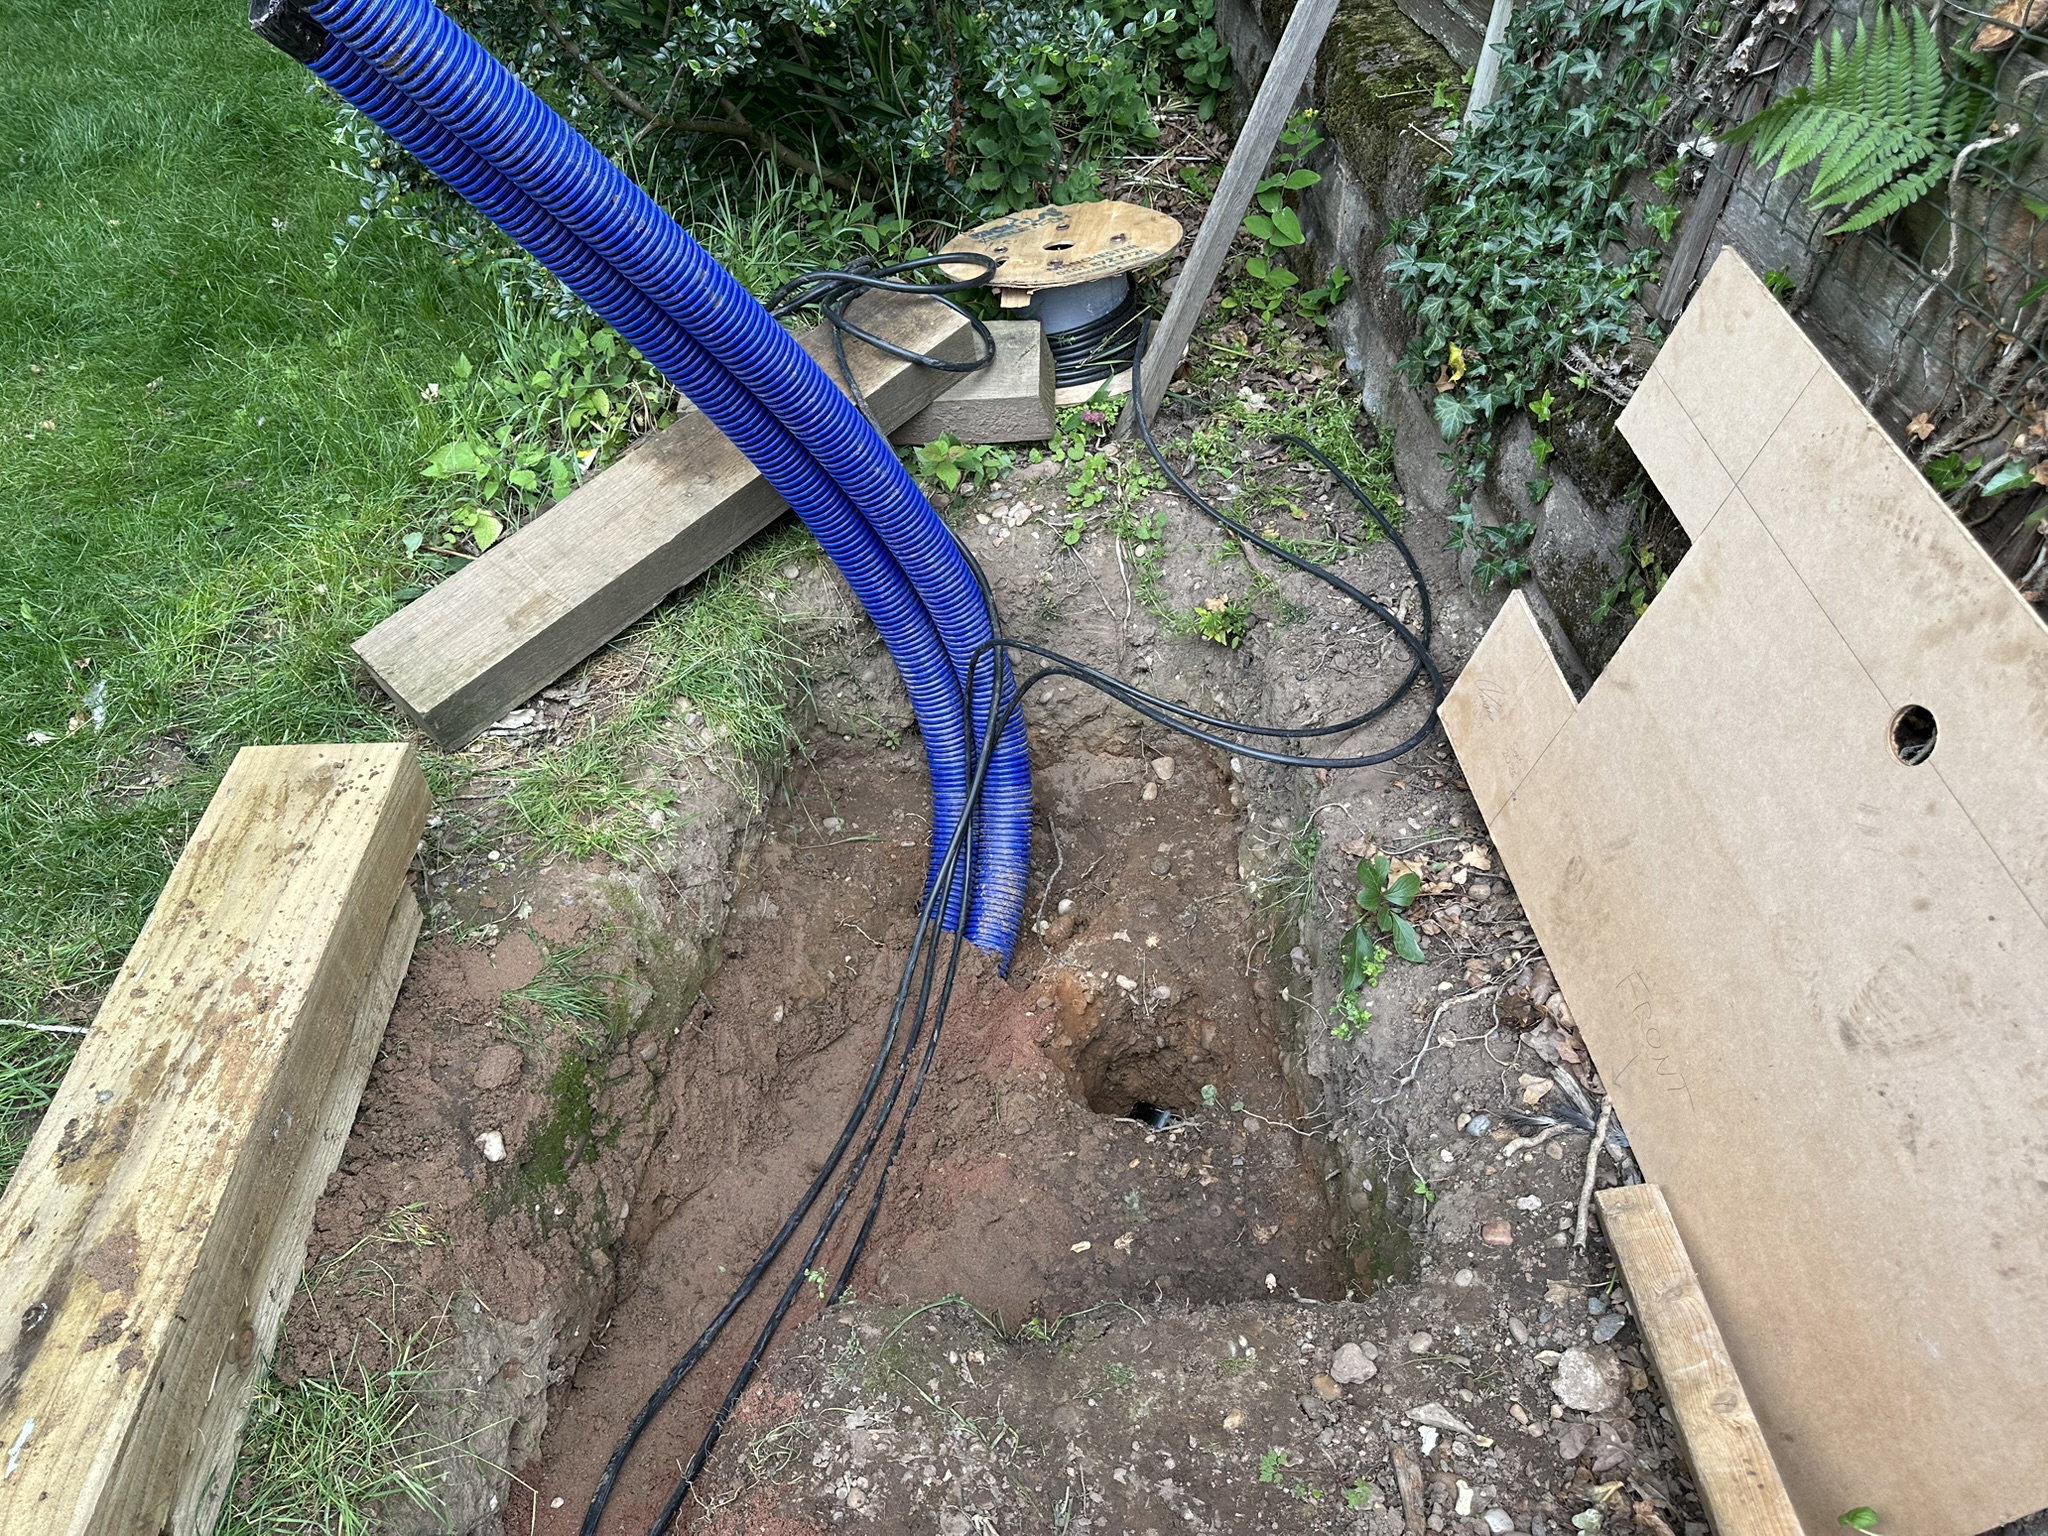
With the pipes in, the next thing to go in was the electrical cables. This was the power for the heat pump, the control for the heat pump and an extra armoured cable for some garden sockets. I mean, how often do I have an 18m trench? With the cables down, in sand, I back filled the whole trench. The last thing to go in was the warning tape.
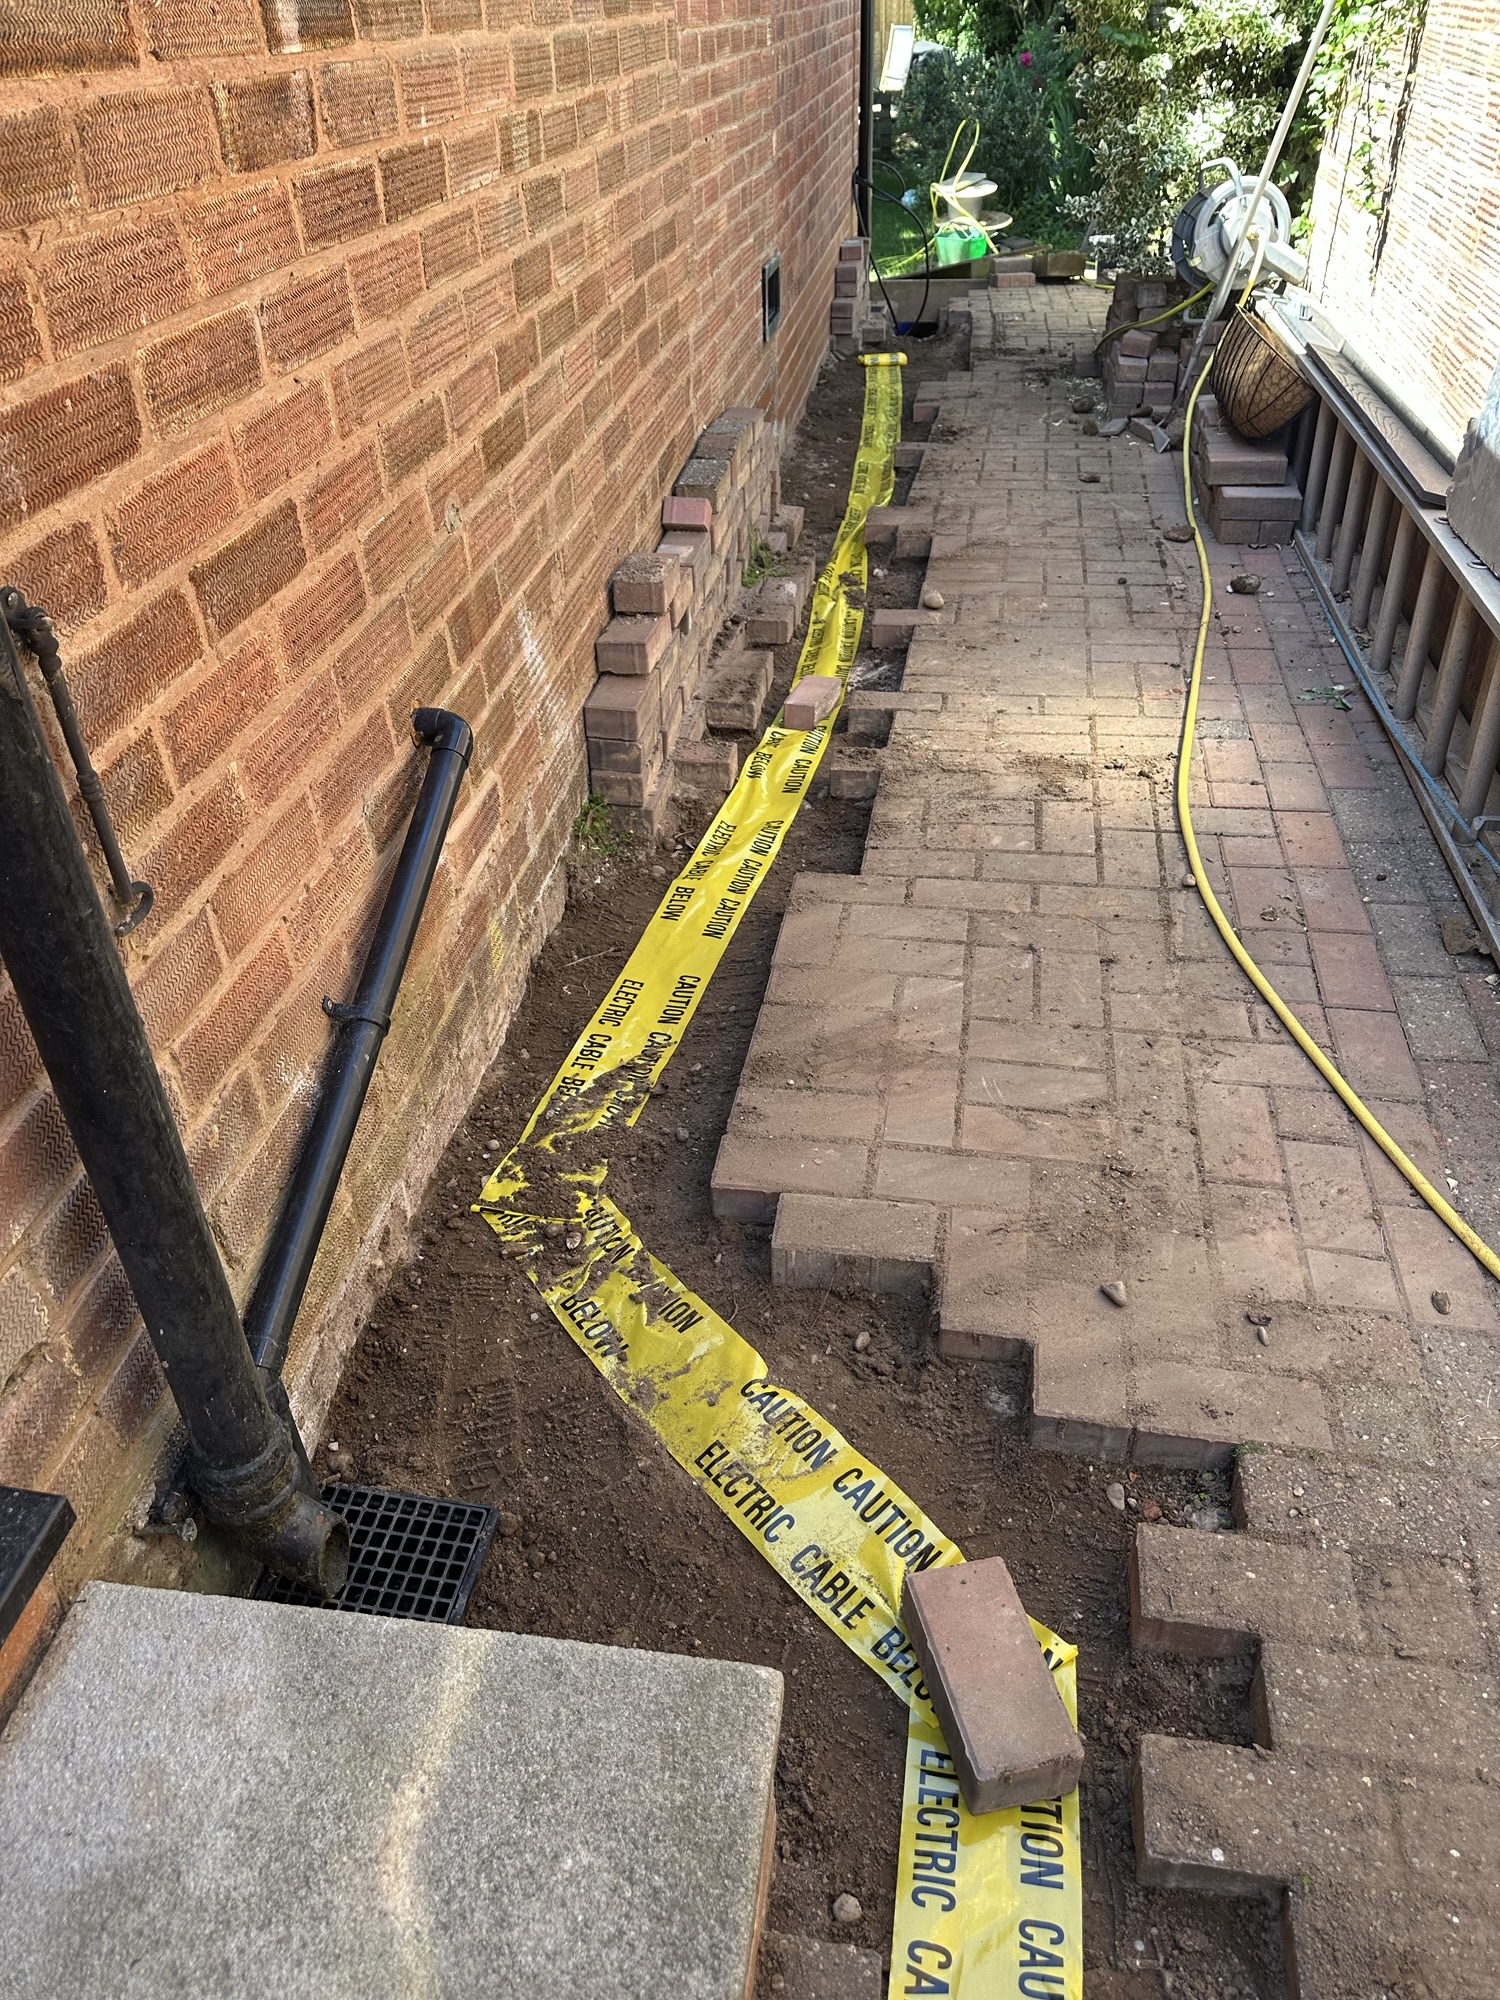
Getting the paving back down was crucial, since we would need to carry the heat pump down this alley!
June 2026
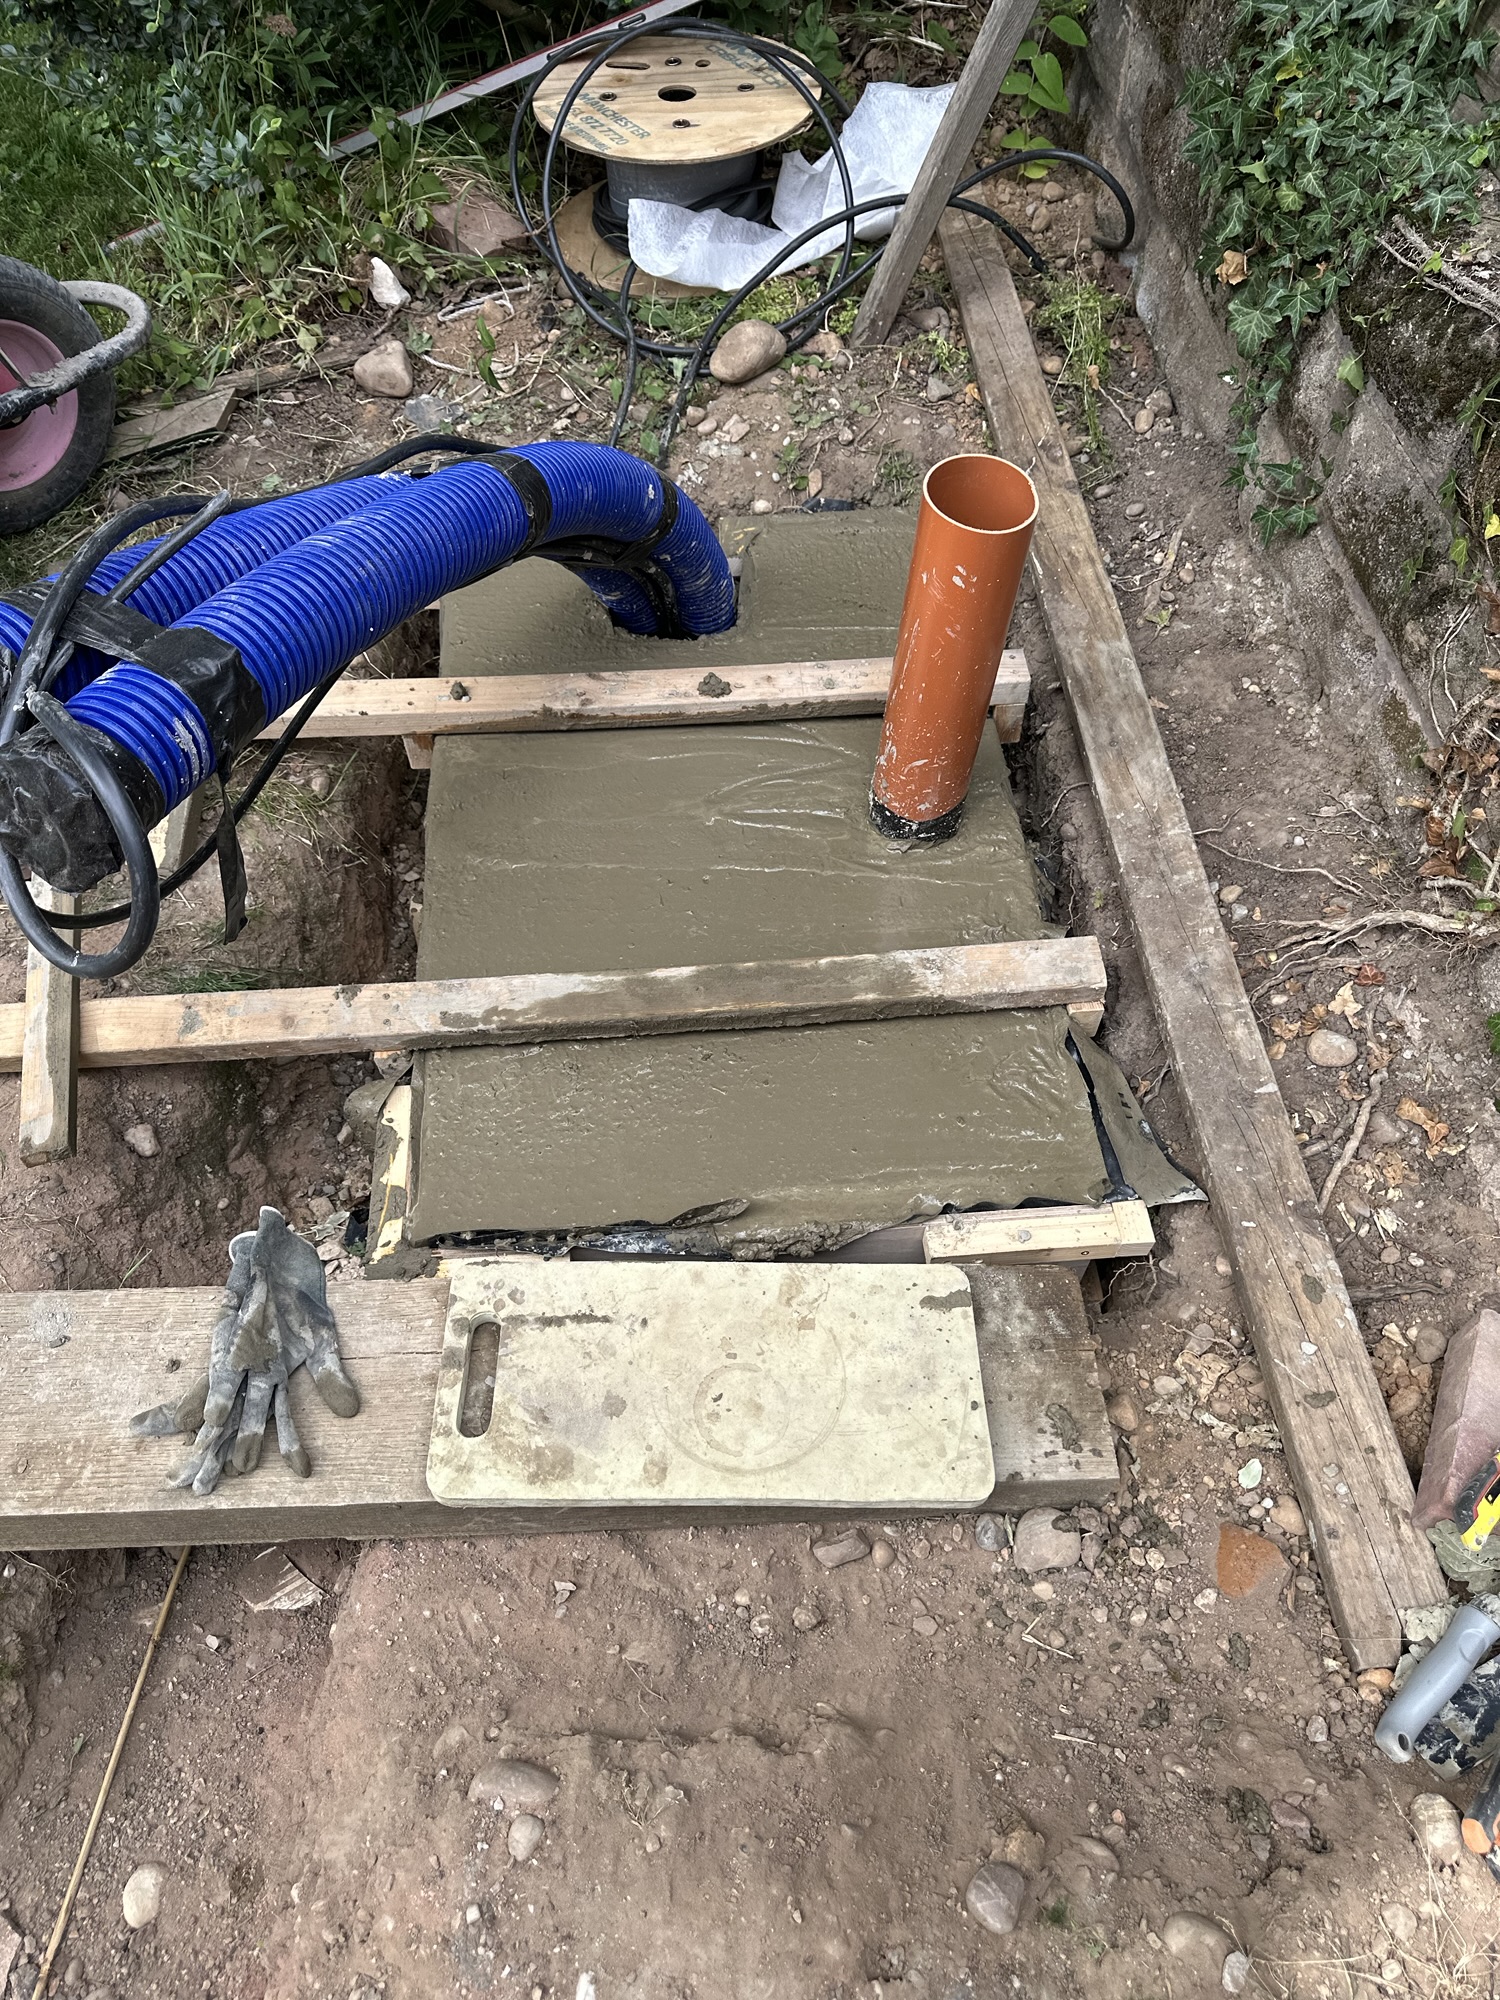
I booked an electrician to come and connect up the cables and whilst waiting, I continued work on the the base. Before I could cast the base, I needed to get the soak away into place.
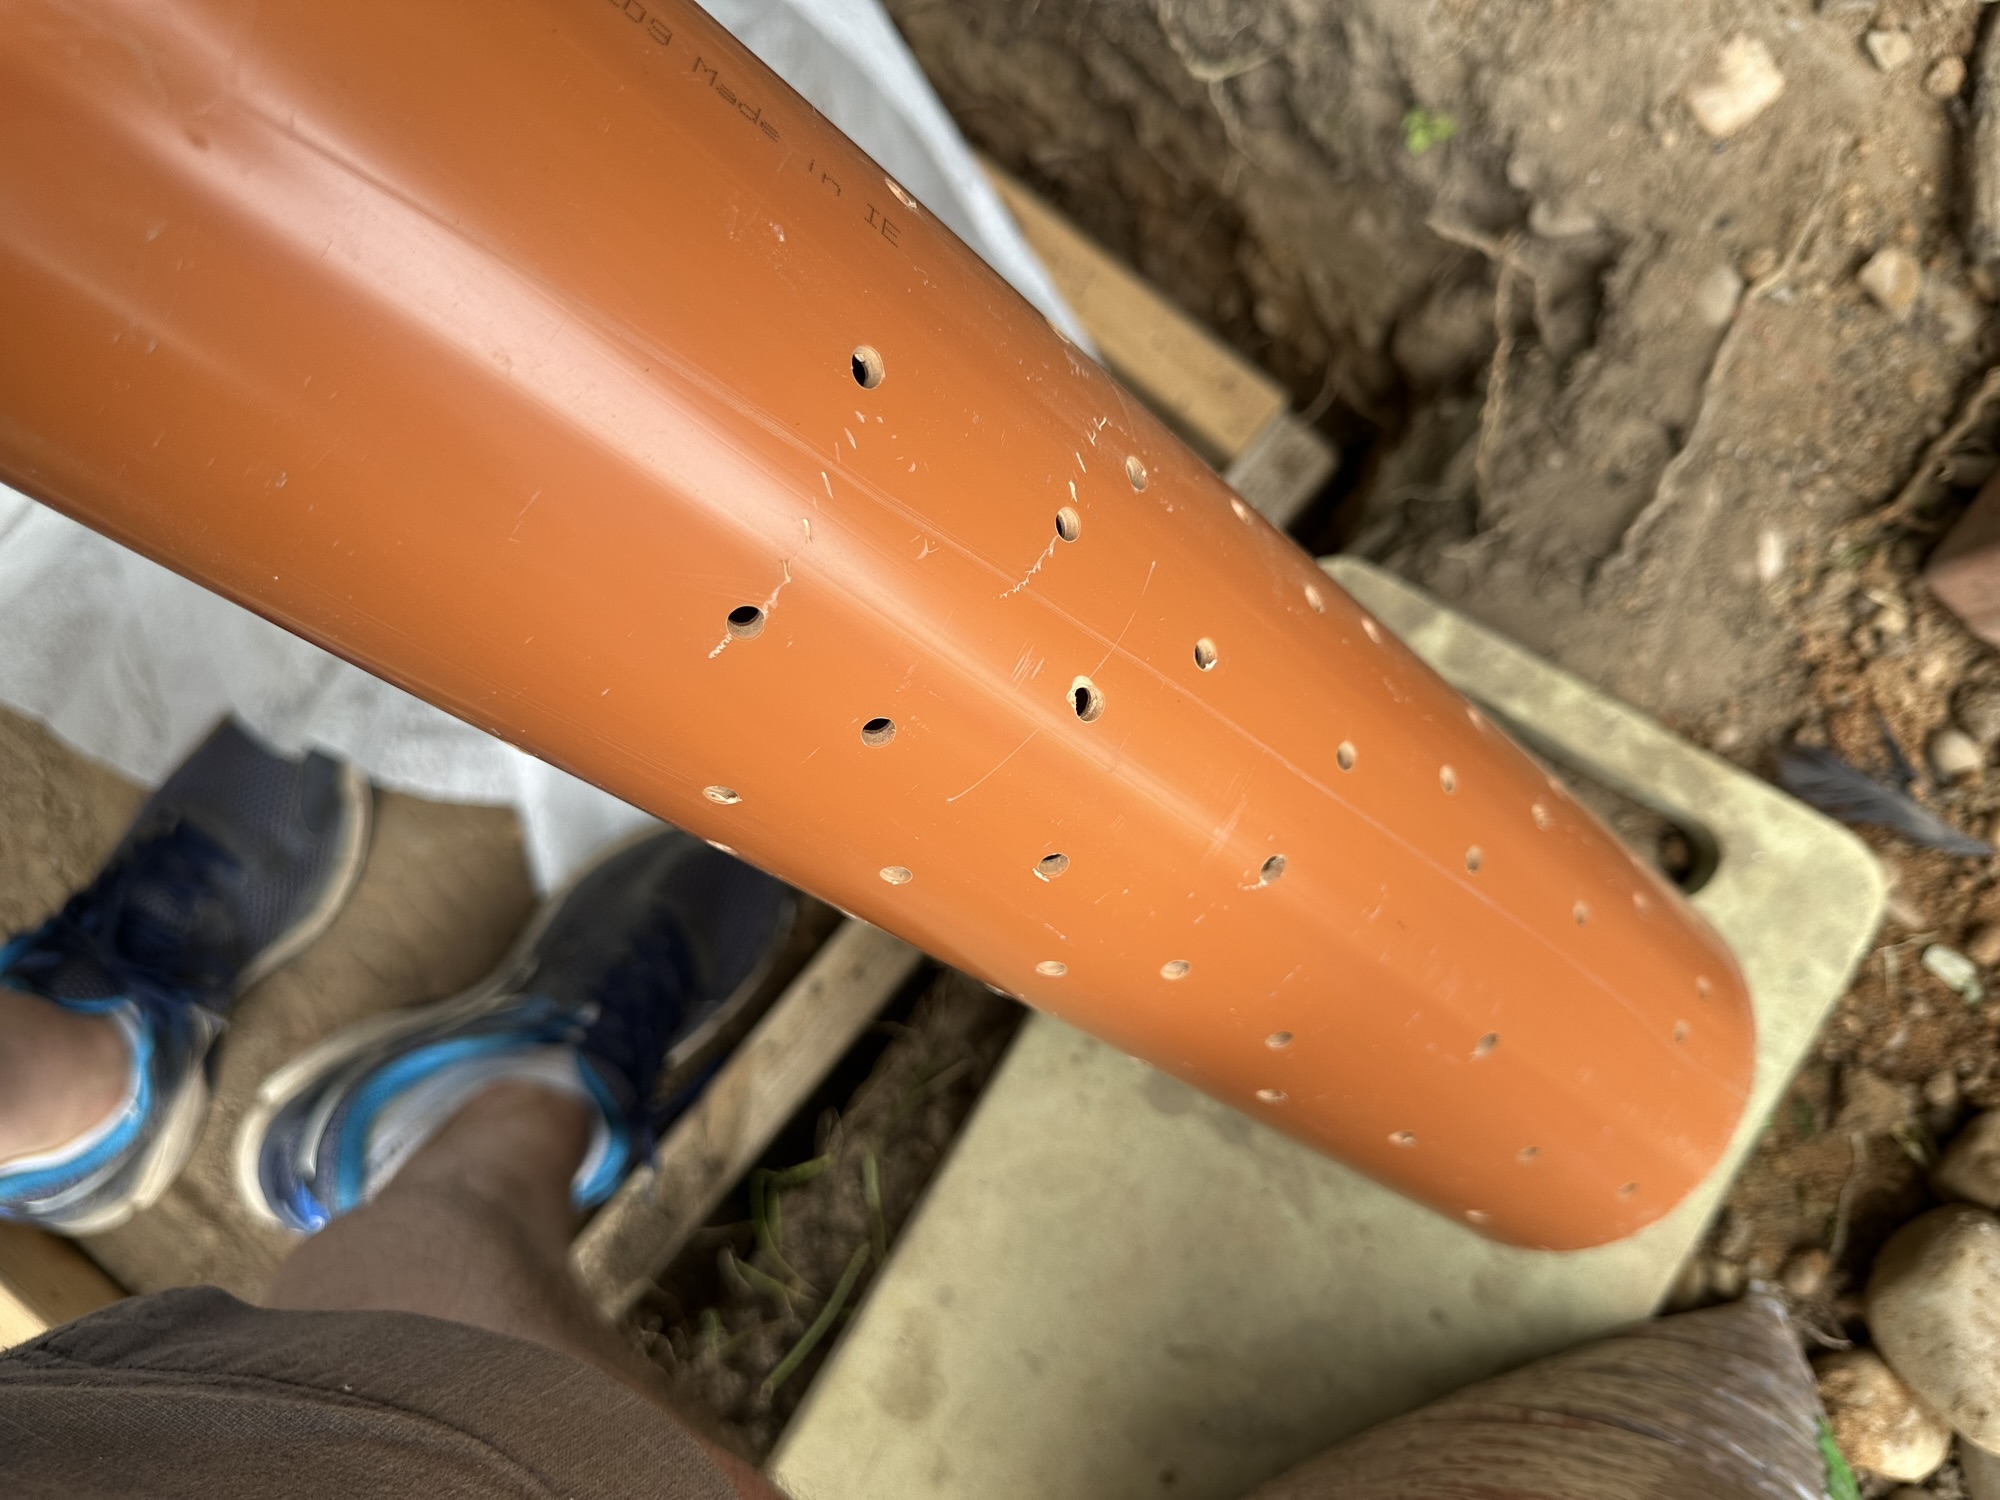
I put some landscaping fabric into a 600mm hole and put the pipe into it.
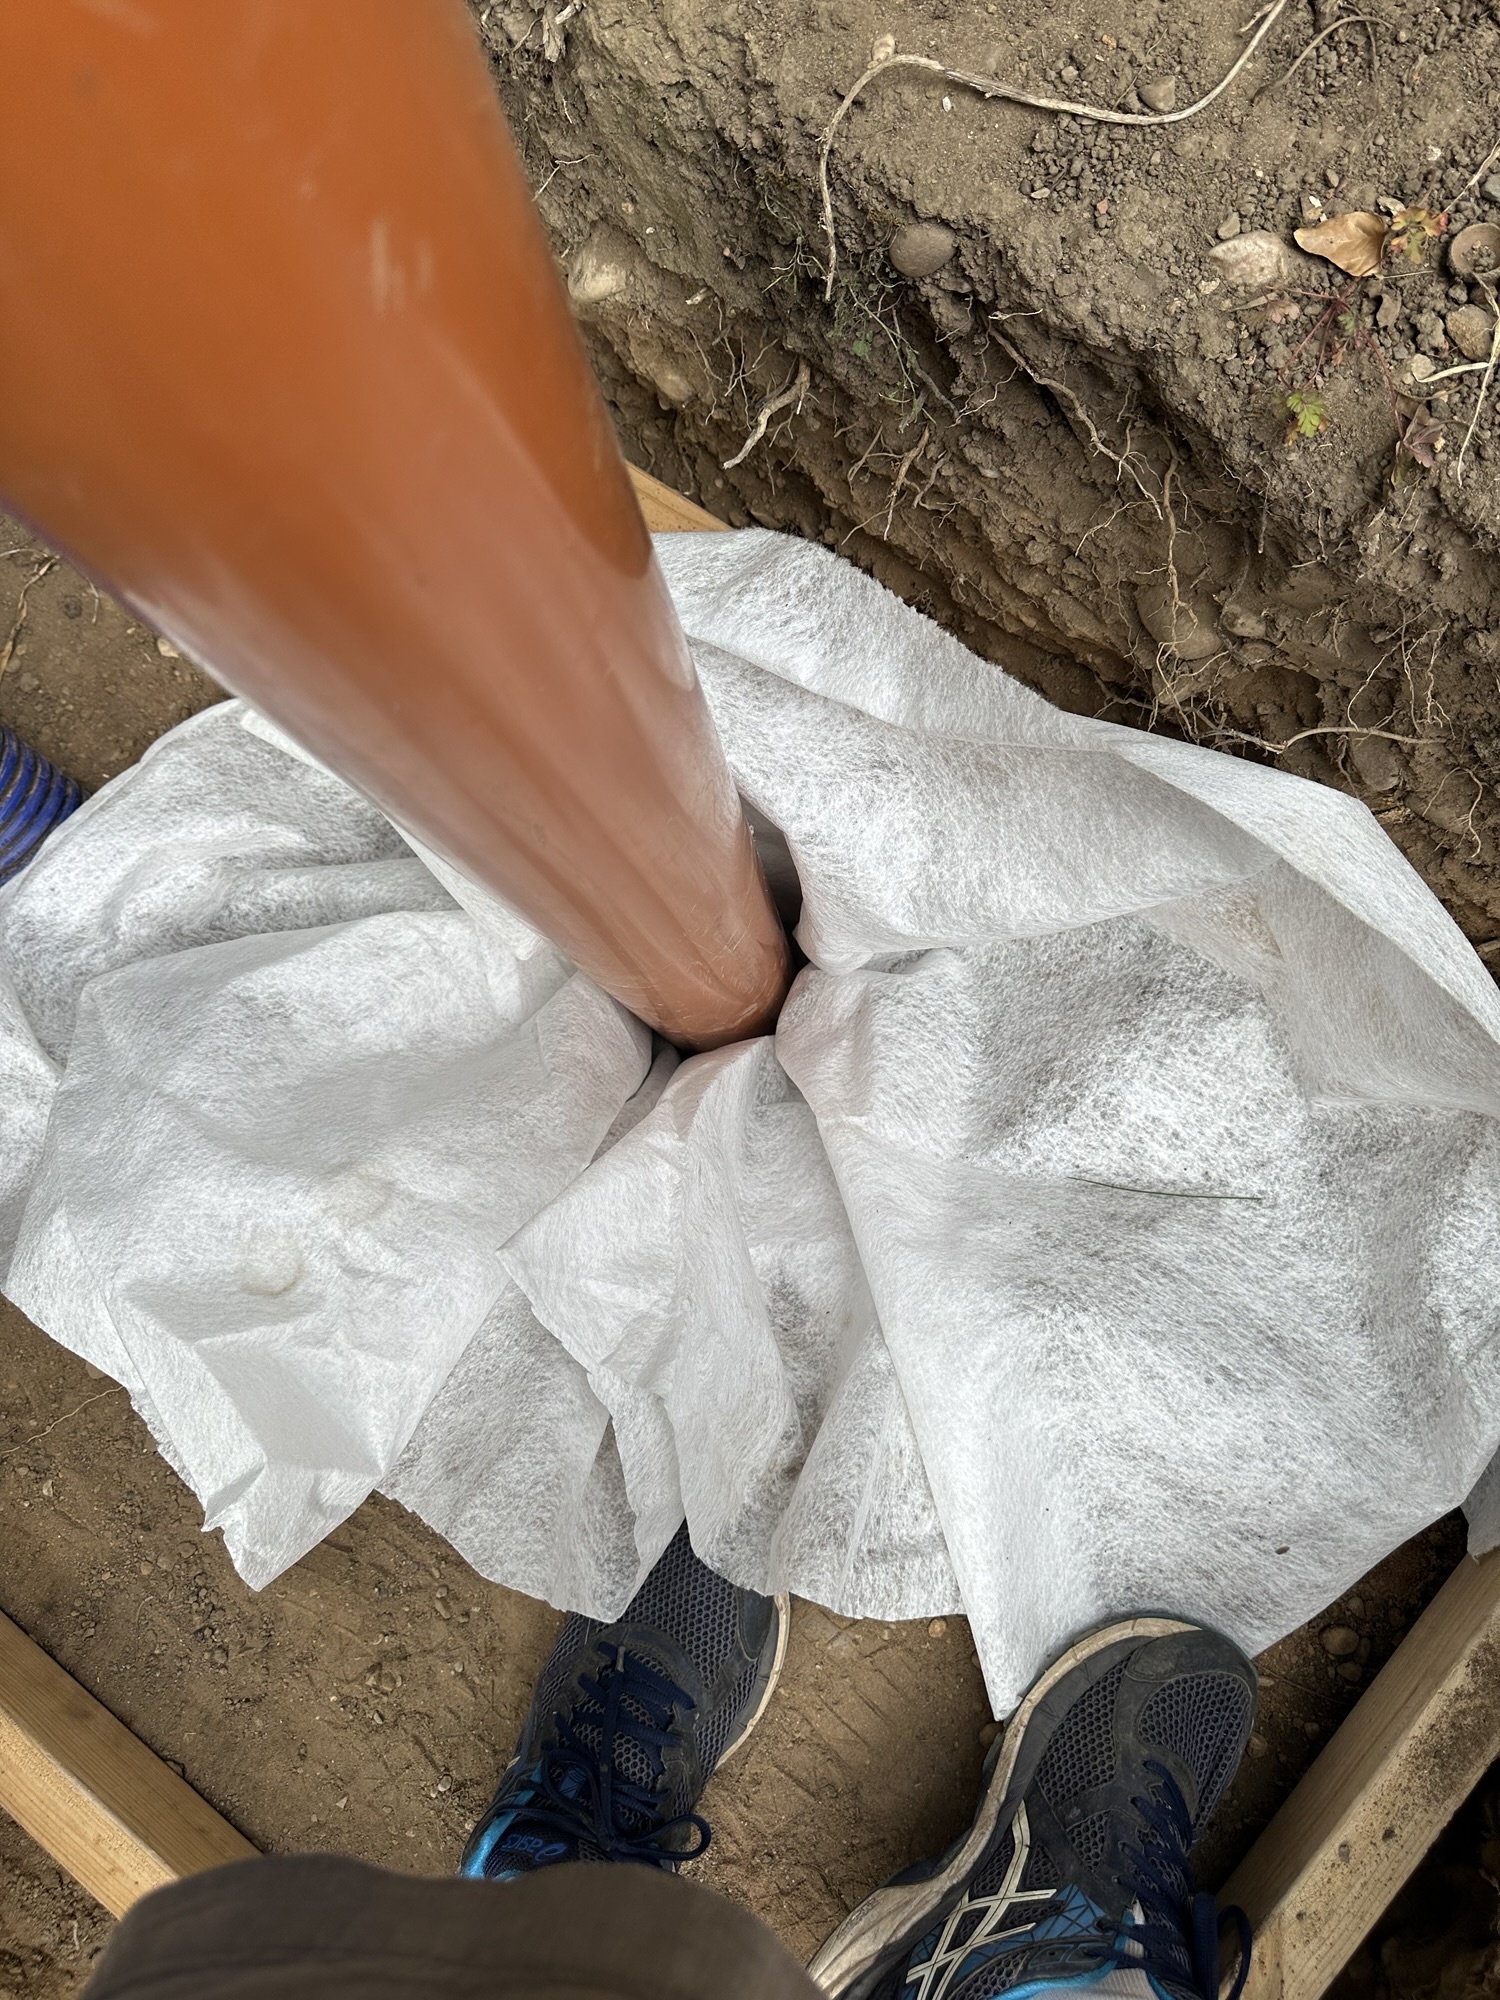
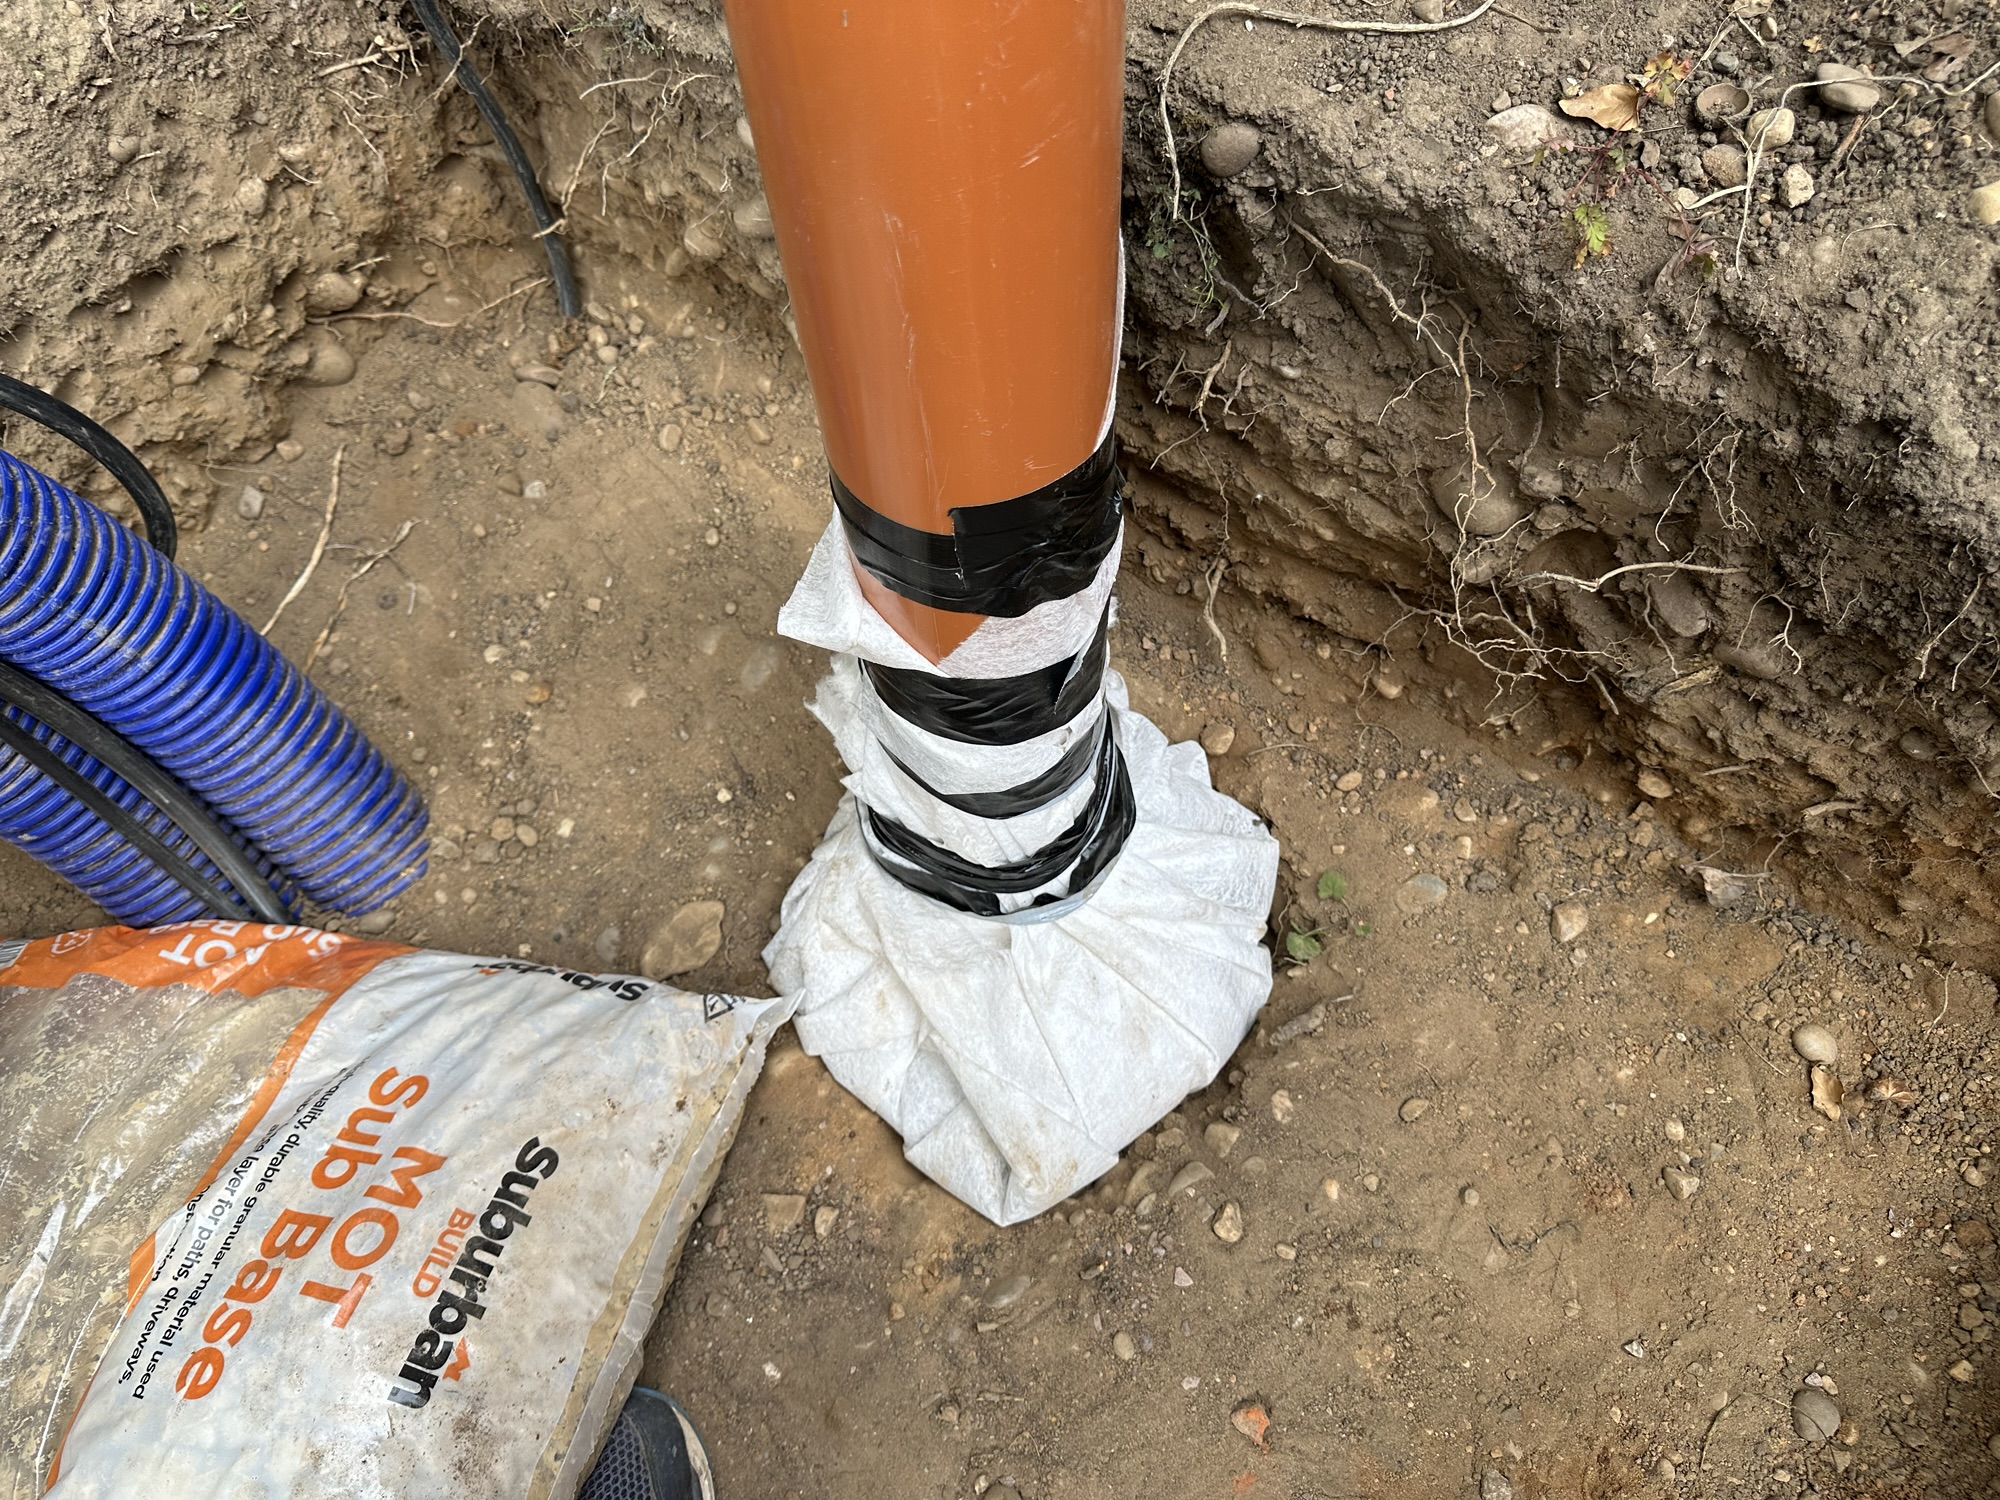
With the soak away in place. I put down a layer of sub base before moving my “mould” into place. Made from 1/2″ hardwood ply, with a 2″x4″ surround, I hoped this would be enough!
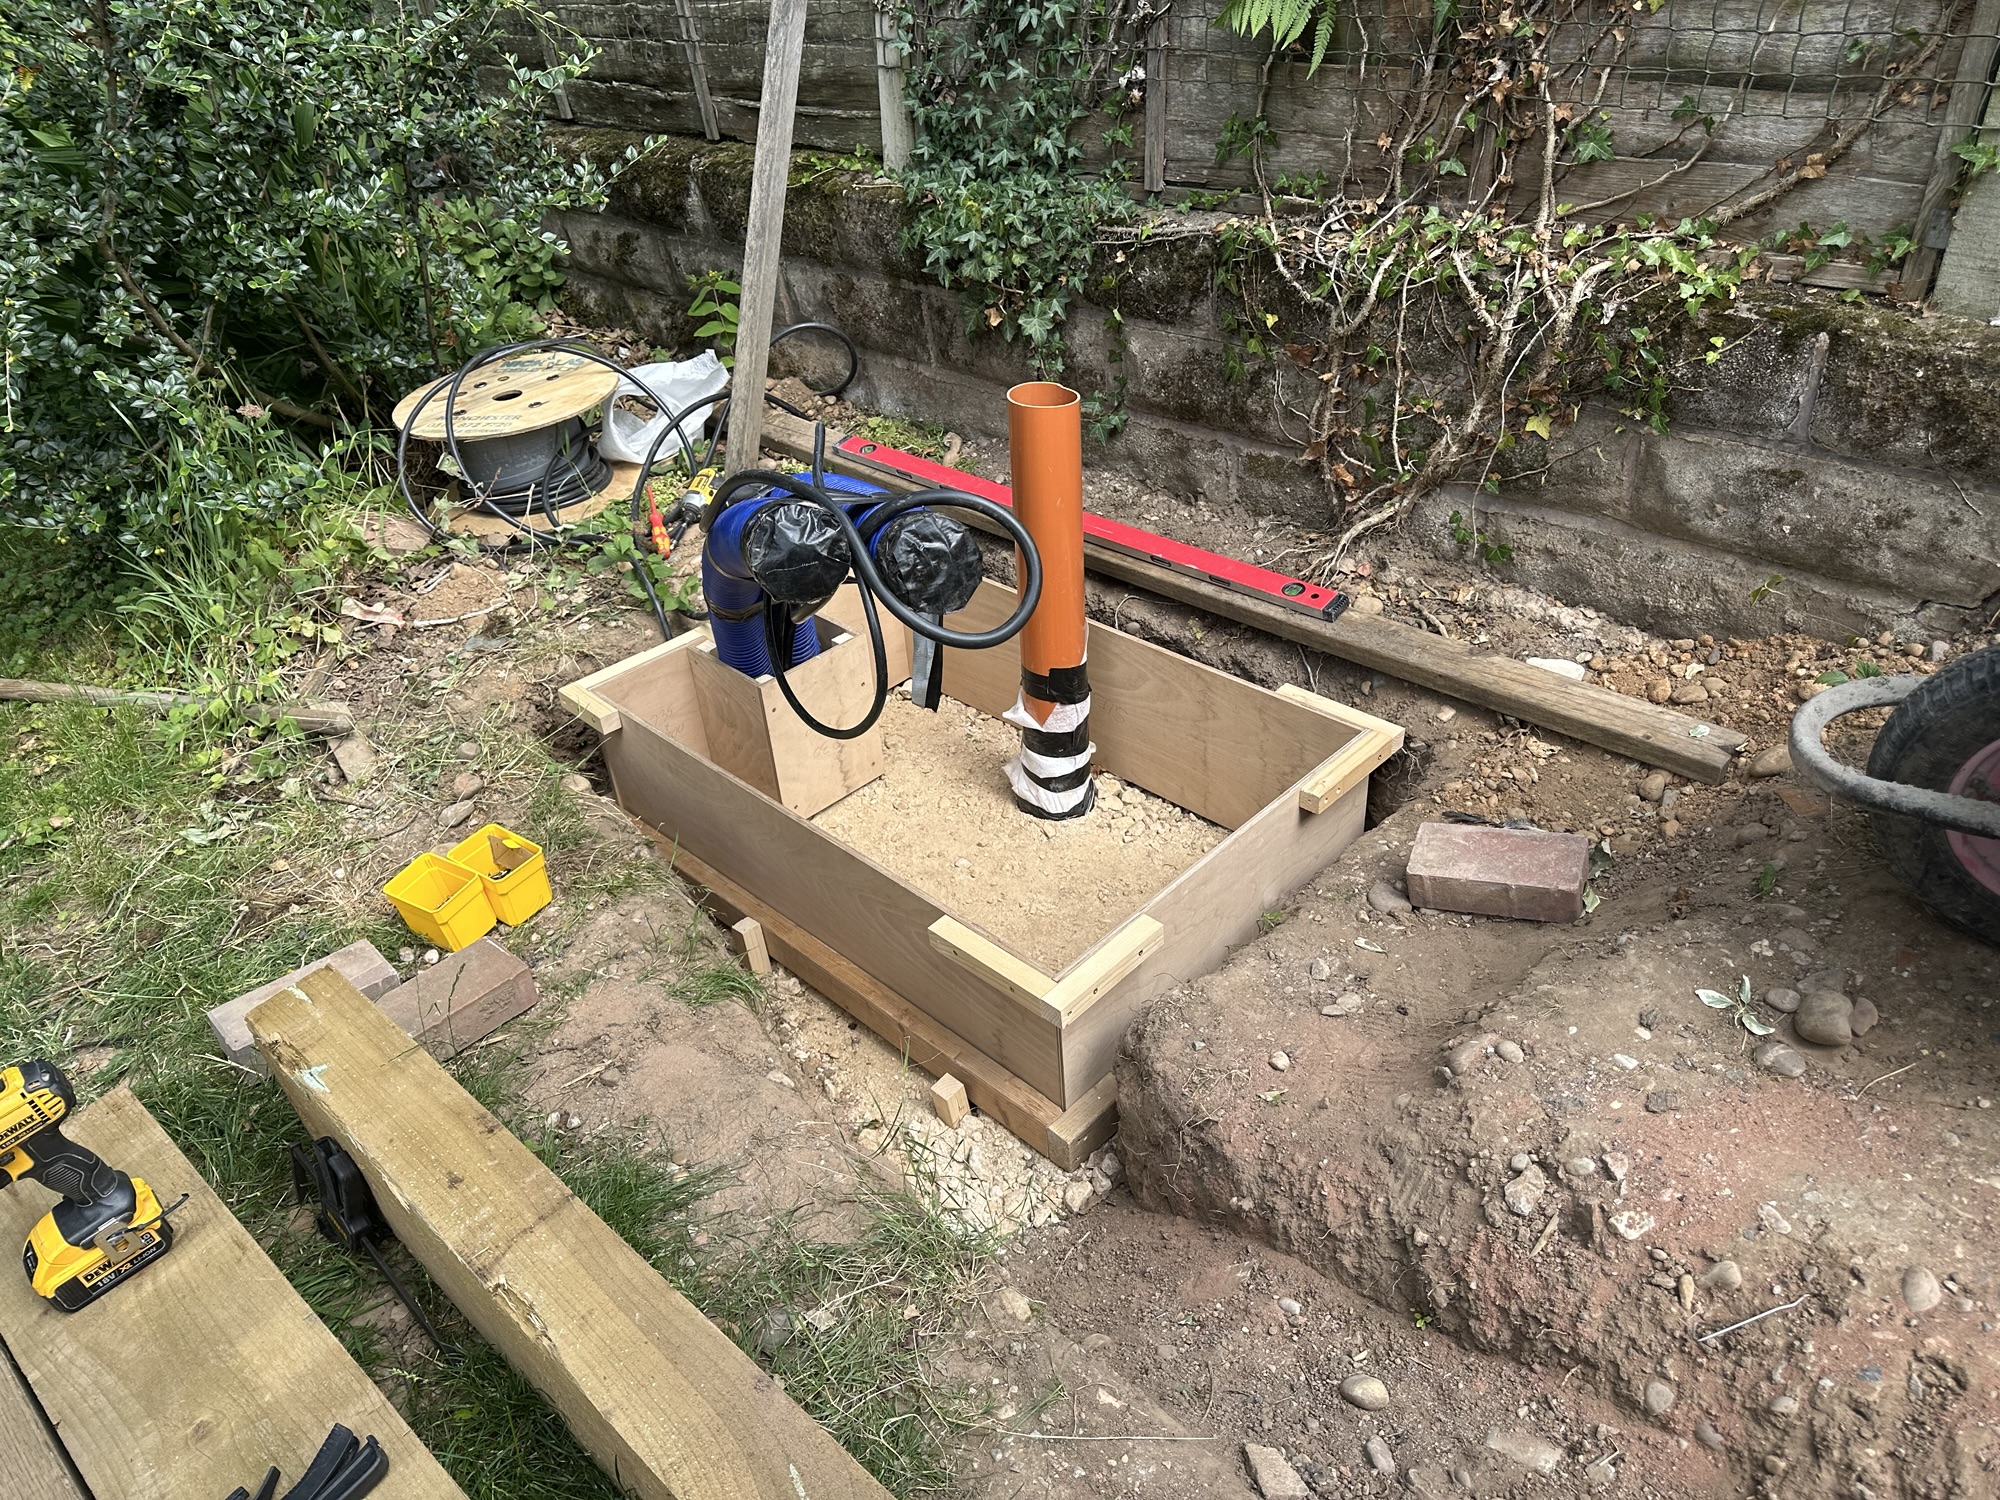
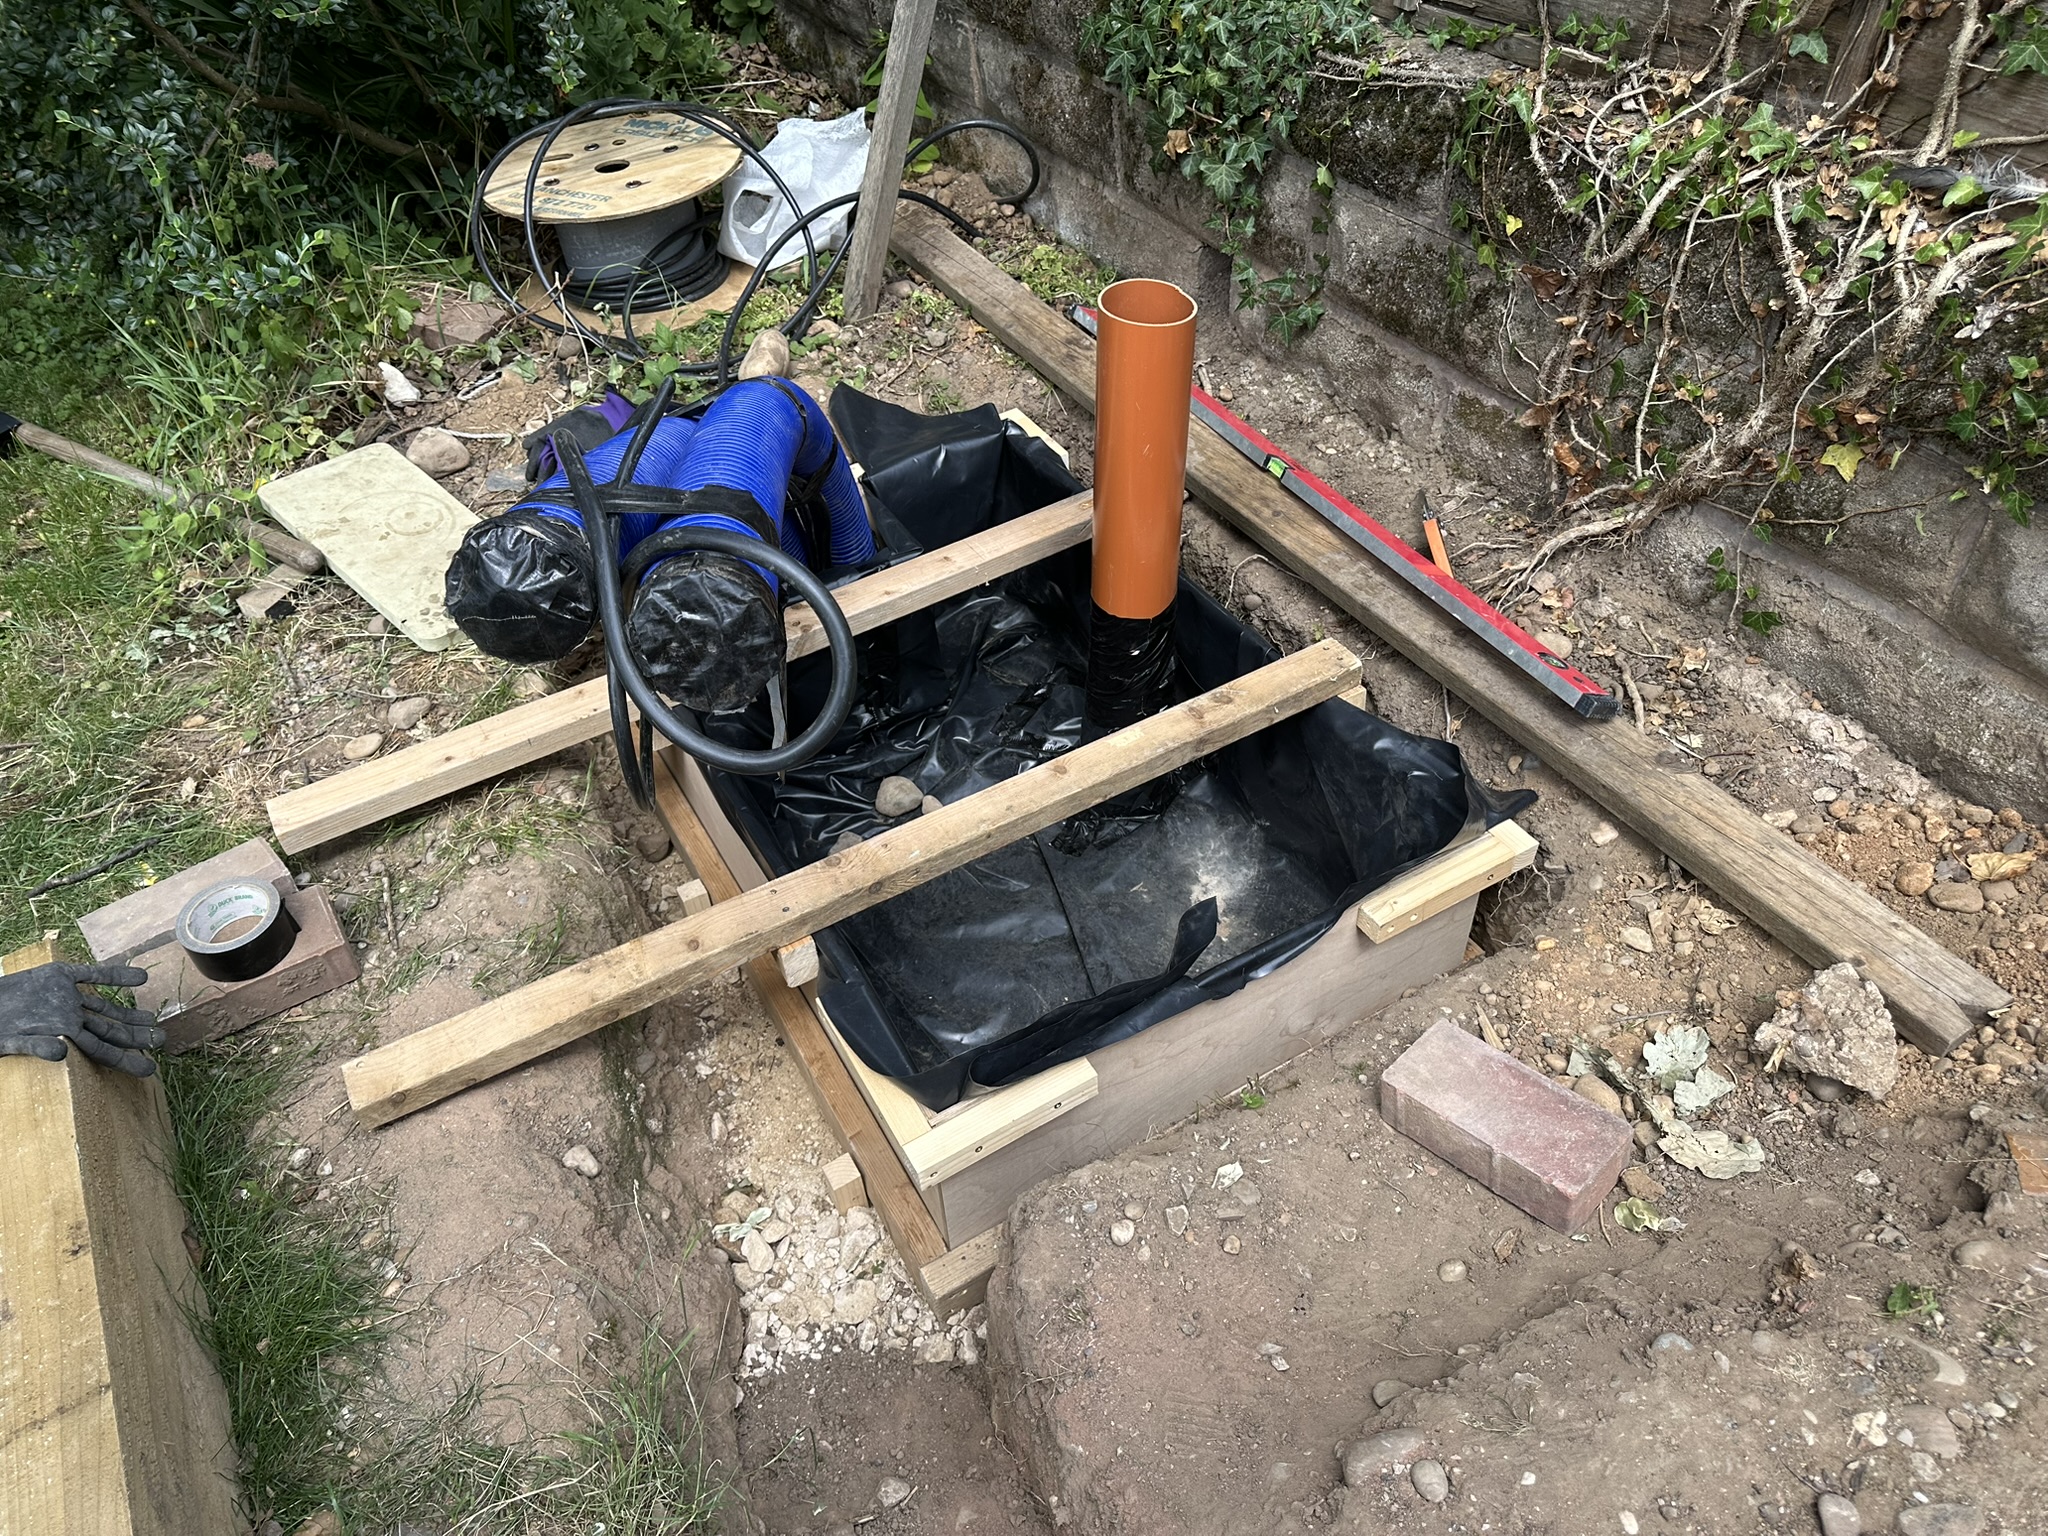
24 bags of ready-mix concrete later….
July 2026
The electrician came and connected up the supply. I went away on holidays and let the base cure.
August 2026
Almost 12 months after starting my trench, I took delivery of the heat pump.
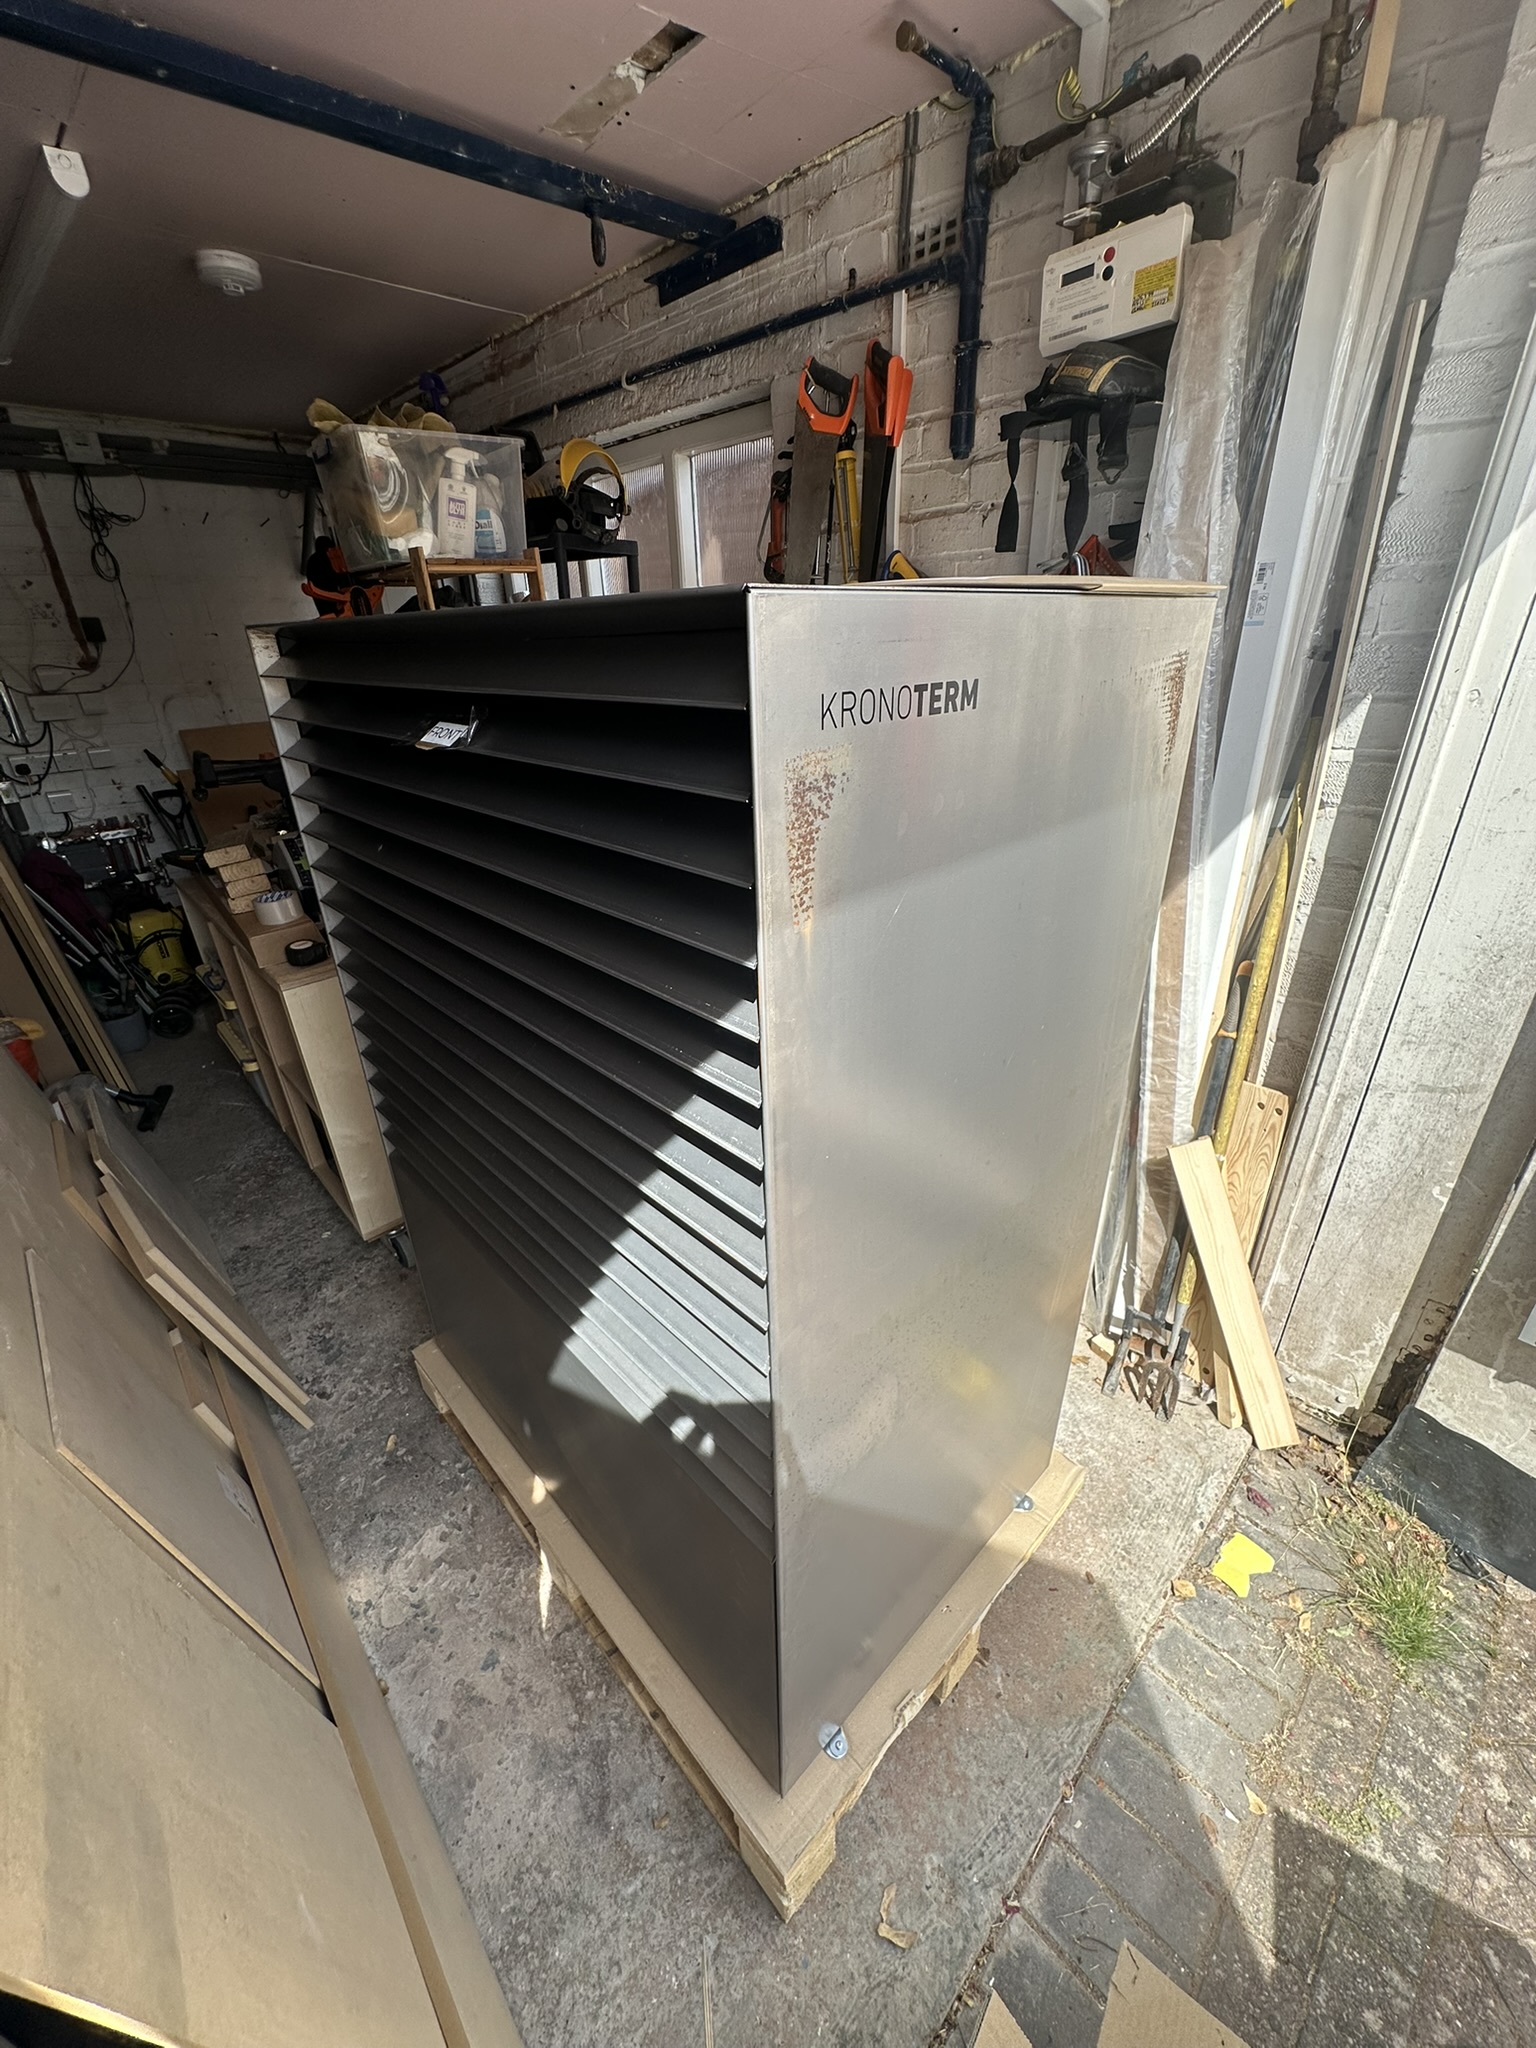
At 245Kg, it took four of us to move it into position. The unit came with moving staps and despite being incredibly heavy, we moved it without injuring ourselves!
Joe made the connection to the insulated pipe. It couldn’t have worked out any better!
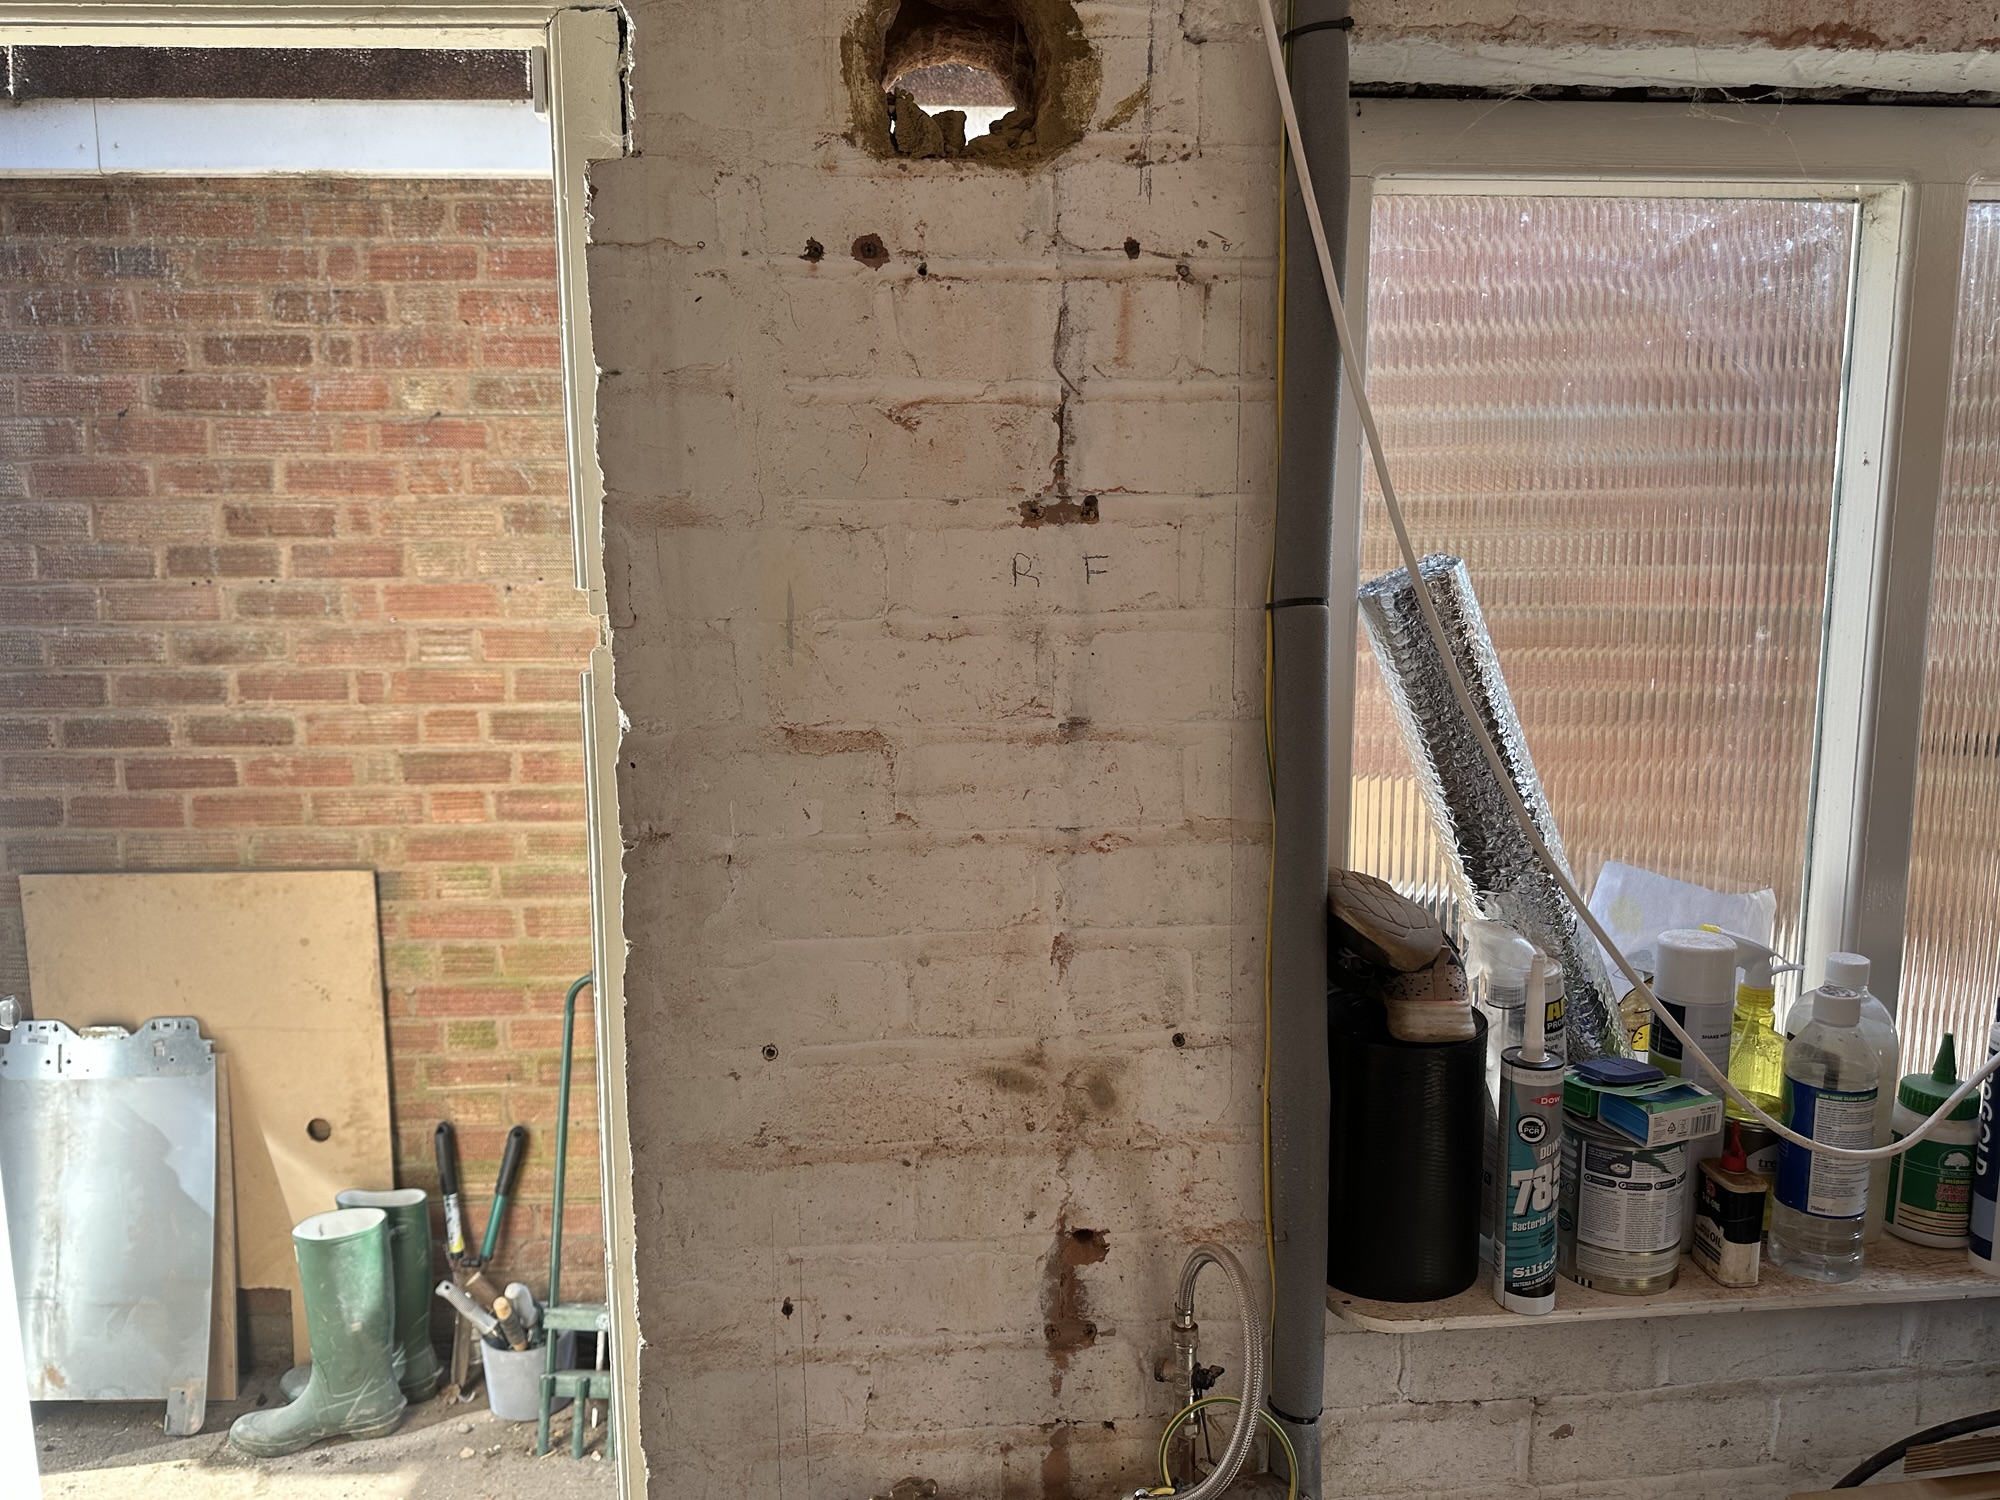
In the garage, Joe’s brother Jason, remove the boiler.
Next Steps
The garage plumbing changes are currently in progress. At the same time, the heat pump controller will be wired in. Once both of these things are done, I’ll write up another post with the details.
With luck, the heat pump will be commissioned in September, in time for Winter! I should be in a good position to provide a very detailed comparison between my old boiler and my new heat pump.
Be sure to subscribe so you don’t miss the next post!
Did you enjoy this post?
If you found this blog post useful and want to say thanks, you’re welcome to buy me a coffee.
Be sure to check out my YouTube Channel too – https://youtube.com/tomasmcguinness
Thanks,
Tom!


Leave a Reply